> ## Documentation Index
> Fetch the complete documentation index at: https://docs.altoura.com/llms.txt
> Use this file to discover all available pages before exploring further.
# Navigating in 3D
> Master the mouse, keyboard, touch, and joystick controls to move around the 3D environment
The 3D environment in your training responds to multiple types of input. Choose whatever feels most natural for you.
## Mouse & Trackpad Controls
If you're using a computer with a mouse or trackpad:
**Look Around**
* Click and drag with the **left mouse button** to rotate your view
* Look up, down, left, and right to see all angles
**Move Forward & Backward**
* Scroll your **mouse wheel forward** to move forward through the scene
* Scroll your **mouse wheel backward** to move backward
**Click Objects**
* **Left-click** on any highlighted (glowing) object to interact with it
## Keyboard Controls
Use your keyboard to move and look around the scene:
**Movement (WASD)**
* **W** — Move forward
* **S** — Move backward
* **A** — Strafe left
* **D** — Strafe right
**Camera Height (Q / E)**
* **E** — Move up (raise camera)
* **Q** — Move down (lower camera)
**Look Around (Arrow Keys)**
* **Arrow Up / Down** — Pitch up / down
* **Arrow Left / Right** — Turn left / right
**Speed Modifiers**
* **Left Shift** (hold) — Sprint at 2× speed
* **Left Alt** (hold) — Slow walk at half speed
## On-Screen Help Strip
A help strip is displayed at the bottom-right of the screen showing the available controls for your device:
**On Desktop** — Shows **W A S D** (move), **Q E** (height), **Drag** (look), **Shift** (run), and your current camera height in meters.
**On Touch Devices** — Shows joystick hints (if enabled), swipe to look, +/− for height, and your current camera height in meters.
## Touch Controls
If you're on a tablet or touchscreen device:
**Look Around** — One-finger drag across the screen to rotate your view
**Tap Objects** — Single tap on a highlighted object to interact with it
For movement on touch devices, enable the **Virtual Joystick** in Settings.
## Virtual Joystick
The virtual joystick is an optional on-screen movement controller that works like a game controller. It's off by default and ideal for touchscreen devices, but also works with a mouse.
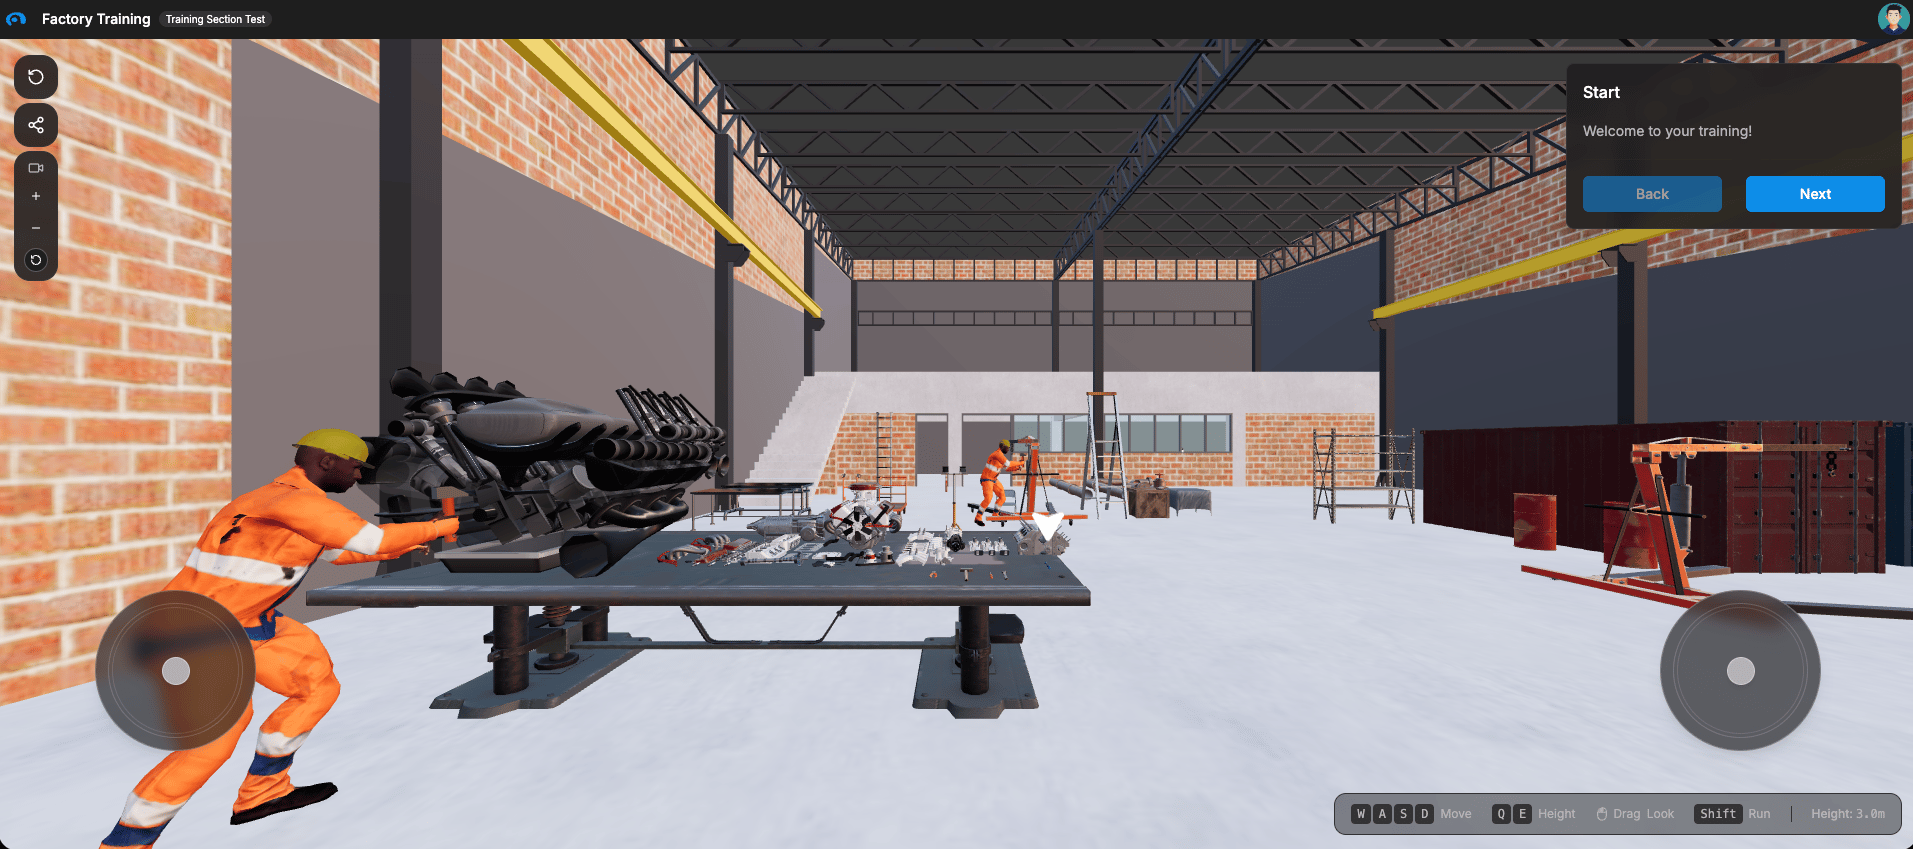 When enabled, two circular pads appear at the **bottom of the screen**:
**Left Circle — Movement**
* Drag up/down to move forward/backward
* Drag left/right to strafe
**Right Circle — Look Around**
* Drag to rotate your camera in any direction
### Enabling the Joystick
Click the circular avatar icon in the top-right corner
In the dropdown menu, click **Settings**
Under **Controls**, switch the **Virtual Joystick** toggle on or off. The joystick appears or disappears immediately.
### Using the Joystick
**With a Touchscreen** — Touch and drag the left circle to move, the right circle to look around. Release your finger and the joystick returns to center.
**With a Mouse** — Click and drag either circle. Works the same as touch. Even a small movement input works.
**Both at Once** — Move with the left joystick and look around with the right simultaneously. You can also click objects on screen while using the joystick.
### When to Use It
**Use the Virtual Joystick if** you're on a tablet or touchscreen, prefer game-controller-style movement, or are navigating a large scene with lots of walking.
**Use Keyboard & Mouse if** you're on a desktop, prefer traditional WASD controls, or want more precision with click interactions.
You can switch between them at any time — mix and match whatever feels comfortable.
## Camera Height Controls
The camera height controls let you raise or lower your viewpoint to see objects at different eye levels. You'll find these on the **left side of your screen**, below the share button.
When enabled, two circular pads appear at the **bottom of the screen**:
**Left Circle — Movement**
* Drag up/down to move forward/backward
* Drag left/right to strafe
**Right Circle — Look Around**
* Drag to rotate your camera in any direction
### Enabling the Joystick
Click the circular avatar icon in the top-right corner
In the dropdown menu, click **Settings**
Under **Controls**, switch the **Virtual Joystick** toggle on or off. The joystick appears or disappears immediately.
### Using the Joystick
**With a Touchscreen** — Touch and drag the left circle to move, the right circle to look around. Release your finger and the joystick returns to center.
**With a Mouse** — Click and drag either circle. Works the same as touch. Even a small movement input works.
**Both at Once** — Move with the left joystick and look around with the right simultaneously. You can also click objects on screen while using the joystick.
### When to Use It
**Use the Virtual Joystick if** you're on a tablet or touchscreen, prefer game-controller-style movement, or are navigating a large scene with lots of walking.
**Use Keyboard & Mouse if** you're on a desktop, prefer traditional WASD controls, or want more precision with click interactions.
You can switch between them at any time — mix and match whatever feels comfortable.
## Camera Height Controls
The camera height controls let you raise or lower your viewpoint to see objects at different eye levels. You'll find these on the **left side of your screen**, below the share button.
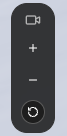 **Plus Button (+)** — Hold to continuously raise your viewpoint. Great for seeing overhead equipment or high shelves.
**Minus Button (−)** — Hold to continuously lower your viewpoint. Great for seeing floor-level equipment or objects below eye level.
**Reset Height Button** — Returns camera to its default vertical position without affecting your rotation or horizontal position.
You can also control height with keyboard shortcuts: **E** to move up, **Q** to move down.
### Enabling Height Controls
Height controls can be toggled on or off in Settings under the **Adjust Height** toggle. When disabled, the +/− buttons are hidden and your camera stays at the default level.
**Reset Height** only resets the vertical position. To reset your full camera orientation (position + rotation), use **Reset View** from the Reset menu on the left side of the screen.
## Tips for a Better View
**Getting a Good Angle**
* Drag with the mouse or use arrow keys to rotate until you can see the object clearly
* Use **Camera Height +** or press **E** to raise your viewpoint for objects above you
* Use **Camera Height −** or press **Q** to lower your viewpoint for objects below you
**Getting Closer**
* Scroll the mouse wheel forward or use **W** / left joystick to walk toward what you need
**Using Reset View**
* If you get disoriented, open the **Reset menu** (left side of screen) and choose **Reset View** to return to the trainer's recommended viewpoint
**Combining Controls**
* Rotate with the mouse, then use WASD to walk closer
* Use **Shift** to move faster when covering larger distances
* Move with the virtual joystick and click objects with your mouse — both work simultaneously
**Can't find what you're looking for?** Try rotating around the scene or walking backwards. Every interactive object is highlighted in practice mode — look for glowing indicators and the direction indicator arrow.
## Troubleshooting
It's off by default. Open Settings via your profile avatar (top-right) and enable the **Virtual Joystick** toggle under Controls.
Check that it's enabled in Settings. If it's on and still not responding, try refreshing the page.
Disable it in Settings and use keyboard/mouse controls instead.
Open Settings and enable the **Adjust Height** toggle. If the toggle is grayed out, the training author may have locked it for this training.
Use **Reset View** from the Reset menu on the left side of the screen to return to the default camera position and orientation.
**Plus Button (+)** — Hold to continuously raise your viewpoint. Great for seeing overhead equipment or high shelves.
**Minus Button (−)** — Hold to continuously lower your viewpoint. Great for seeing floor-level equipment or objects below eye level.
**Reset Height Button** — Returns camera to its default vertical position without affecting your rotation or horizontal position.
You can also control height with keyboard shortcuts: **E** to move up, **Q** to move down.
### Enabling Height Controls
Height controls can be toggled on or off in Settings under the **Adjust Height** toggle. When disabled, the +/− buttons are hidden and your camera stays at the default level.
**Reset Height** only resets the vertical position. To reset your full camera orientation (position + rotation), use **Reset View** from the Reset menu on the left side of the screen.
## Tips for a Better View
**Getting a Good Angle**
* Drag with the mouse or use arrow keys to rotate until you can see the object clearly
* Use **Camera Height +** or press **E** to raise your viewpoint for objects above you
* Use **Camera Height −** or press **Q** to lower your viewpoint for objects below you
**Getting Closer**
* Scroll the mouse wheel forward or use **W** / left joystick to walk toward what you need
**Using Reset View**
* If you get disoriented, open the **Reset menu** (left side of screen) and choose **Reset View** to return to the trainer's recommended viewpoint
**Combining Controls**
* Rotate with the mouse, then use WASD to walk closer
* Use **Shift** to move faster when covering larger distances
* Move with the virtual joystick and click objects with your mouse — both work simultaneously
**Can't find what you're looking for?** Try rotating around the scene or walking backwards. Every interactive object is highlighted in practice mode — look for glowing indicators and the direction indicator arrow.
## Troubleshooting
It's off by default. Open Settings via your profile avatar (top-right) and enable the **Virtual Joystick** toggle under Controls.
Check that it's enabled in Settings. If it's on and still not responding, try refreshing the page.
Disable it in Settings and use keyboard/mouse controls instead.
Open Settings and enable the **Adjust Height** toggle. If the toggle is grayed out, the training author may have locked it for this training.
Use **Reset View** from the Reset menu on the left side of the screen to return to the default camera position and orientation.