> ## Documentation Index
> Fetch the complete documentation index at: https://docs.altoura.com/llms.txt
> Use this file to discover all available pages before exploring further.
# Managing Objects in the Portal
# Objects Dashboard
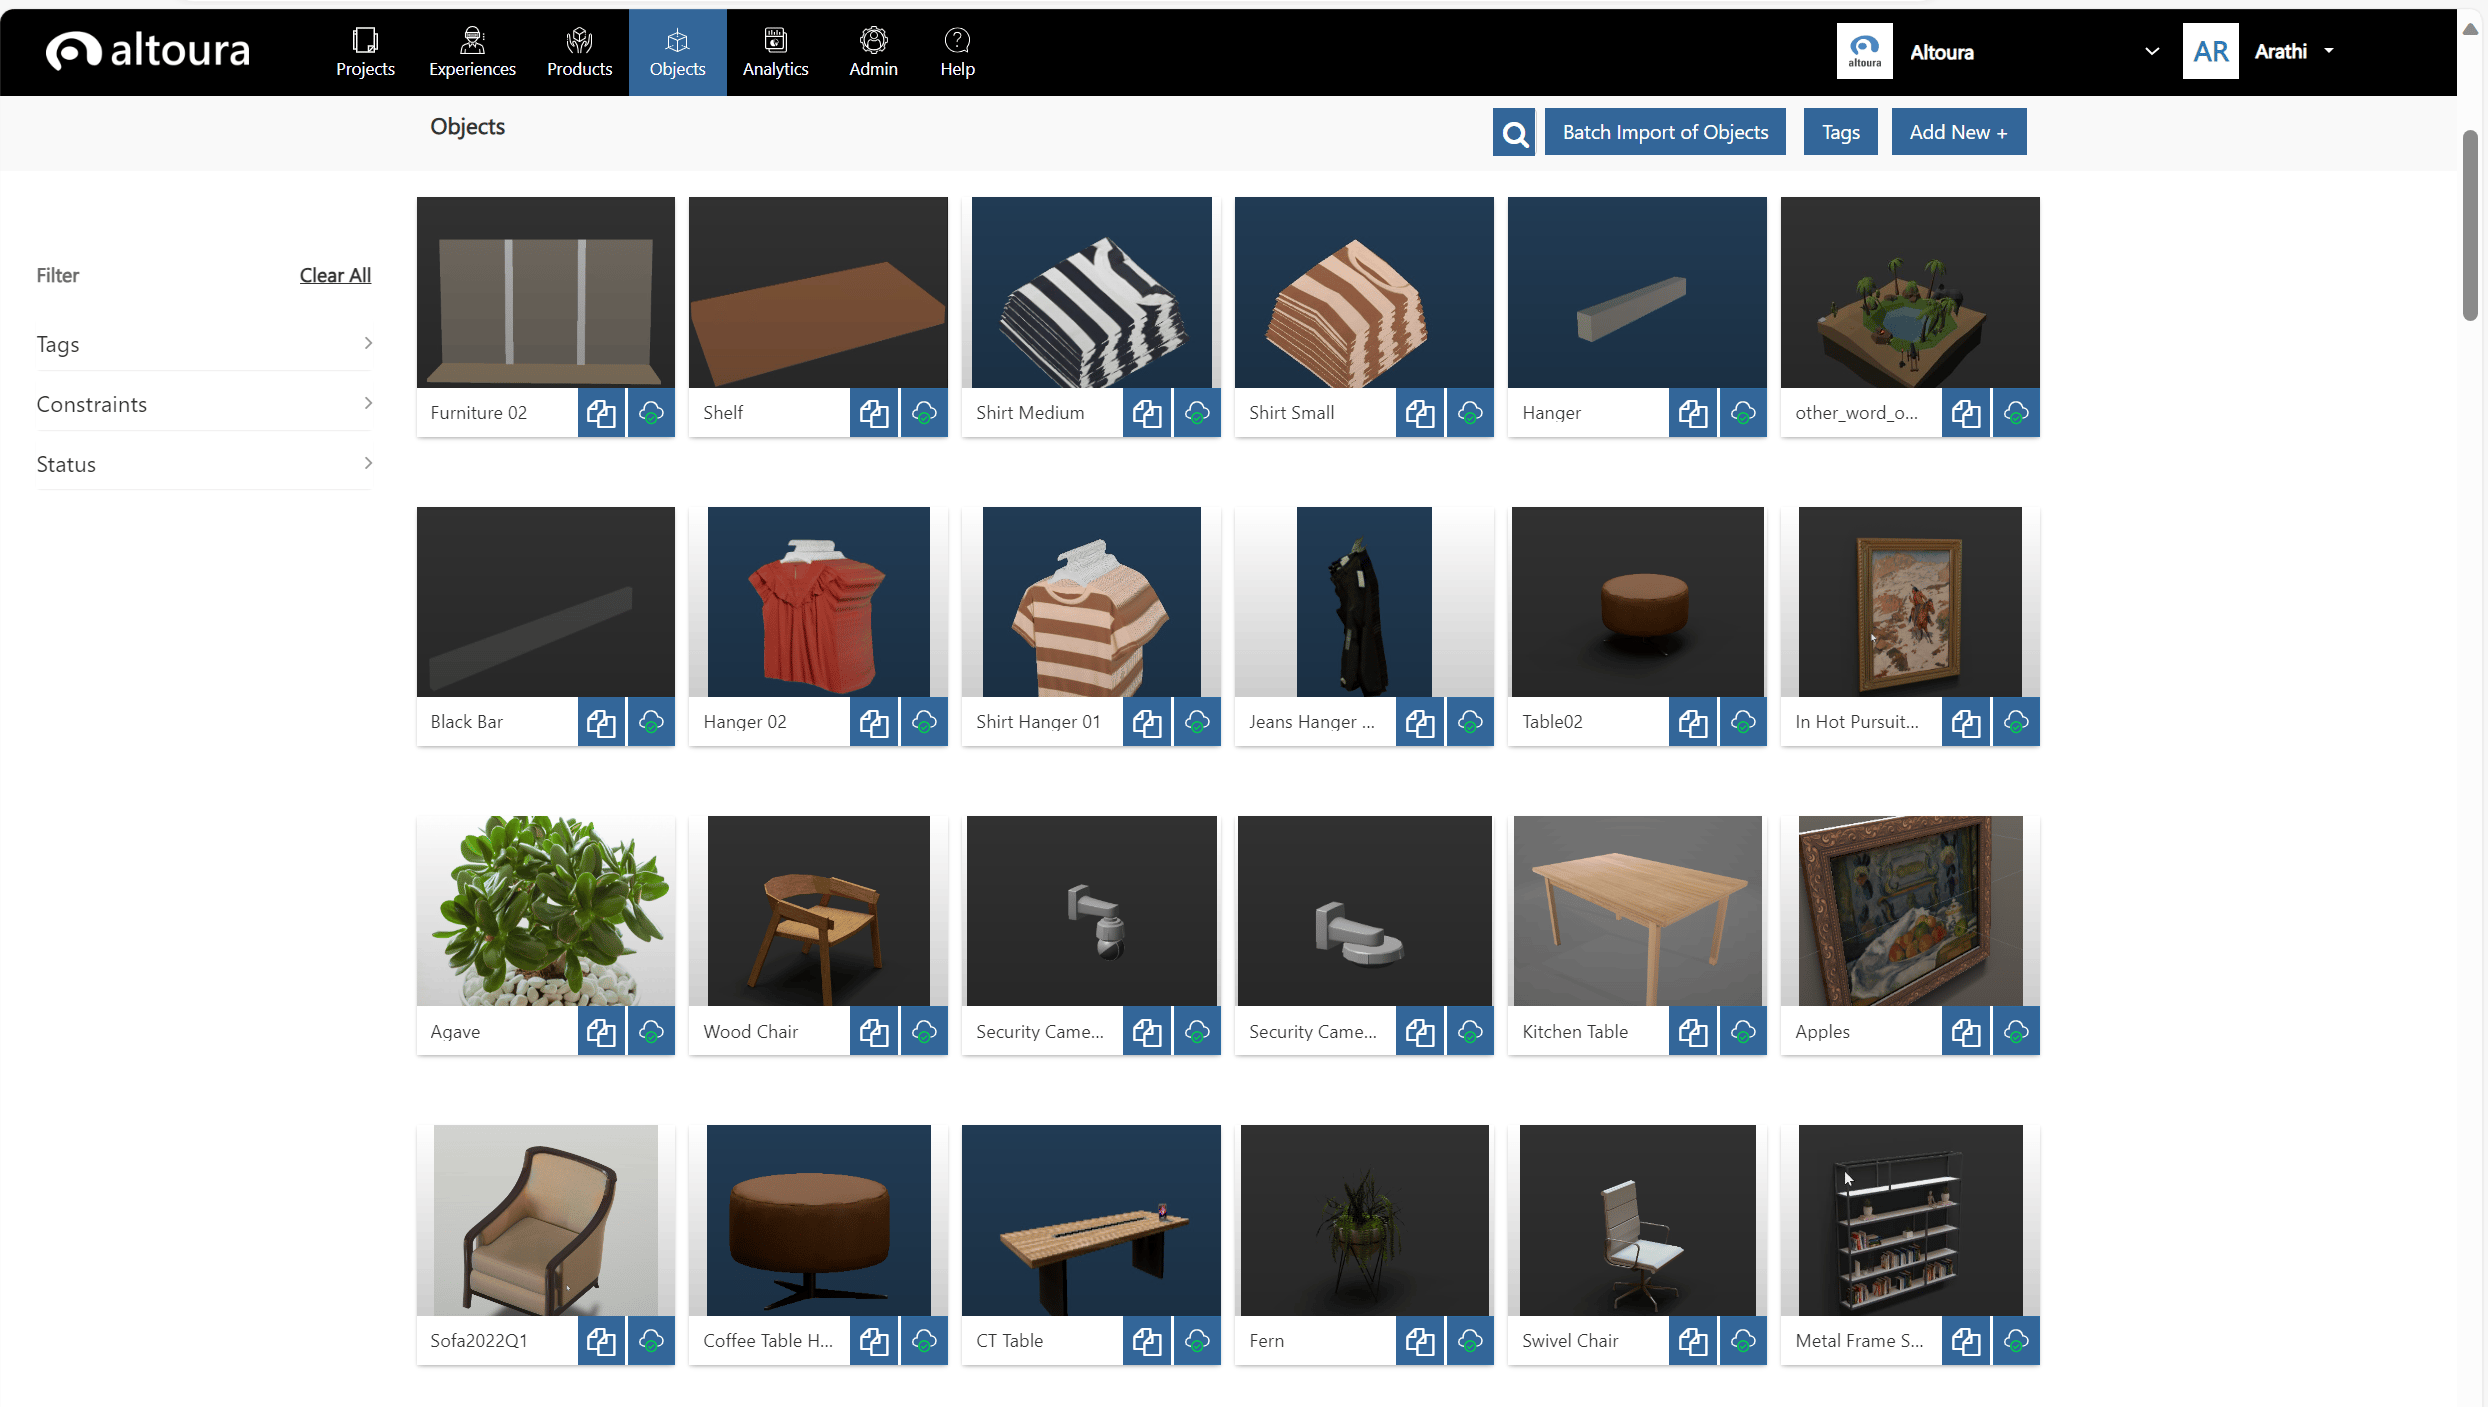
In the Altoura Portal, go to the **Objects** tab, the Objects Dashboard page will be dispalyed. Here, all the Objects that are created under your Organization will be displayed.
 ## Create a New Object
To create a new object, click on the **Add New +** button in the Dashboard page. The New Object page is displayed.
## Create a New Object
To create a new object, click on the **Add New +** button in the Dashboard page. The New Object page is displayed.
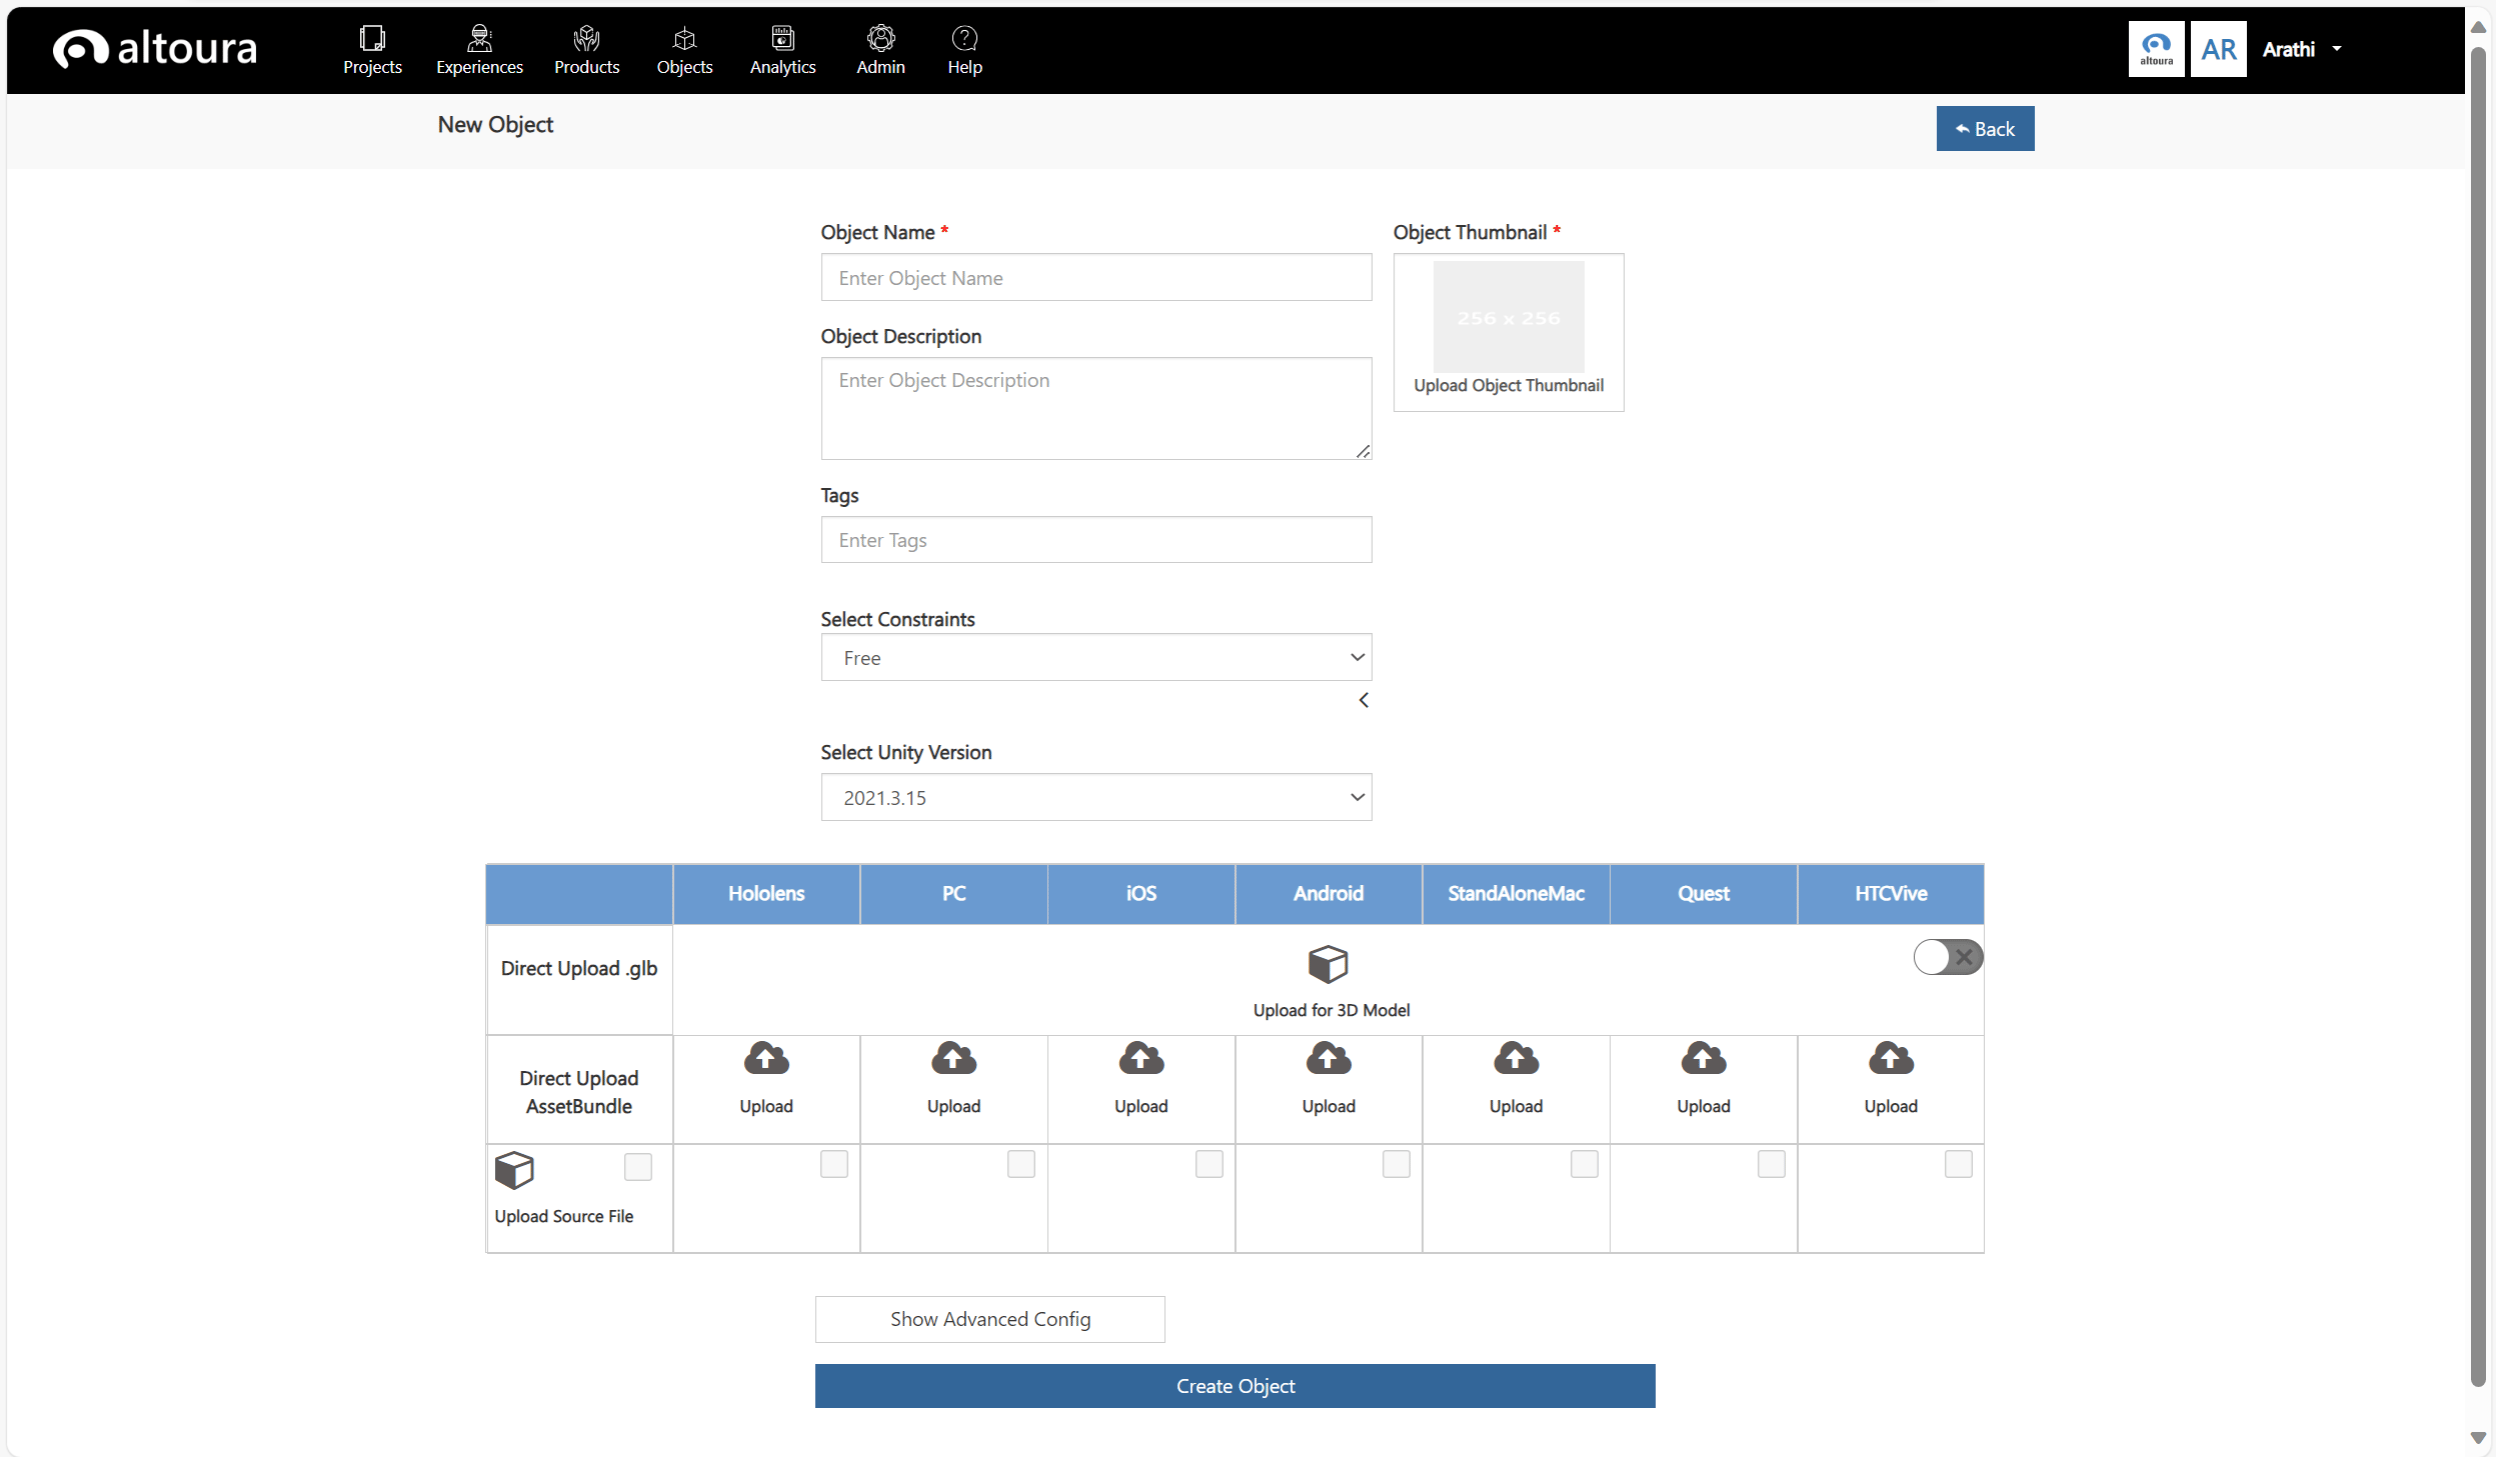 Enter the following values:
**Object Name** – The name that will define your object in the Altoura app and Portal.
**Object Thumbnail** – The thumbnail that will define your object in the Altoura app and Portal.
**Object Description** – The description that will define your object in the Altoura Portal.
**Tags** – The tags that will allow you to filter and search for objects in the Altoura app and Portal.
**Select Constraints** – The [constraints](/docs/unity/import-content/create-asset-bundle) that will be applied to the object when a user adds the object in a [Meeting](/docs/app-user/desktop/meetings/create).
Once the above values are entered, an asset file for the Object has to be added. There are 3 types of asset files that can be added, a .glb file, asset bundles or a unity package/fbx file/glb file from which asset bundles can be generated.
**Direct Upload .glb** A GLB object can be uploaded directly, irrespective of device type. If you want the GLB object to override any other upload for the object, toggle the active state in the upload row.
**Direct Upload AssetBundle** For asset bundle upload, each object should be made into a prefab and exported as a Unity asset bundle based on the device type you want to use the object in.
### Device Type Specifications
If you make an object for only one device type and add it in a meeting in that device, this object will not show up in the same meeting on other devices because you have only made it for one device. Creating asset bundles for the object for all device types is highly recommended for meeting consistency.
**Upload Source File** Source file upload takes a Unity package file with your object prefab in it or an fbx or a glb file. The system will generate asset bundles for each platform type from the content in the uploaded package.
Click on the Create Object Button, to create the new Object. The Object will be added to the Organization and the user will be taken to the Dashboard page where the newly created Object will be displayed on top of the list.
## Adding Object Tags
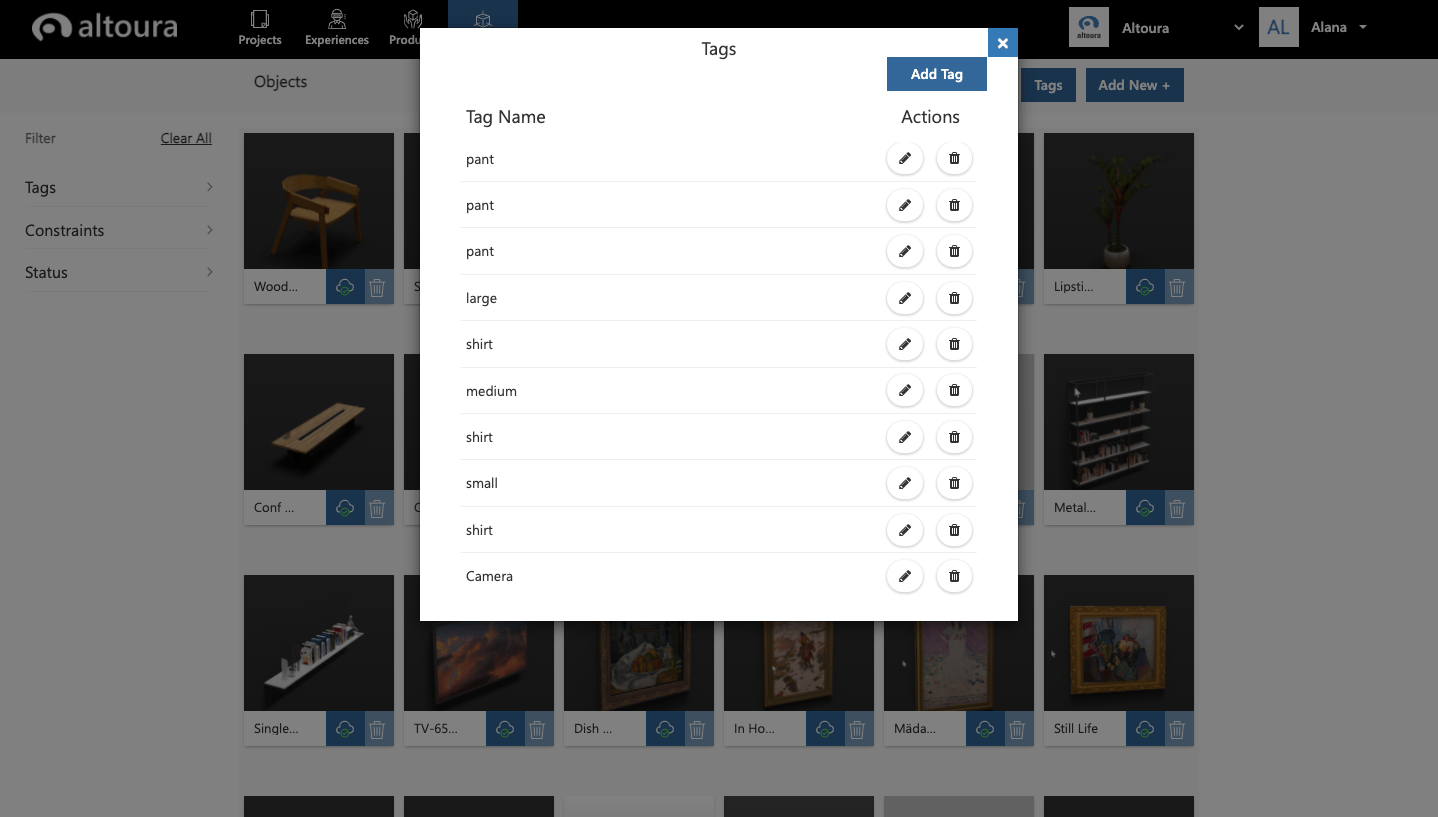
Before you create and upload a new Altoura object, you can add to the **Tags** catalogue. Tags are a way to sort and filter the objects in the portal and in the app. It is also important for defining the objects for certain slots.
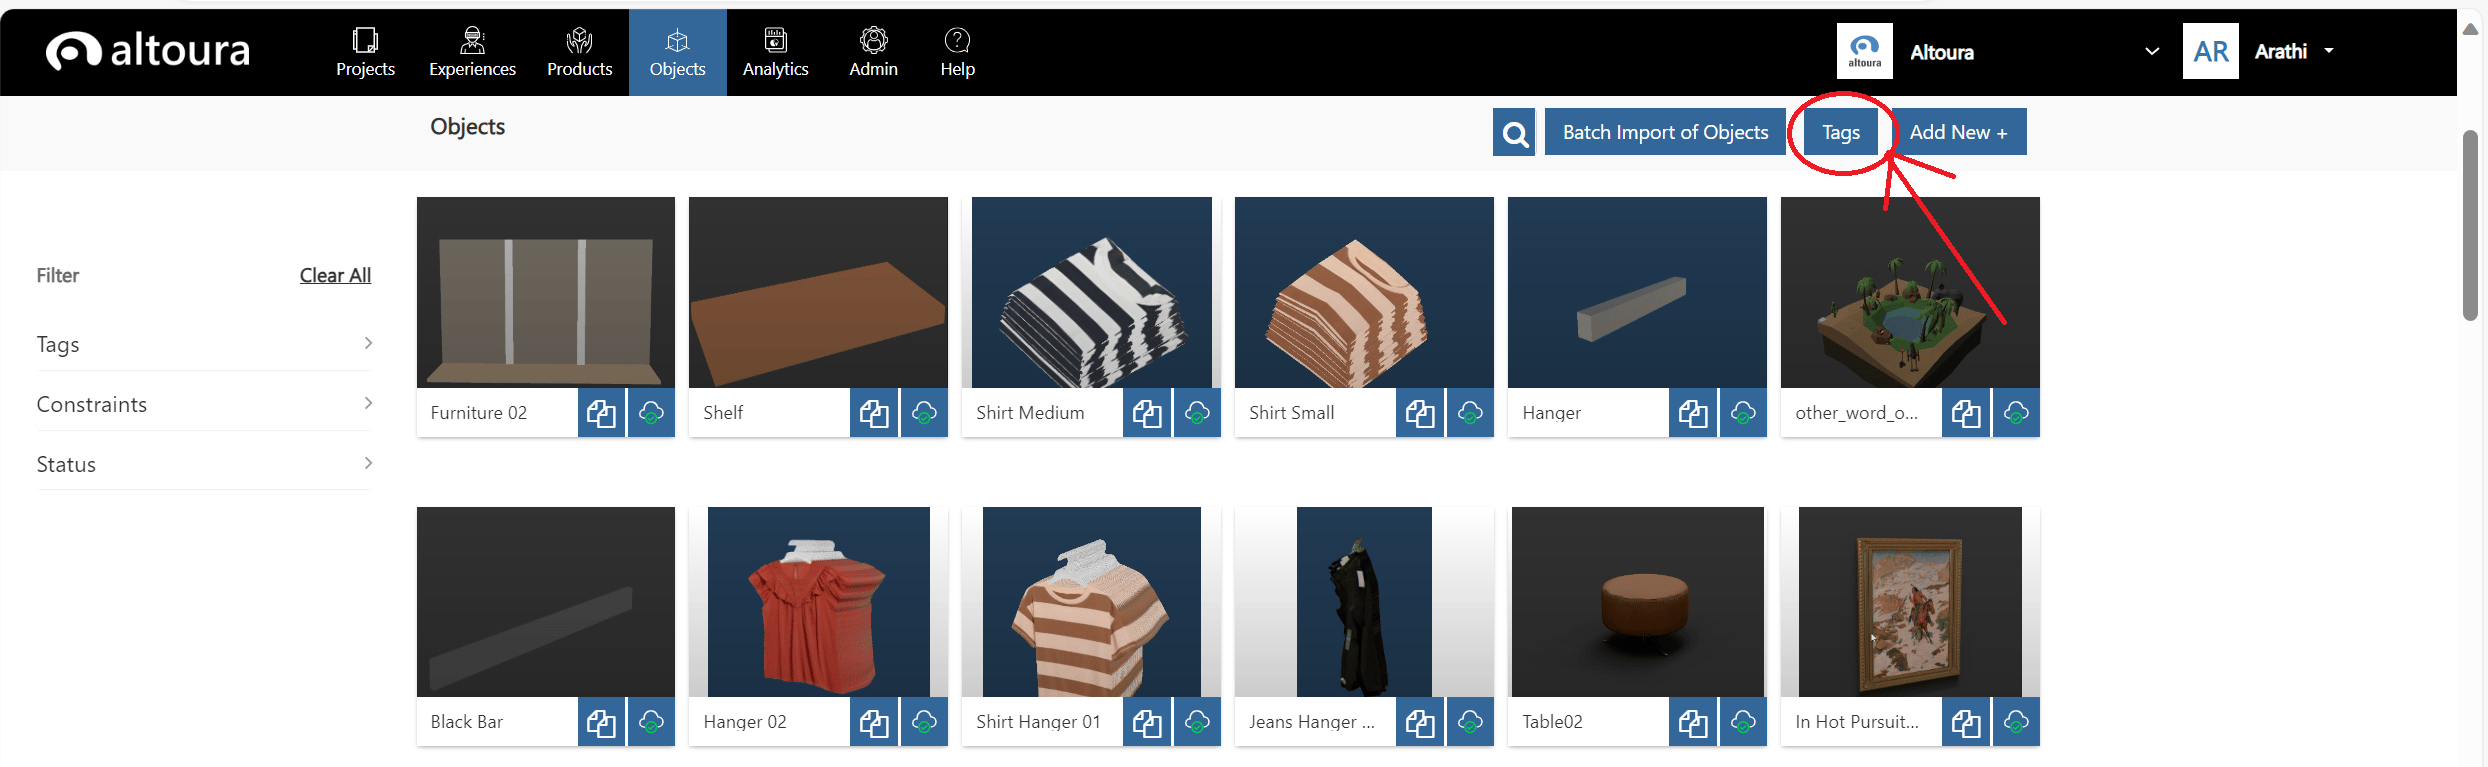
To view your organization Tags, choose **Tags** at the top right corner under the **Objects** tab.
Enter the following values:
**Object Name** – The name that will define your object in the Altoura app and Portal.
**Object Thumbnail** – The thumbnail that will define your object in the Altoura app and Portal.
**Object Description** – The description that will define your object in the Altoura Portal.
**Tags** – The tags that will allow you to filter and search for objects in the Altoura app and Portal.
**Select Constraints** – The [constraints](/docs/unity/import-content/create-asset-bundle) that will be applied to the object when a user adds the object in a [Meeting](/docs/app-user/desktop/meetings/create).
Once the above values are entered, an asset file for the Object has to be added. There are 3 types of asset files that can be added, a .glb file, asset bundles or a unity package/fbx file/glb file from which asset bundles can be generated.
**Direct Upload .glb** A GLB object can be uploaded directly, irrespective of device type. If you want the GLB object to override any other upload for the object, toggle the active state in the upload row.
**Direct Upload AssetBundle** For asset bundle upload, each object should be made into a prefab and exported as a Unity asset bundle based on the device type you want to use the object in.
### Device Type Specifications
If you make an object for only one device type and add it in a meeting in that device, this object will not show up in the same meeting on other devices because you have only made it for one device. Creating asset bundles for the object for all device types is highly recommended for meeting consistency.
**Upload Source File** Source file upload takes a Unity package file with your object prefab in it or an fbx or a glb file. The system will generate asset bundles for each platform type from the content in the uploaded package.
Click on the Create Object Button, to create the new Object. The Object will be added to the Organization and the user will be taken to the Dashboard page where the newly created Object will be displayed on top of the list.
## Adding Object Tags
Before you create and upload a new Altoura object, you can add to the **Tags** catalogue. Tags are a way to sort and filter the objects in the portal and in the app. It is also important for defining the objects for certain slots.
To view your organization Tags, choose **Tags** at the top right corner under the **Objects** tab.
 Add, edit, and delete tags on the **Tags** interface.
 ## Batch Import of Objects
The system allows for multiple Objects to be added to the catalog by using the **Batch Import of Objects** feature. This feature currently supports only Objects that can be created from glb files.
Click on the **Batch Import of Objects** button in the Objects page.
## Batch Import of Objects
The system allows for multiple Objects to be added to the catalog by using the **Batch Import of Objects** feature. This feature currently supports only Objects that can be created from glb files.
Click on the **Batch Import of Objects** button in the Objects page.
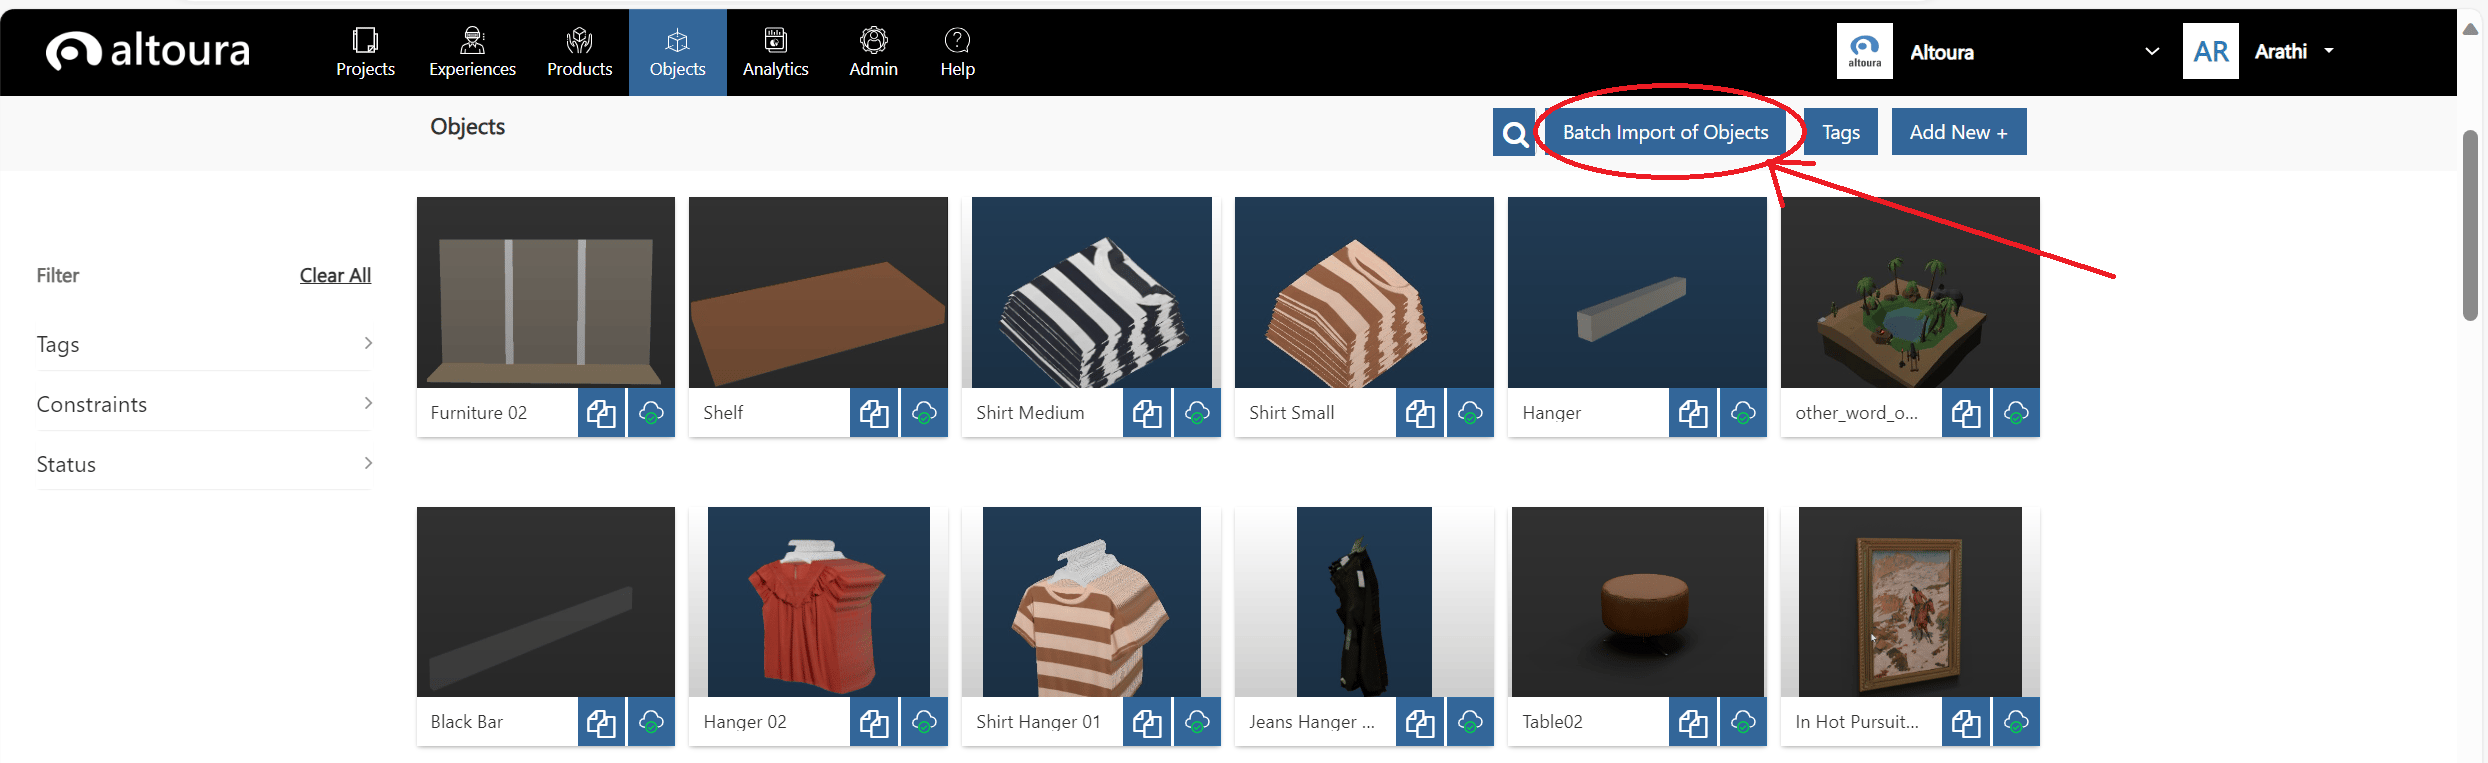 **Batch Import of Objects** window is displayed as shown below:
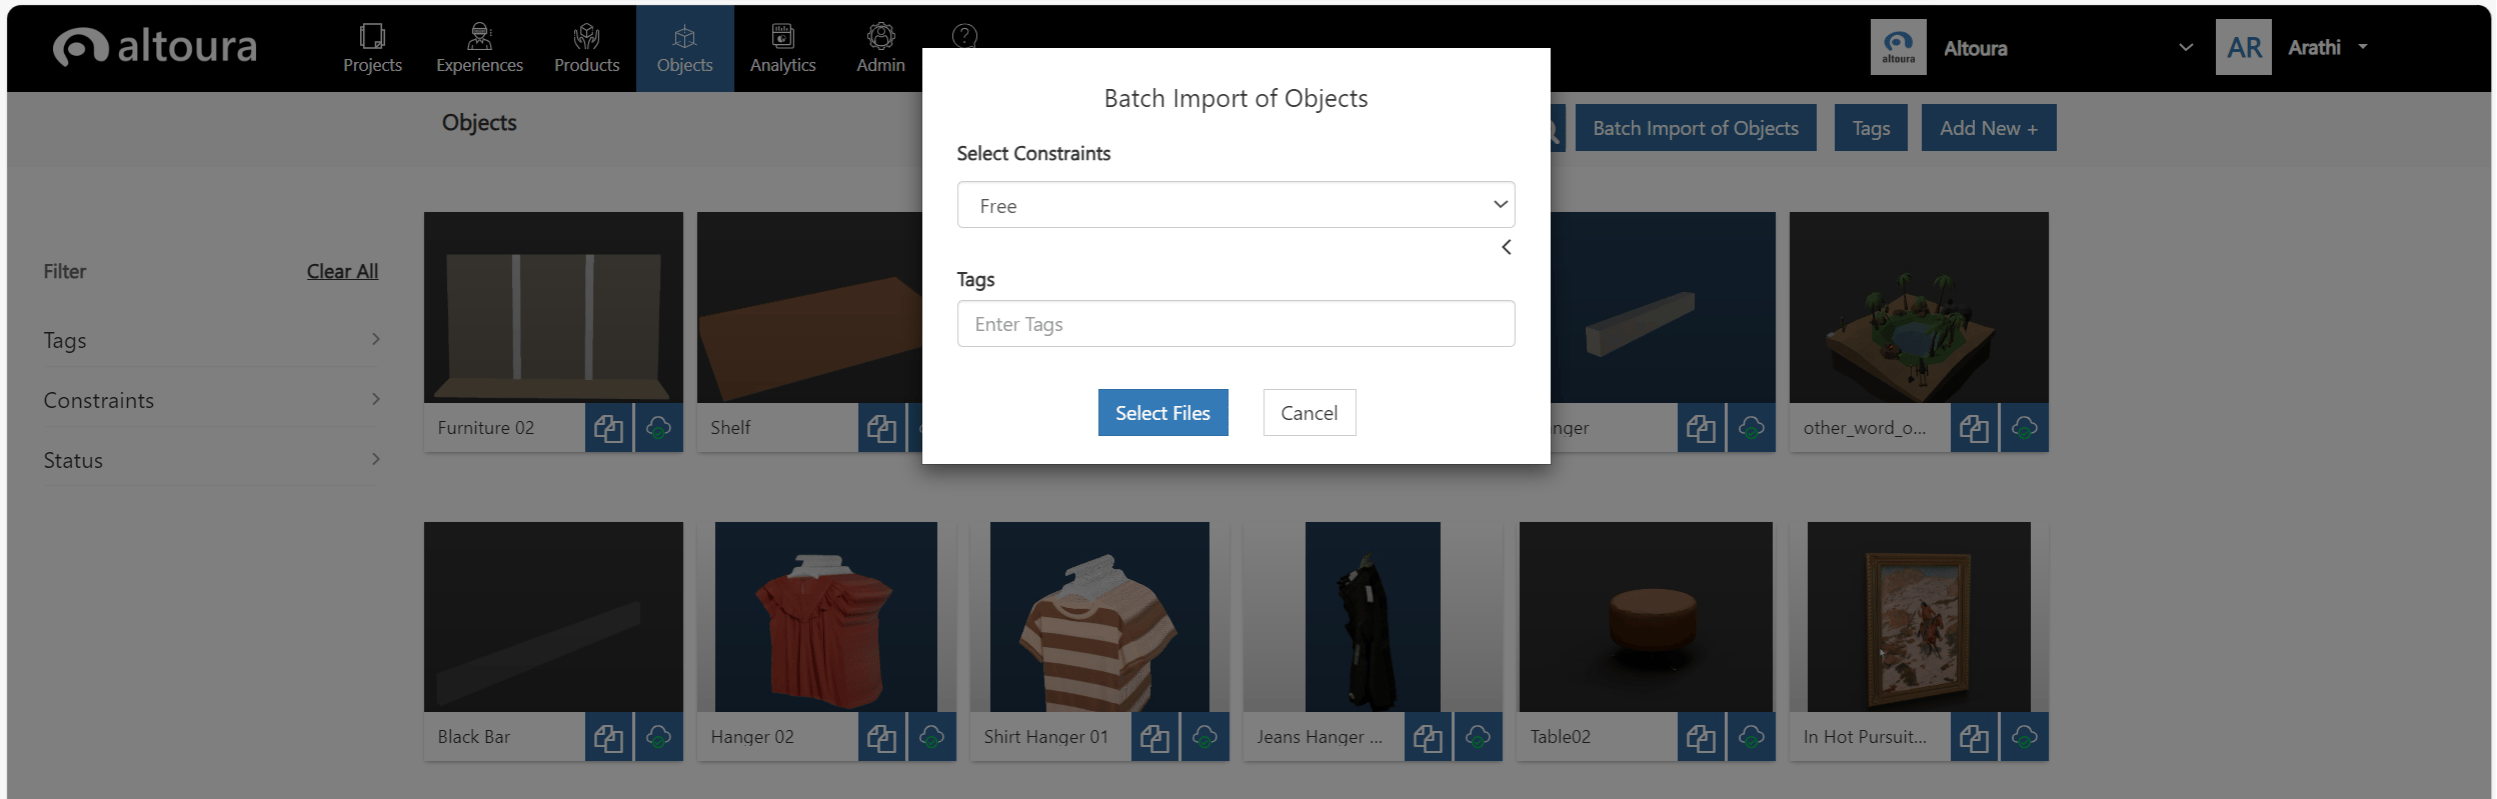 Here enter the following values:
A Constraint that can be applied to the batch of Objects that are getting created.
Tags - User can create new Tags or assign existing Tags to the batch of Objects that are getting created.
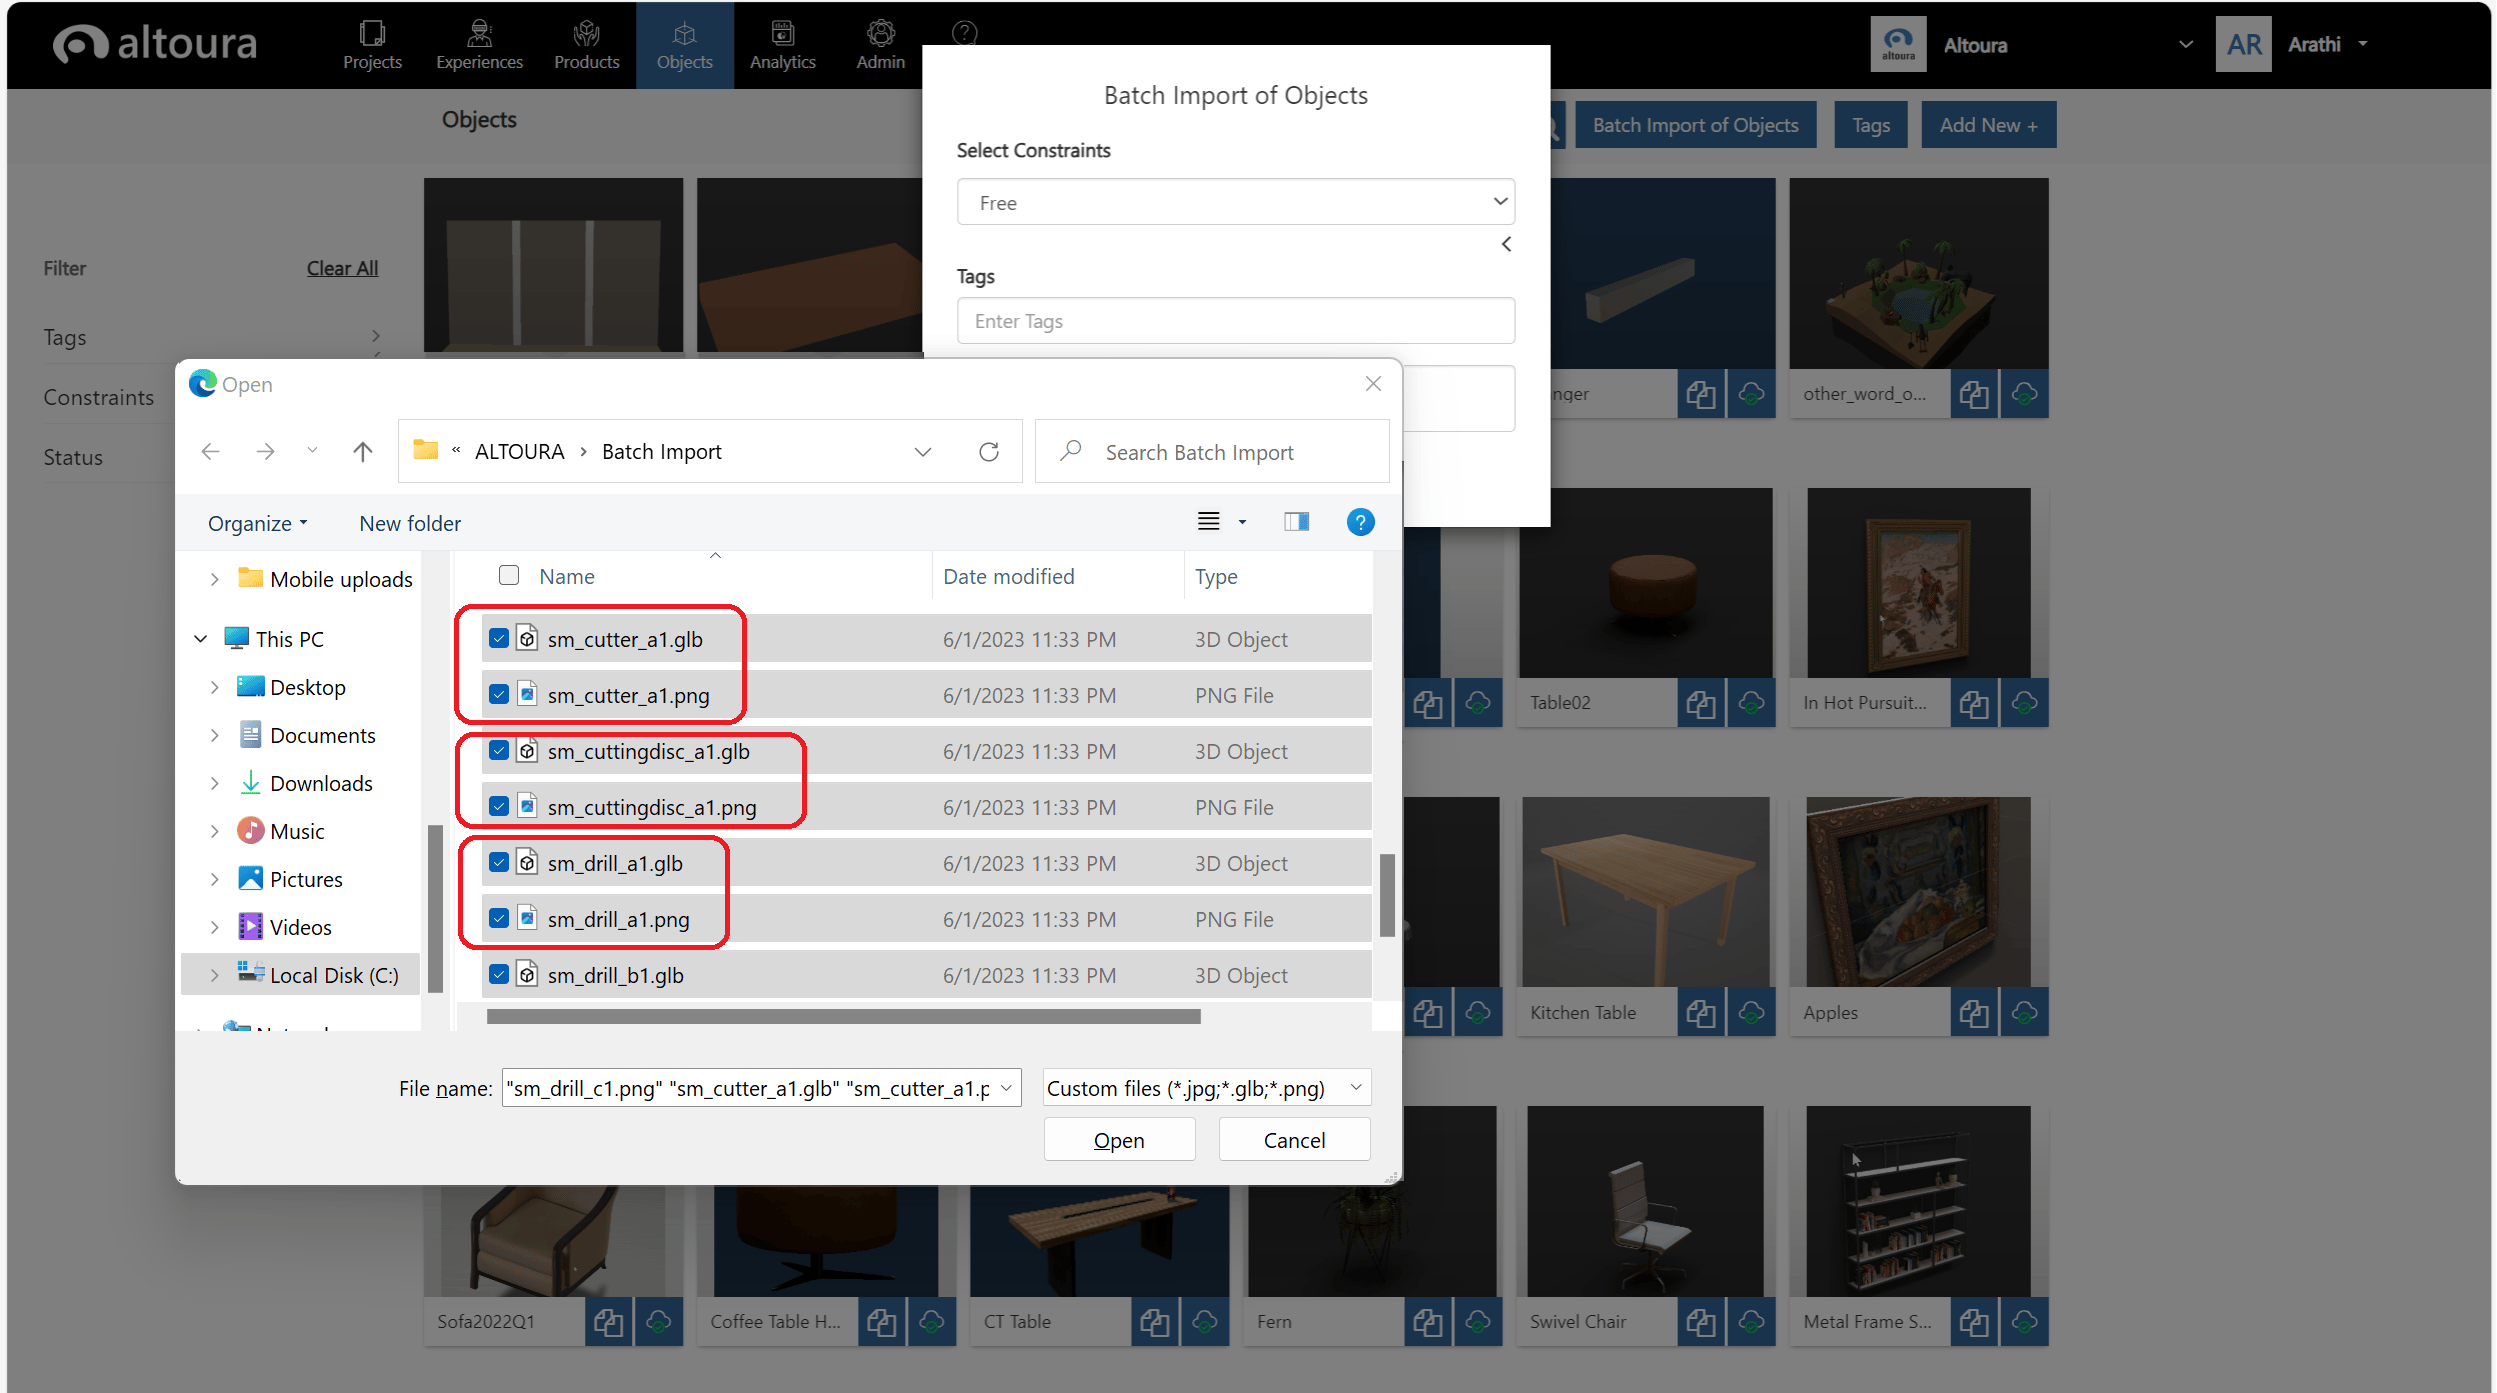
Click on the Select Files button, Windows Open Dialog is displayed, here select the required folder and select all the glb files and click on the Open button, batch import of Objects is initiated.
Here enter the following values:
A Constraint that can be applied to the batch of Objects that are getting created.
Tags - User can create new Tags or assign existing Tags to the batch of Objects that are getting created.
Click on the Select Files button, Windows Open Dialog is displayed, here select the required folder and select all the glb files and click on the Open button, batch import of Objects is initiated.
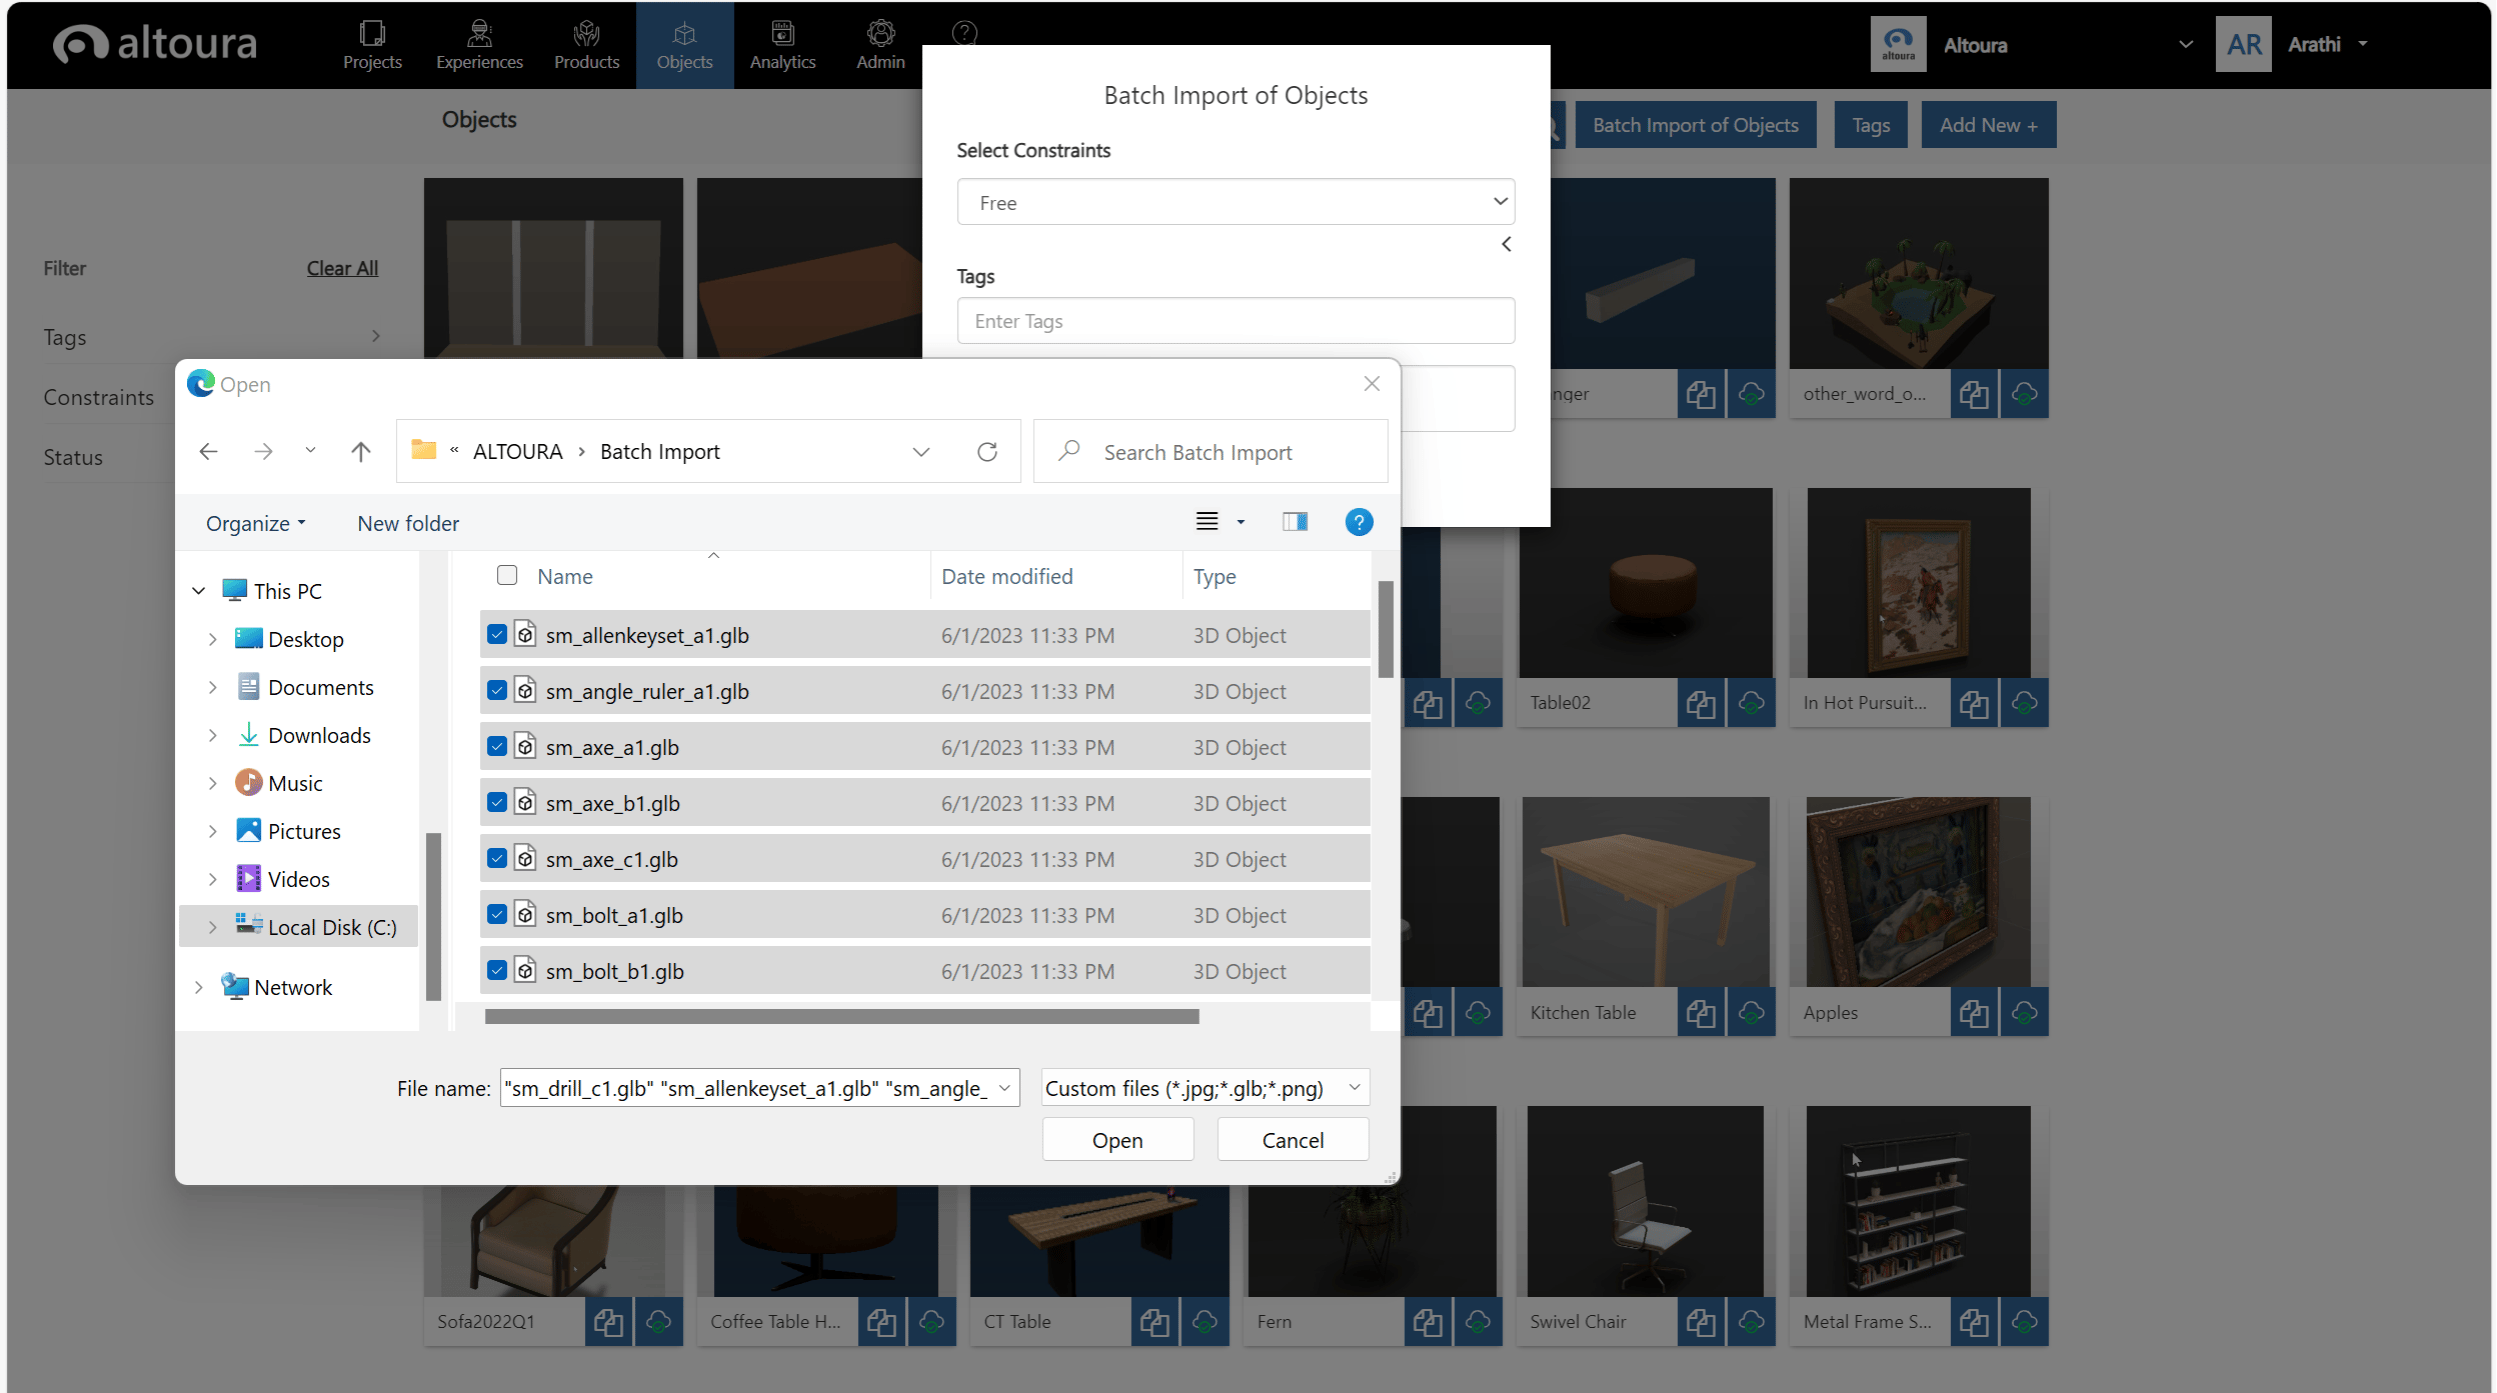 **Note:** For every glb file that is being imported, if there is a corresponding png/jpeg file with the same filename, then that image will be used as the thumbnail for that Object.
If the corresponding image file is missing, then the Object will be created without a thumbnail.
**Note:** For every glb file that is being imported, if there is a corresponding png/jpeg file with the same filename, then that image will be used as the thumbnail for that Object.
If the corresponding image file is missing, then the Object will be created without a thumbnail.
 When the user clicks on the Open button, the following window is displayed:
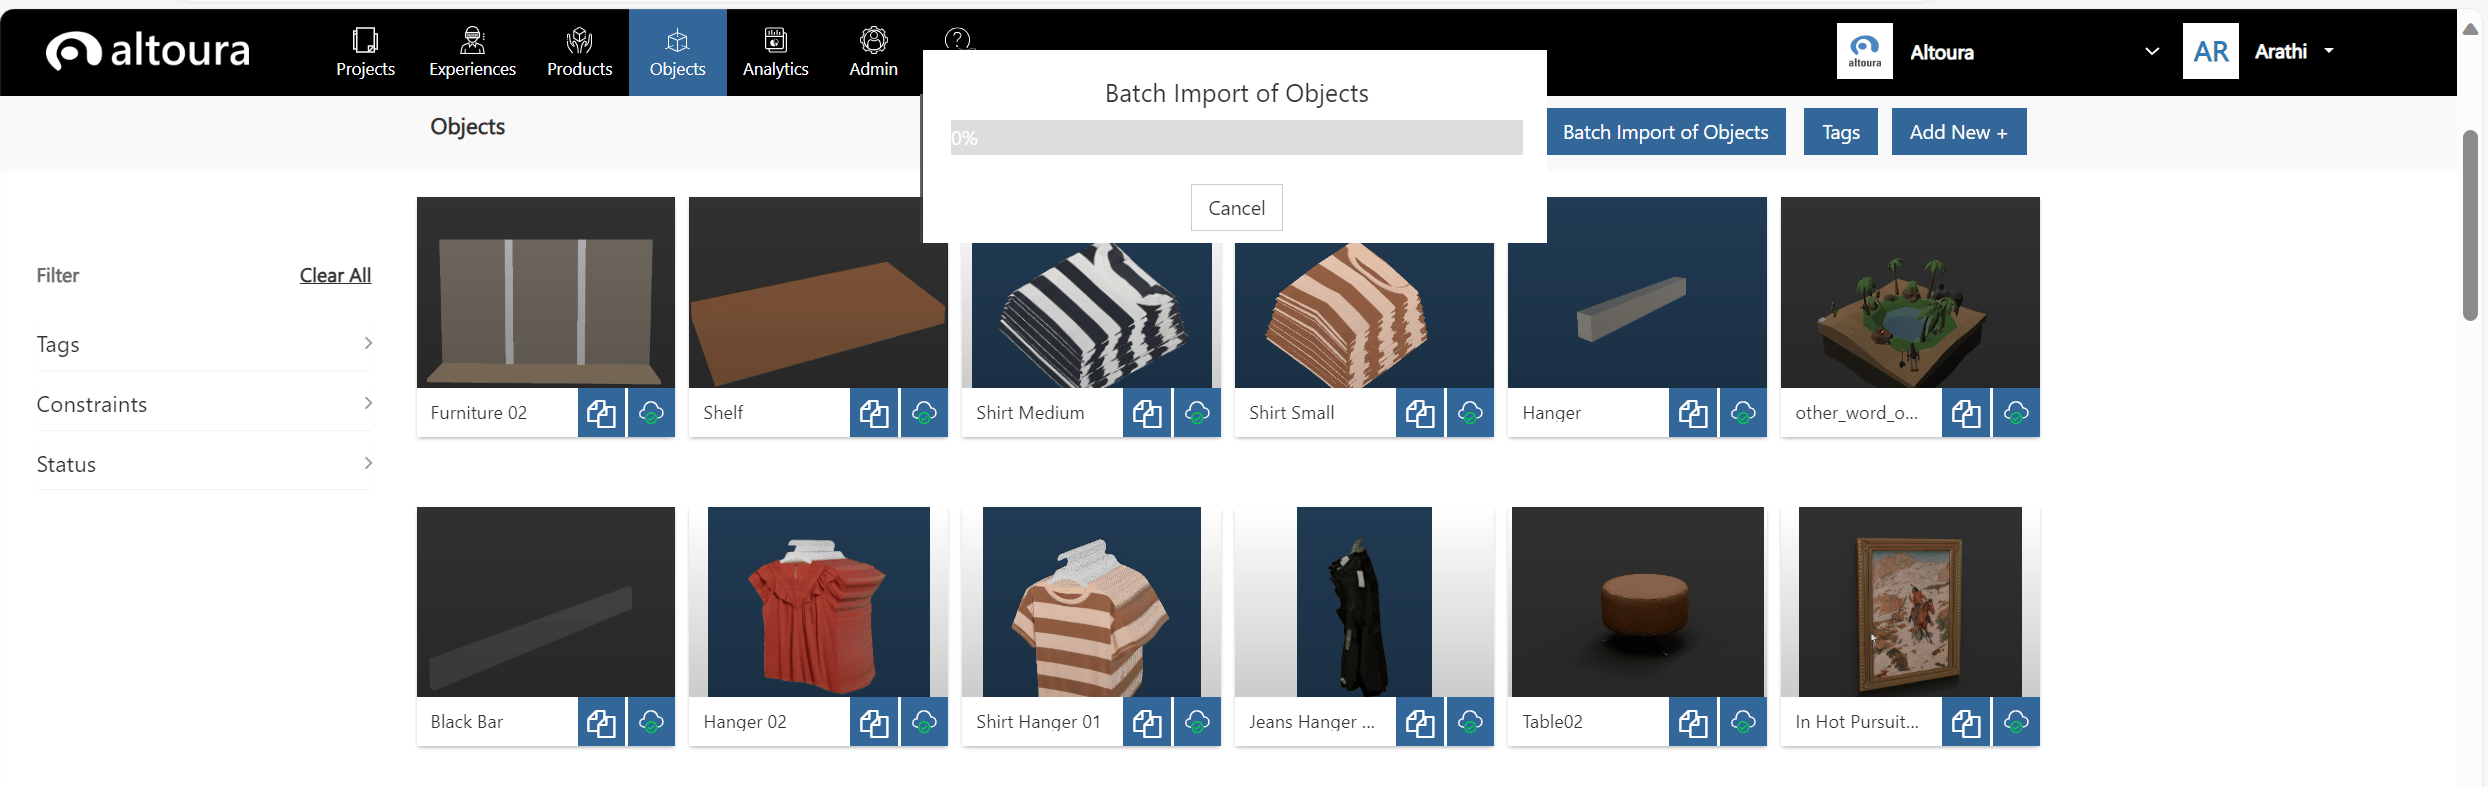 Here the progress of the import process can be tracked.
The user has the option to Cancel out of the import process by clicking on the Cancel button, A confirmation window will be displayed to confirm the user action and the Object import process will be stopped.
### Progress of the Import process
Here the progress of the import process can be tracked.
The user has the option to Cancel out of the import process by clicking on the Cancel button, A confirmation window will be displayed to confirm the user action and the Object import process will be stopped.
### Progress of the Import process
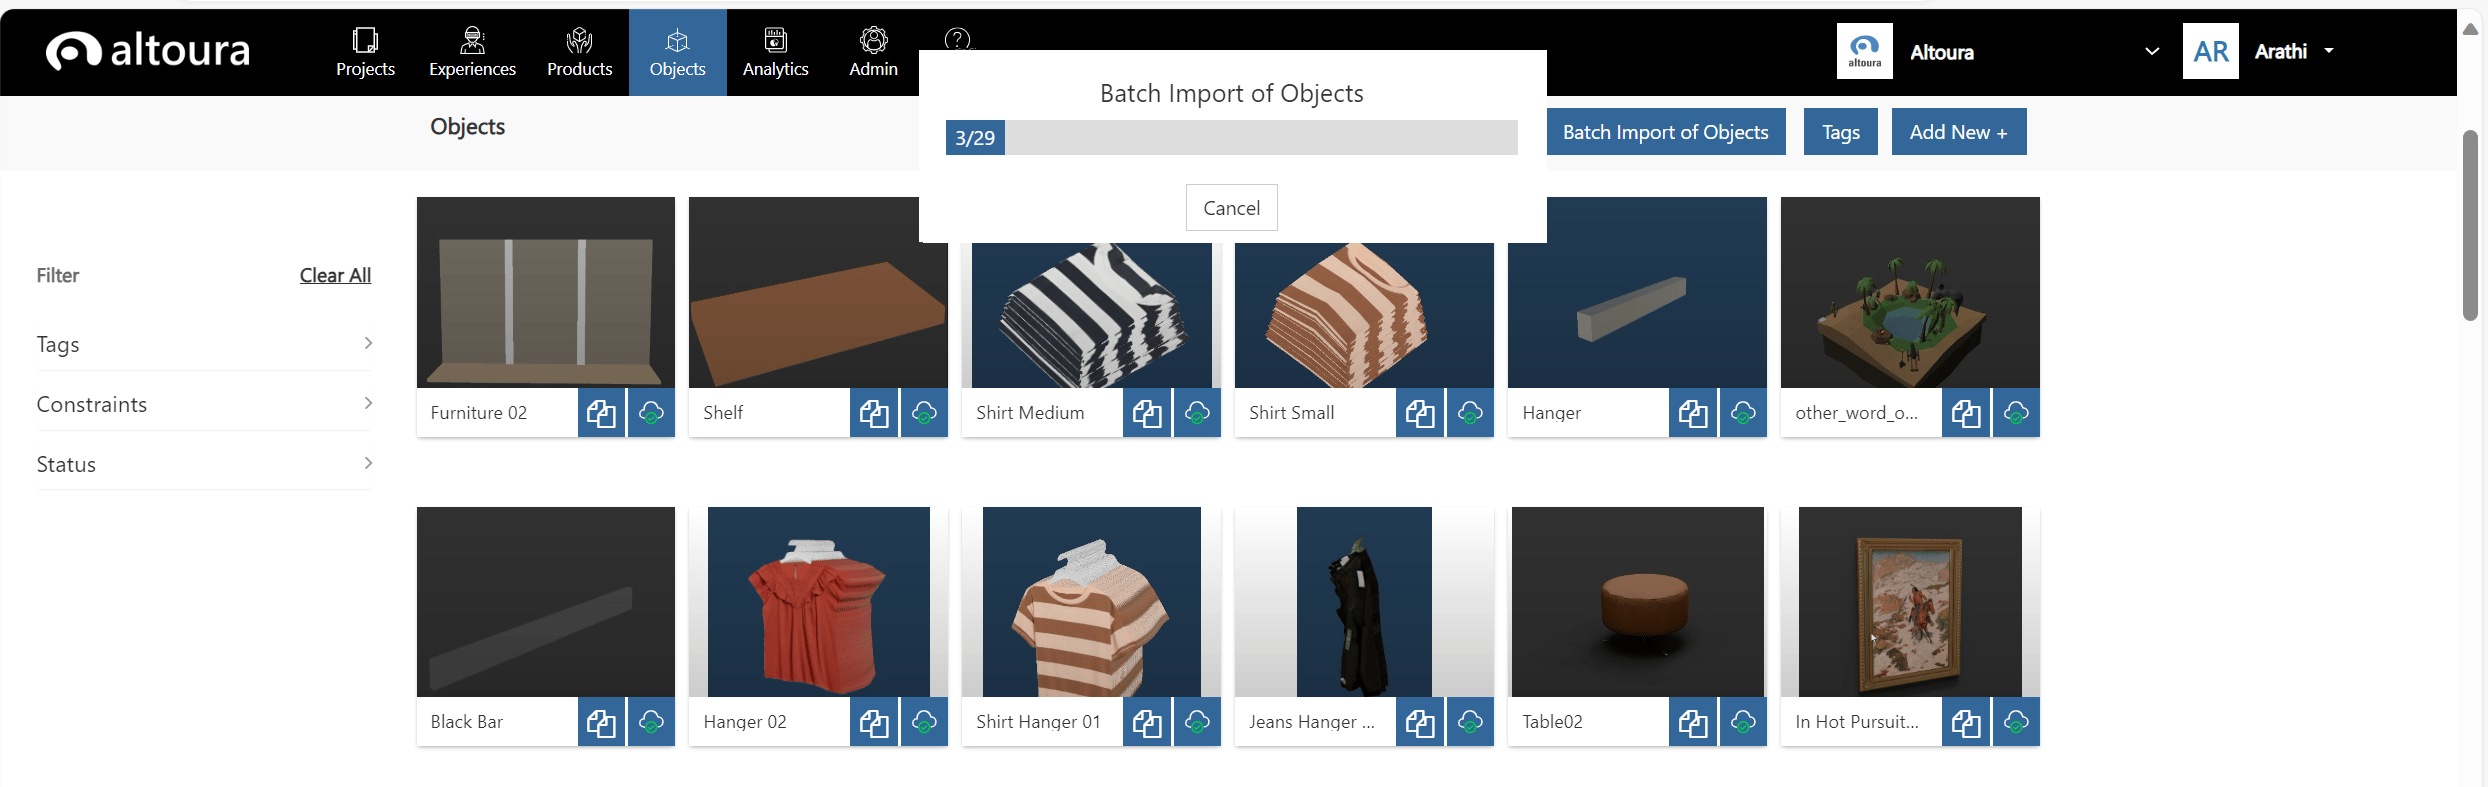
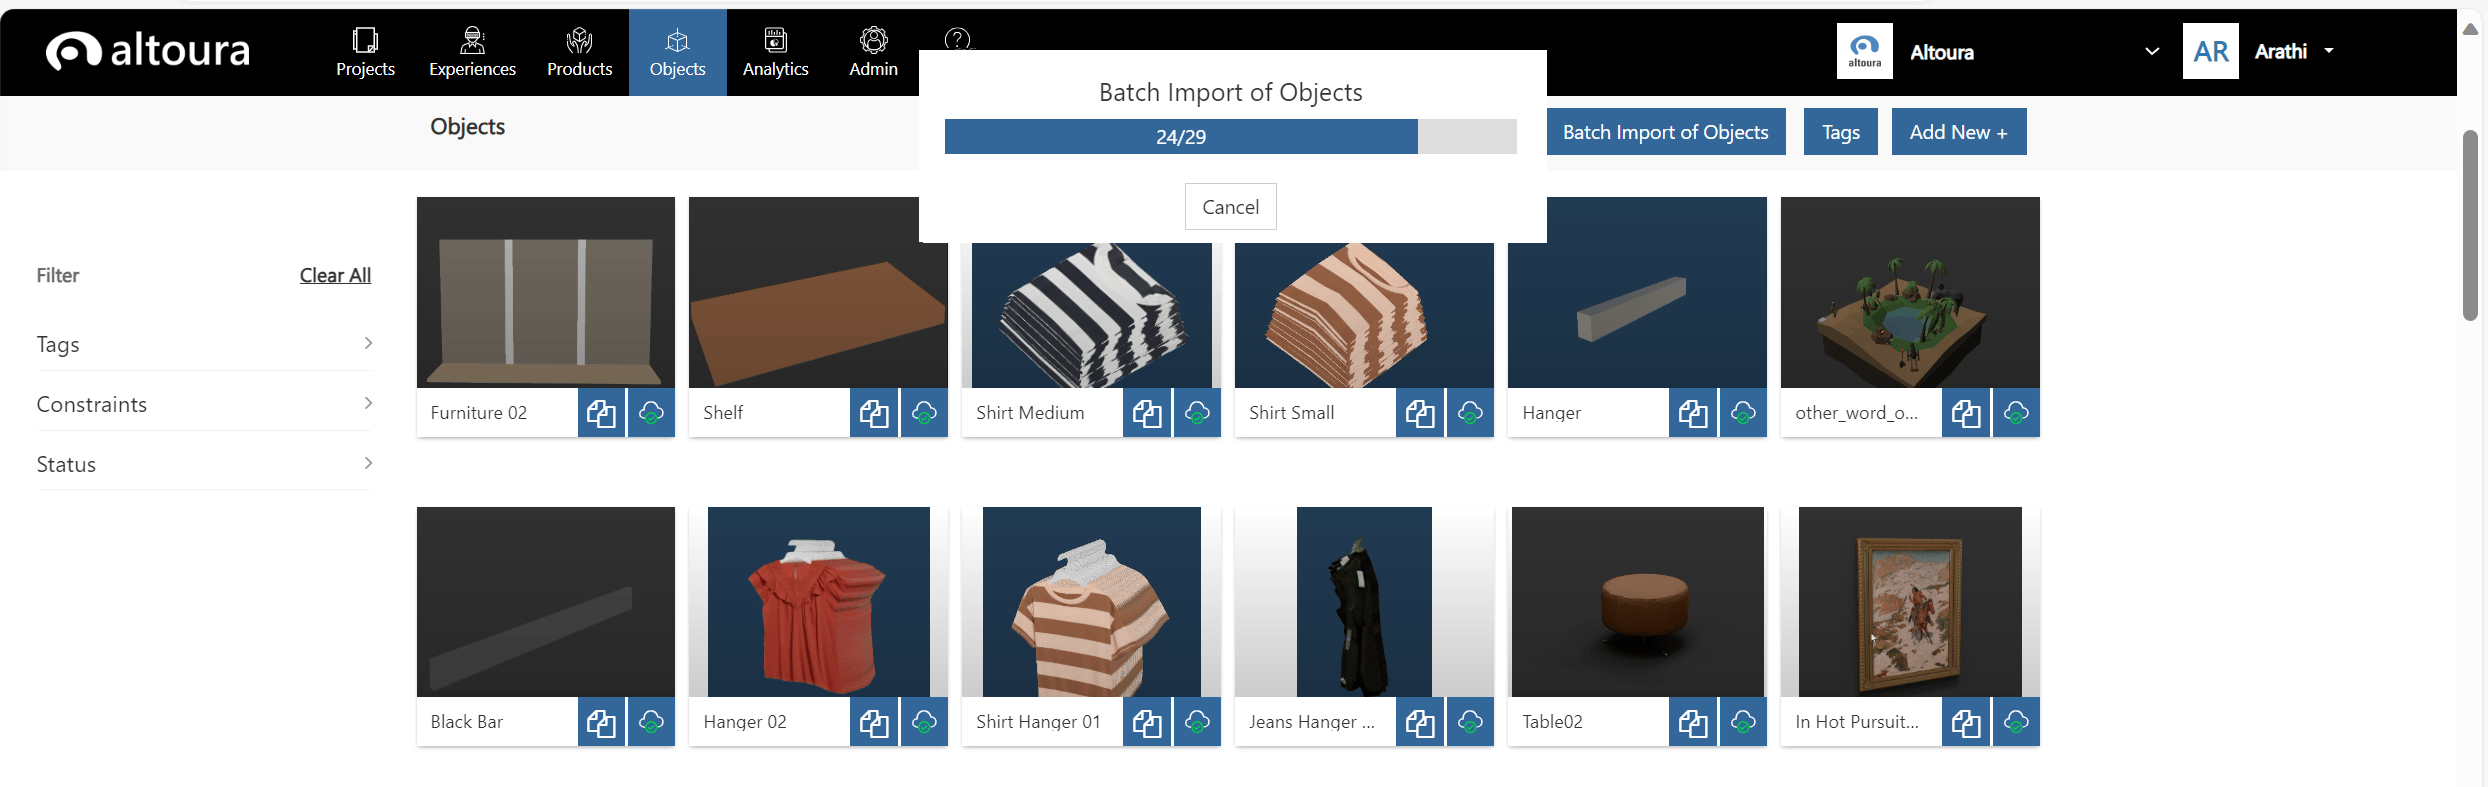 Once all the Objects are created in the Altoura system, the following window is displayed:
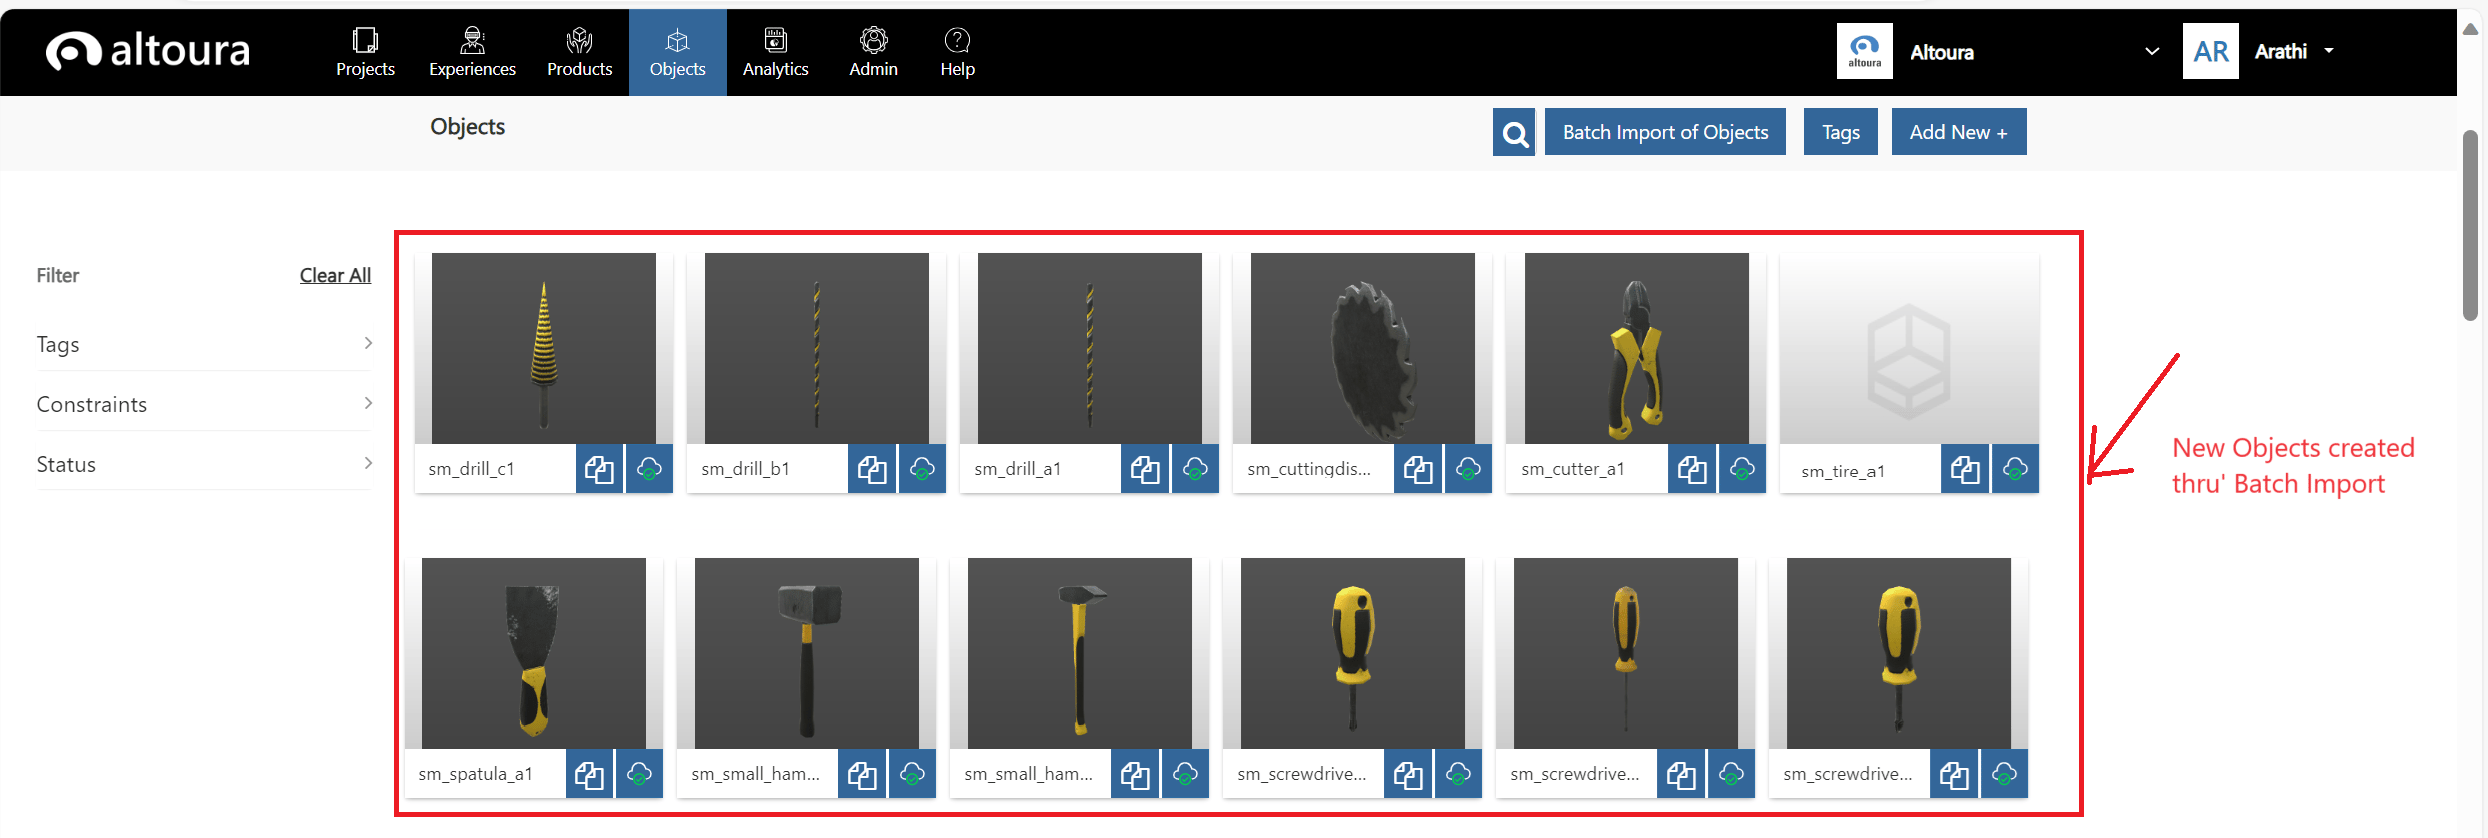
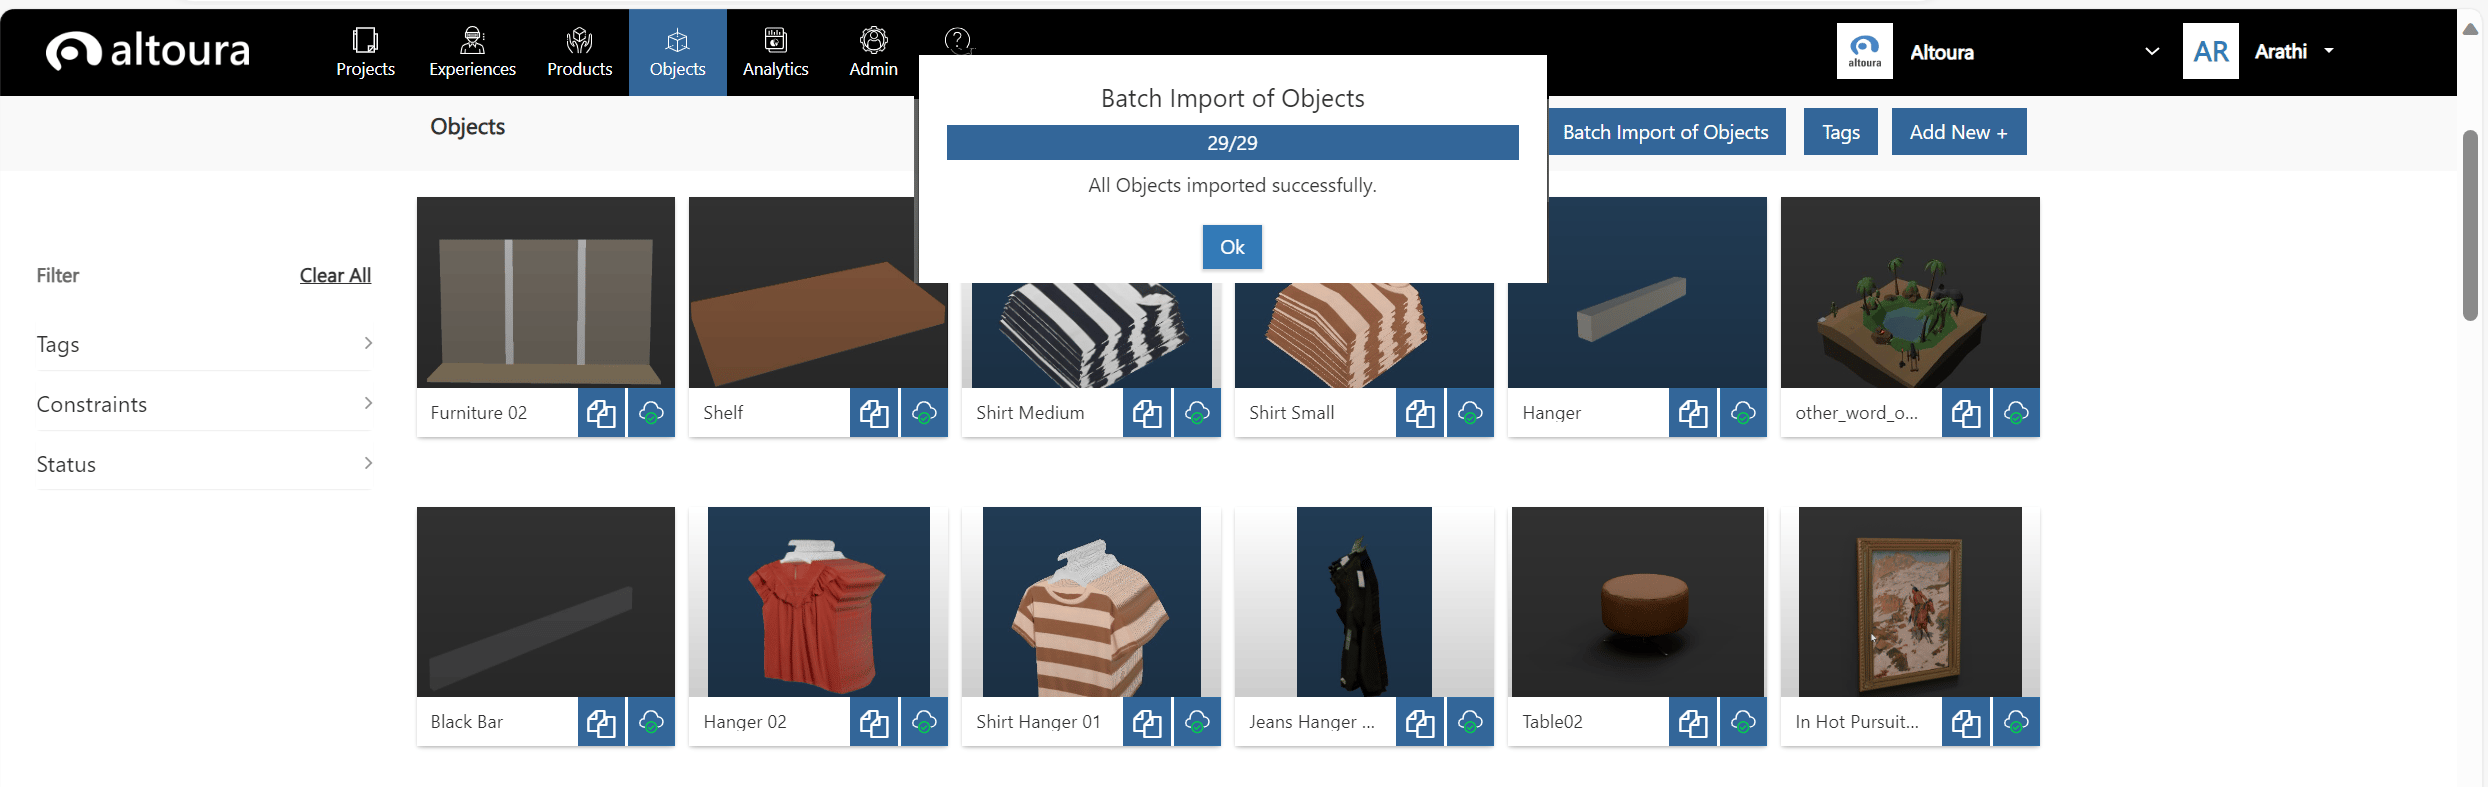 When the user clicks on the Ok button, the Objects Dashboard is refreshed, and all the newly created Objects are displayed on the top of the page. The Objects created will have an associated thumbnail if a corresponding image file was provided during the time of import, else the Object will be created without a thumbnail.
 # Using your Object in Altoura
Now that you've created your Object, you can [add your Object to a Space in a Meeting](/docs/features/experience-system/add-3d-objects) if you have [Object Surfaces defined in your Space](/docs/features/object-system/surface-types), [add your Object to an Experience node](/docs/features/experience-system/add-3d-objects), or add your Object onto other Objects in a Meeting.
# Using your Object in Altoura
Now that you've created your Object, you can [add your Object to a Space in a Meeting](/docs/features/experience-system/add-3d-objects) if you have [Object Surfaces defined in your Space](/docs/features/object-system/surface-types), [add your Object to an Experience node](/docs/features/experience-system/add-3d-objects), or add your Object onto other Objects in a Meeting.