> ## Documentation Index
> Fetch the complete documentation index at: https://docs.altoura.com/llms.txt
> Use this file to discover all available pages before exploring further.
# Step 3: Add an Object
1. Launch the App once it is installed and select the Project you created in Step 2 of this Tutorial.
2. You now should see a view similar to what is shown below.
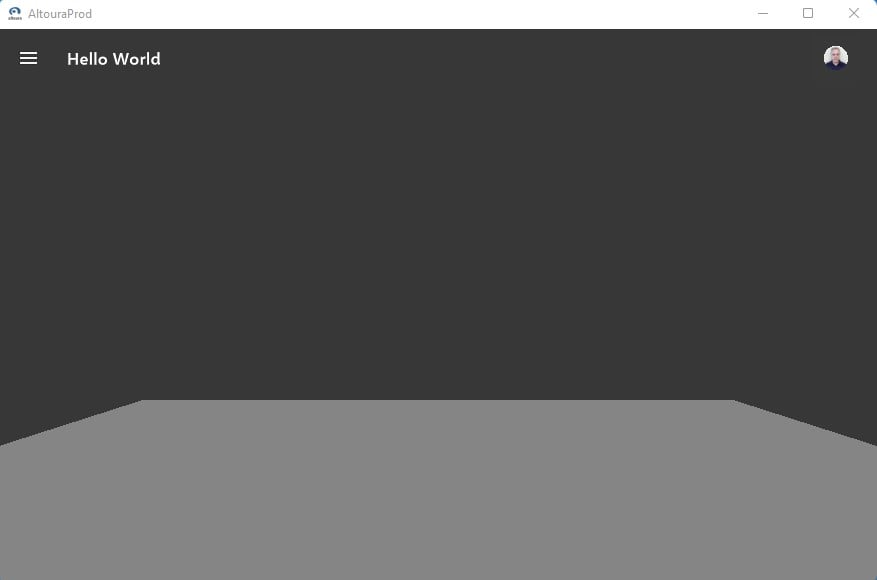
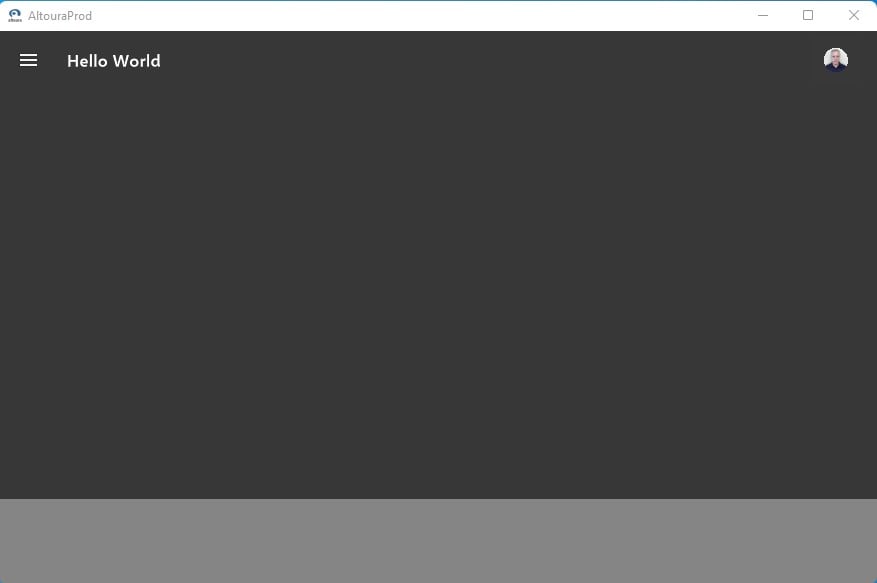 4. Press and hold the letter '**S**' key on your keyboard... i.e., which will move you backwards and then stop, showing a view similar to below.
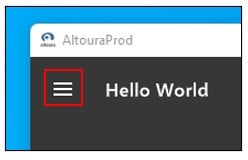
 5. Select the "**Hamburger Menu Icon**" in the upper left corner of the app screen.
 6. Select "**Space Builder**".
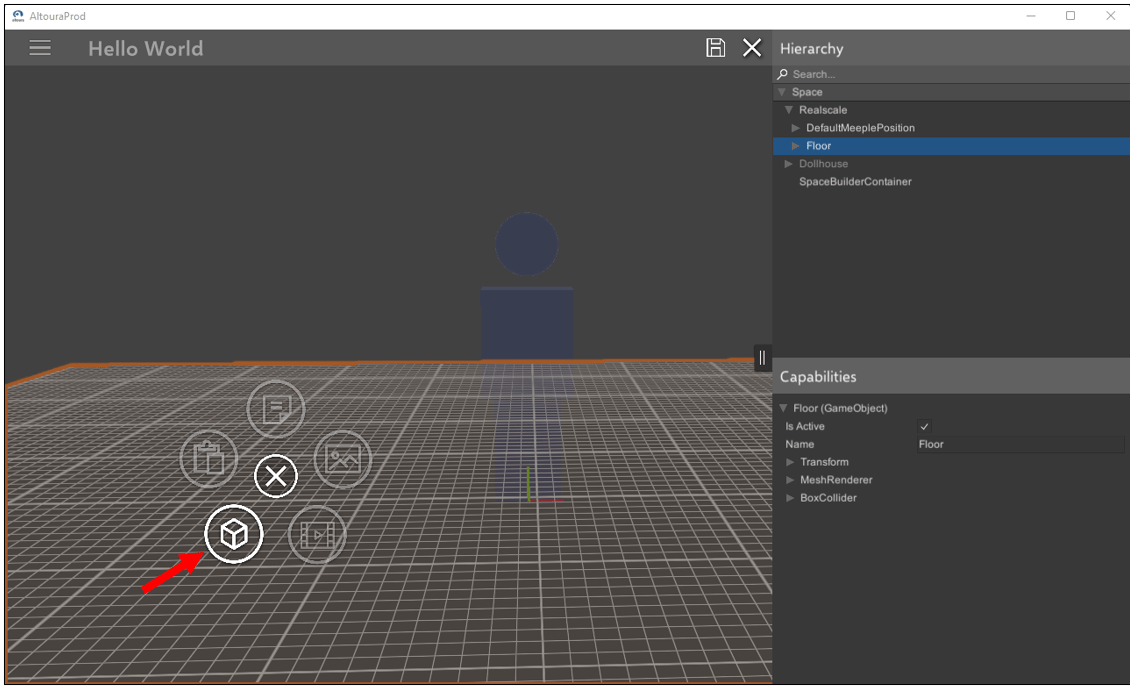
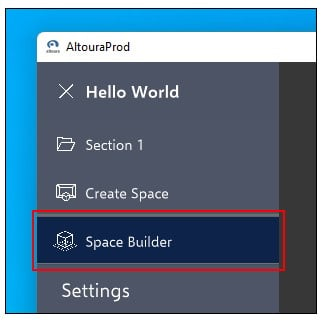 7. Left click and hold on the floor object for a menu to appear as shown, then select the 3D cube icon menu item.
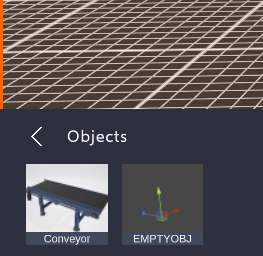
 8. Choose a 3D model from your library. NOTE: The particular library I am using has a 3D model of a conveyor uploaded, so I will select it.
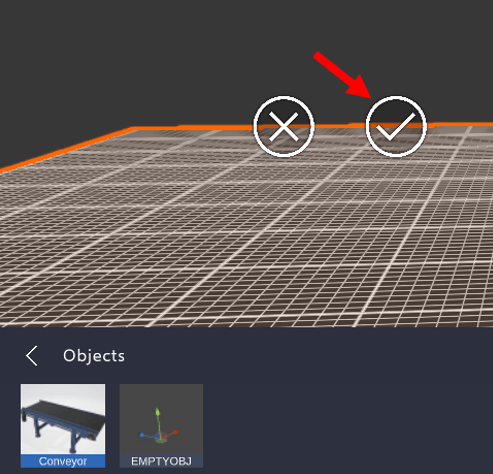
 9. Select the check mark to confirm placement of the 3D model onto the floor.
 10. The 3D model is placed onto the floor, select '**Save**', and then the '**X**' to Exit from Space Builder.
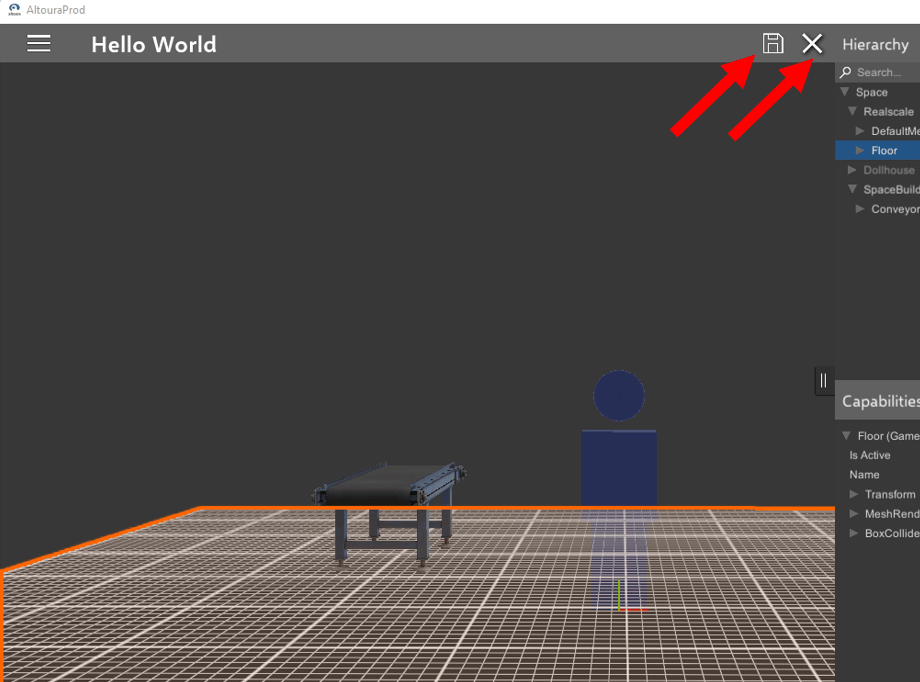 11. You now can view the model you have placed on the floor.
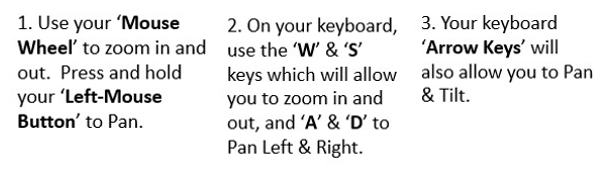
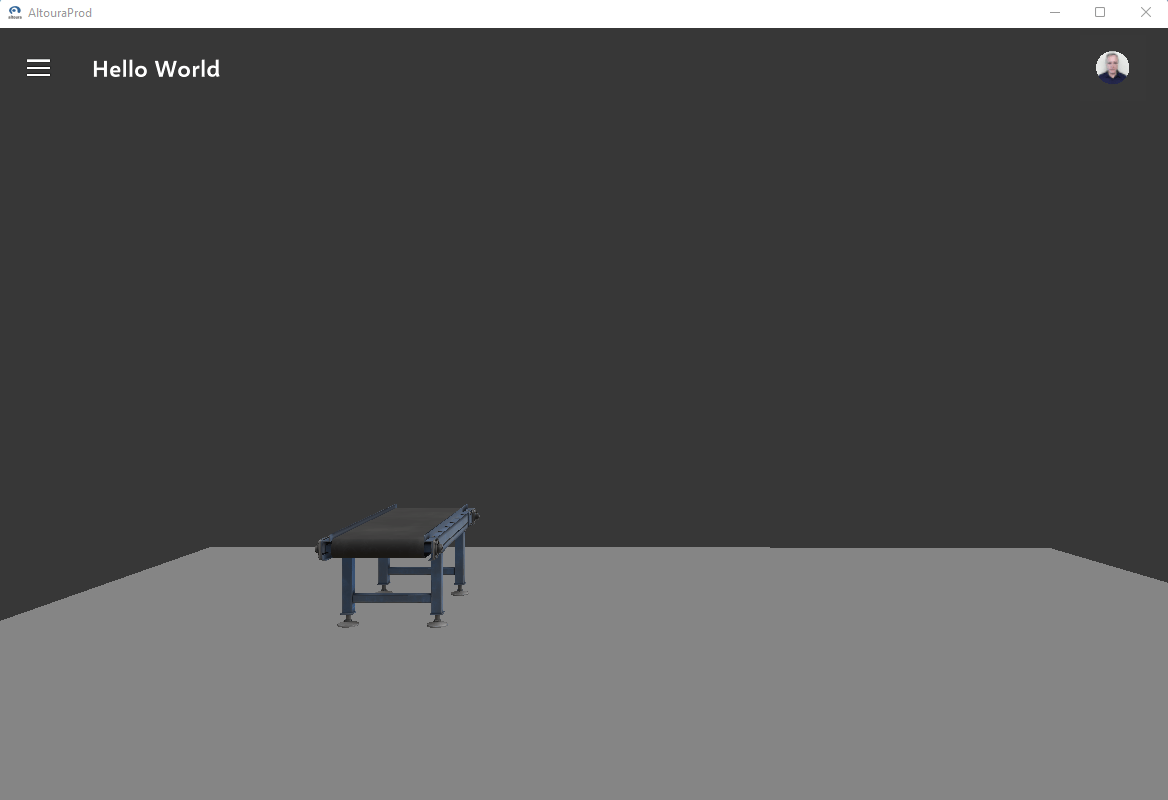 12. You can use the following commands to navigate around the model you have placed.
 ***
What’s Next
* [Step 4: Create an Experience](/docs/tutorials/hello-world-space-builder/add-experience)
***
What’s Next
* [Step 4: Create an Experience](/docs/tutorials/hello-world-space-builder/add-experience)