> ## Documentation Index
> Fetch the complete documentation index at: https://docs.altoura.com/llms.txt
> Use this file to discover all available pages before exploring further.
# Anchor and Set Up the Space
> Anchor the authoring session with a QR code and pin the procedure panel where operators will see it.
This page is for **procedure authors**. By the end of it, your authoring session will be anchored to the workspace and the procedure panel will be pinned where you want operators to see the step instructions.
## Anchor the Session
After you choose Author Mode, Frontline prepares the workspace the same way it does for a procedure run: scan your environment, then scan the printed QR code. The full walkthrough and best practices are in [Anchor with a QR Code](/frontline/ipad/operate/anchor-with-qr); the concept is explained in [Anchoring and QR Codes](/frontline/overview/concepts/anchoring-and-qr-codes).
Anchoring accuracy depends on the app knowing the physical size of your printed QR code. Verify the QR Code Size value in [Settings](/frontline/ipad/reference/settings) before authoring.
## Pin the Procedure Panel
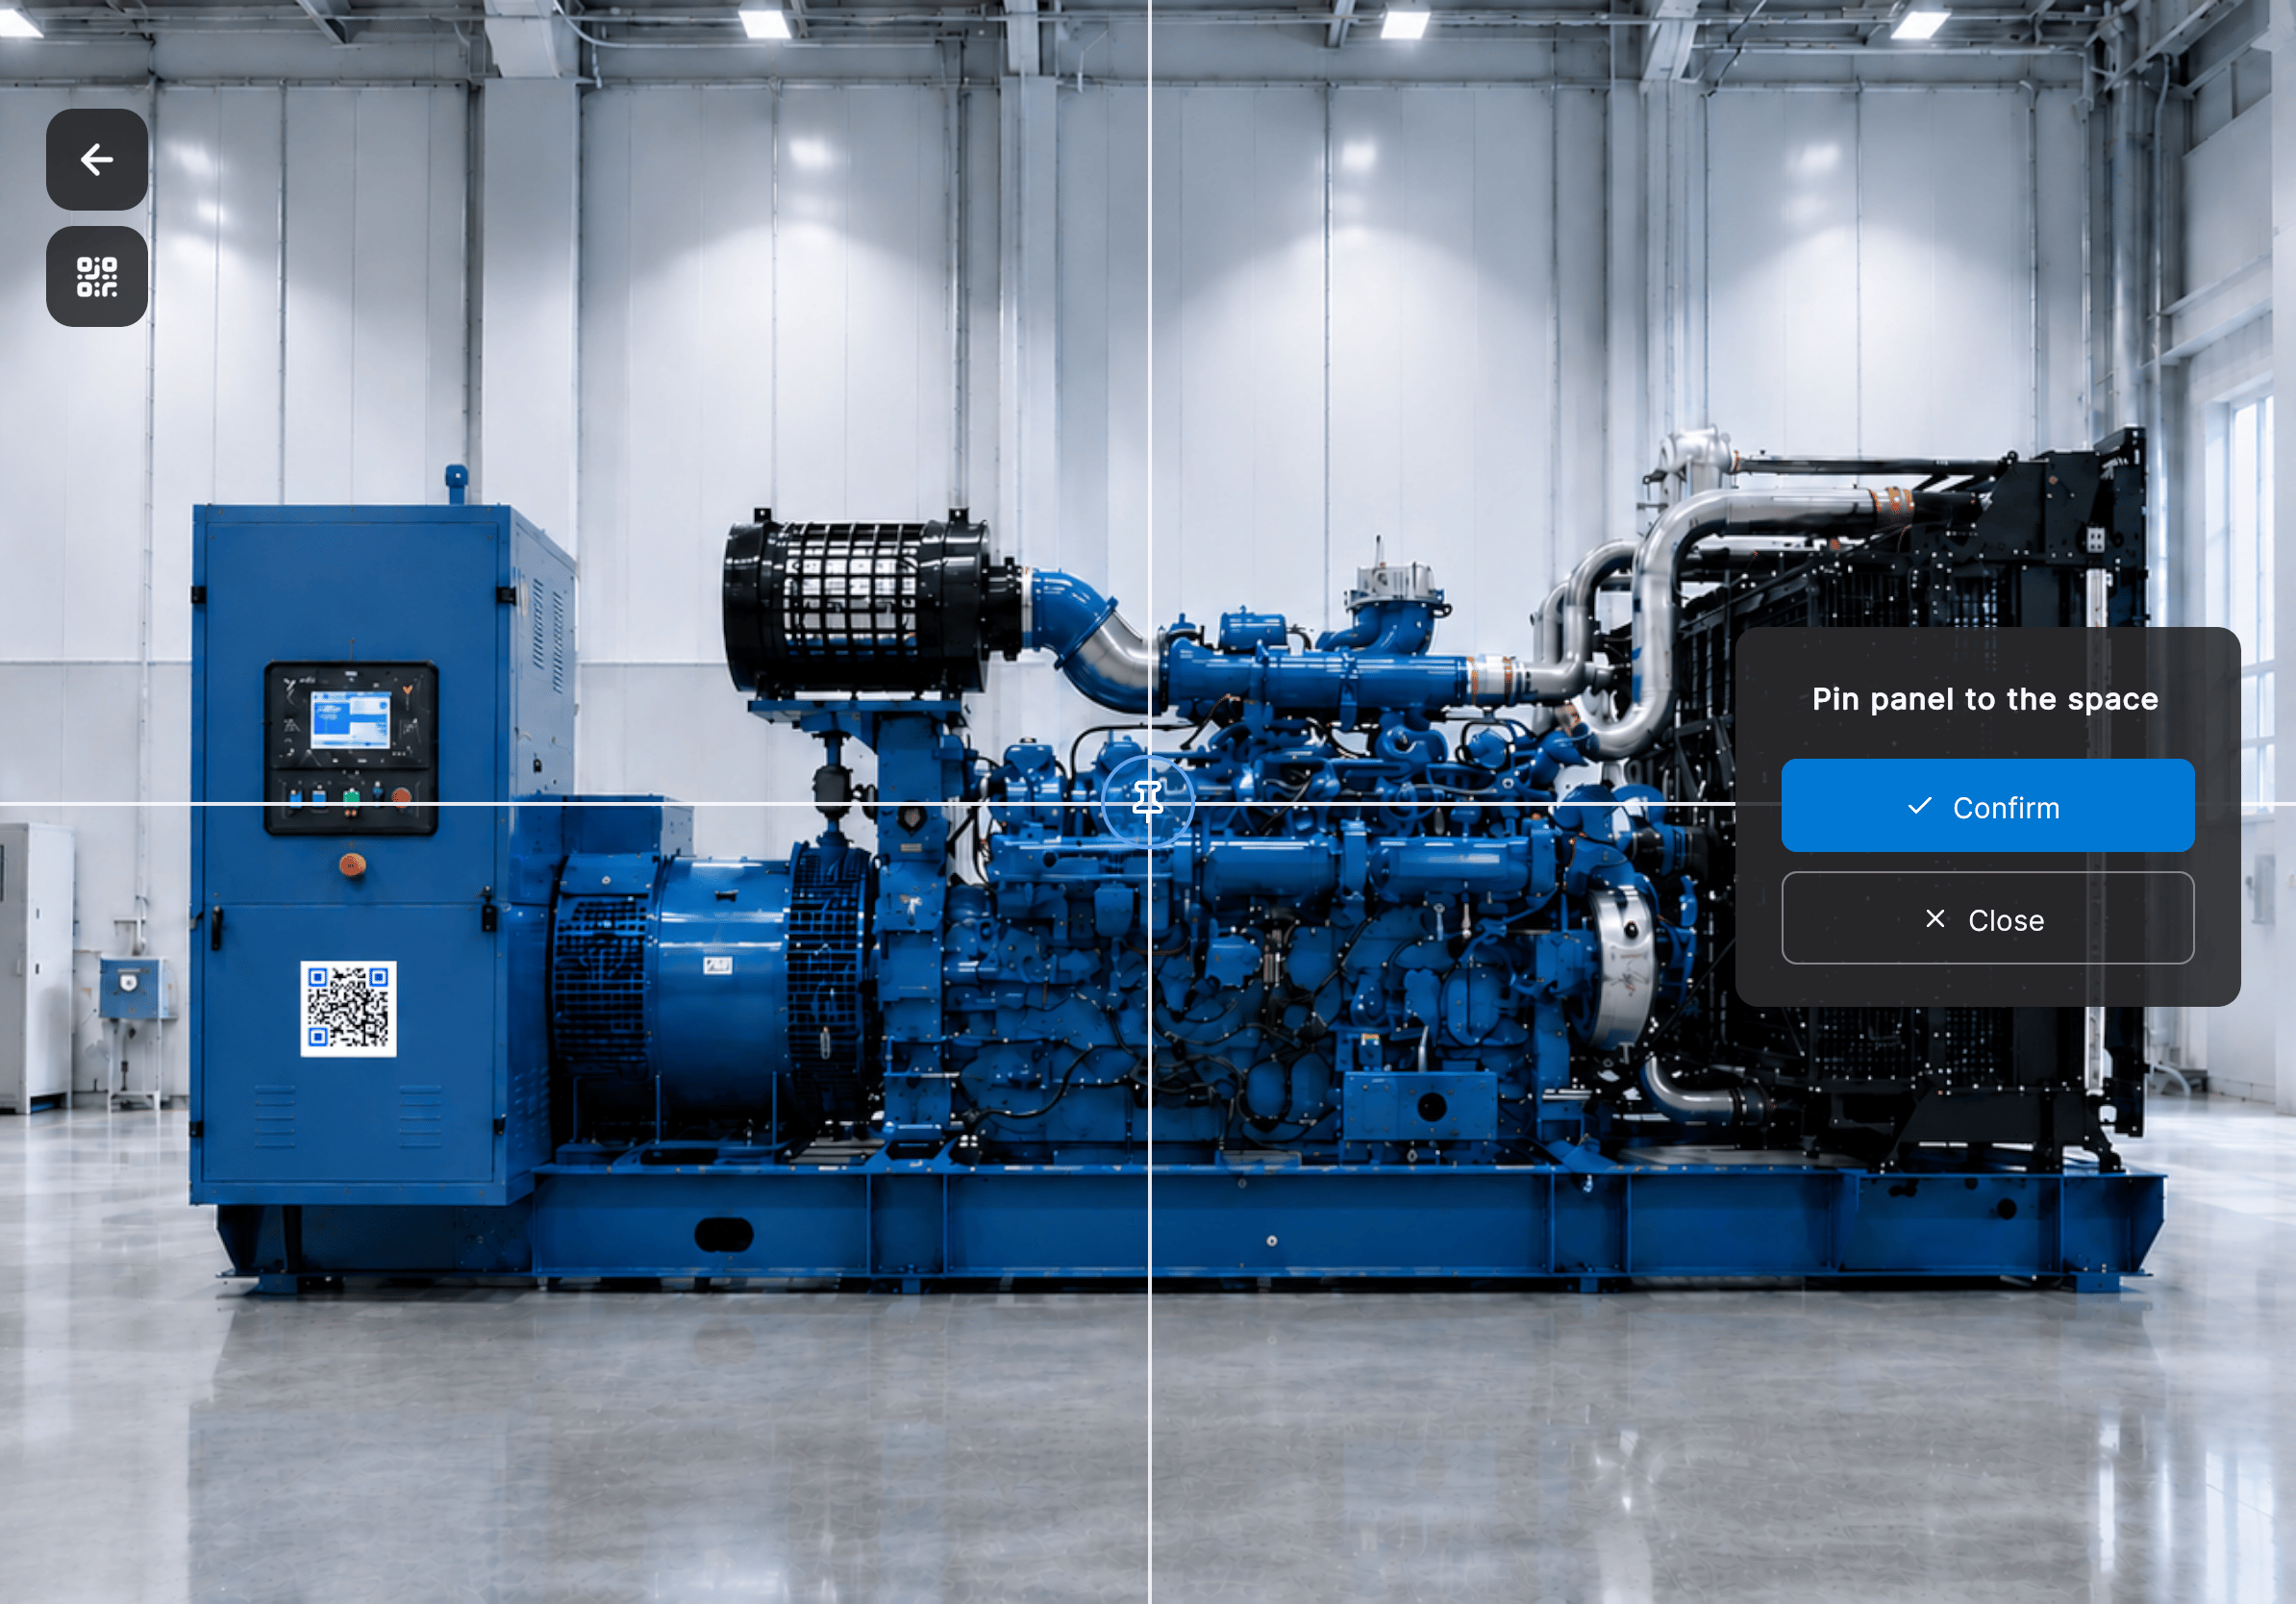
The procedure panel displays the current step and task information during a procedure. Pin it in the workspace so it stays visible where the work happens.
The panel enters placement mode.
Position the panel where it should appear in the workspace.
The panel is pinned at the chosen location.
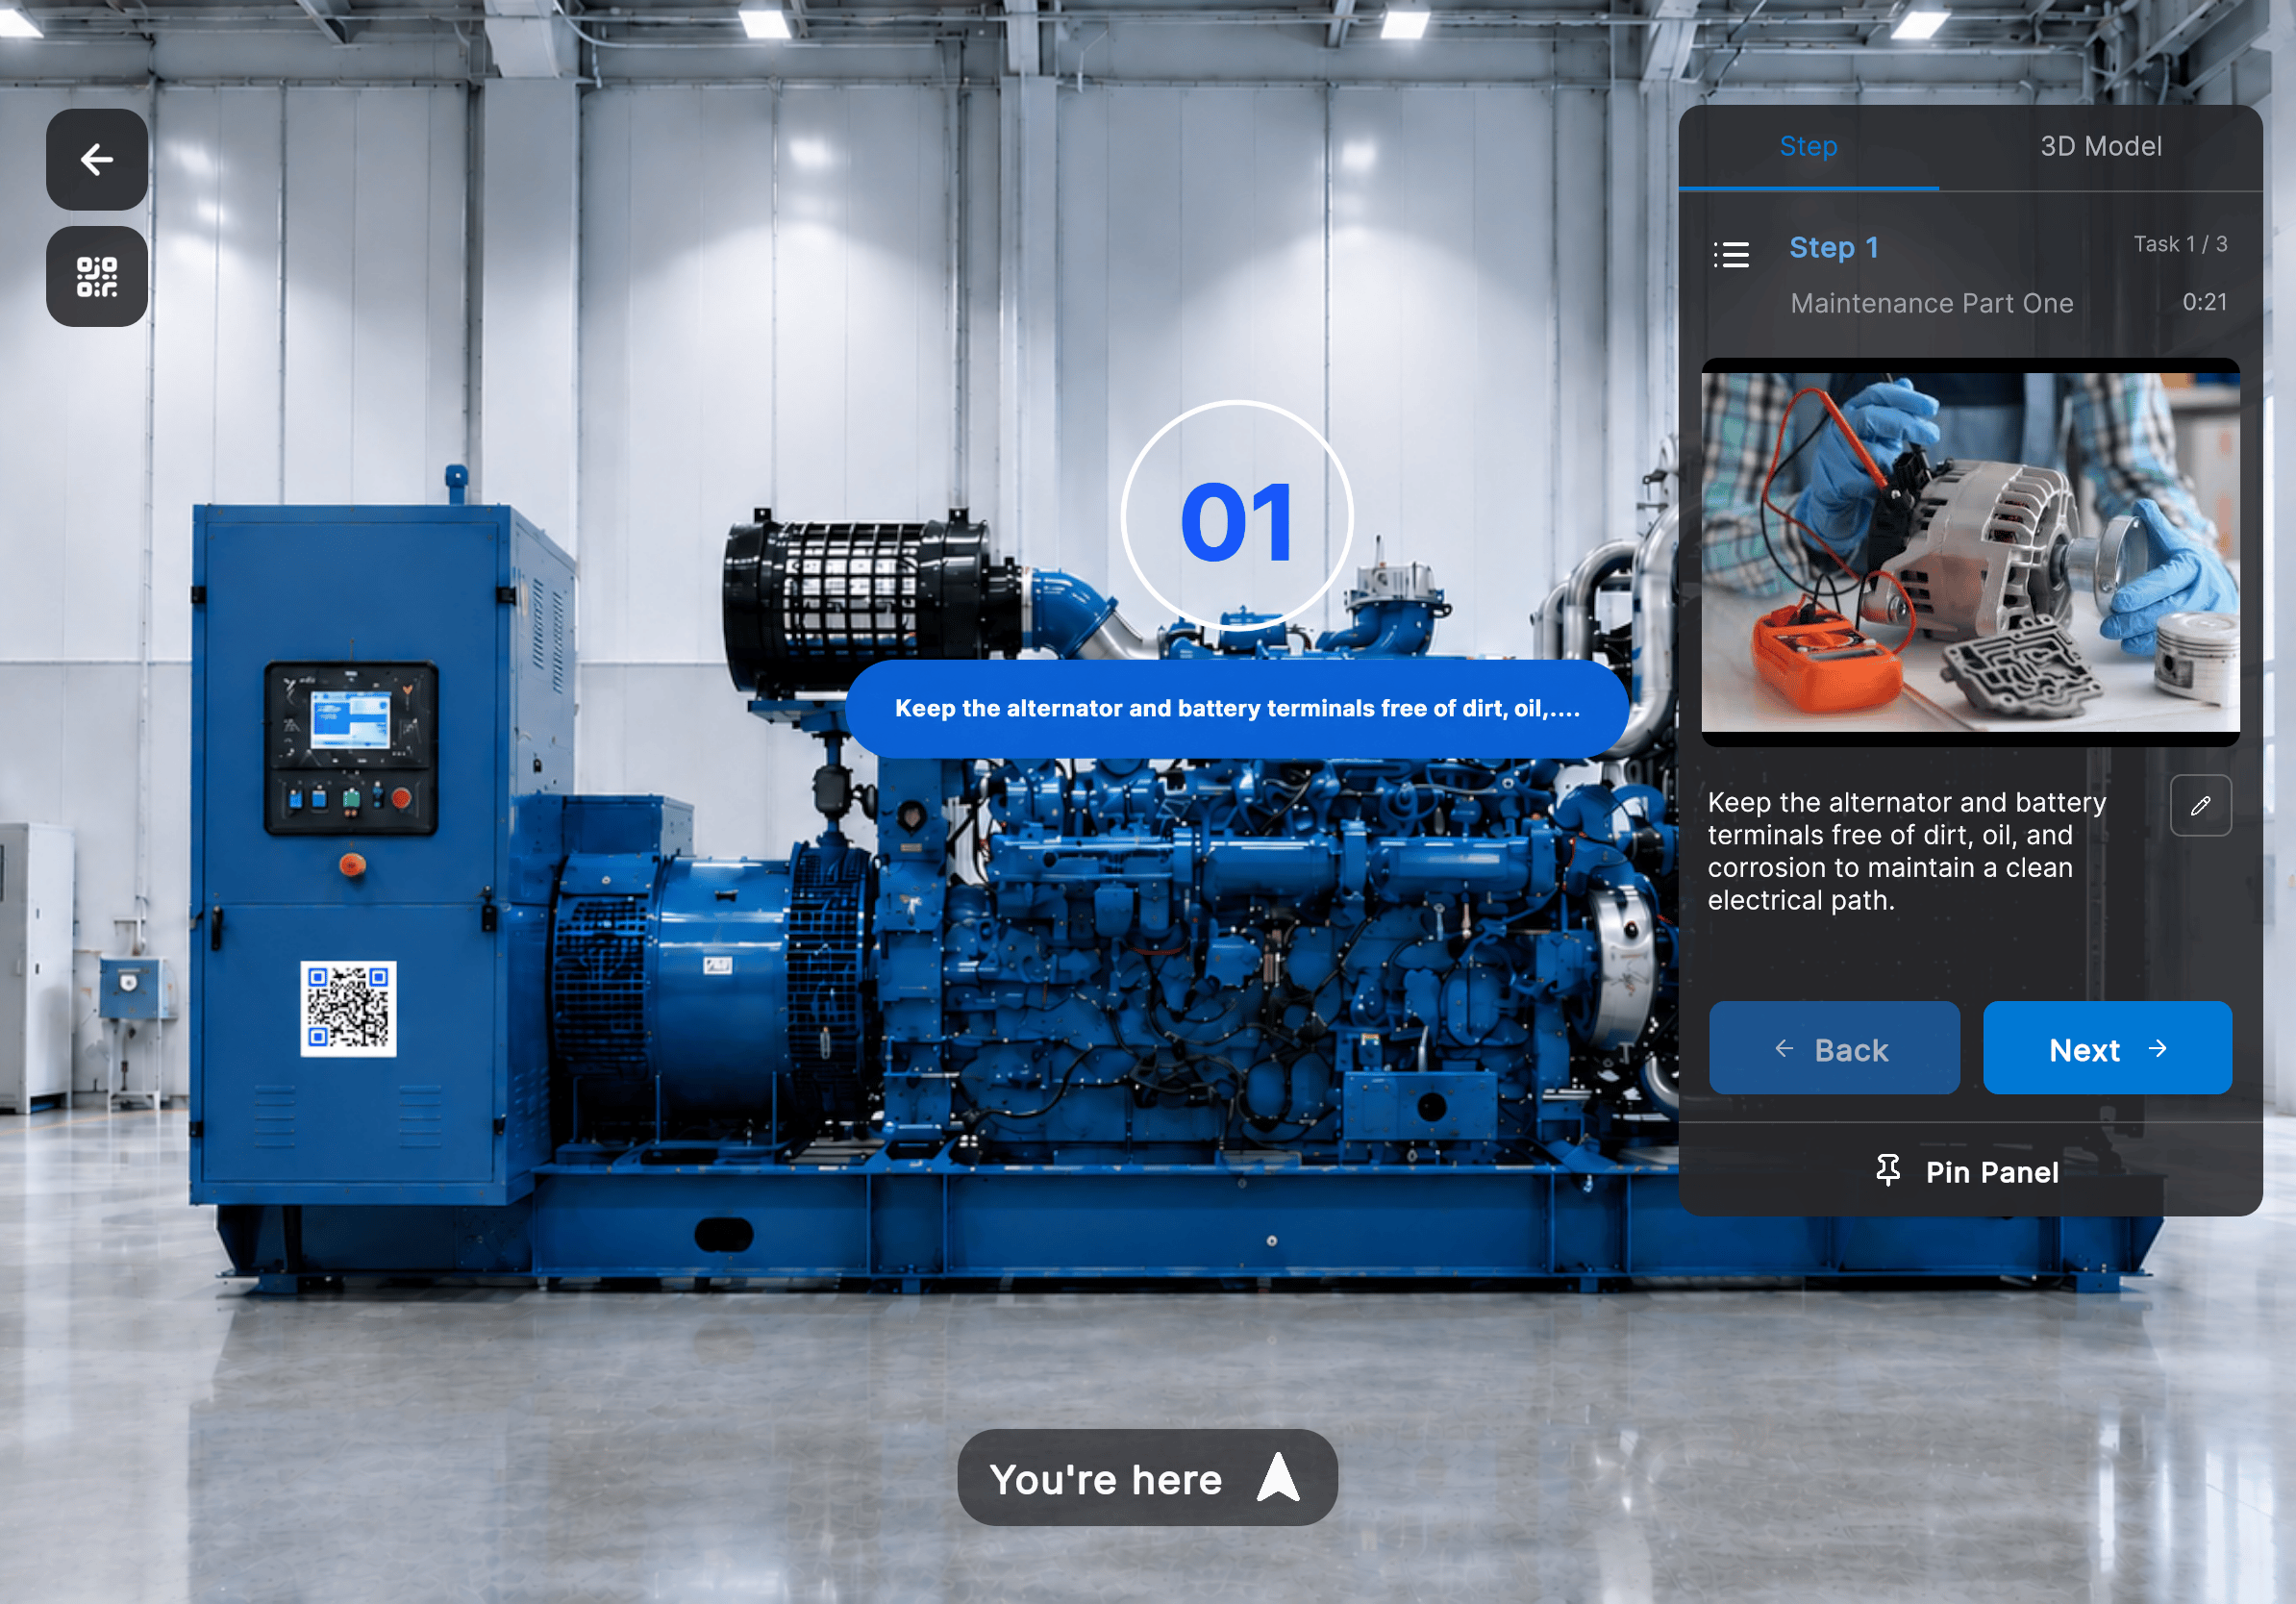
 After the panel is pinned, a numbered marker appears in the workspace. The marker corresponds to the current procedure step and displays the instructions for the active task.
 When the next instruction is outside the camera view during a run, Frontline shows directional guidance (for example, **Look Down, 26 cm**) to lead the user to the pinned marker. See [Follow Steps](/frontline/ipad/operate/follow-steps) for how this appears to operators.
***
**Next:** [Add 3D Models and Media](/frontline/ipad/author/add-3d-models-and-media)
When the next instruction is outside the camera view during a run, Frontline shows directional guidance (for example, **Look Down, 26 cm**) to lead the user to the pinned marker. See [Follow Steps](/frontline/ipad/operate/follow-steps) for how this appears to operators.
***
**Next:** [Add 3D Models and Media](/frontline/ipad/author/add-3d-models-and-media)