Creating a Space
Follow the content publishing to create a space with the proper Realscale/Dollhouse setup to suit your needs.Installing MS Acoustics
Follow the instructions from MS Acoustics for a Unity integration for Unity Audio. In addition to the installation documentation, you’ll want to read the design and baking documentation, as you’ll want to preview your content in Unity before importing it into Altoura.Setting up your space for preview and asset bundle creation
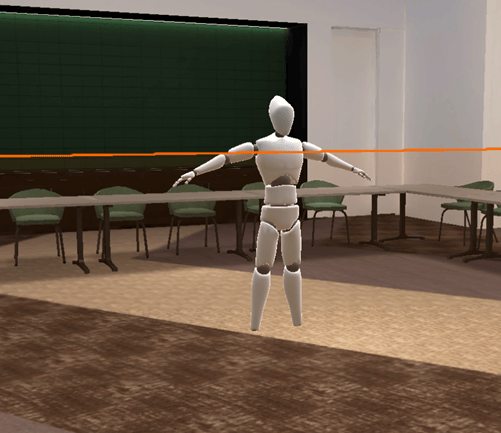
Make sure your Realscale asset bundle contains all the space geometry, and the proper materials are applied. Set up your audio sources with acoustic adjust scripts as per the MS Acoustics directions but place them OUTSIDE of the asset bundle. It’s recommended that you attach your audio sources to 3D objects, so you can see them in the space in the Altoura app. These will be your preview audio sources, which will need to be duplicated later to create audio sources for export from Unity and then import into Altoura. Also, when you place your Acoustics Manager, place it OUTSIDE the asset bundle as well. The asset bundle for the space only needs to contain the floor, the default meeple position and all the geometry for the scene. The audio sources and Acoustics Manager data will be added to Altoura separately.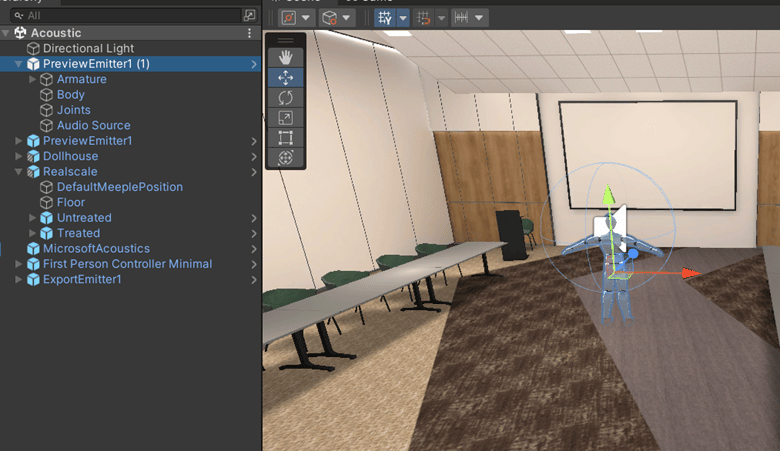
Baking Your Scene Geometry
All of the instructions for baking are included in the MS Acoustics documentation: Project Acoustics Unity Bake.Baking Best Practice
• Before Baking, make sure all your MS Acoustics gizmos are showing, as you’ll want to make sure the geometry is set up right before calculating probes. After calculating, you should see geometry/probes/voxels visually represented in your scene like this: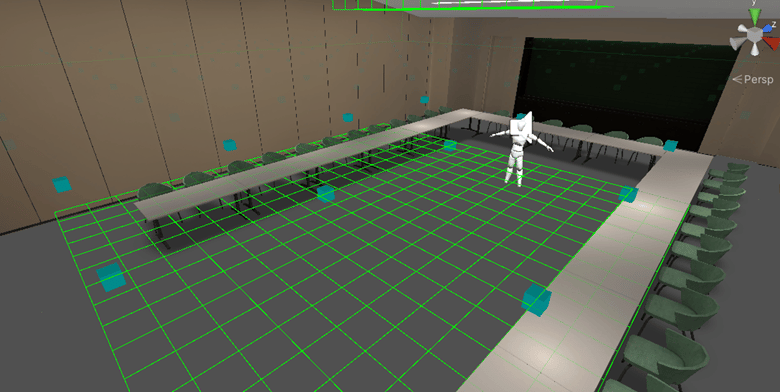
Auditioning your audio before creating Emitter Objects
Once your scene is baked, the first thing to do is add the .ace file that was generated to the MS Acoustics Manager, as per the MS Acoustics instructions.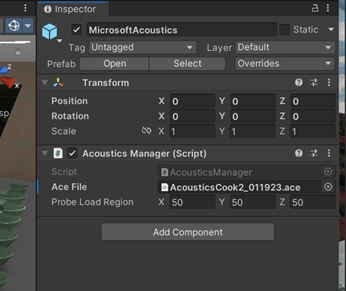
Uploading your .ace file to a URL
Once you have the backed ace file ready you can upload this ace file to any of cloud storage system and then get the downloadable url for the ace file and mentioned this URL in altoura portal.Importing Content into Altoura
Follow Altoura instructions to create your space with the Realscale asset bundle you’ve exported. Once you’ve created your space, in the advanced config, you’ll need to add these settings:
IsAcousticsEnable must be set to true, and acousticsACCURL must point to the URL where the .ace file resides.
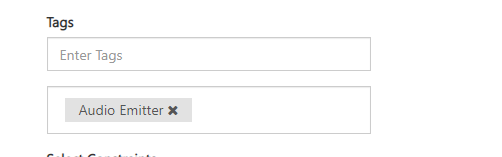
Next, you’ll upload your Audio Emitter asset bundles to the Portal as objects in your object library.
Follow these directions if you need a refresher.
In the Object properties, tag them as audio emitters.

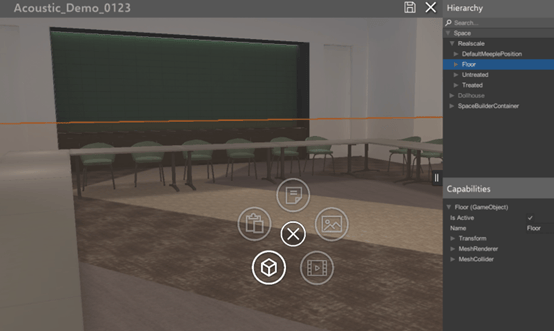
Adding Your Content in App
Now that you’ve created your space and audio emitter objects, it’s time to add your content in app, on PC or Mac. Open Altoura, then open the project that contains your space. It’s recommended that you clear your cache before opening your project. Then open the menu on the left and choose Space Builder.