
Are you setup with Unity?

Make sure you complete the setup process. Here we will concentrate on how content in Unity should be setup so that you can import it into Altoura. This structure should also be thought of as you create your original 3D content in programs such as 3DS Max, Maya, Blender or Revit.

Open the Sample Scene

Inside of the Altoura Experience Tutorial folder, there will be a AltouraSampleContent scene, you can open it and you should see this: 1920 If you have questions about navigating the Unity interface, you can find answers here.

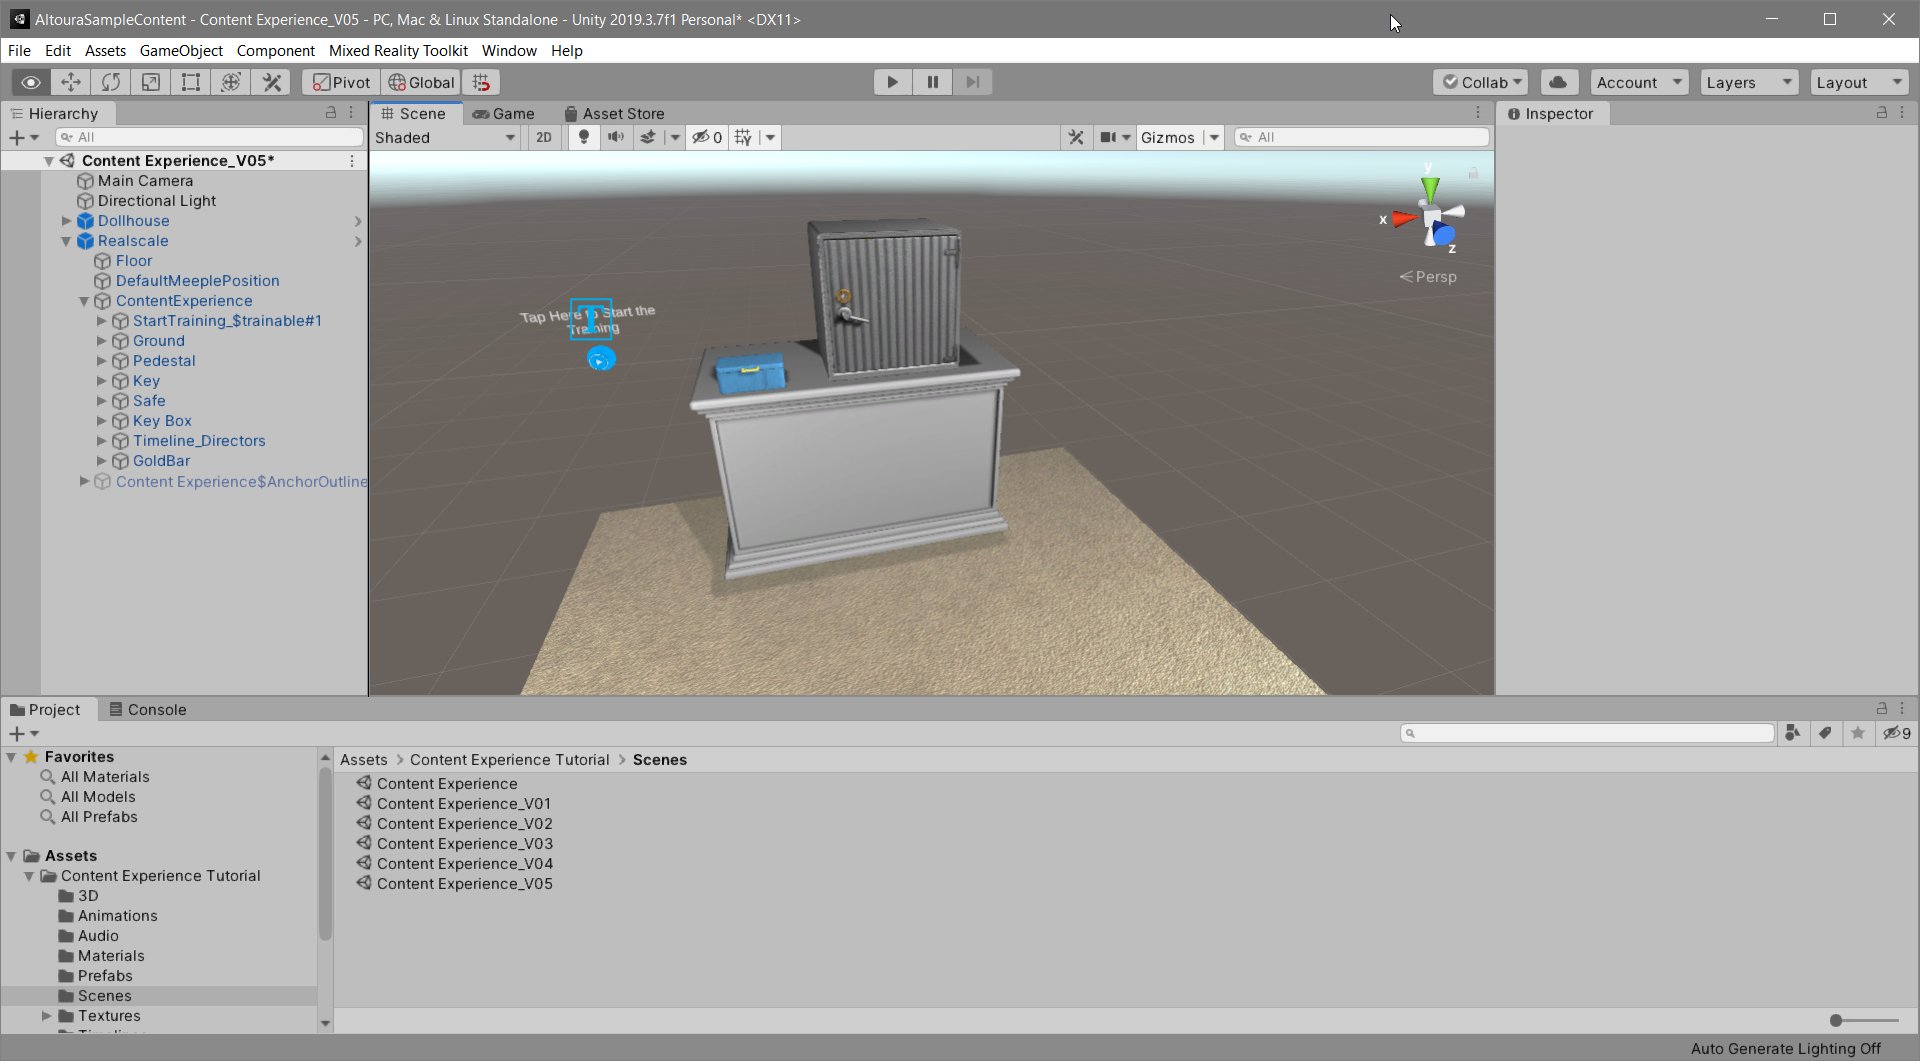
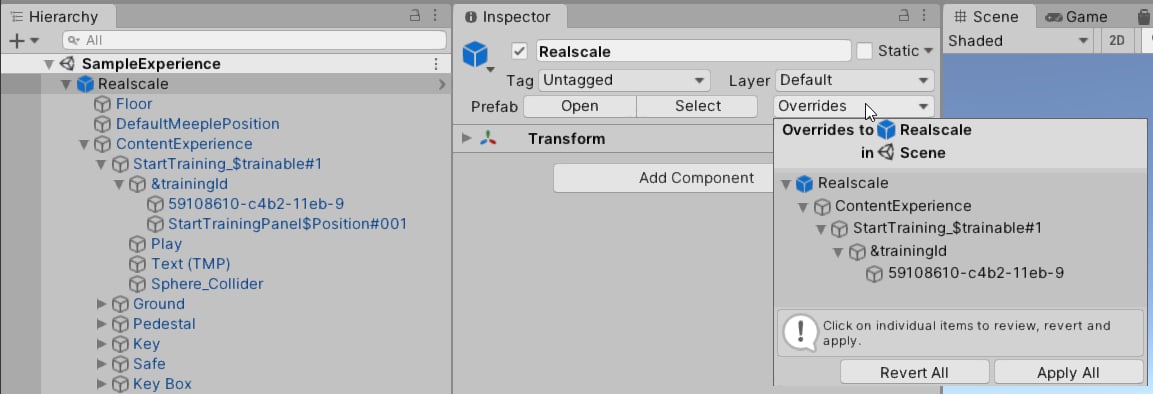
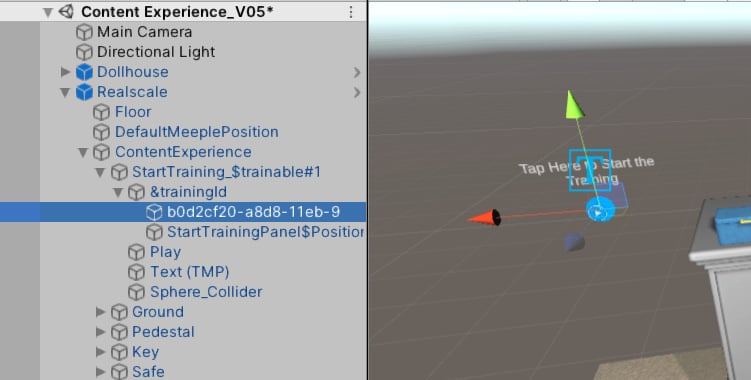
Place the Product UID

In the scene hierarchy, under Realscale we have objects representing the main elements of this experience; Key Box, Key, Safe and a Safe$trainable#1. This last object is what you will need to interact with in the world to start the experience. 828 Inside of the Safe$trainable#1 there is an empty object called &trainingId. It contains already objects that make up the visual elements of your start button; the Sphere, Play sprite and a PlayButton_TargetNode#001. This last one is an empty object that just places where the center of the first text panel will appear. We will return to that when we are in the Experience Builder. You need to add an empty object inside of &trainingId with the name of your Product ID. It should be a string that looks like this: b0d2cf20-c8d8-11ab-6 You can see how it is applied in the screenshot below. You need to replace the name of the object with the Product UID that you created at the start. This will now connect the assets in this object structure to your Altoura Experience database.

Use your Product UID, not the one provided in the sample Unity package

Every Product UID is unique and the sample will not work in your experience without the correct one.
Go ahead and save the scene.

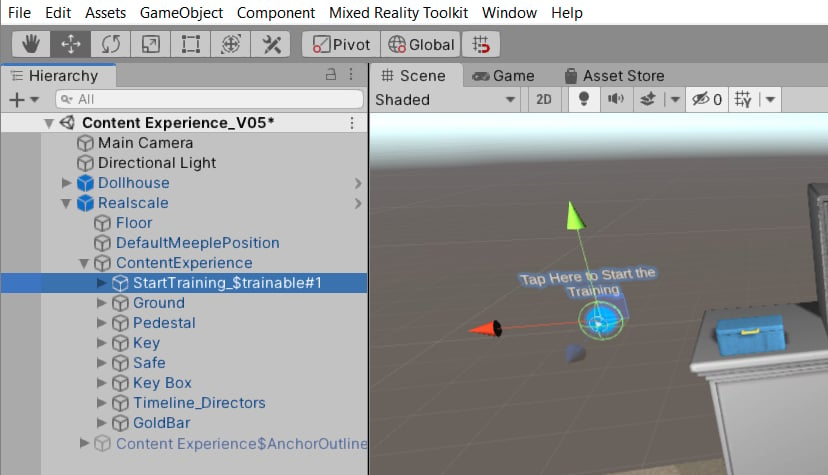
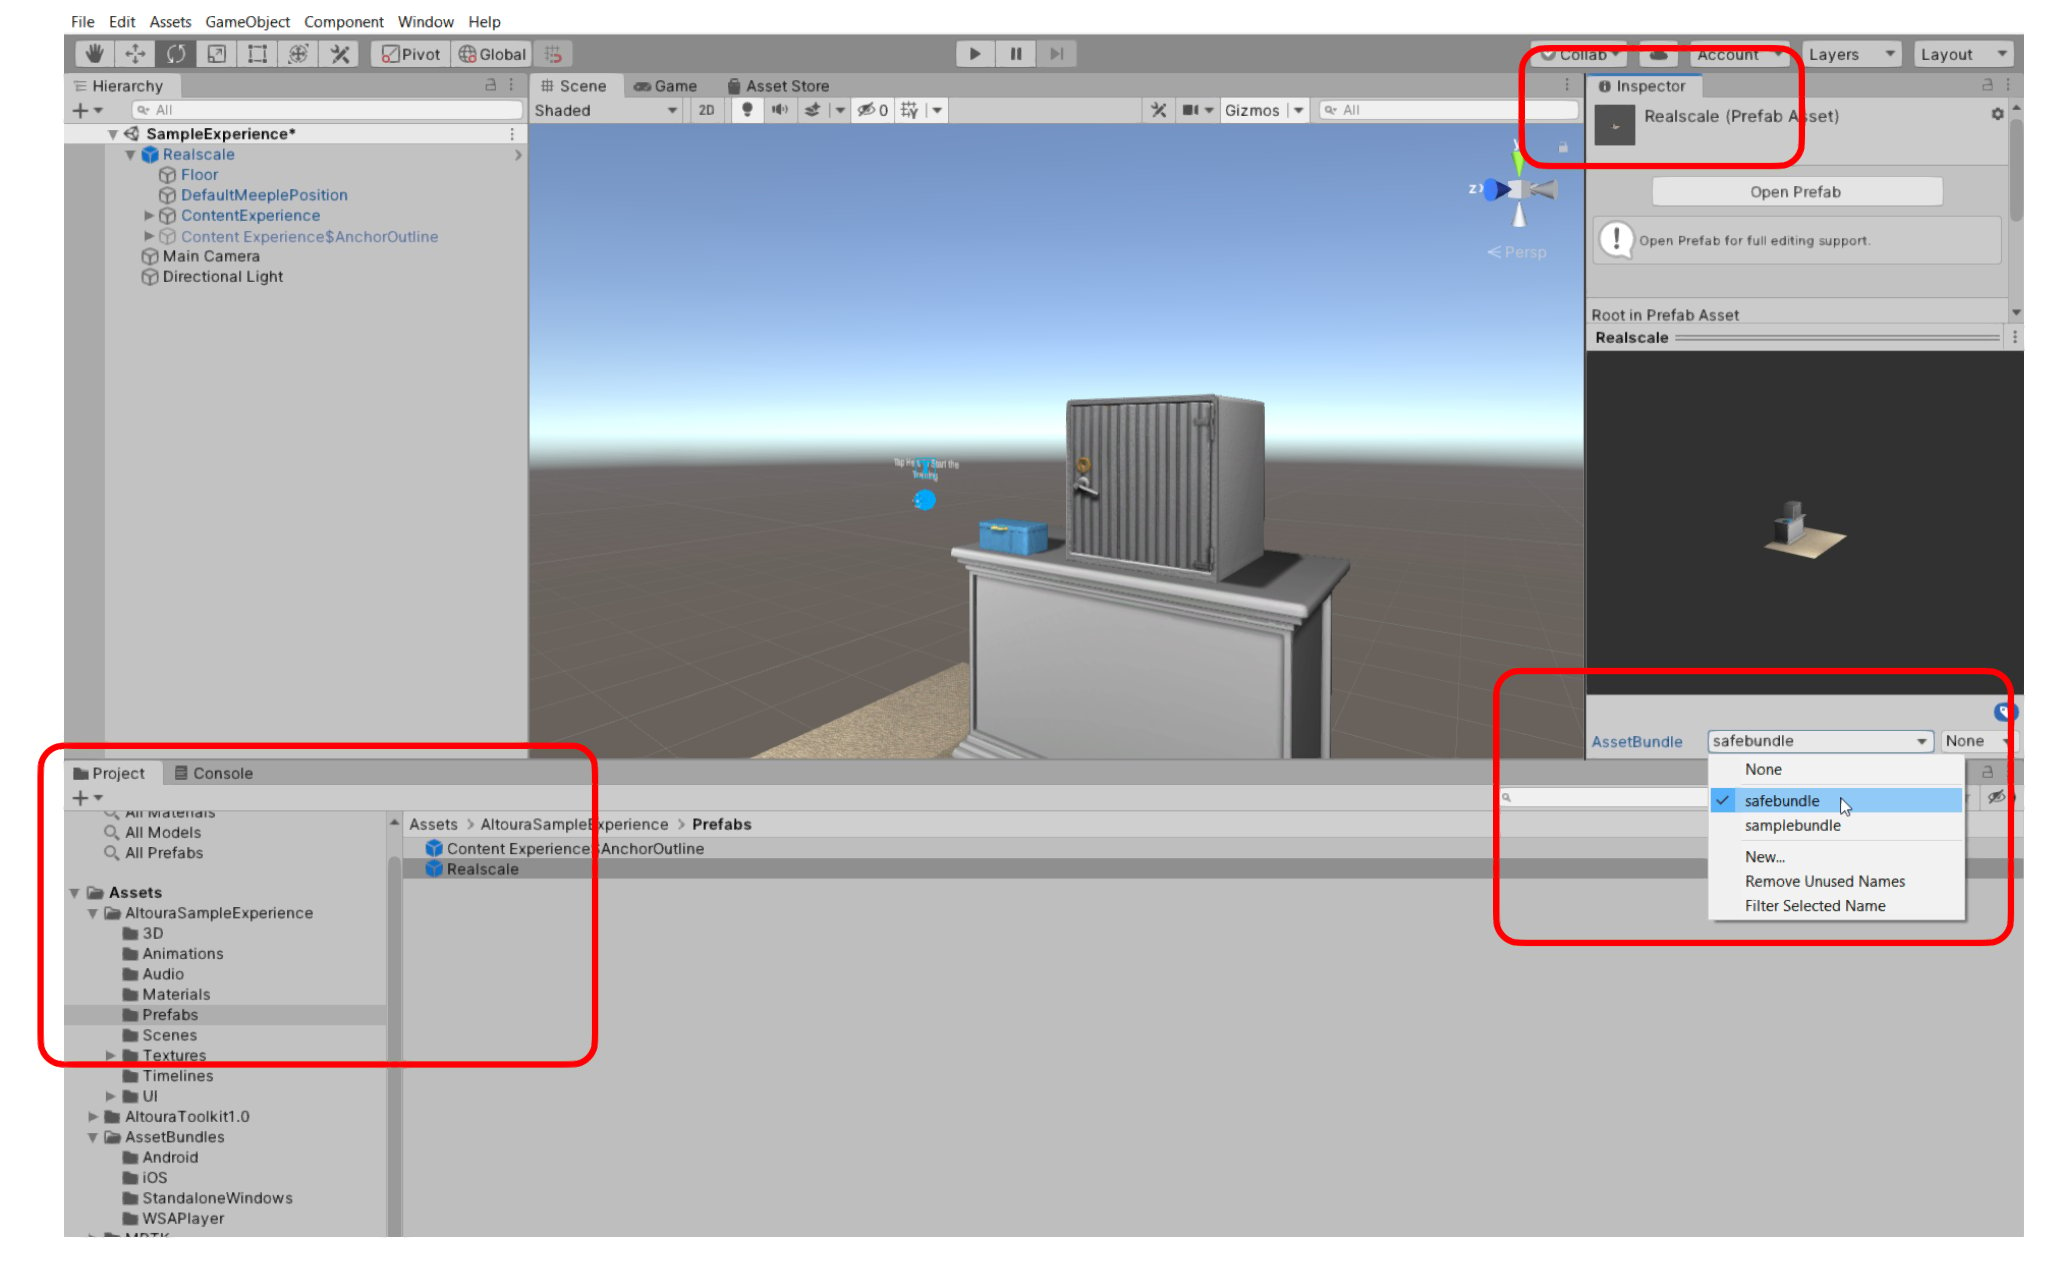
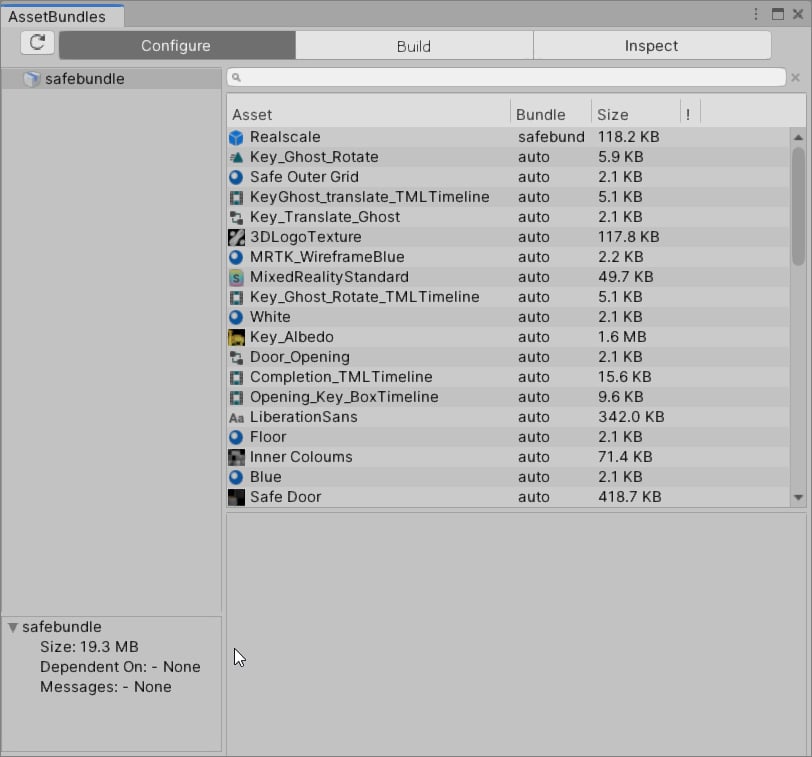
Create a Prefab that will become an AssetBundle.

Realscale assets

Altoura supports the concept of both Realscale and Dollhouse assets to work in tandem to allow users to see both a real-world scale model along with a miniature dollhouse model that helps in navigation. For this demo the content is very compact and a dollhouse model isn’t helpful to the end-user. So we will just concentrate on a Realscale version of the assets.
There are different ways of bringing content into Altoura. For this example we will show how you can create a Unity Asset Bundle for each device type that Altoura supports. First make sure you have the Asset Bundle Browser installed from the initial setup. Inside the SampleExperience scene, most of your objects that we want to interact with in the experience are under the Realscale and Dollhouse objects. Both required for Altoura to ingest the content properly. We need to turn both objects into Unity Prefabs that then can be converted into a single Asset Bundle. The first step is to drag the Realscale and Dollhouse objects into the Prefabs folder under AltouraSampleExperience 1626 This will turn the both of them and all of the objects under it into prefabs, which a way of referring to groups of objects externally to any scene. But what we really want to use these prefabs for is to define them as a cluster of objects to export out of Unity and into Altoura. Next click on each of the prefabs. Under the Unity Inspector window you can give it an AssetBundle name, here in this example we have given it the name “safebundle.” The names do not support spaces or capitol letters. 2048 You are now ready to export your content out of Unity. WIth the Altoura Toolkit, we’ve provided a helper that can speed up you Asset Bundle creation process. Its called the Asset Bundle Helper. You can access it under the Windows menu in Unity. 1439 When you have prefabs tagged with Asset Bundle names, this utility will create Asset Bundles based on anything it finds in the project. If you want to see any Asset Bundles you might have, you the Asset Bundle Browser, also under the Window menu. This can be used to also generate Asset Bundles manually and to see information like file size for all the content going into each Asset Bundle. 812 We highly recommend using the Asset Bundle Helper though as it makes the process much simpler. All Asset Bundles it produces will go into an AssetBundles folder, under Assets. It will be broken up into subfolders for each device type that Altoura supports. Each Asset Bundle will be named the same as the tag you gave the prefab earlier. In each folder, the only file that contains the content you need will have no extension. So in the below example, it is “samplebundle.” The other files are unneeded. Anything with a .manifest or .meta extension is not needed. 777 Let’s import that Asset Bundle into Altoura.

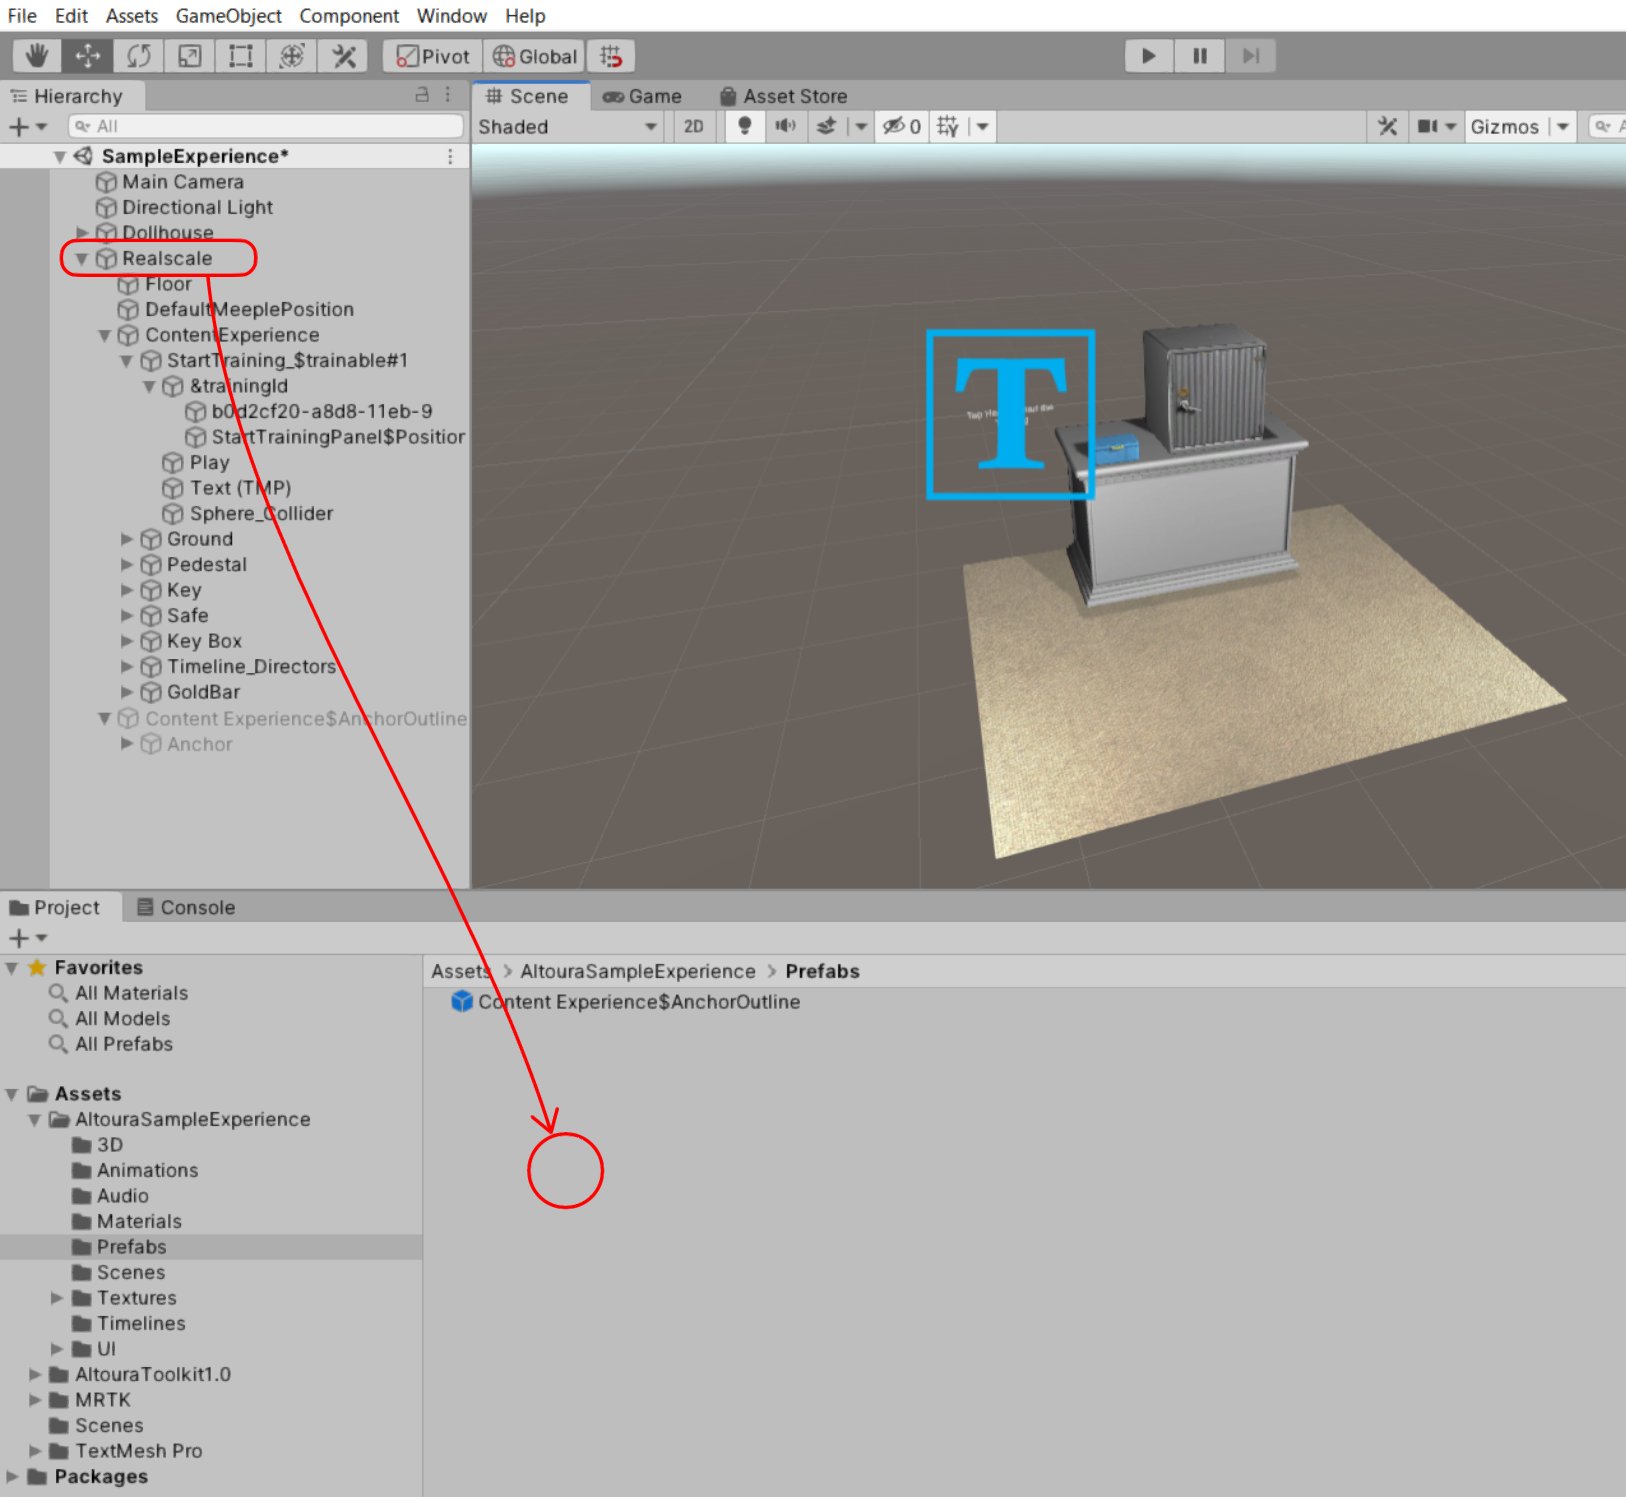
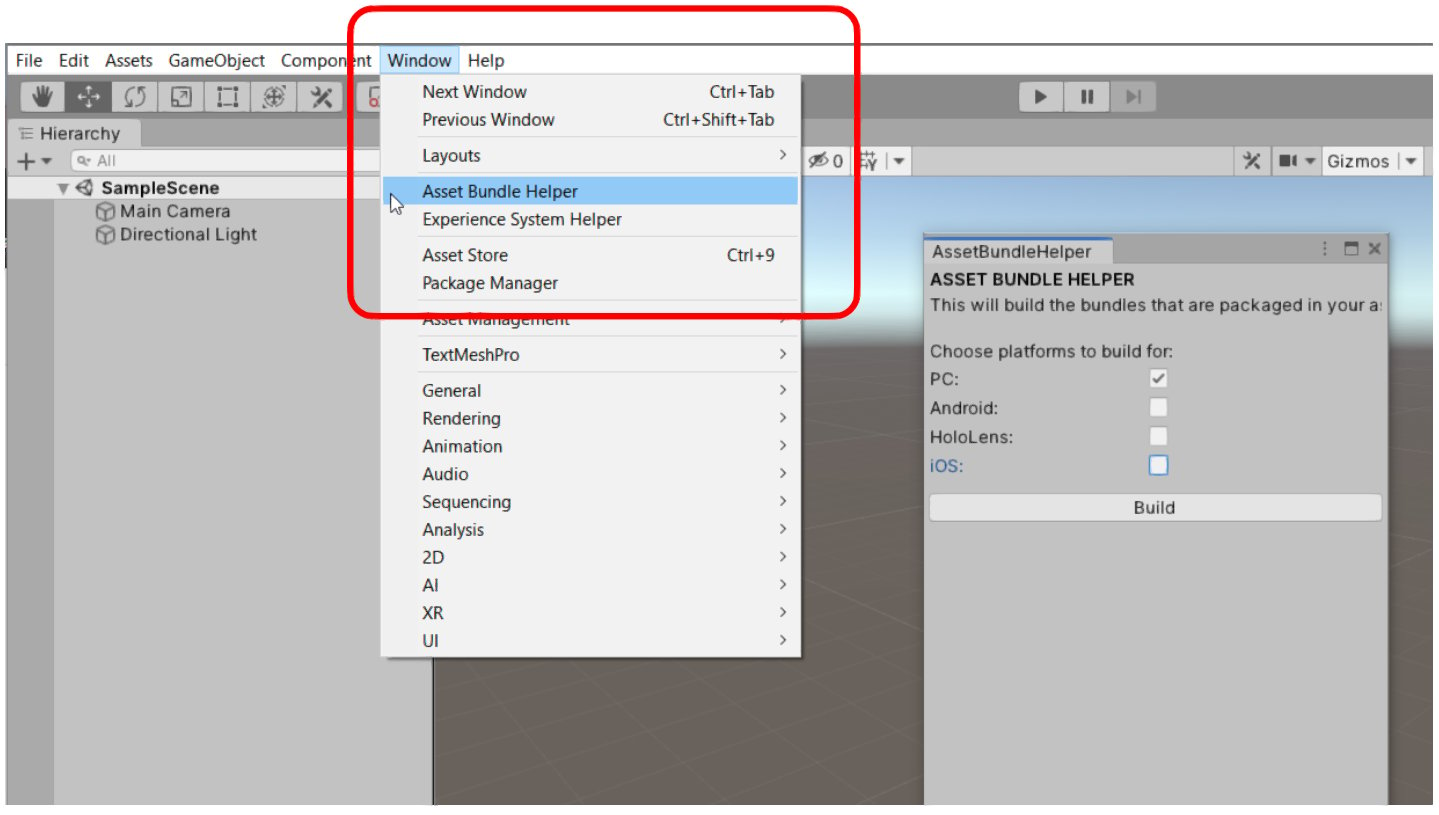
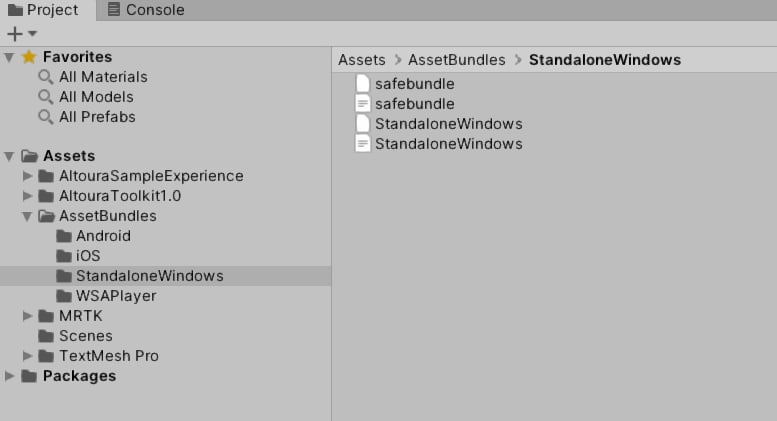
Pro Tip: Build just the Asset Bundles for what you need if doing early testing.

If you are doing early testing on an Experience and the content you are creating for it, often it is faster to create just an asset bundle for the device you are primarily using to test the setup. So if you are trying to quickly standup work and you use PC as your primary device, you can quickly create Asset Bundles just for standalone PCs. As you iterate and your content solidifies, you can always expand your Asset Bundle creation to all device types. We recommend always creating content for all supported platforms if you plan to have a wide audience.

Mess something up in your Prefab?

Once you create a Unity Prefab, if later you change objects or settings inside of it (like changing a name or moving an object around) you will need to update the prefab and export it out again as an asset bundle. They key thing is to select the prefab and in the Unity Inspector, you will see an Overrides pulldown. You should “Apply All” changes and that will update the Prefab.
1153 Note: Please do not use any glb objects within Asset bundle.