
Overview
After selecting a procedure from the landing page, the app opens the QR Scan view. You must scan a QR code to anchor the procedure’s 3D content and step-based guidance to a specific physical location. The QR code acts as a spatial reference point — all augmented reality content (3D models, direction indicators, and annotations) is positioned relative to the scanned QR code.When to Use This Feature
The QR scan is required whenever you:- Open a procedure for the first time in a session
- Re-enter a procedure after exiting
- Need to re-anchor content to a different physical location
Scan a QR Code
Steps
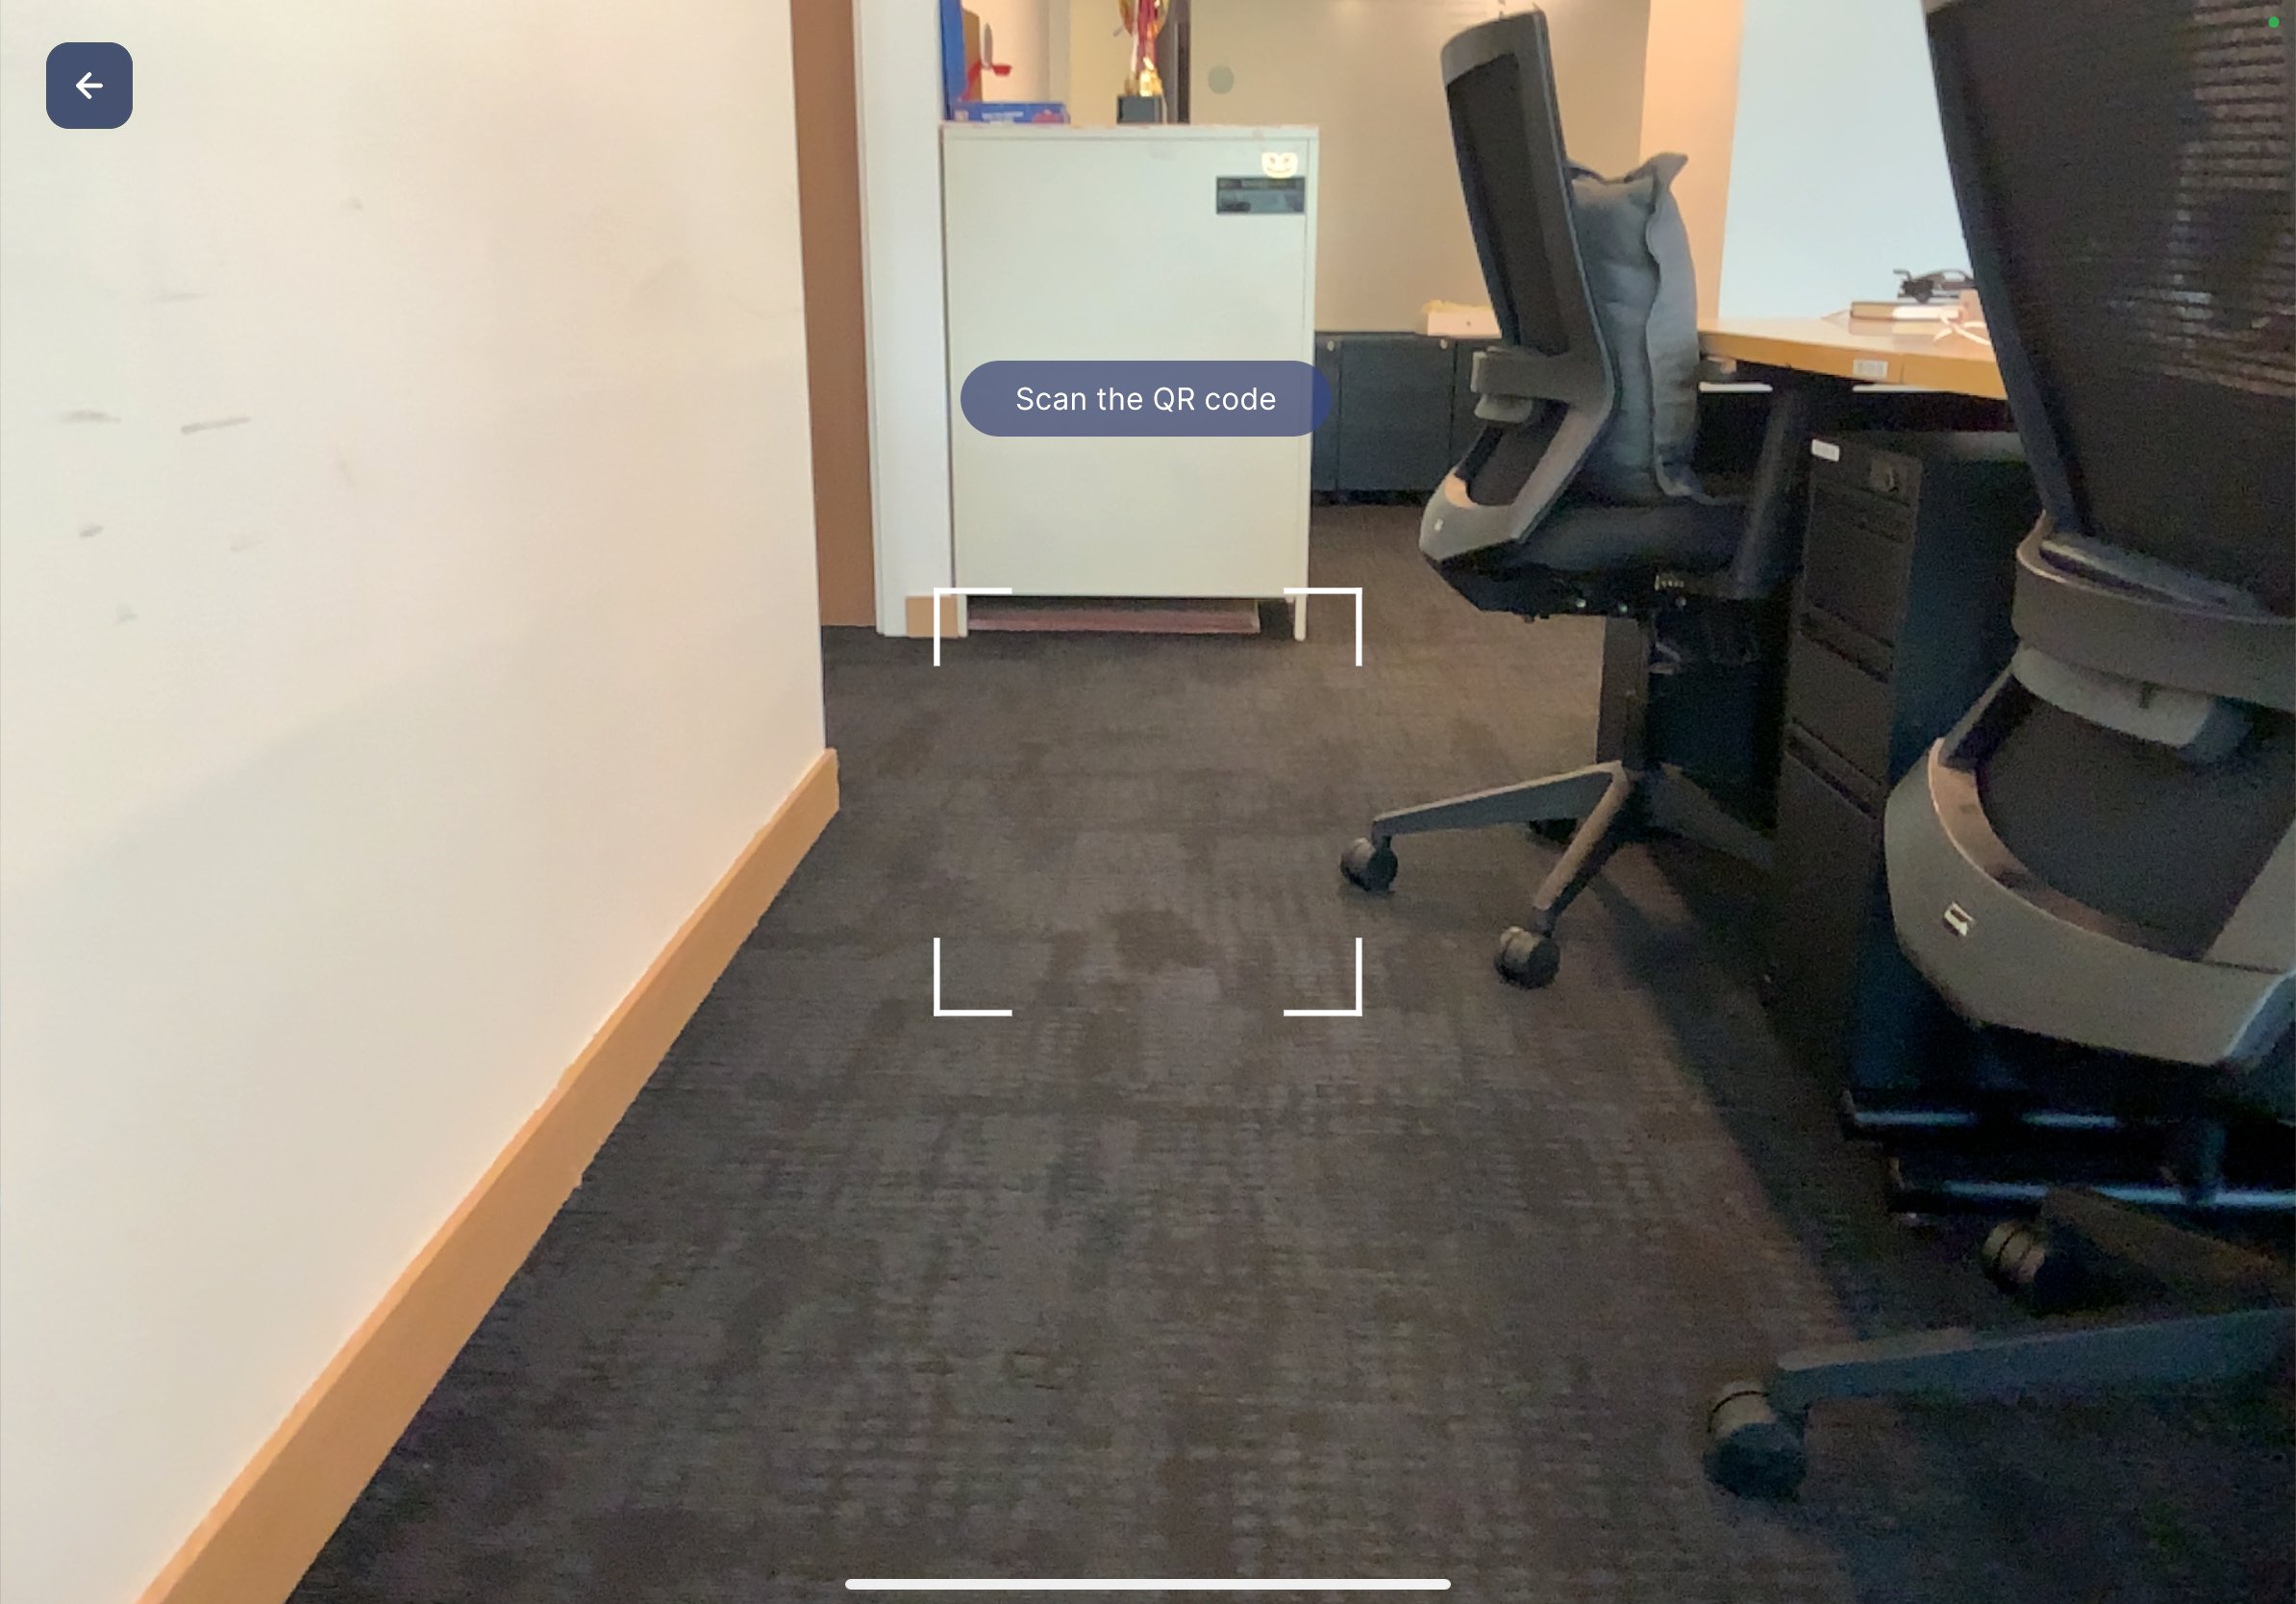
- After selecting a procedure, the camera view opens with a “Scan the QR code” prompt displayed on screen.
- Point your iPad camera at the QR code placed in the physical environment.
- Align the QR code within the viewfinder frame shown on screen.
What Happens Next
Once the QR code is detected and scanned:- The app anchors the procedure’s spatial content to the QR code location.
- The Mode Selection dialog appears, allowing you to choose between Author and Operator mode.
Tips for Scanning
- Ensure the QR code is well-lit and flat on a surface.
- Hold the iPad at a comfortable distance — approximately 1 to 3 feet from the QR code.
- Avoid glare or reflections on the QR code surface.
- If scanning fails, reposition the iPad and try again.
Navigation
- Tap the back arrow (top-left) to return to the Procedures landing page without scanning.