Uploading Documents
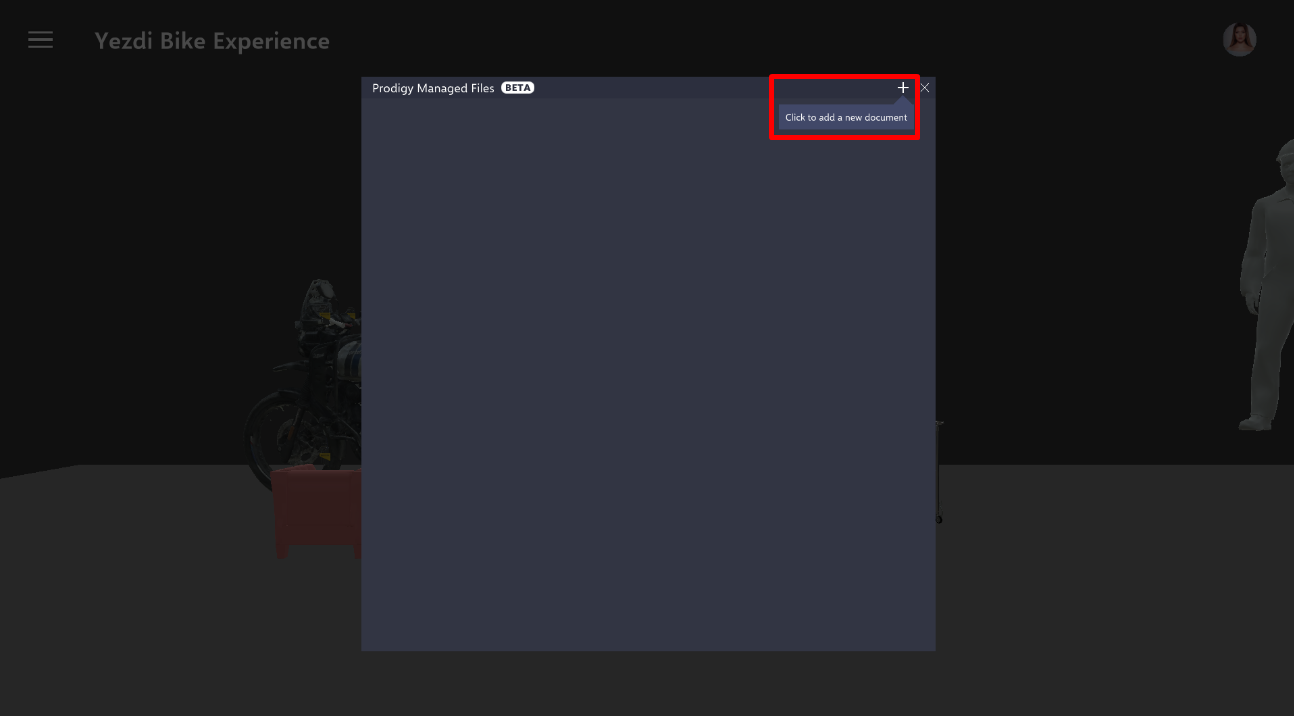
The Prodigy Managed Files section displays a collection of PDF and Excel documents uploaded by the user. This area utilizes the Azure Open AI tool to extract procedures and steps from the documents. To access Prodigy Managed Files, navigate to any project that has portal access. Ensure that there is no Experience running in order to see the Prodigy Managed File button in the main menu.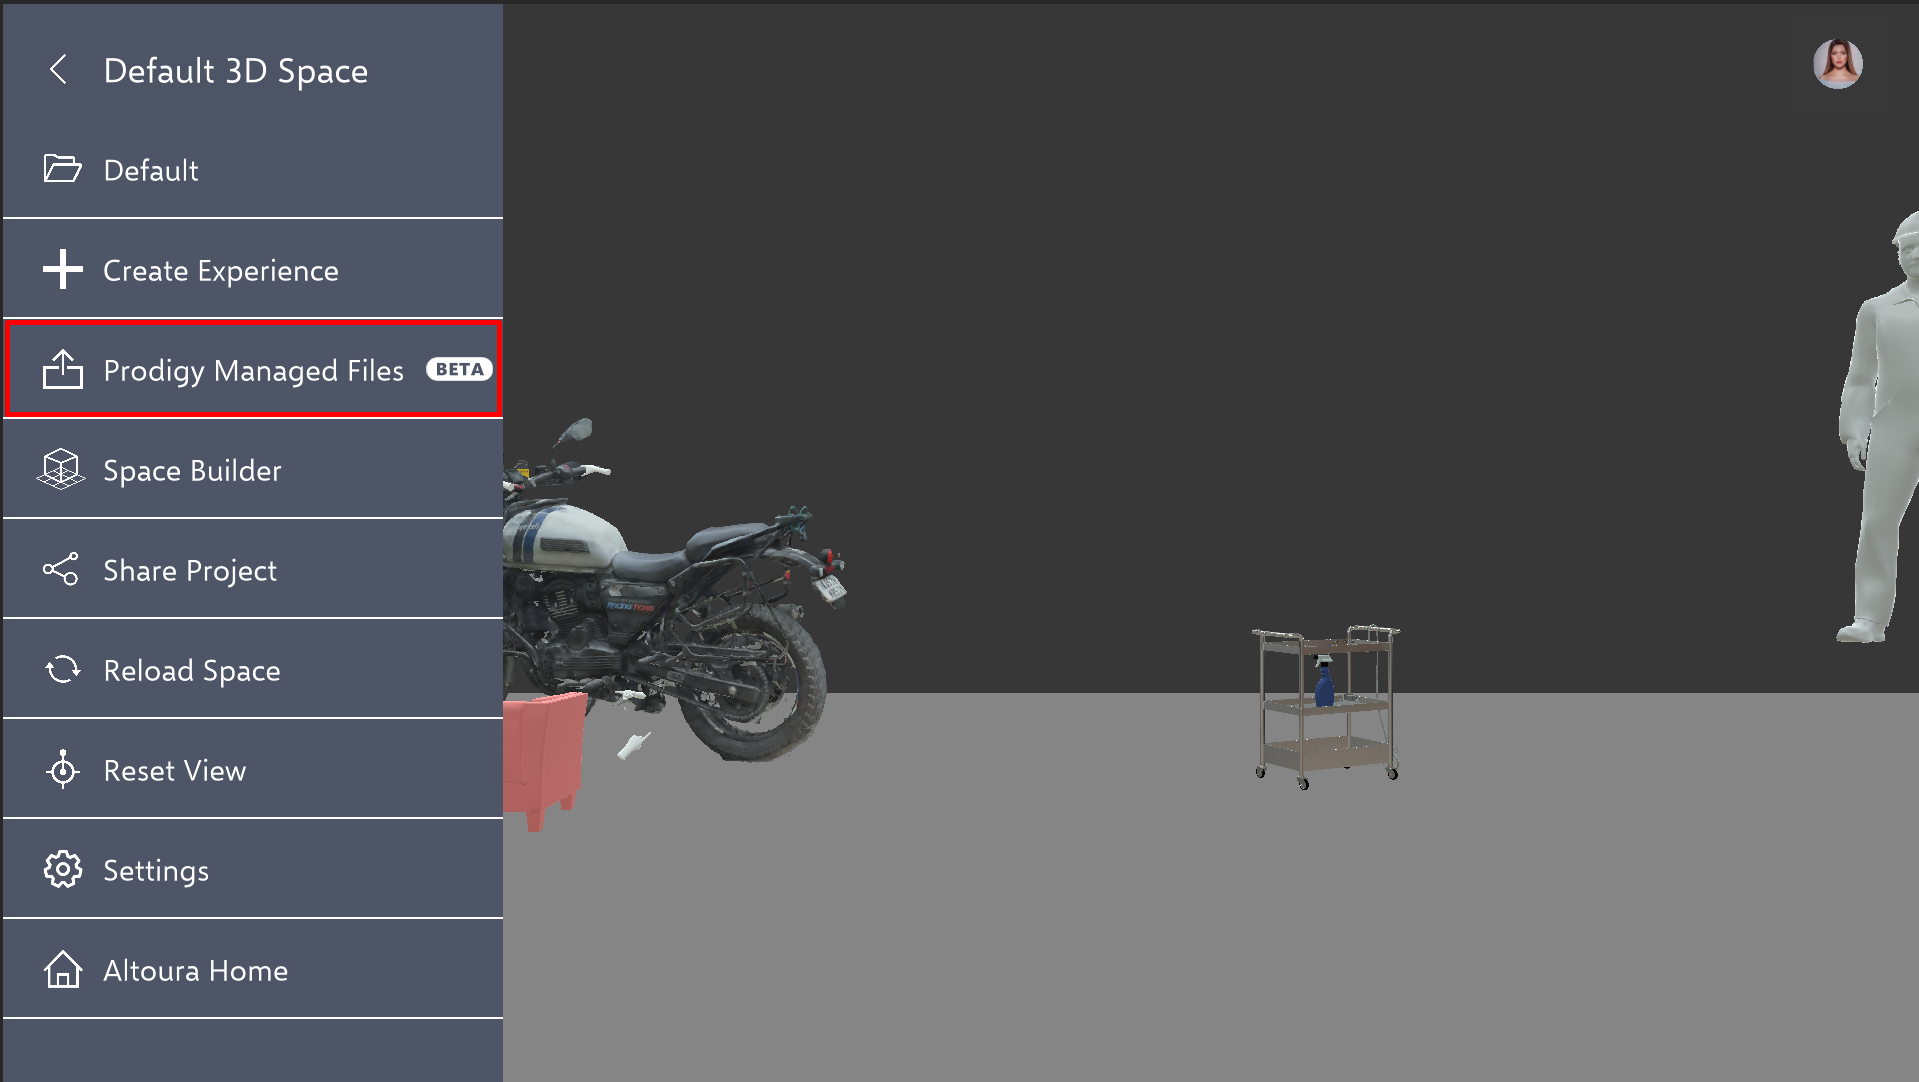 Once opened, you can add Excel and PDF documents to your managed files with the plus button located in the right corner.
 When a PDF document is uploaded, additional options for page range and renaming the file is shown before starting the analyzing process. Users can also select their preferred language from the language dropdown menu. Upon selection, the imported PDF will display the steps in the chosen language.
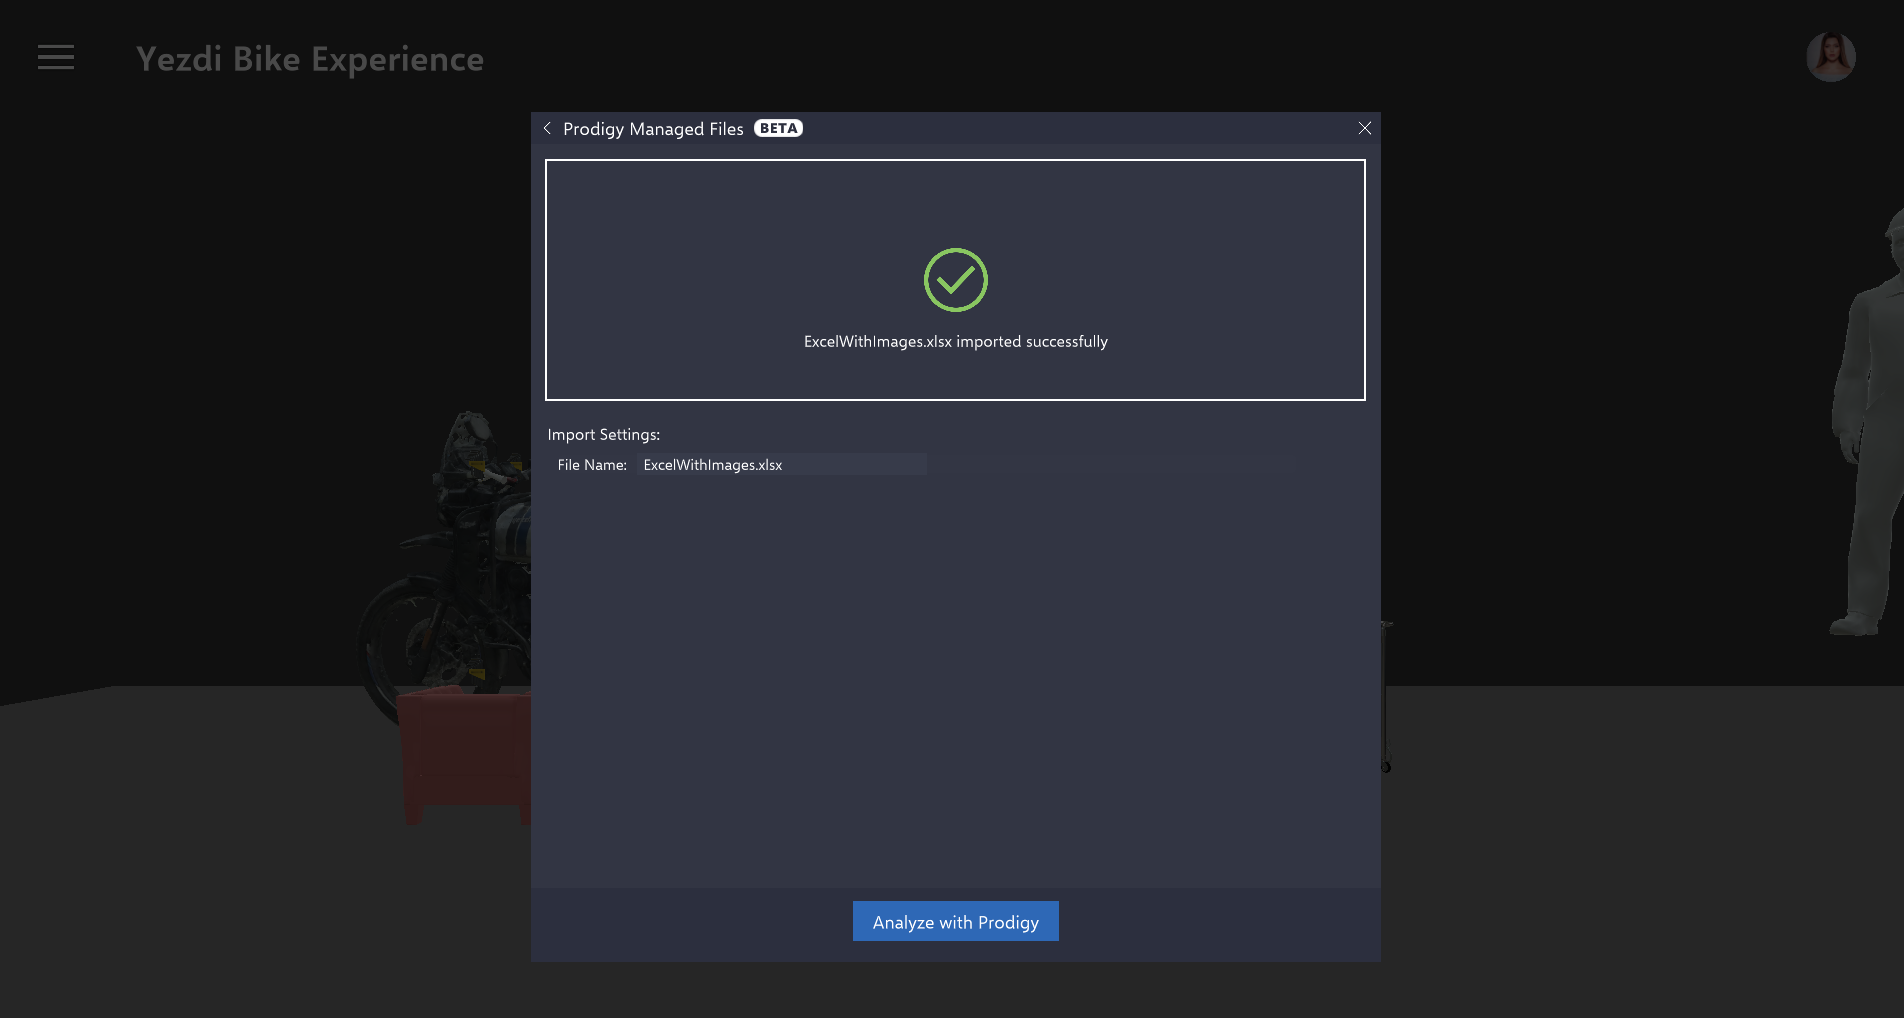
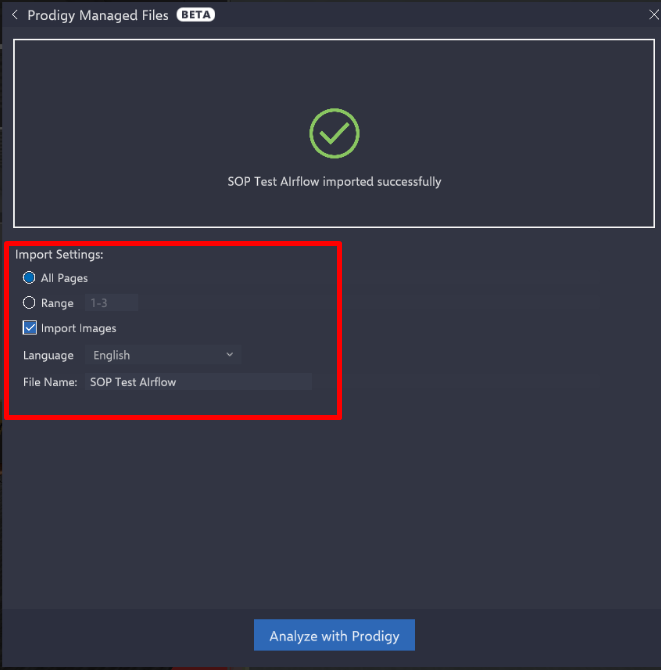 When an Excel document is uploaded, additional options for renaming the file is shown before starting the analyzing process.
Analyzing Documents, and Step Editing
After the analyzing step is started, the document will then appear on your managed files list. To refresh the status of the document, click the refresh button or reopen the managed files window. The processing time may vary, typically the PDF processing time is a few minutes depending on the size of the PDF, and the Excel processing time is usually within 1 or 2 minutes.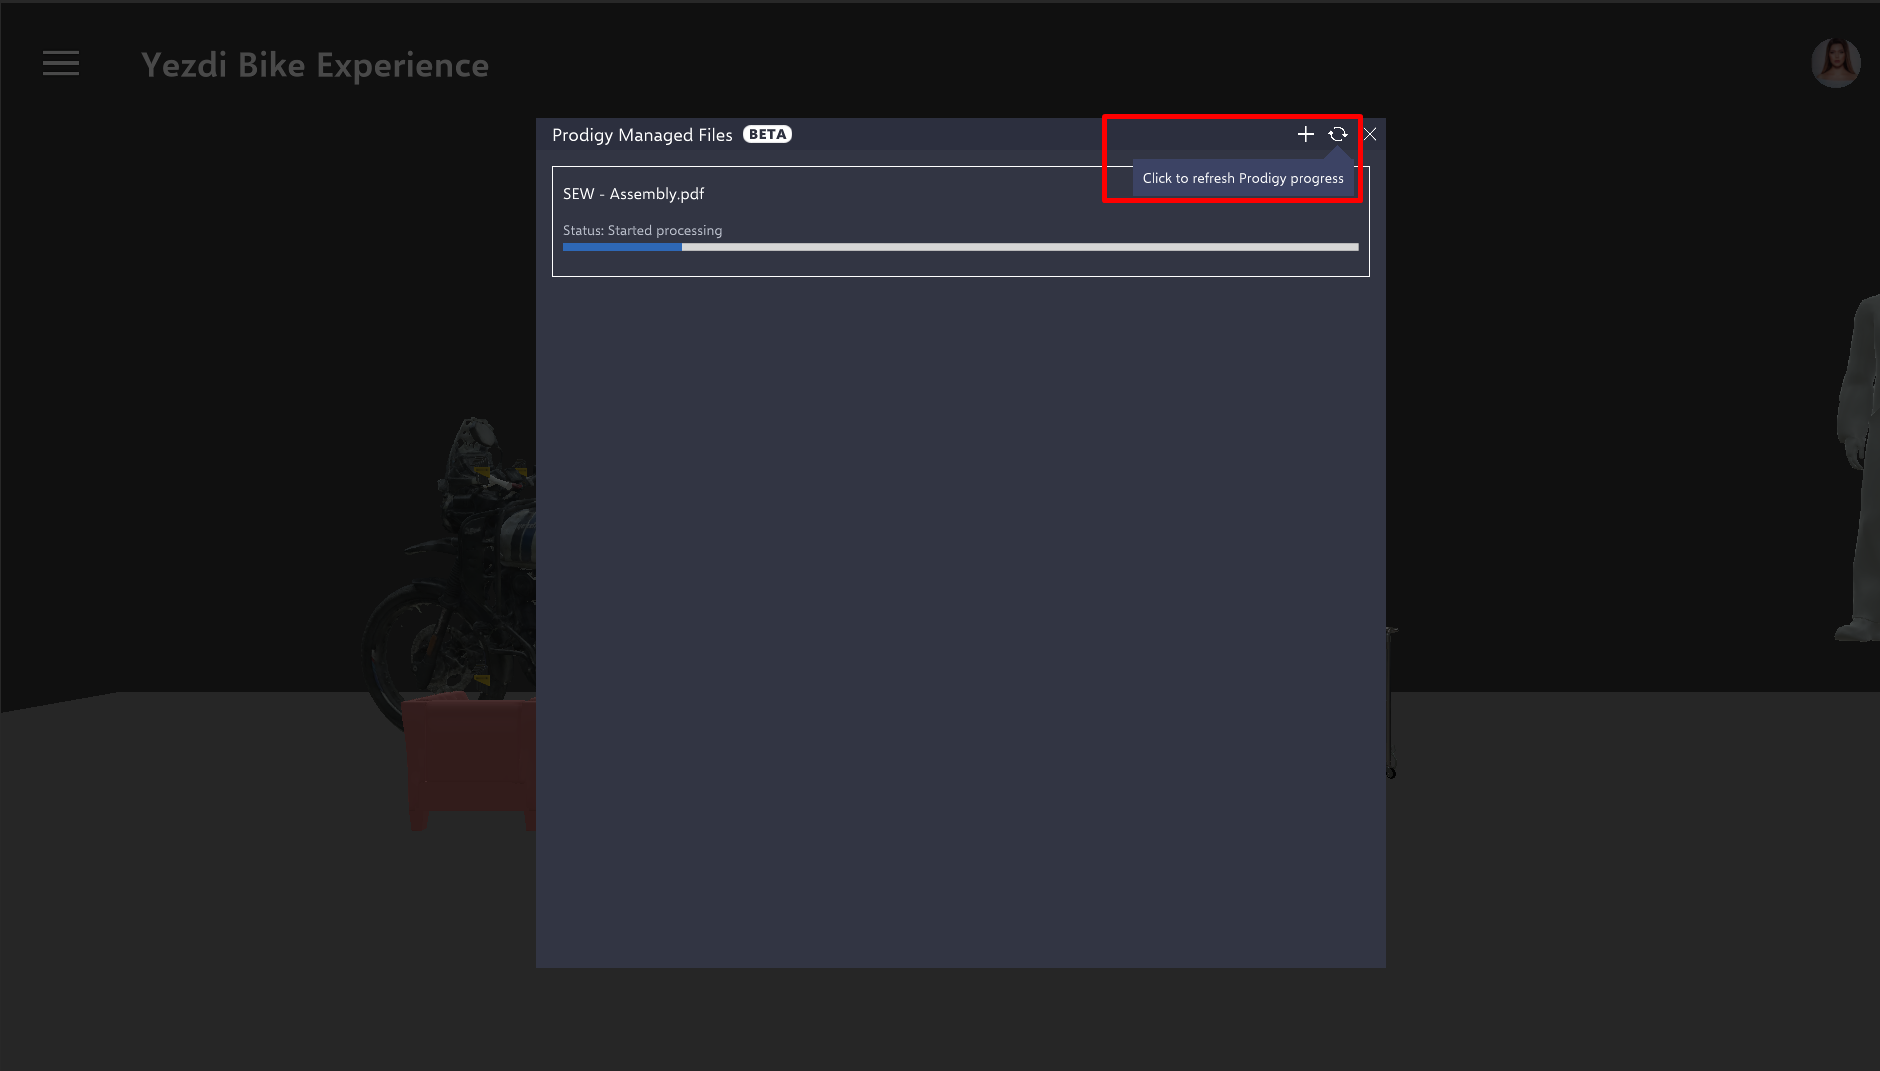 After the processing of the document is complete, the list will display all the procedures extracted from the document. Each procedure, comprising of various text steps, can be converted into an individual Altoura Experience.
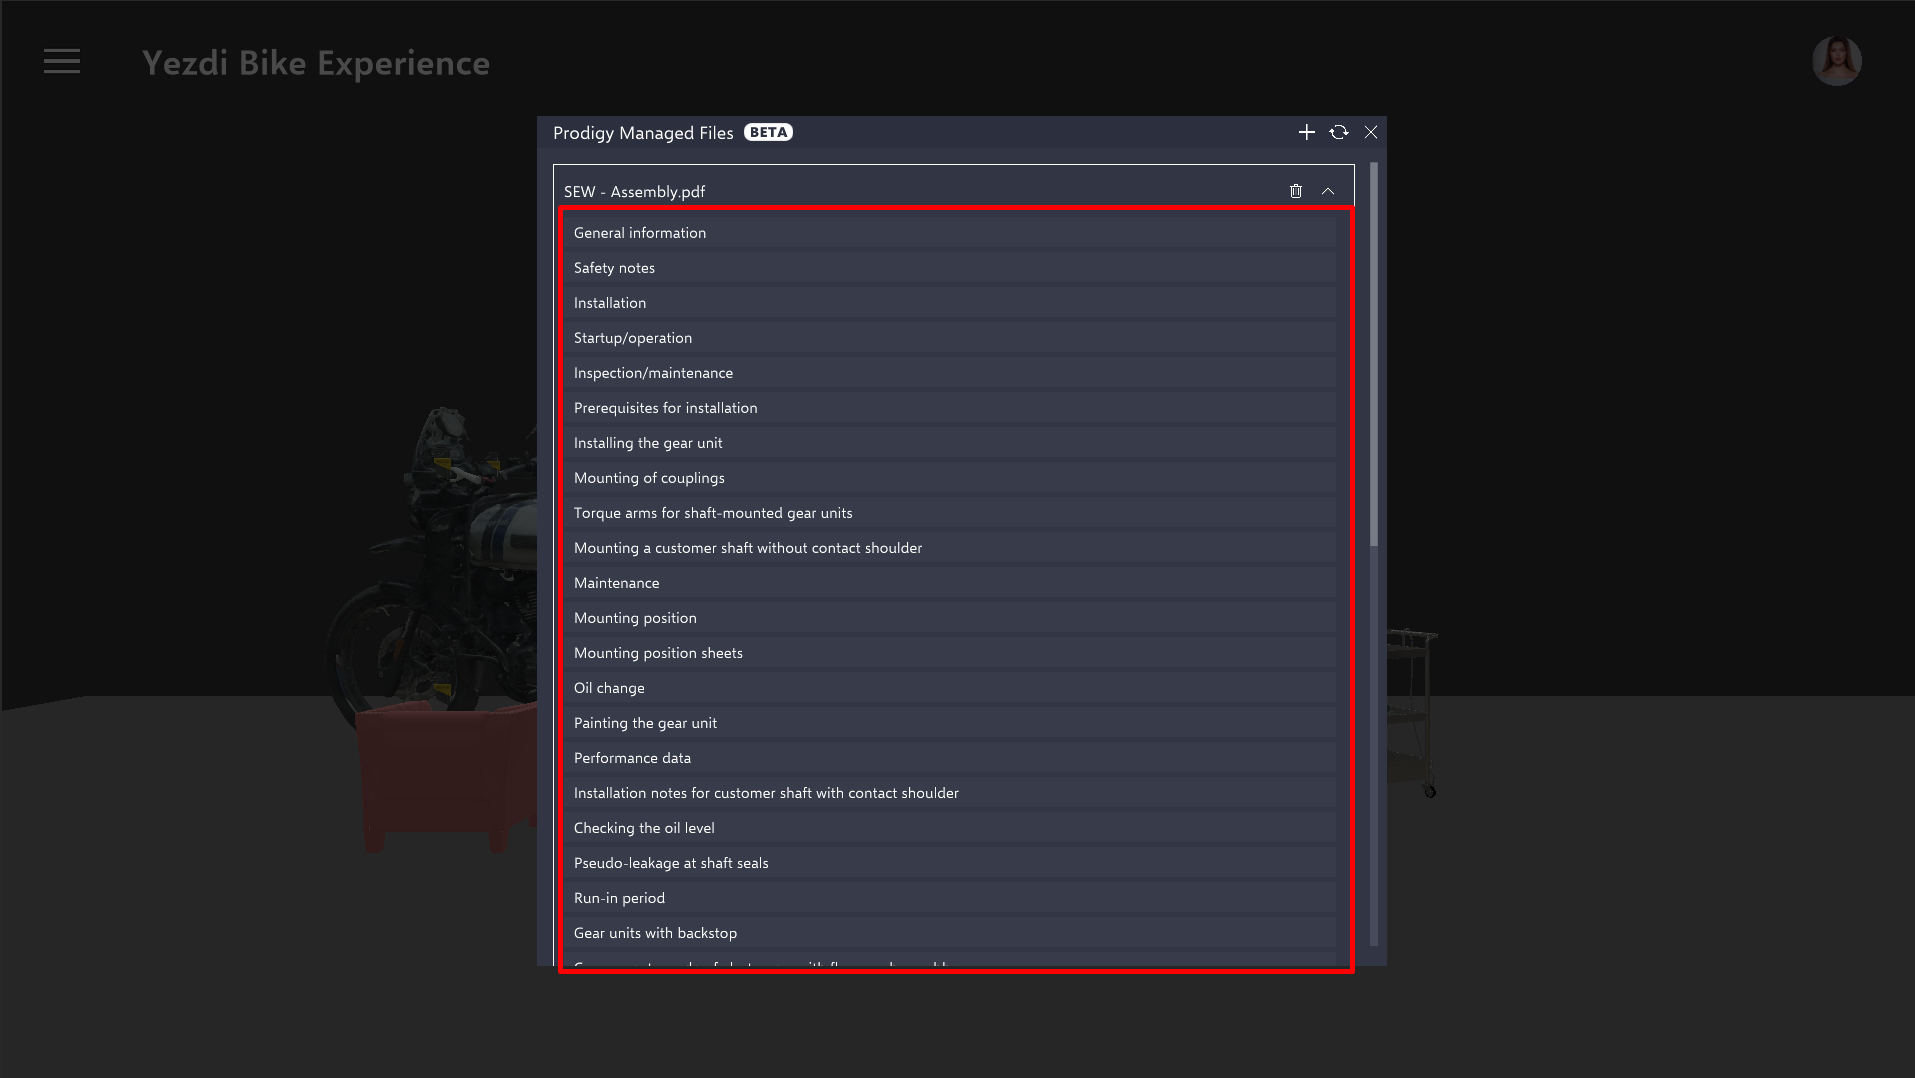 By clicking on any procedure, the steps corresponding to that procedure will be displayed.
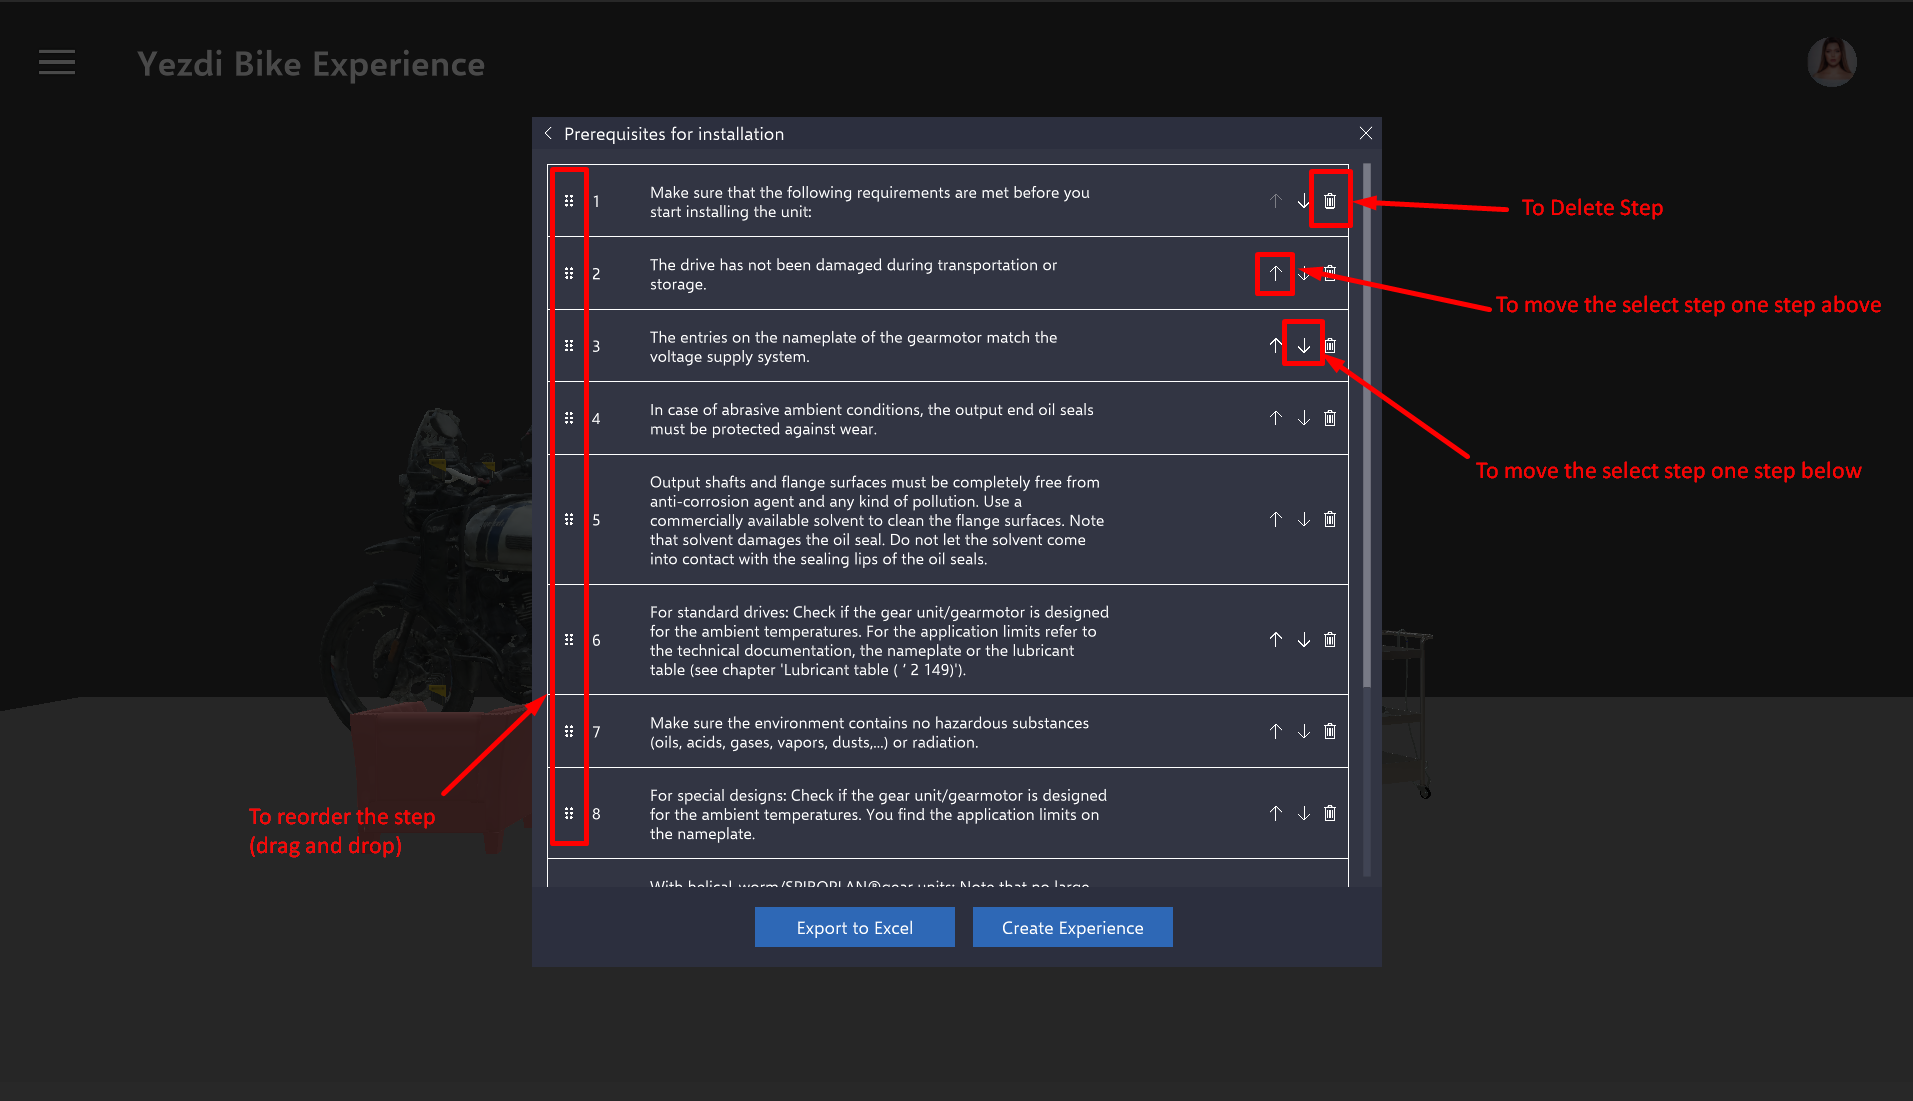
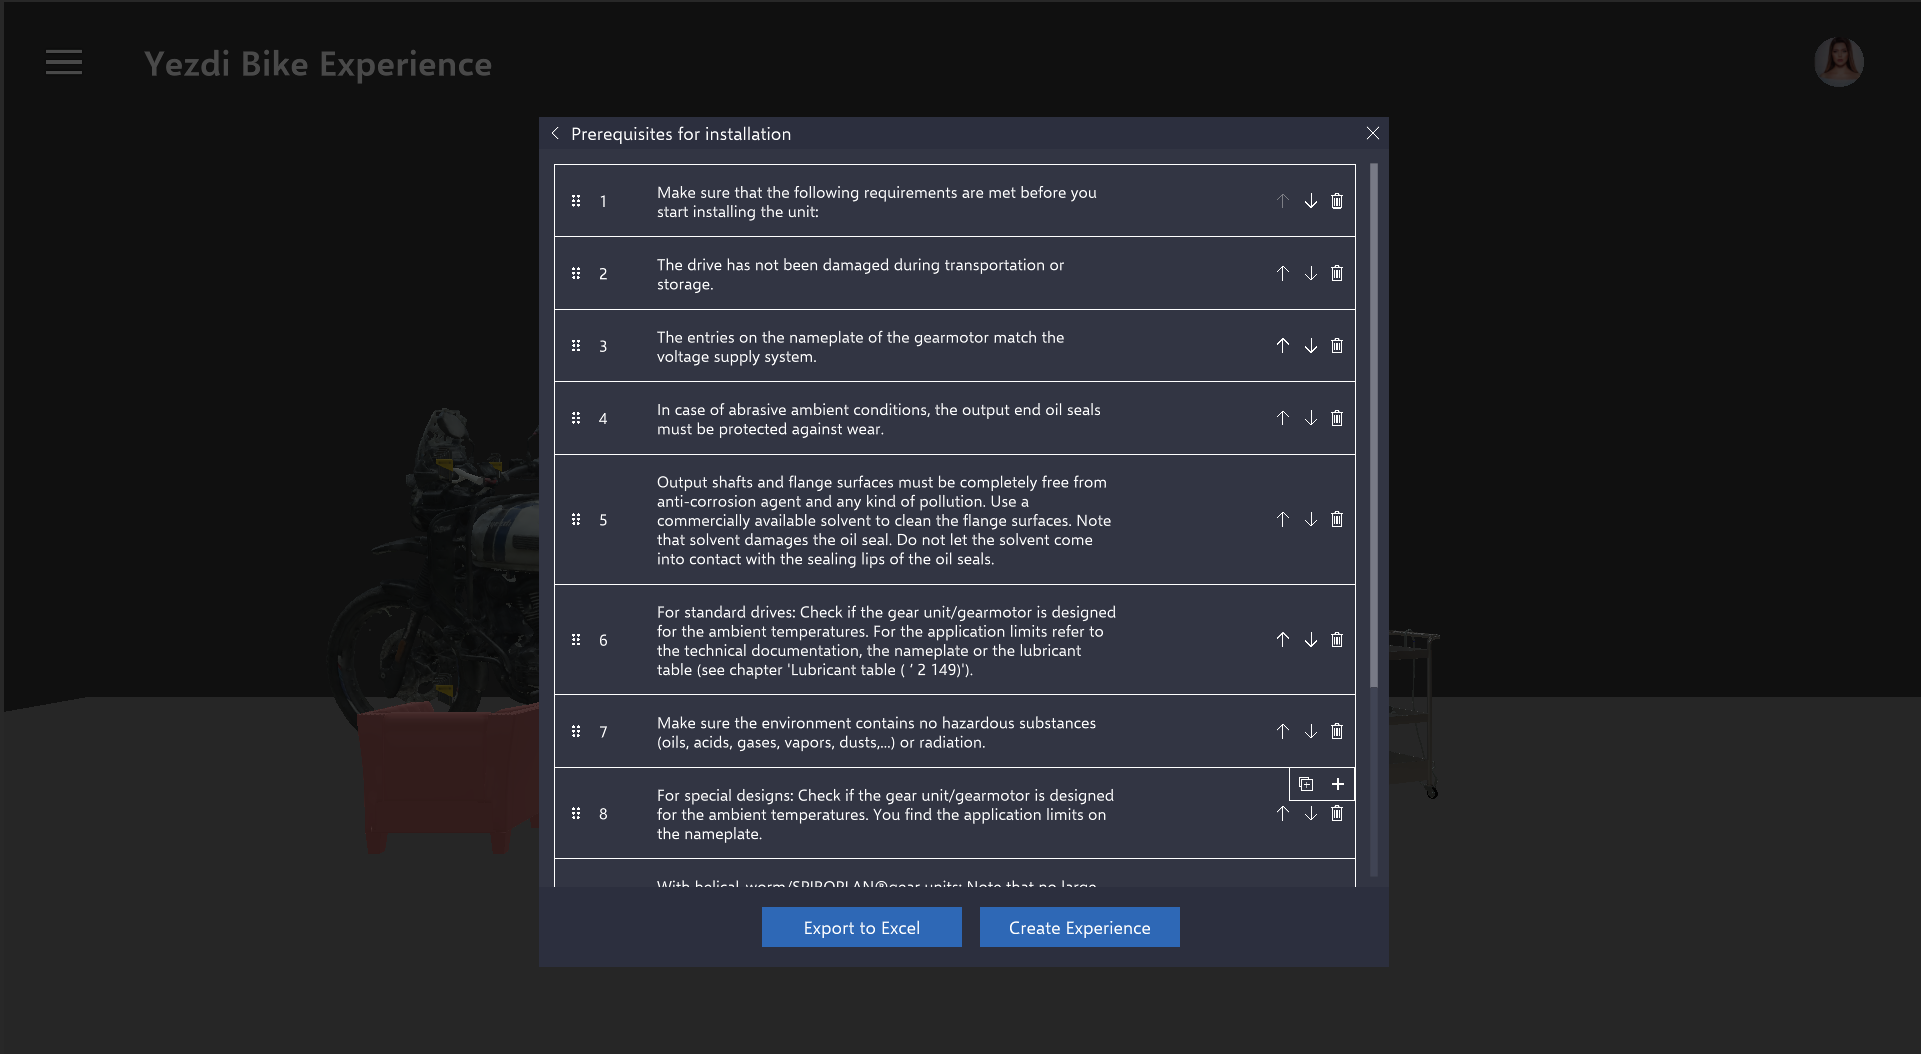 In this panel, users have the ability to rearrange the steps and delete any step as needed to begin the conversion into an Altoura Experience.
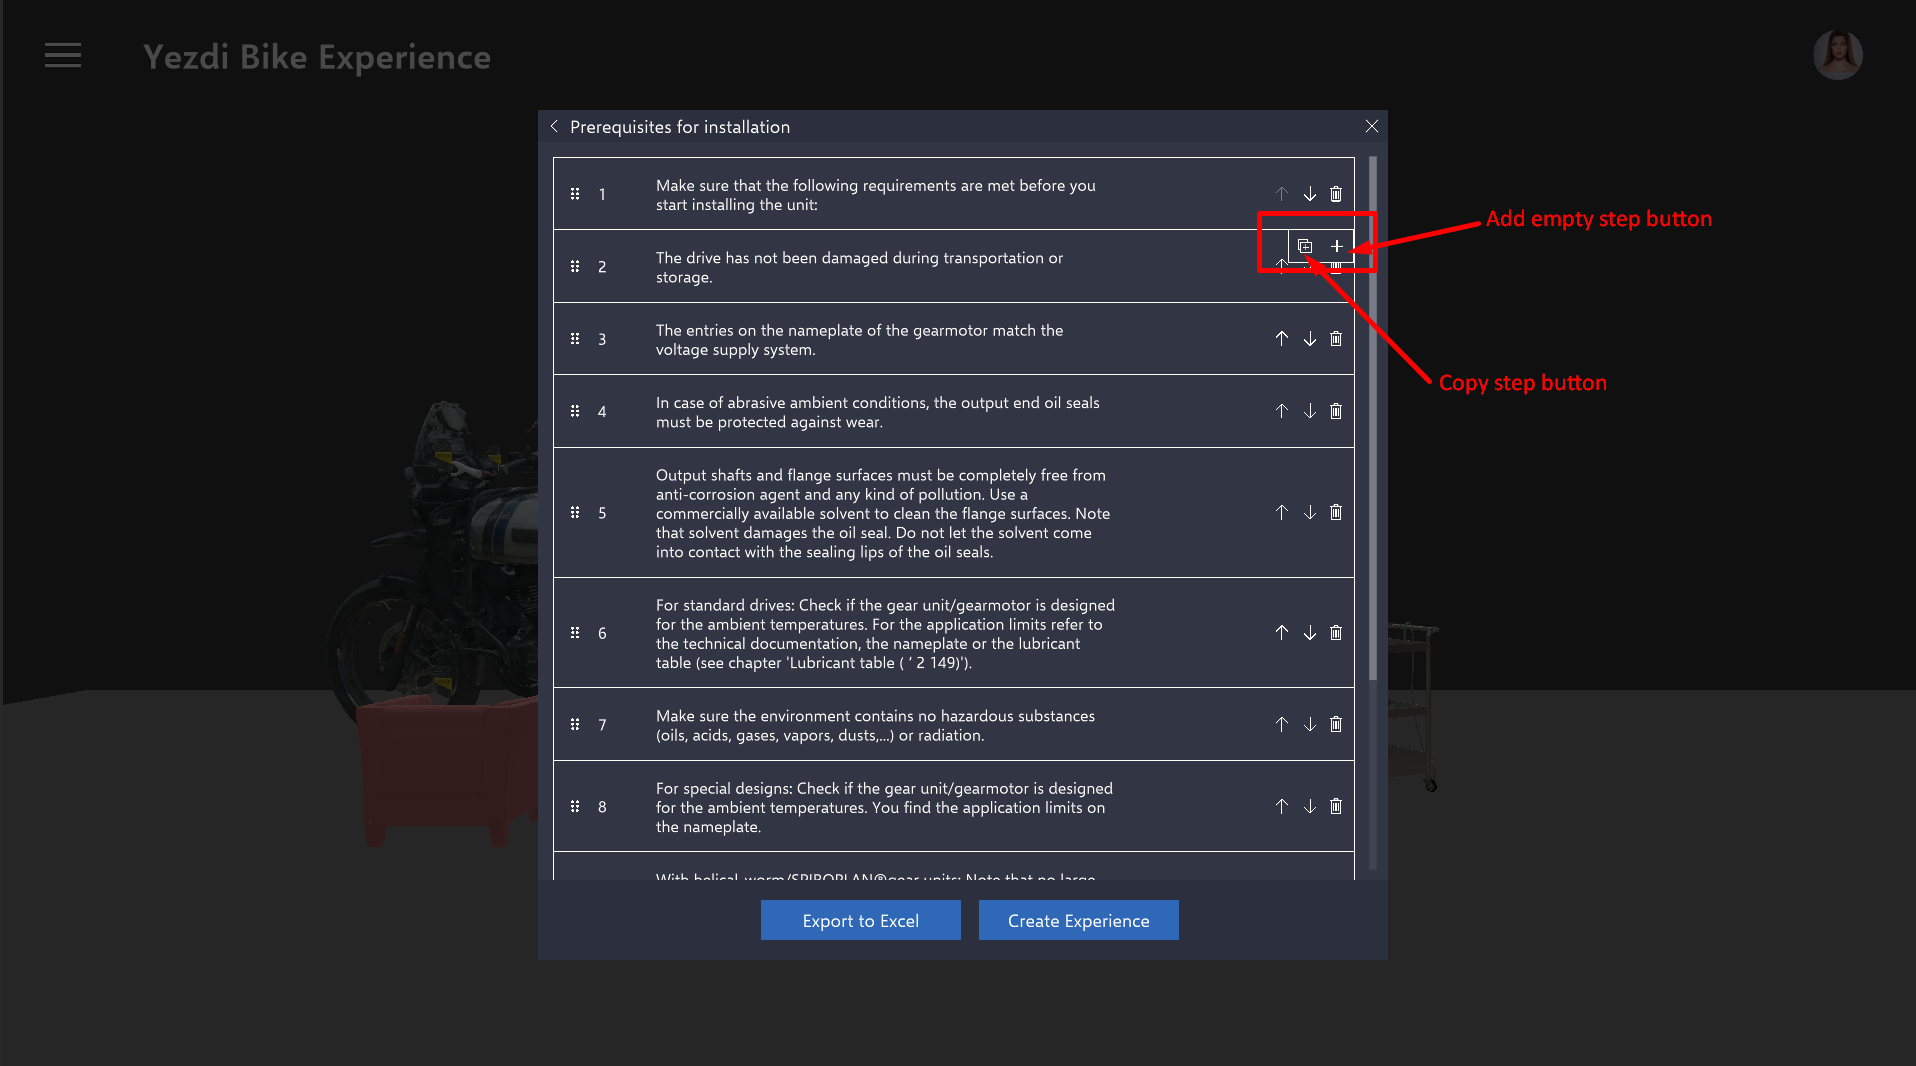
 Users have the option to add an empty step or copy an existing step. To access the ‘add/copy’ button, simply hover over the desired step. Additionally, users can reframe the sentence in a step by clicking on the text field of each row.
Experience Creation
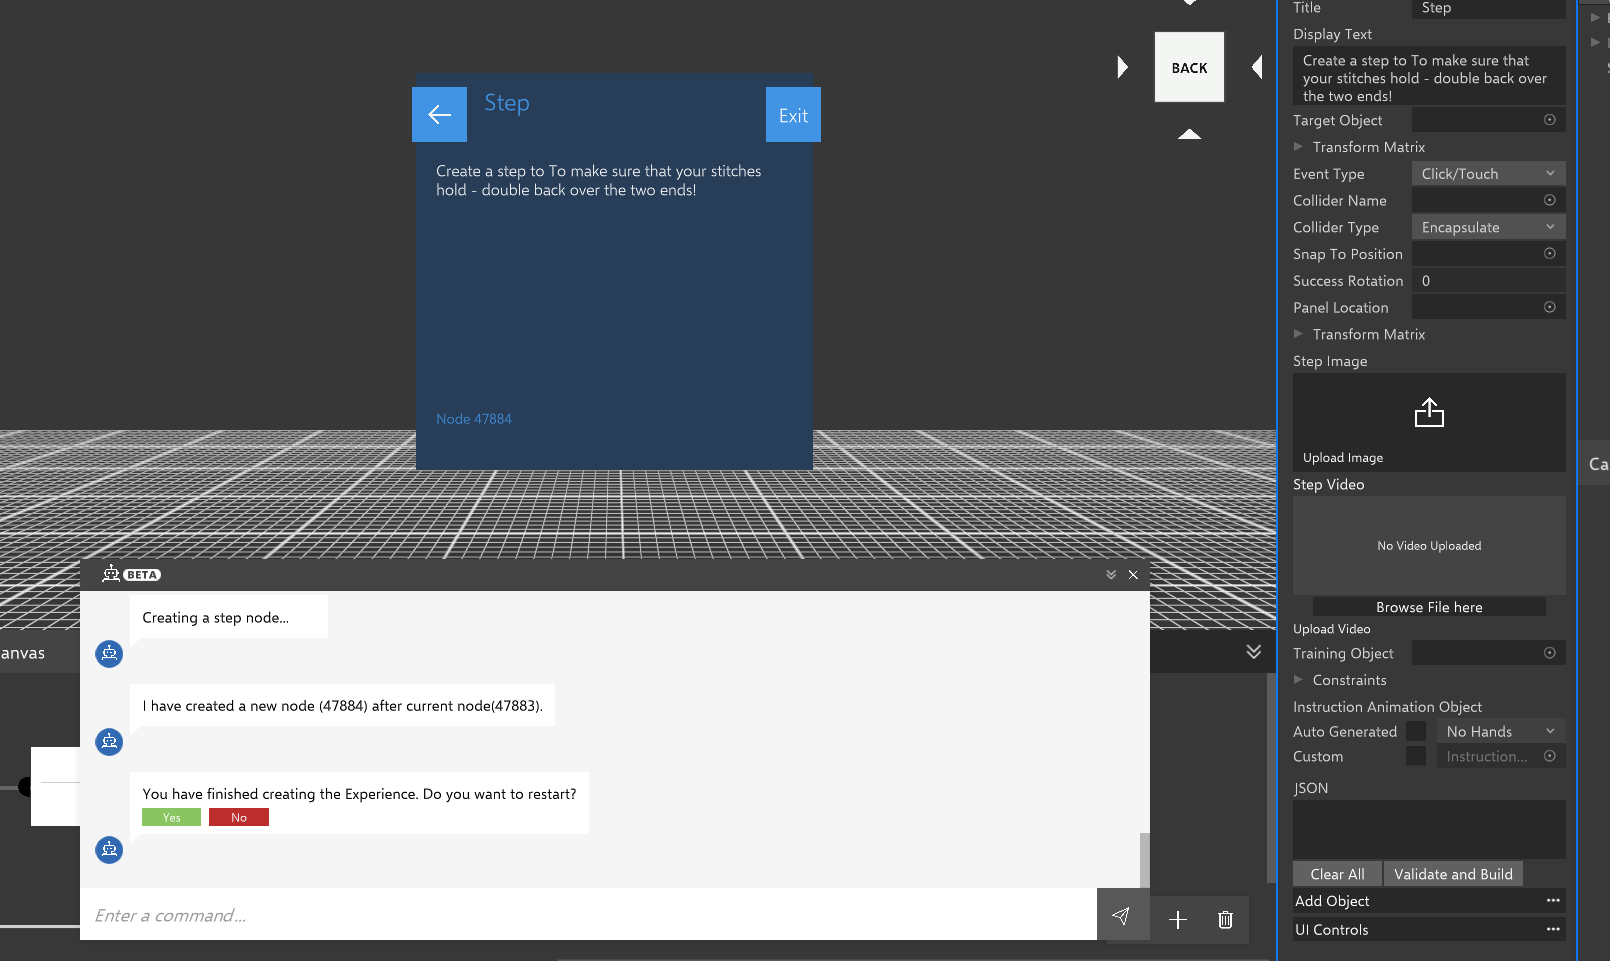
After making all the necessary changes, the user has the option to either start creating the Altoura Experience directly or to export the edited steps to an Excel file for future use. Note that the edited steps are not automatically saved anywhere. To preserve these changes, users should choose the Export to Excel option, which allows for the saved Excel file to be imported whenever required. The Create Experience button facilitates the export of all steps in order to the Experience Bot. This bot then proceeds to sequentially create nodes. To learn more about the Experience Bot, please click on the link Experience Bot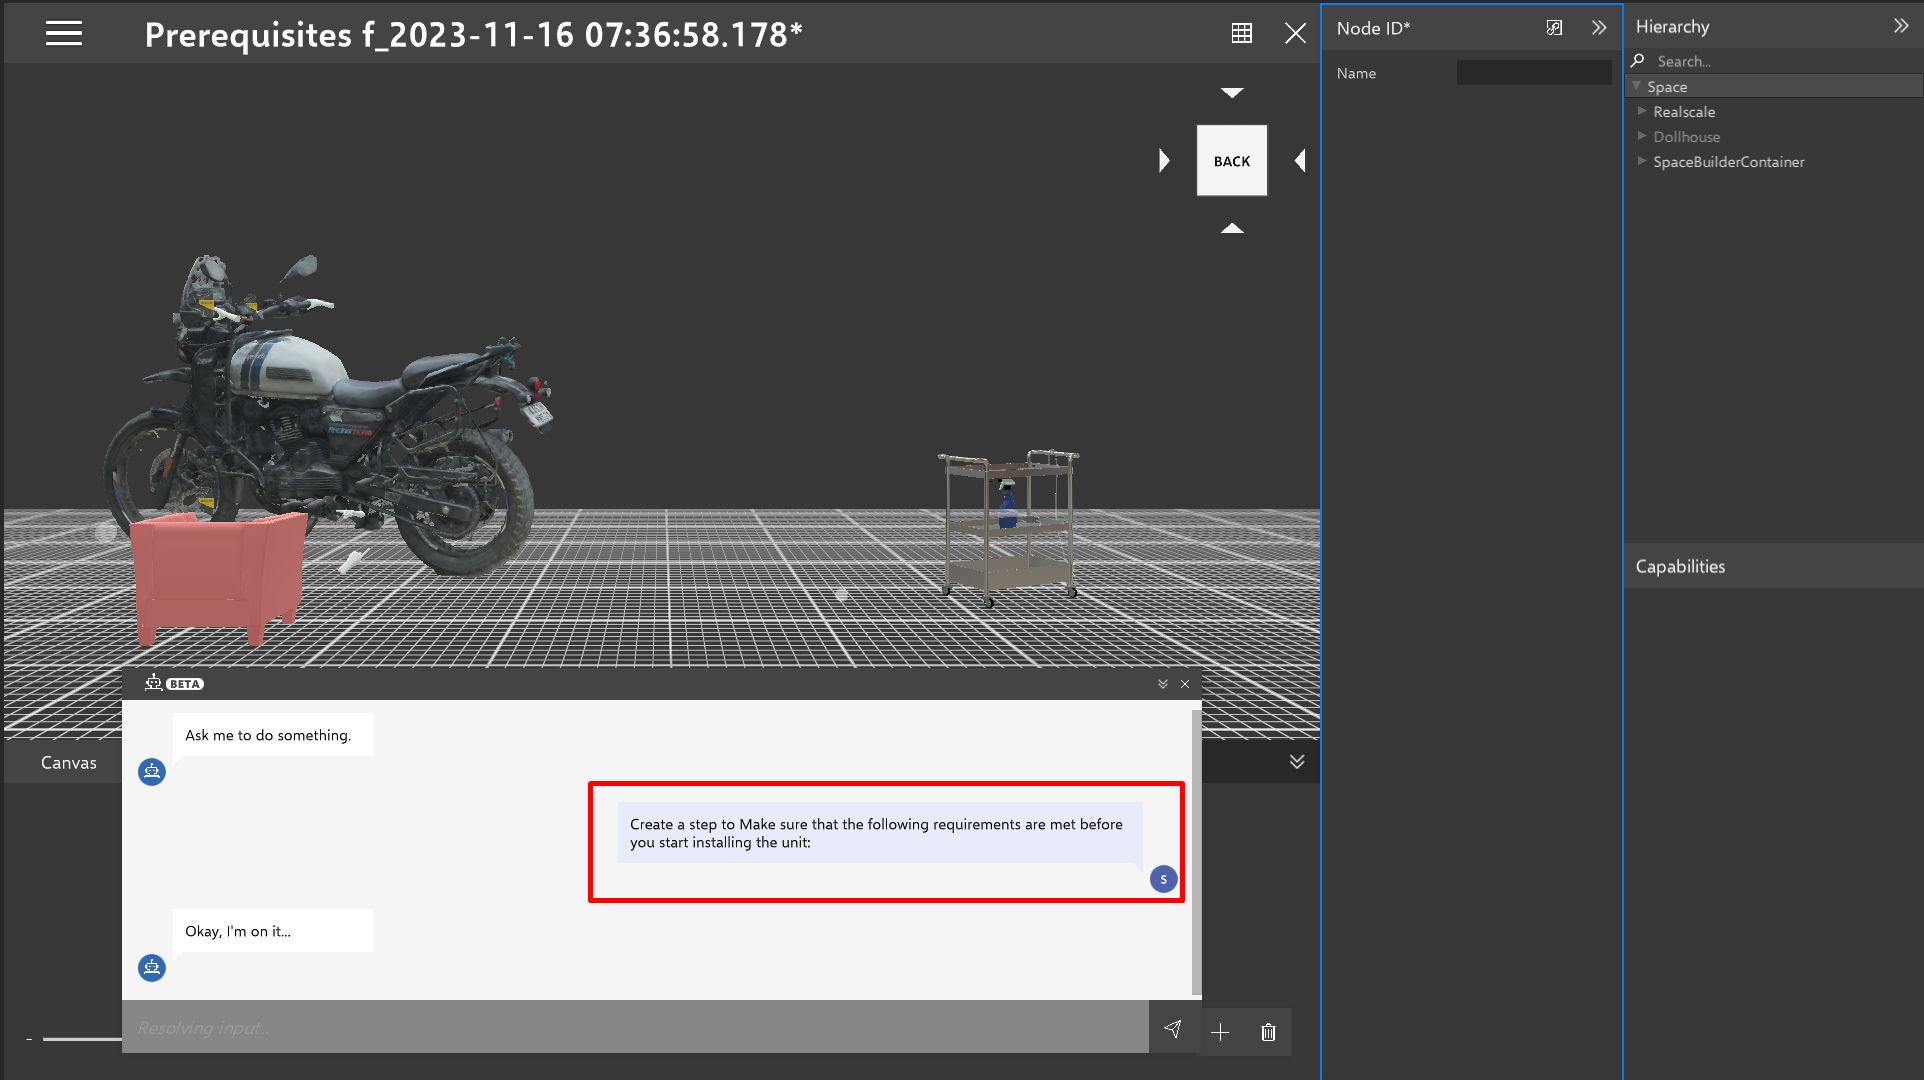 Once all the nodes have been created, the bot will prompt the user with an option to restart the experience, offering a choice of ‘Yes’ or ‘No’.
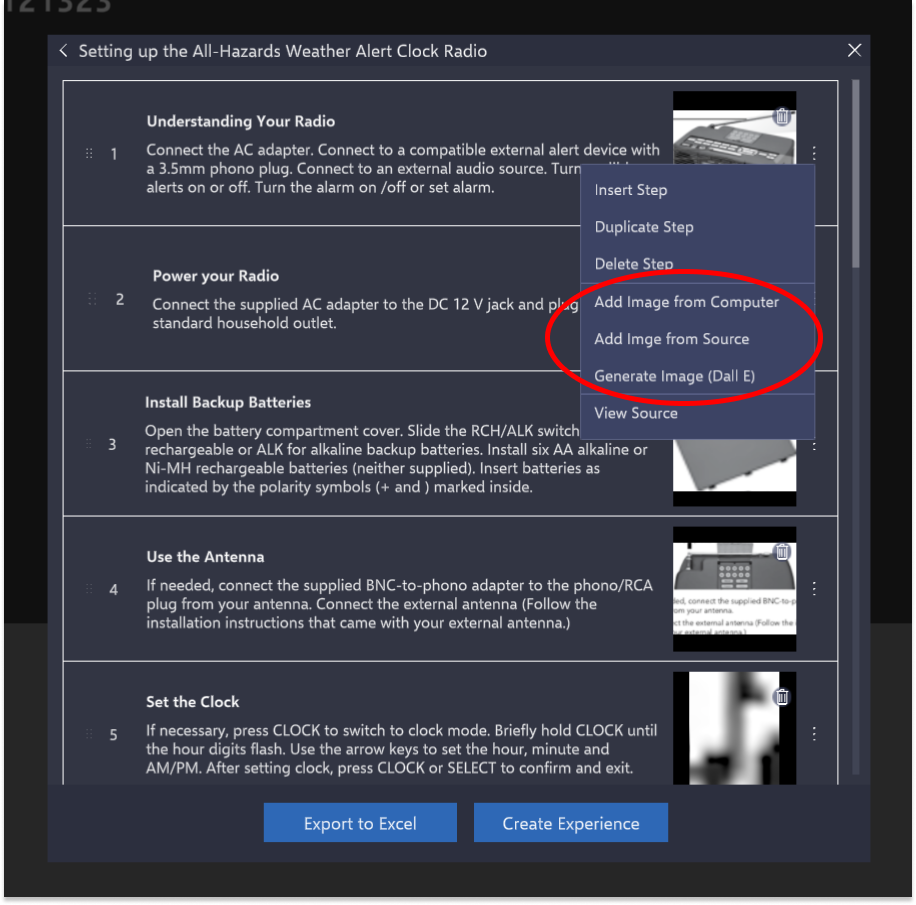
Adding, Editing and Creating Images for Steps
If your document contains images, you can use the Prodigy AI to intelligently add images to the steps from the document. To do this, check the “import images” box before Prodigy Analysis. The AI will automatically add what it determines to be the proper image for each step, if one exists, however you can edit these choices. Once the document is analyzed with images, you should see the steps with their respective thumbnails. To edit the images, just go into the step editing menu by clicking the ellipsis.
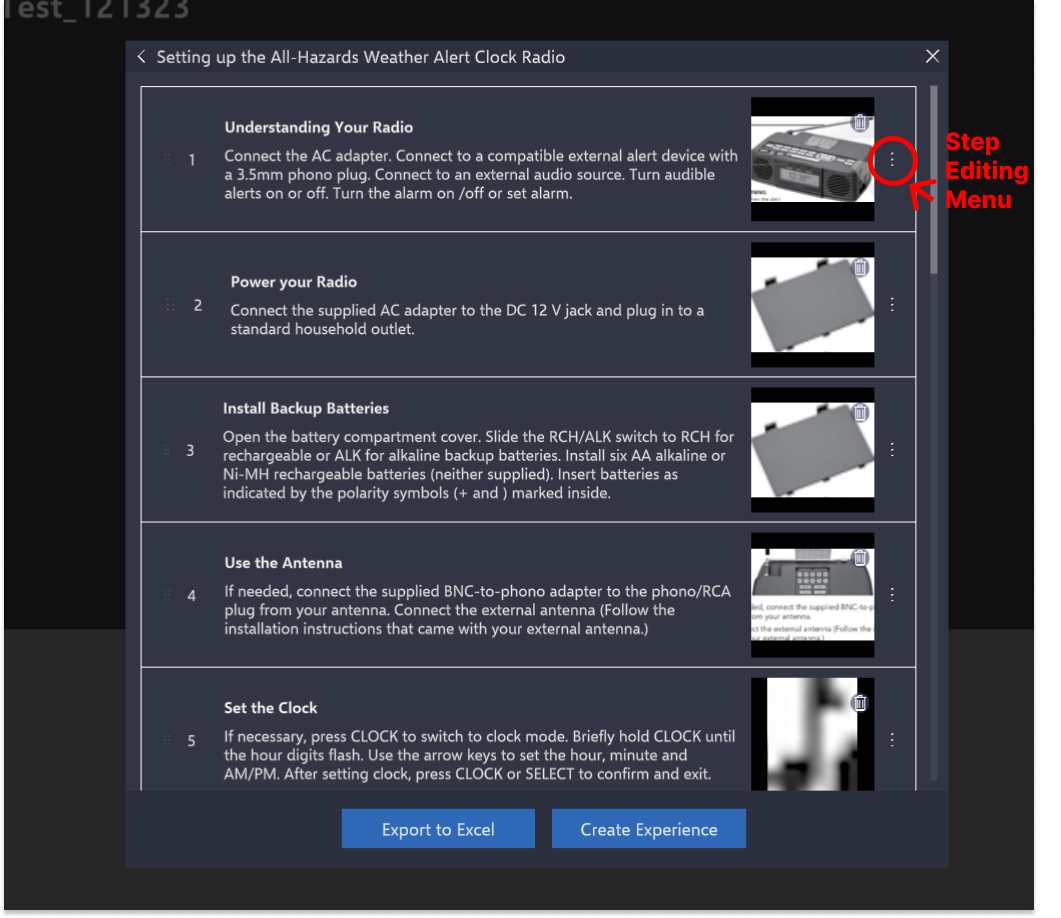 Once the Step Editing Menu is open, you should see all the options for images clustered together.