
Overview
Run Mode lets you preview how a procedure will execute in a read-only view. It shows the procedure exactly as it will appear during execution, without allowing any edits.When to Use Run Mode
Use Run Mode to:- Review the execution flow of a procedure
- Validate step order and instructions
- Preview the experience before checking the same in HMD
How to Enter Run Mode
There are two ways to launch Run Mode for a procedure.From the Procedures Page
- Open the Procedures page.
- Find the procedure you want to preview.
- Hover over the procedure card and select the Run icon.
From the Step Editor
While editing a procedure, select the Run button in the top-right of the Step Editor. This launches Run Mode immediately, useful for testing changes without leaving the editor and returning to the Procedures list.What You See in Run Mode
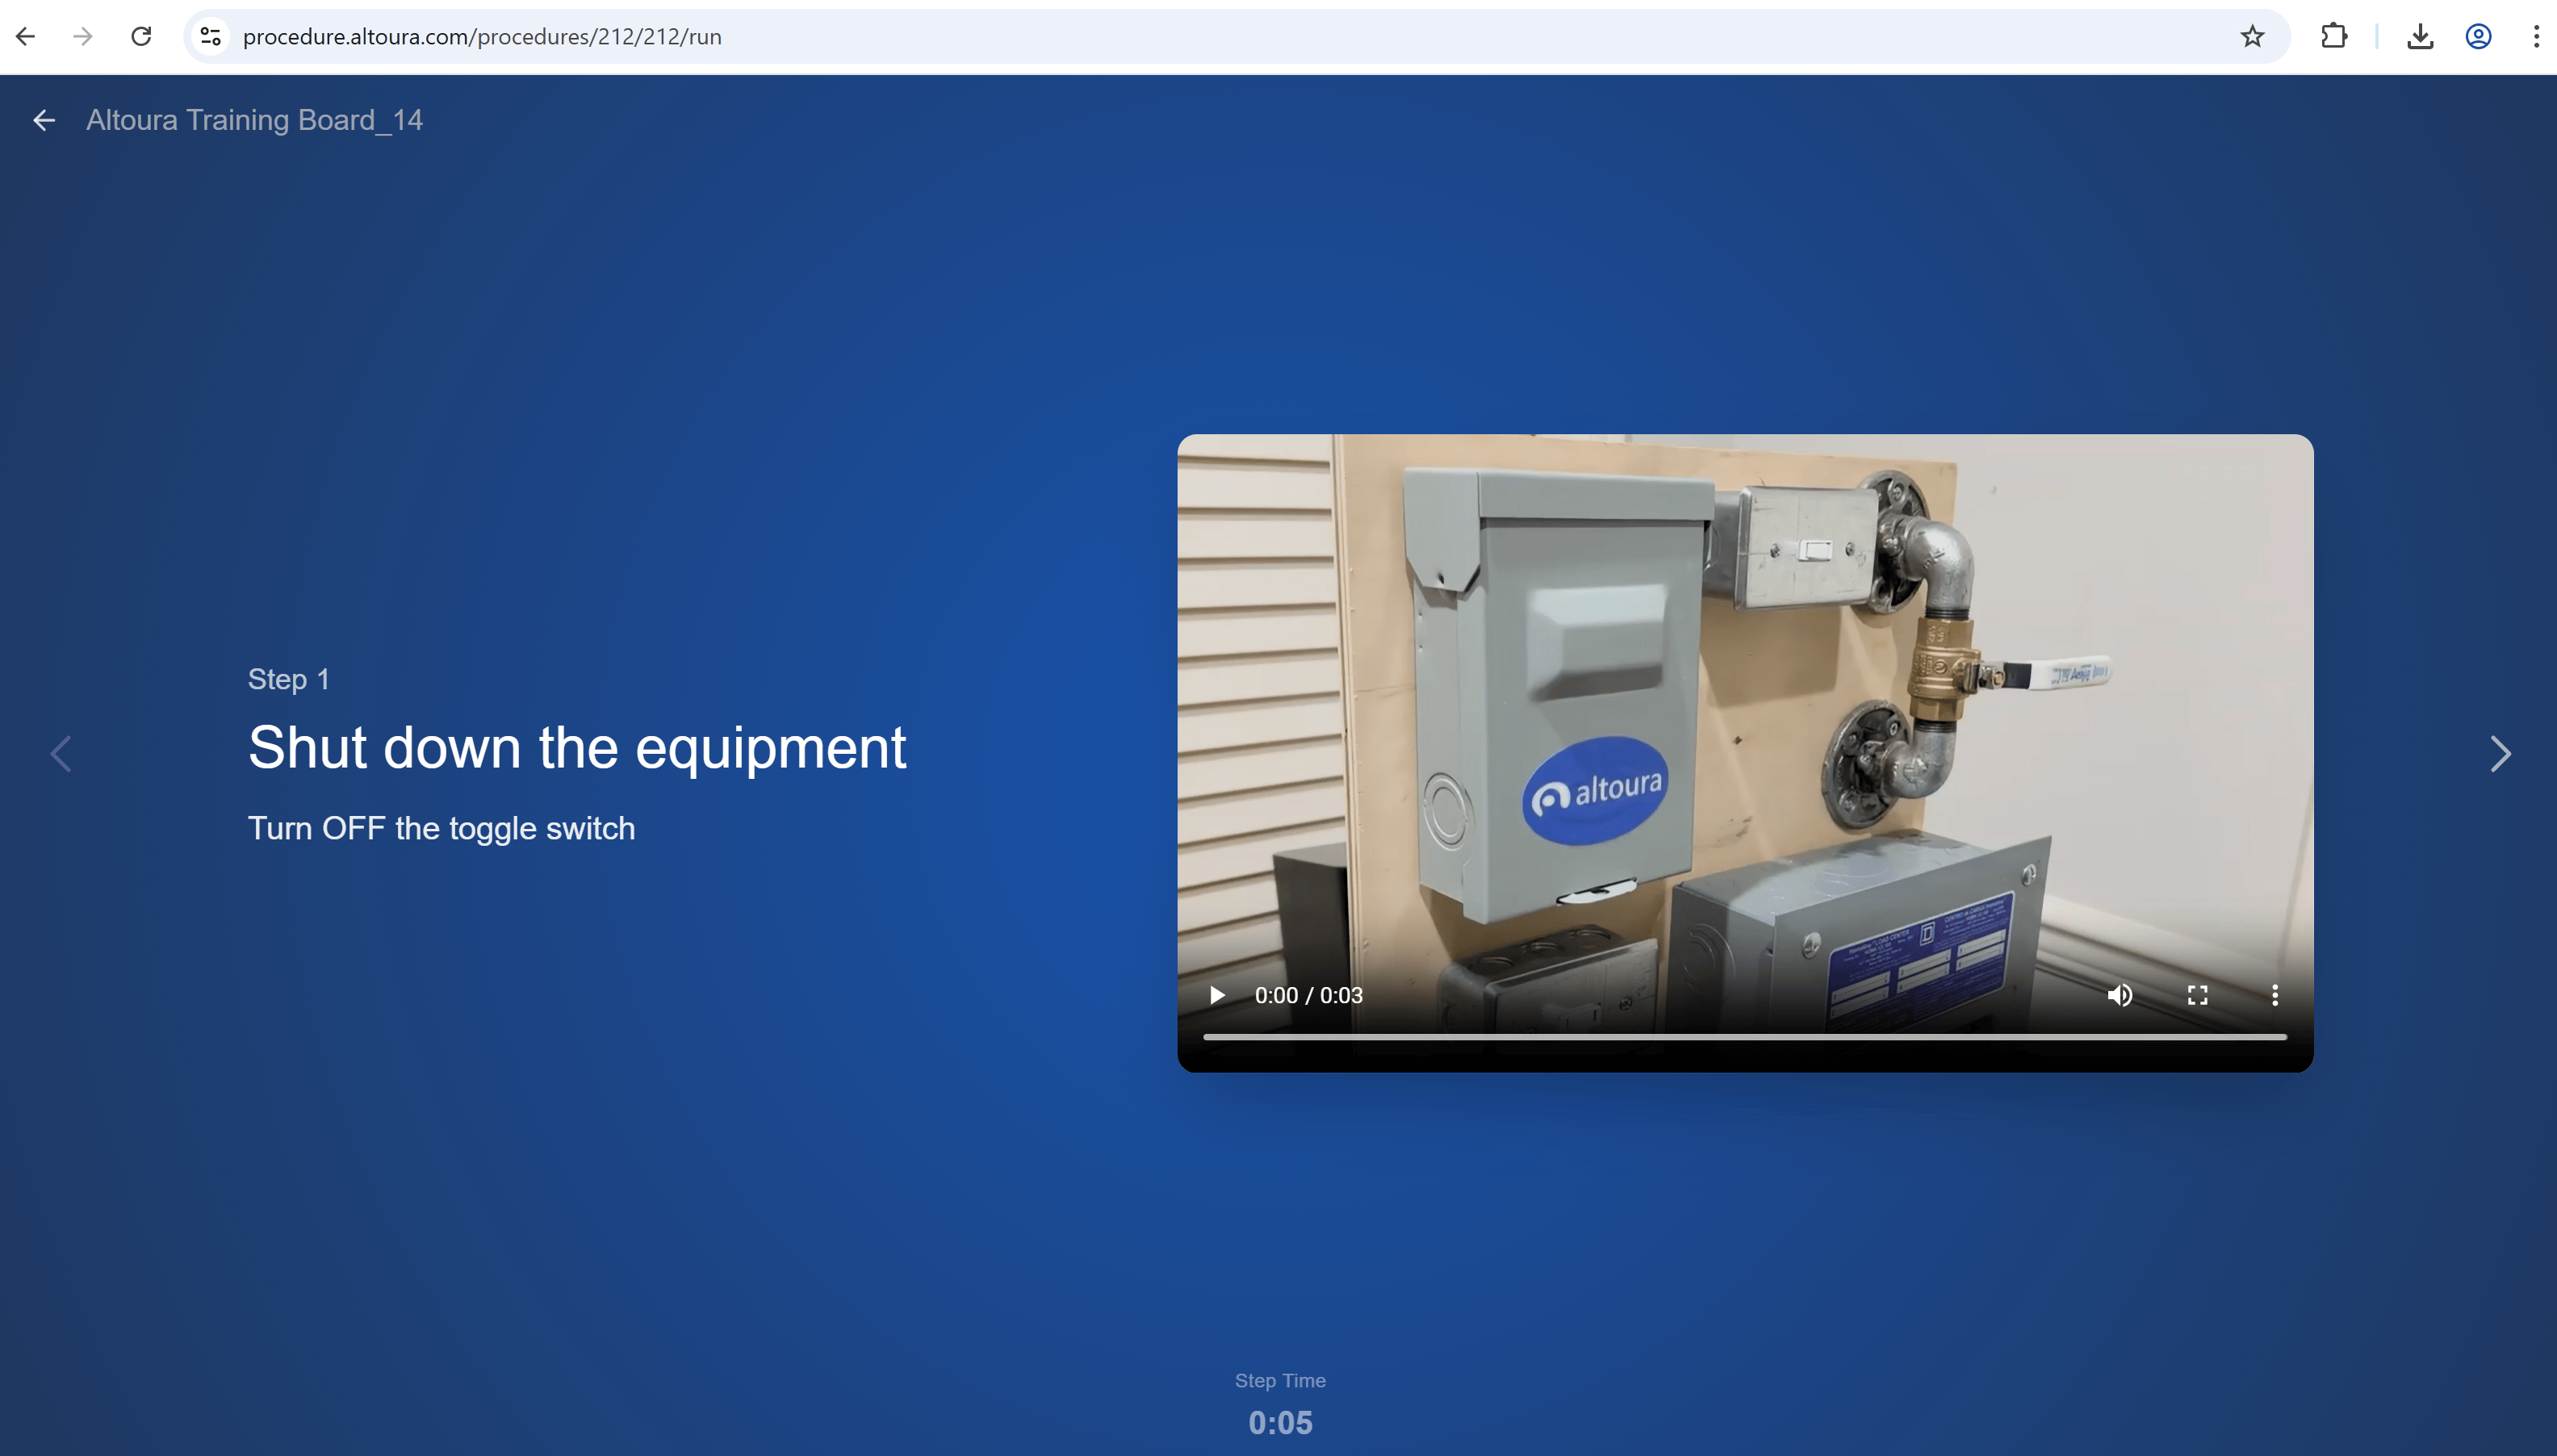
Run Mode displays only execution-related information, no editing tools, no panels, no settings:- Procedure name in the top-left, with a back arrow to exit
- Step number and Step title
- Step instructions
- Images or videos associated with the step (if available)
- Navigation chevrons (left and right) for moving to the previous or next step
- Step Time counter at the bottom showing how long the current step has been visible
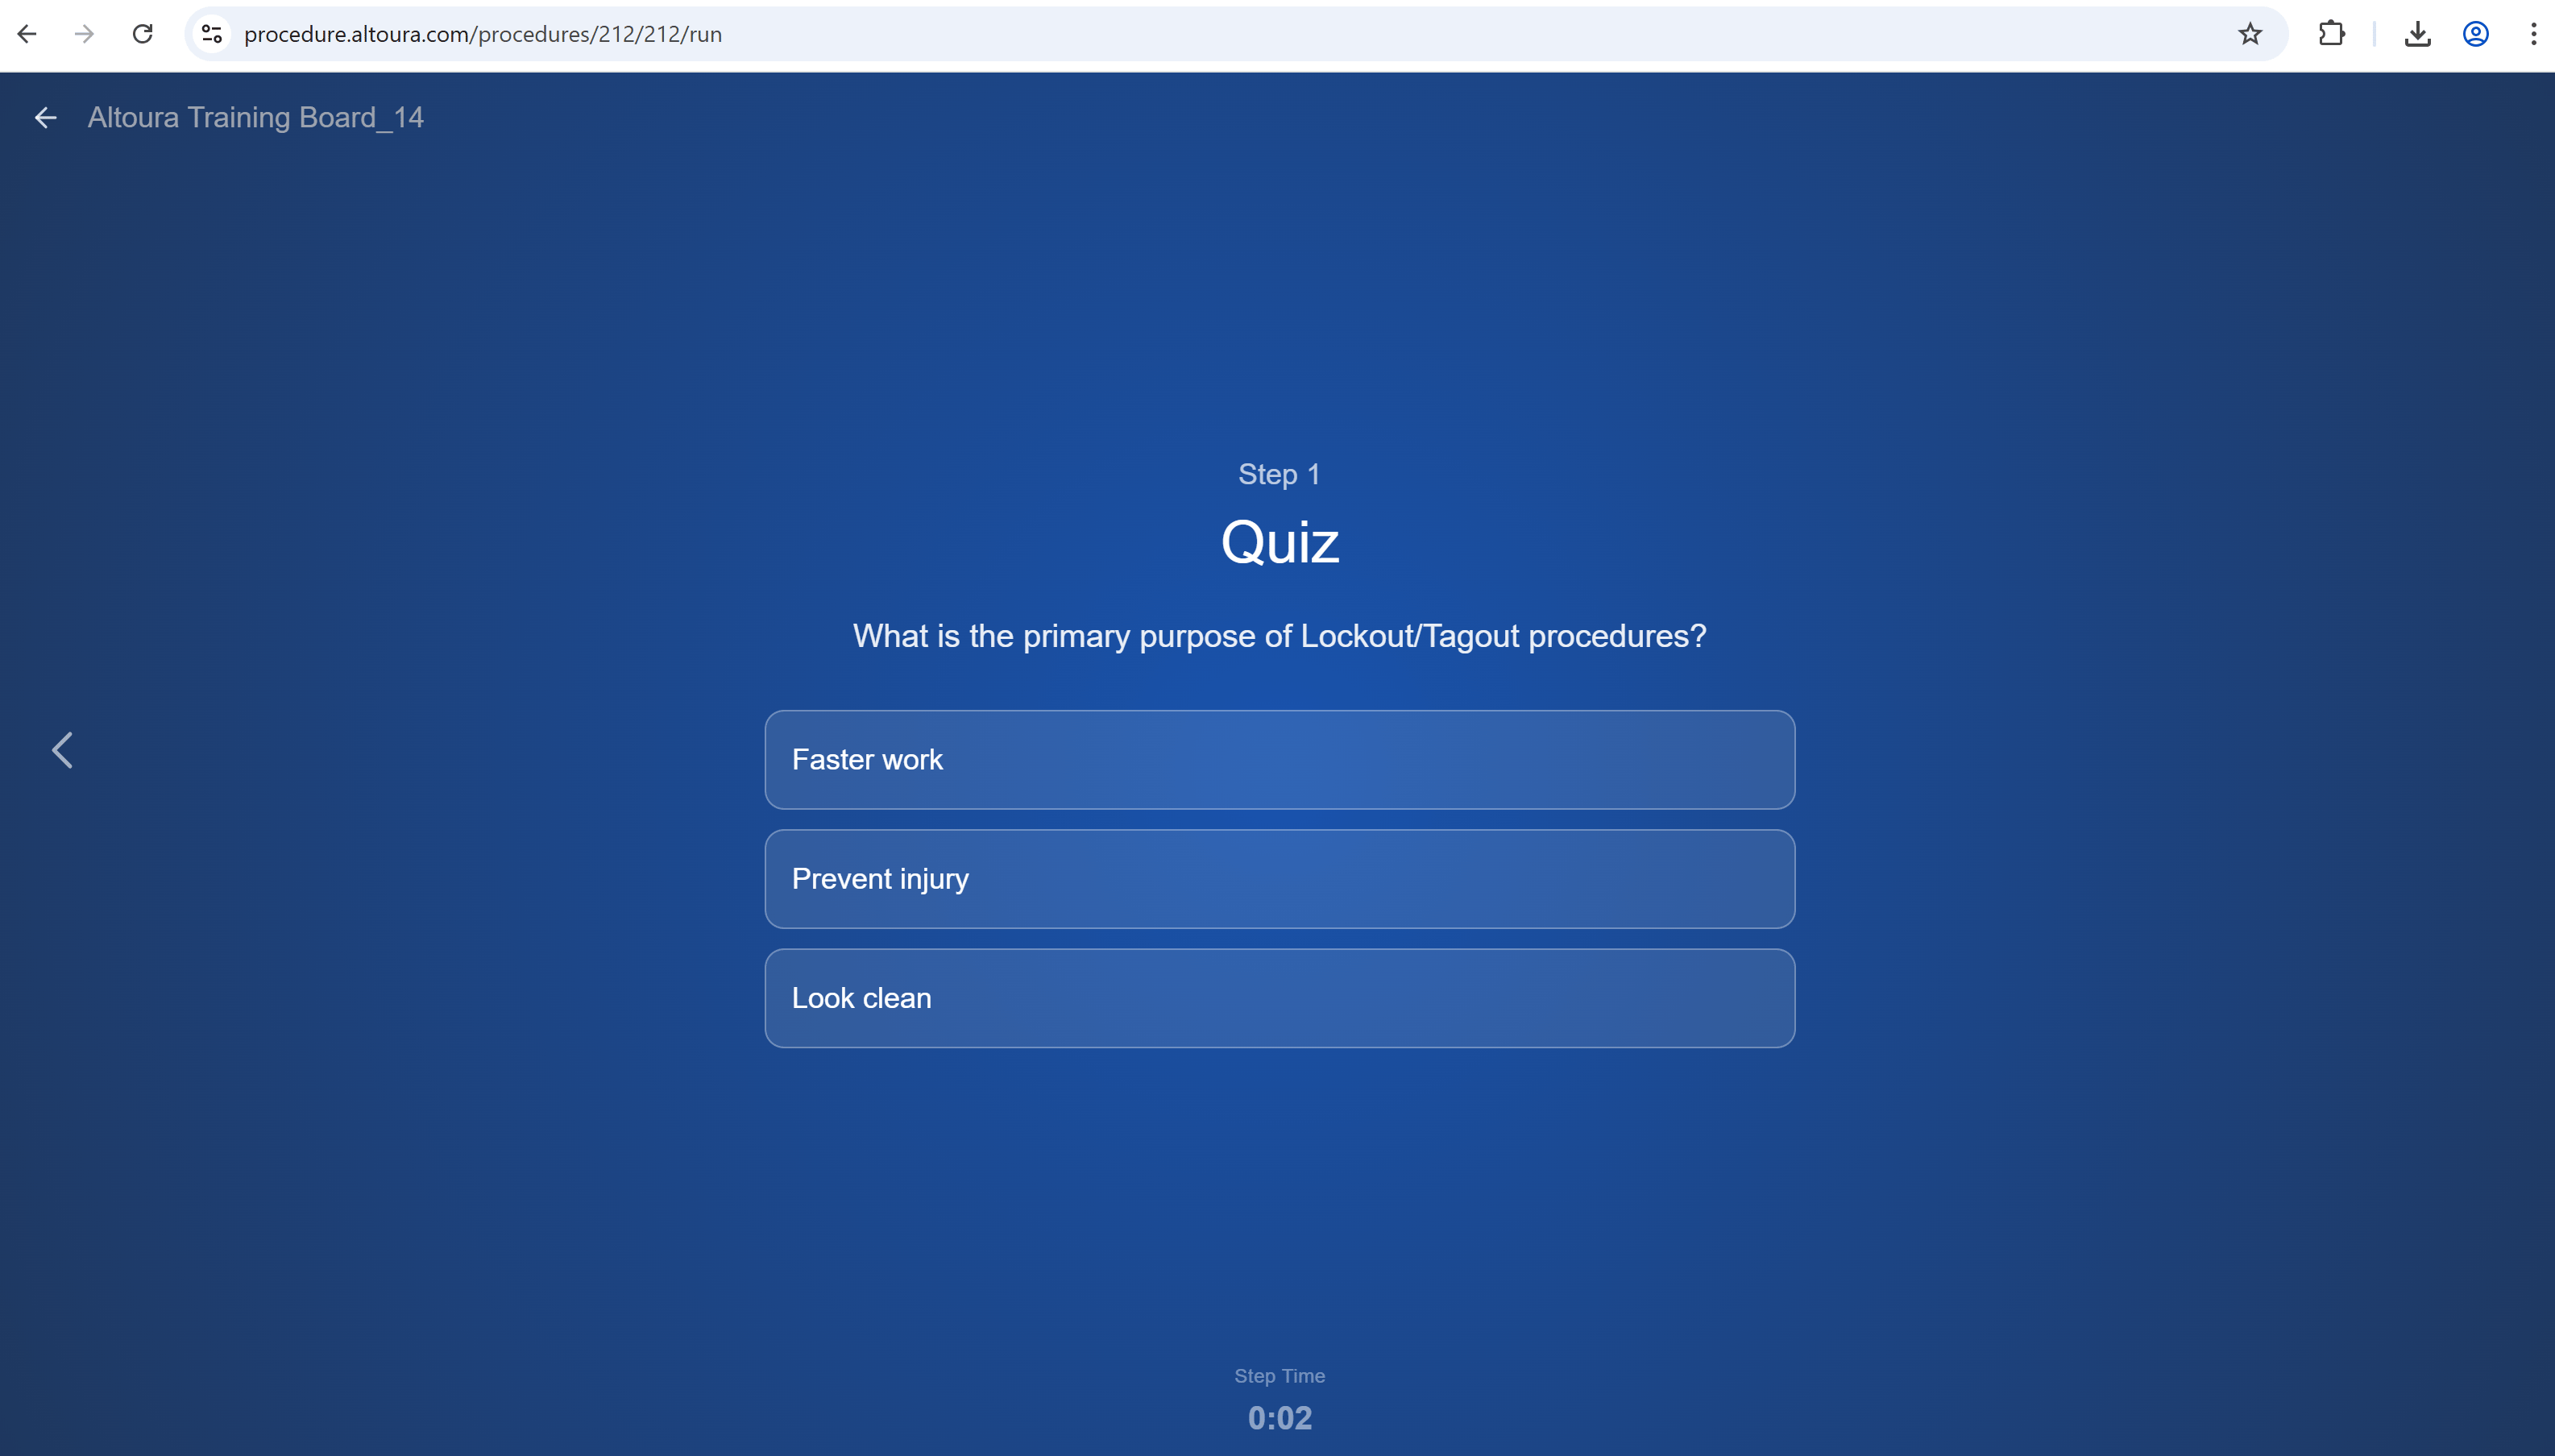
Choice Steps and Options
Some procedures include Choice Steps that allow the user to select between multiple paths; for example, a quiz question or a branching decision. In Run Mode:- Choice options are displayed within the step as selectable buttons
- Selecting an option navigates directly to the configured next step
- The procedure continues from the selected step
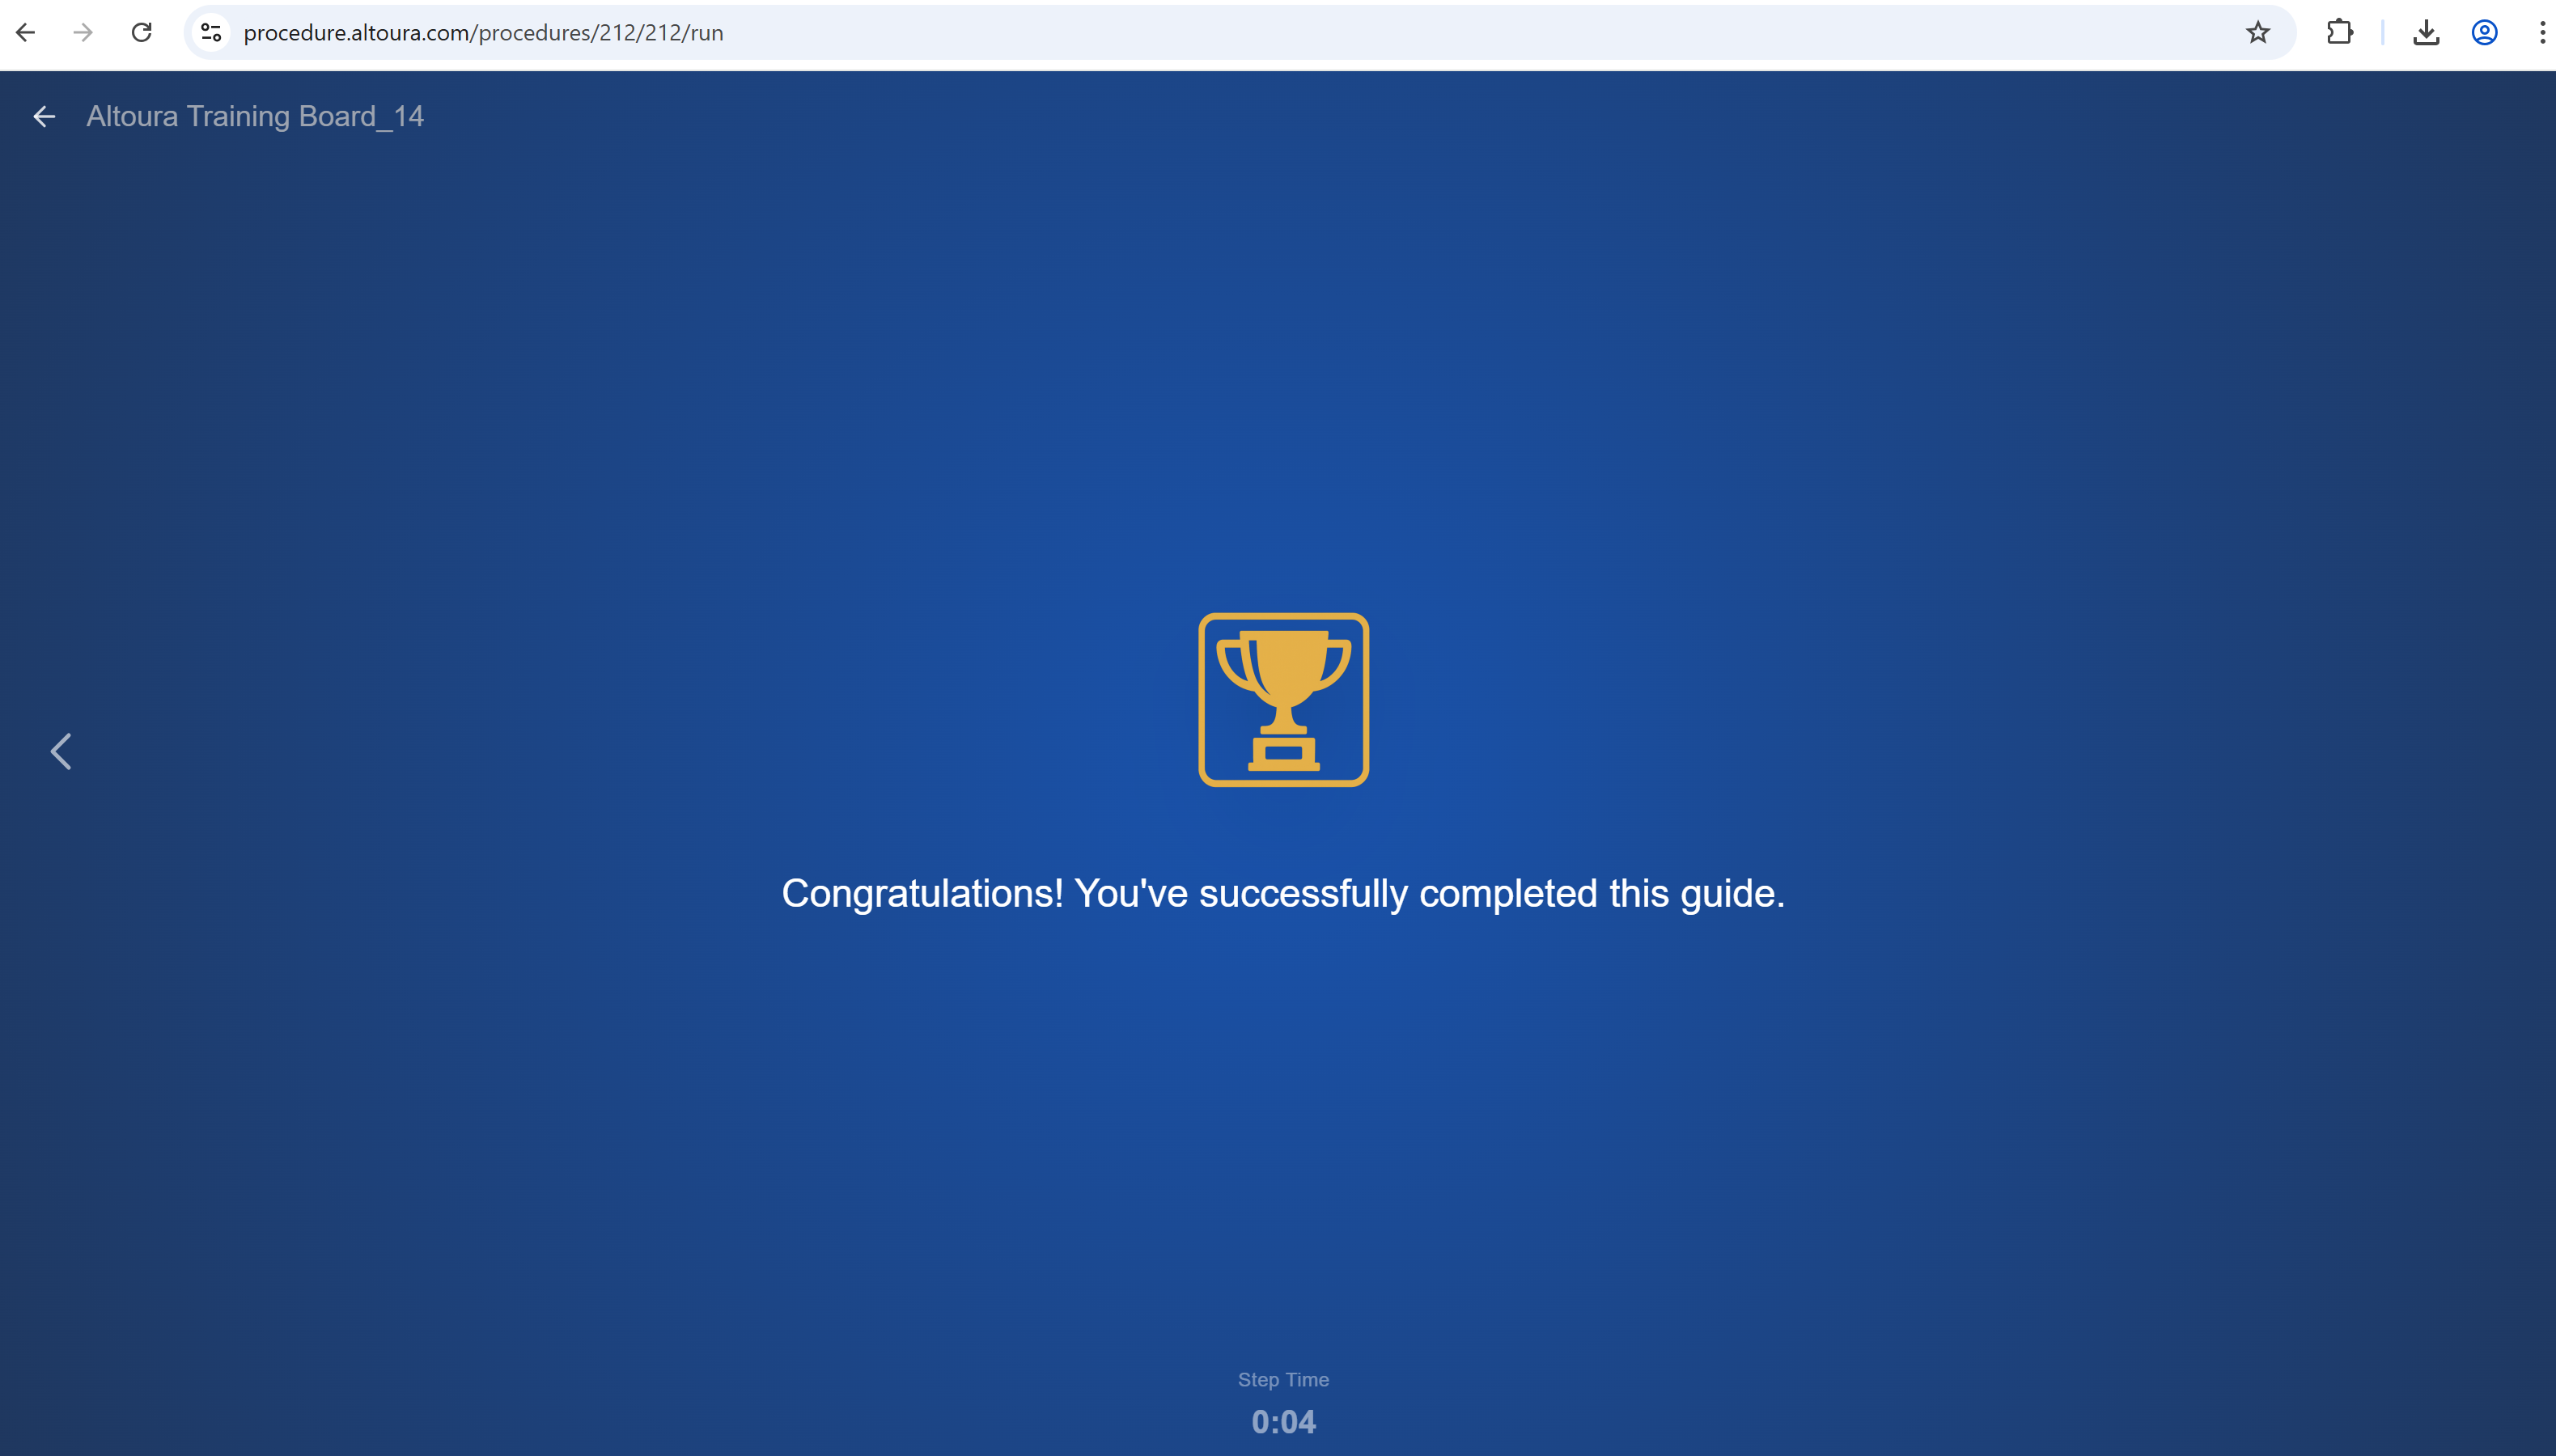
Procedure Completion
When you reach the end of a procedure, Run Mode displays a completion screen confirming the procedure was completed. The completion screen includes:- A trophy icon
- A success message (for example, Congratulations! You’ve successfully completed this guide.)
- The final Step Time for the closing step
Exiting Run Mode
To leave Run Mode at any time, select the back arrow (or the procedure name) in the top-left of the screen. You are returned to the Procedures page, where the procedure remains in its existing state. Run Mode never modifies the underlying procedure.What You Can and Cannot Do
You can:- Move through steps using the navigation chevrons
- Review instructions and content
- Select options on Choice Steps
- Watch images and videos associated with each step
- Exit at any time using the back arrow
- Edit steps or content
- Save changes
- Modify procedure structure
To make updates, exit Run Mode and open the procedure in Edit Mode.