
Top Ribbon Bar
At the very top of the screen, you’ll find: Altoura Logo — Displayed on the left side of the ribbon Training Name — The name of your current training, along with your organization badge Profile Menu — A circular avatar on the right side showing your initials or profile photo. Click it to open a dropdown with:- Your Profile — Your name, email, and profile photo are displayed at the top of the dropdown. Click the small pen icon on your avatar to upload a new profile photo. A crop dialog lets you adjust the image before saving. Your photo persists across sessions and is visible to other users in shared trainings.
- Themes — Switch the app appearance:
- Light — Bright background with dark text
- Dark — Dark background with light text
- System — Automatically matches your device’s system theme preference. Your theme choice is saved locally and persists across sessions.
- Pair Device — Connect an HMD device (such as HoloLens, Meta Quest, or HTC Vive) to your training
- Settings — Open the Settings modal to toggle features and adjust volume
- Logout — Sign out of the Trainee App. You will be redirected to the login page. Your current training URL is remembered so you can return to it after logging back in.
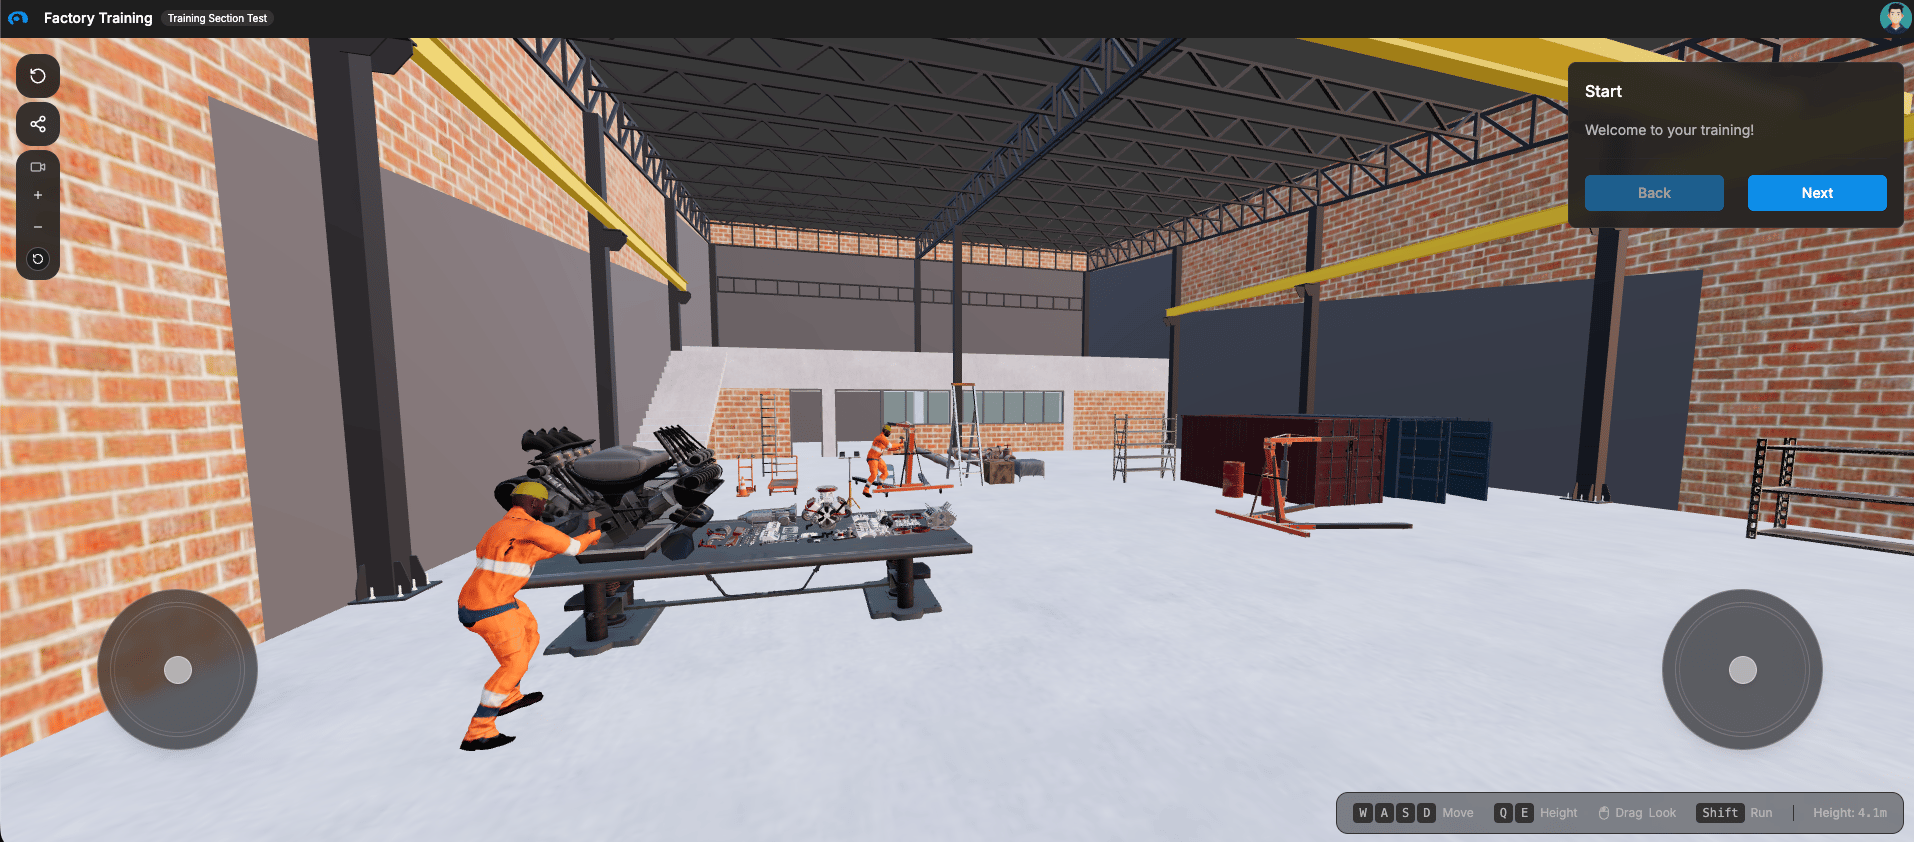
3D Viewport
The main center area of the screen is the 3D environment where your training takes place. This is where you see the objects and equipment you’re training on, look around, interact with highlighted items, and follow animated instructions.Floating Controls
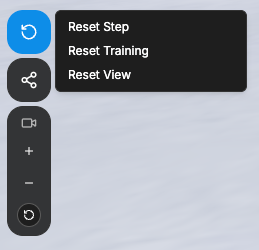
On the left edge of the screen, you’ll see a set of floating buttons stacked vertically.Reset Menu
Share Button
Below the reset menu. This button is only visible if your account has Share permission for the training, which is determined by your role in the organization. Click it to open a share modal where you can invite others to the training:- Enter one or more email addresses to invite
- Each email is validated before sending
- Once shared, the training appears in the invited user’s Dashboard
If you don’t see the share button, your account does not have Share permission for this training. Contact your organization admin if you need to share access with others.
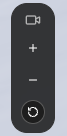
Camera Height Controls
Virtual Joystick
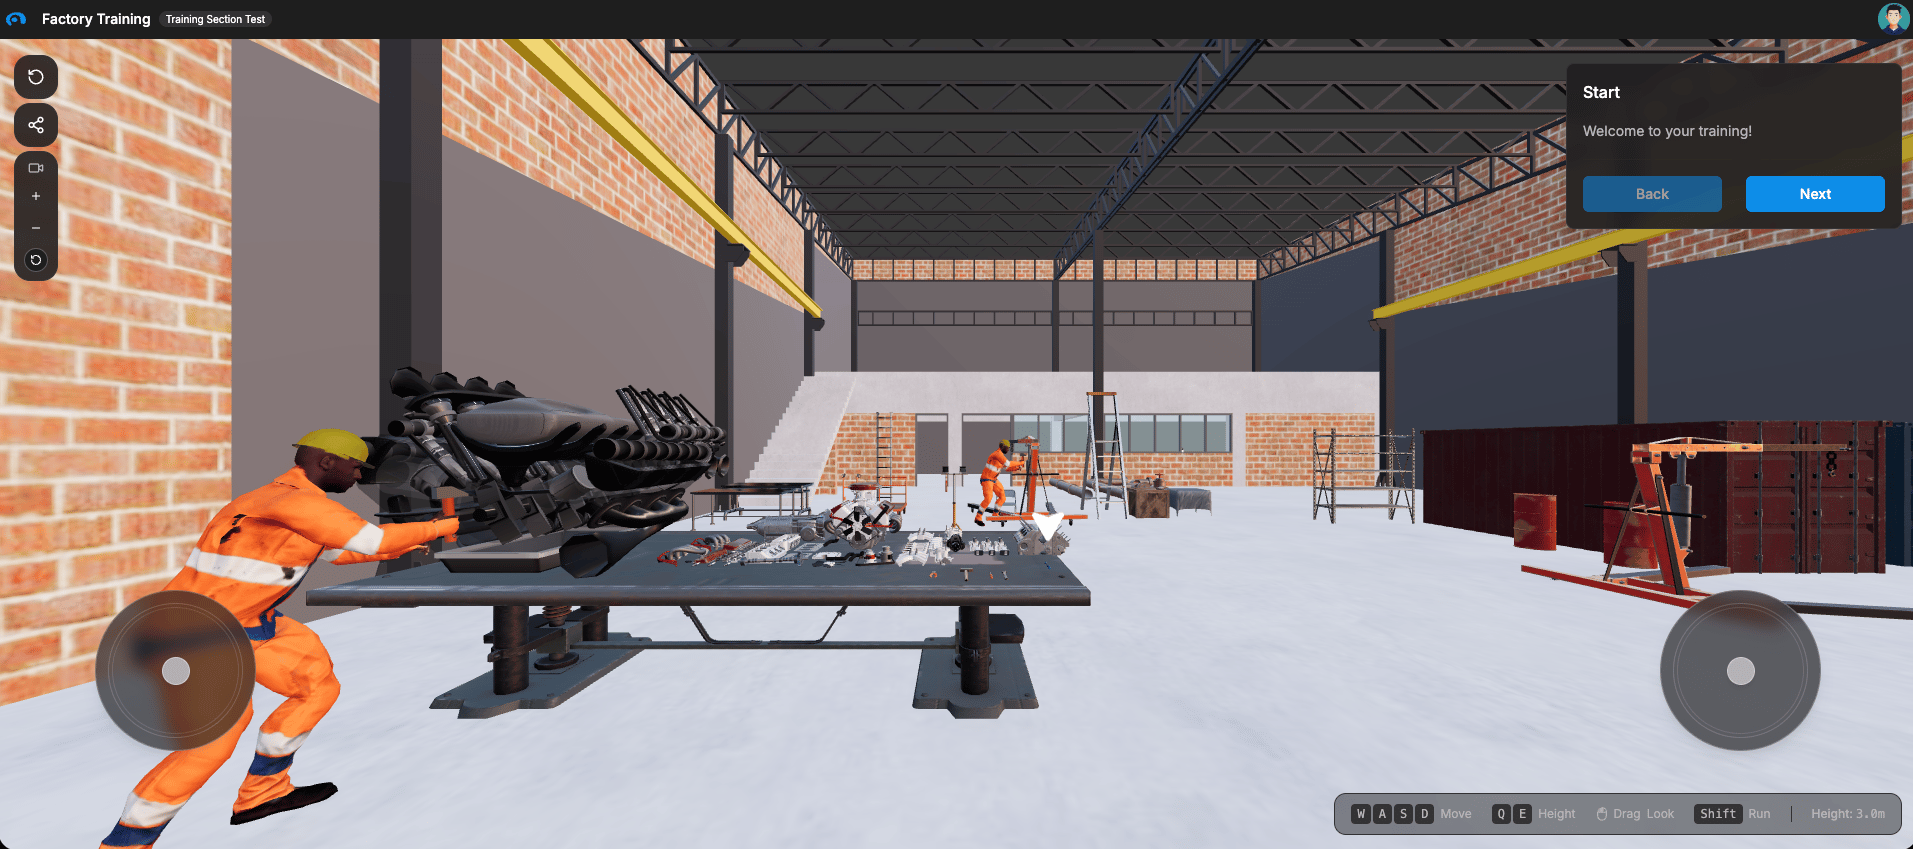
Step Panel
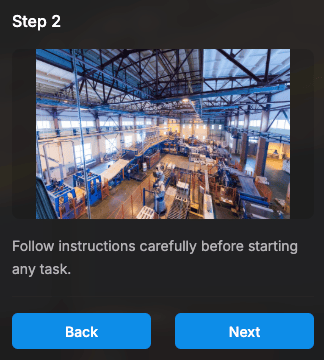
The step panel appears in the corner of the screen and is your primary guide through each training step: Step Title and Instructions — What you need to do at each step Back / Next Buttons — Navigate between steps (when available) Multiple-Choice Questions — Select an answer from the provided options. Each choice navigates you to the step configured by the training author. Some choices may lead to different branches of the training depending on your answer. Text Input Fields — Type your response and press Enter or click the Next button. Some steps require a specific answer format and will show an error if your input does not match. In steps that combine a text input with an object interaction or a choice, you must enter a valid response first before you can interact with the object or select a choice.Information Panels
Throughout your training, additional panels may appear with instructions, images, videos, or reference material.Text Panels
Image Panels
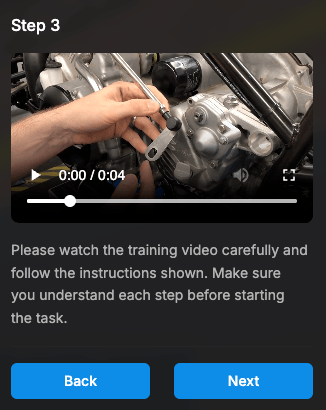
Video Panels
Panel Placement & Behavior
Panels appear on the right side of the screen in screen space. Their visibility and content are controlled by the training creator — panels may be shown or hidden at different points in the training, and their content updates automatically as you progress through steps.Ghost Hand Animations

How It All Works Together
- Read instructions from the step panel
- See visual guidance from highlighted objects and ghost hand animations
- Interact by tapping on objects in the 3D scene — tap triggers the event (tap, move, or rotate) configured by the creator
- Move to the next step using the step panel or by completing the interaction