

Ways to Add Objects
New objects are selected automatically. If an object with the same name already exists, a number is added to the new name, such as
Workbench (2). The same rule applies when you paste or duplicate objects.
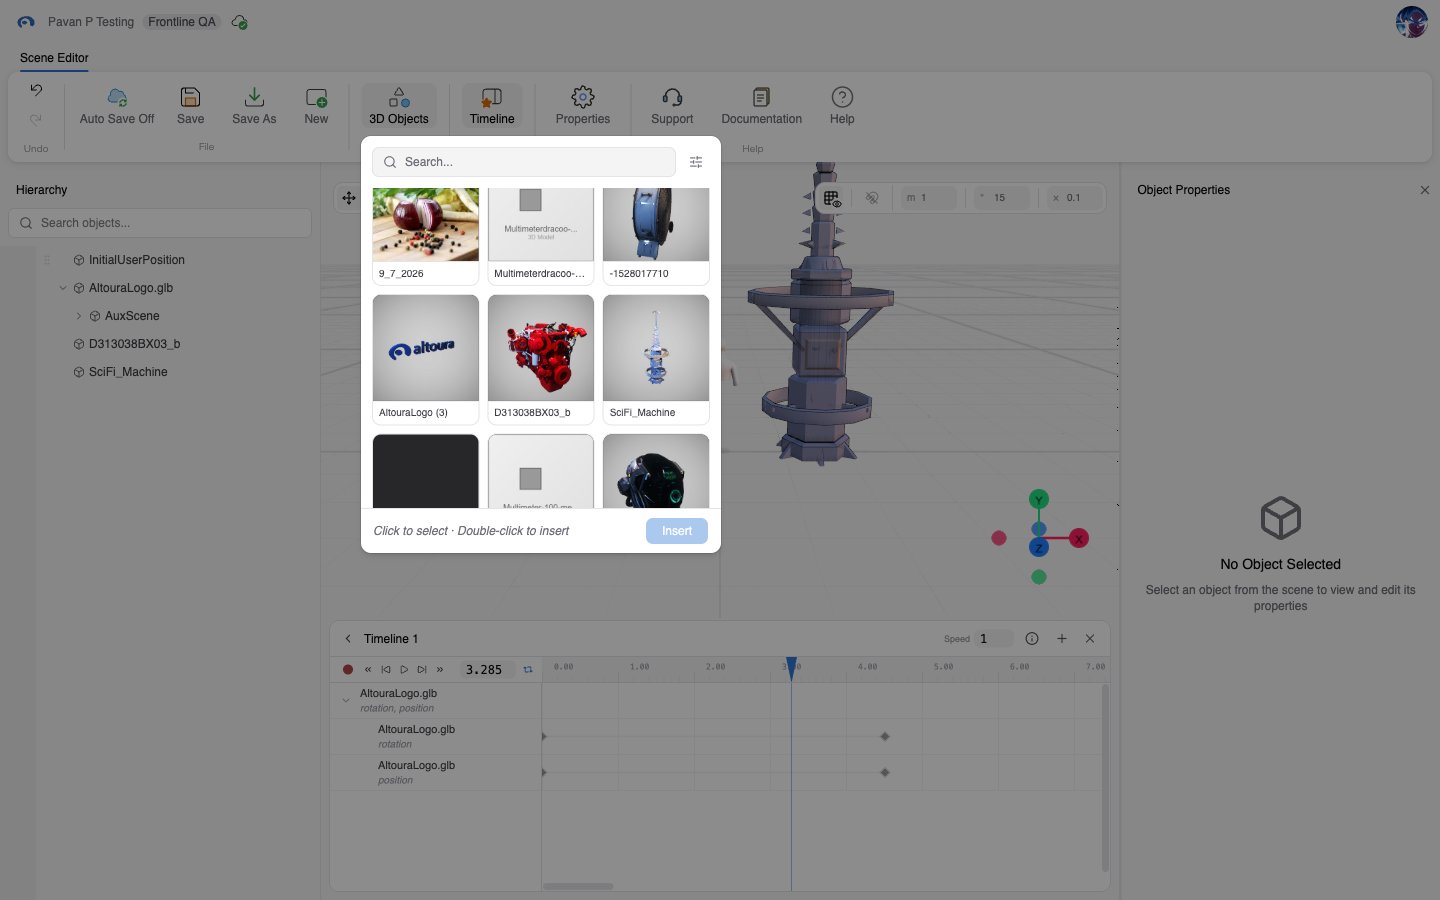
Add From the Ribbon
- Click 3D Objects in the Insert group.
- Type in Search… or open Filter by Tags and tick one or more tags. Click Clear to remove the tag filter.
- Click a thumbnail to select it, then click Insert. Double-clicking a thumbnail inserts it at once.
Add From a Right-Click Menu
Choosing Add Object or Object from a right-click menu opens the 3D Objects Library dialog.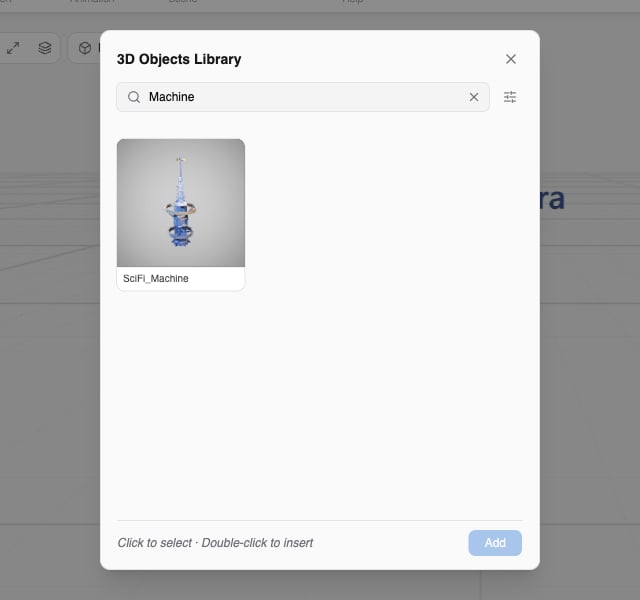
- Type in Search 3D objects… or use the filter button to pick tags.
- Click an object to select it and click Add, or double-click the object.
Add by Dragging a File
Drag a.glb file from your computer over the viewport. A dashed outline appears to show that the viewport will accept the drop. Release to upload the model to your organization’s library and place it where you dropped it.
- Only
.glbfiles are accepted as objects. Images are treated as textures; see Object Properties. - File names must be 50 characters or fewer, including the extension.
- Notifications at the top center of the screen show the upload progress and confirm when the upload is complete. If the upload fails, the notification includes a Retry button.
The Hierarchy Panel
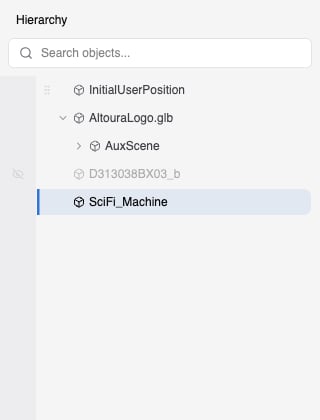
Search
Type in Search objects… to filter the list. Matching objects are shown as a flat list. You can step through the matches with the keyboard. See Keyboard Shortcuts. If nothing matches, the list is empty and suggests a different search term. An empty scene shows a hint to add objects.Select Objects
Selected rows are highlighted. Selecting an object in the Hierarchy selects it in the viewport, and selecting an object in the viewport highlights it here and expands the tree to show it. You can also move the selection and expand or collapse objects with the keyboard. See Keyboard Shortcuts.
Show or Hide Objects
Hover over a row and click the eye icon to hide the object. Hidden objects show a crossed-out eye and appear dimmed. Click the icon again to show the object. A hidden object is not rendered in the viewport. Visibility is saved with the scene.- Children of a hidden object are hidden too and cannot be shown separately. The tooltip on a child explains that a parent is hidden.
- The Initial User Position cannot be hidden.
- Visibility cannot be changed during timeline playback.
- While a timeline is recording, clicking the eye creates a visibility keyframe instead of changing the base visibility. See Timelines and Animation.
Rename Objects
Double-click a name to edit it. Type the new name and confirm it. Names can be up to 50 characters and cannot be blank. The Initial User Position cannot be renamed. You can also start a rename from the keyboard. See Keyboard Shortcuts.Reorganize With Drag and Drop
Drag a row and drop it onto another object to reparent it as a child of that object. The object keeps its position in the scene, and from then on it moves, rotates, and scales with its new parent.- Drop a row into the dashed Drop here to move to root area at the bottom of the list to move it out of its parent.
- Drop a part from inside an imported model onto the root area to detach it into a standalone object. A detached part becomes its own model instance.
- Parts that are attached to a skeleton cannot be detached. A notification explains why the drop was refused.
- If you move a part out of its model and that part has timeline animation, you see a warning that its animation tracks stayed behind and will not play until it is moved back.
- You cannot drop an object onto itself, onto one of its own children, or onto the Initial User Position.
- When several objects are selected, dragging one of them moves all of them together.
Right-Click Menu
Right-click a row to open its menu.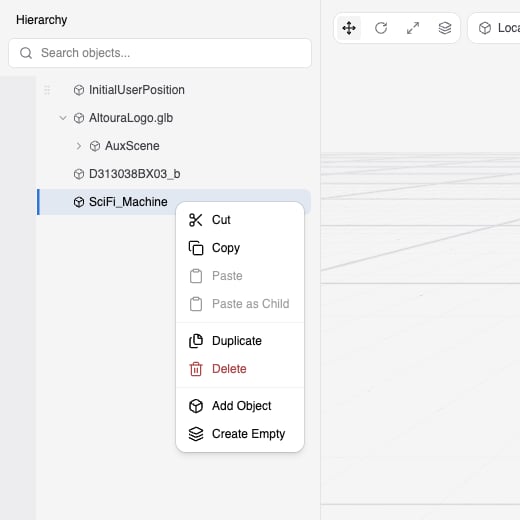
Right-clicking empty space in the panel offers Paste, Add Object, and Create Empty at the scene root. Right-clicking one of several selected objects does not open a menu. Use the keyboard shortcuts instead. See Keyboard Shortcuts.
Working With Several Objects
Select several objects with Ctrl+click, Cmd+click, or Shift+click in the Hierarchy, or with Shift+click, Ctrl+click, or Cmd+click in the viewport. Then:- Drag the gizmo to move, rotate, or scale them together
- Type values in the ribbon or Object Properties pane to apply them to every selected object
- Duplicate or delete all of them with the keyboard shortcuts
Copy, Duplicate, and Delete
Copy, cut, paste, duplicate, and delete are available from the right-click menu and from the keyboard. See Keyboard Shortcuts.- Pasting with the keyboard shortcut places the object at the selected object’s position at the scene root. To paste inside an object, use Paste as Child from the right-click menu.
- When you paste several objects at once, each is offset slightly so they do not overlap exactly, and each gets a numbered name if needed.
- Duplicates are placed at the same position as the original. Timeline animation is not copied with a duplicate.
- Copying or duplicating a part from inside an imported model creates a standalone copy of that part.
- Deleting has no confirmation. Use Undo if you delete something by mistake. Undo keeps your last 30 changes.
- These shortcuts act on the timeline instead when the Timeline panel has focus.
Empty Objects
Create Empty adds an invisible helper object namedEMPTYOBJ. An empty object has a transform but no mesh. Use empty objects to group other objects: nest objects under the empty object, then move, rotate, or animate the group as one.
Protected Objects
- The Initial User Position cannot be deleted, hidden, renamed, cut, copied, or duplicated, and cannot have children.
- Skeleton bones inside animated models cannot be moved, cut, copied, or duplicated.