

Open the Timeline Panel
Click Timeline in the ribbon. The panel opens at the bottom of the workspace. Drag its top edge to resize it. Click the X in its header to close it. Closing the panel returns every animated object to its normal position and visibility. A keyboard shortcut also opens and closes the panel. See Keyboard Shortcuts.Timeline List
The panel opens on the list of timelines in the scene.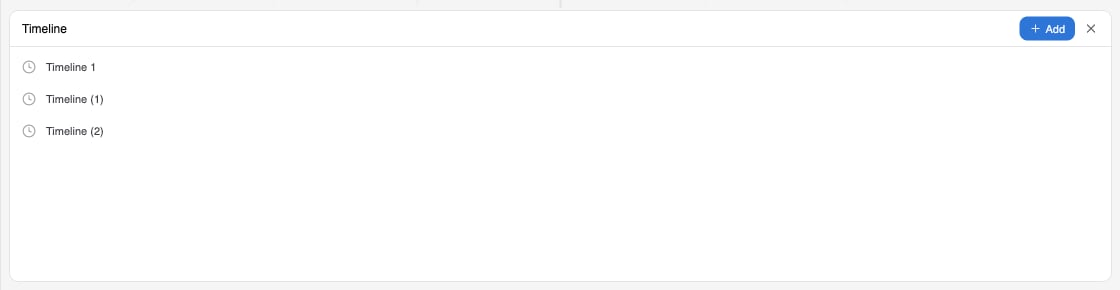
A new scene has no timelines. Timelines are saved with the scene.
Timeline Editor
Click a timeline to open the editor.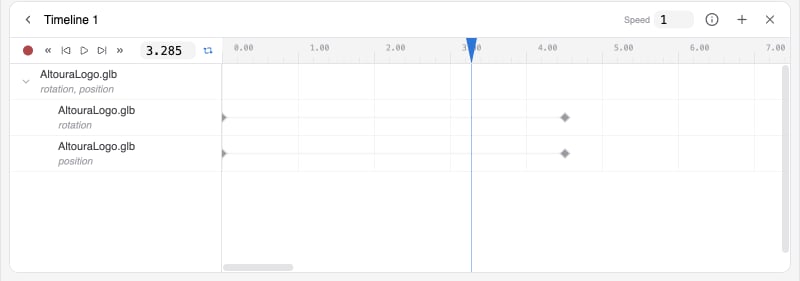
Header
Transport Controls
The controls at the left of the ruler row, from left to right:Ruler and Playhead
The red playhead marks the current time. Click or drag on the ruler to move it. Timelines run at 30 frames per second. Dragged keyframes and clips snap to the ruler ticks. Scroll the mouse wheel to move through the tracks. Drag the right edge of the name column to resize it. Modifier keys zoom and pan the time axis and turn off snapping. See Keyboard Shortcuts.Record an Animation
- Select the timeline in the list.
- Select the object you want to animate.
- Click Record.
- Move the playhead to the time where the change should be complete.
- Change the object: drag the gizmo, or type in the Position, Rotation, or Scale fields. You can also change Base Color, opacity, Tiling, and Offset in the Material section.
- A track for the object appears with a keyframe at the playhead. If this is the first keyframe and the playhead is not at 0, a starting keyframe is added at 0 with the object’s original value.
- Repeat steps 4 and 5 for each pose.
- Click Record again to stop, then click Play to review.
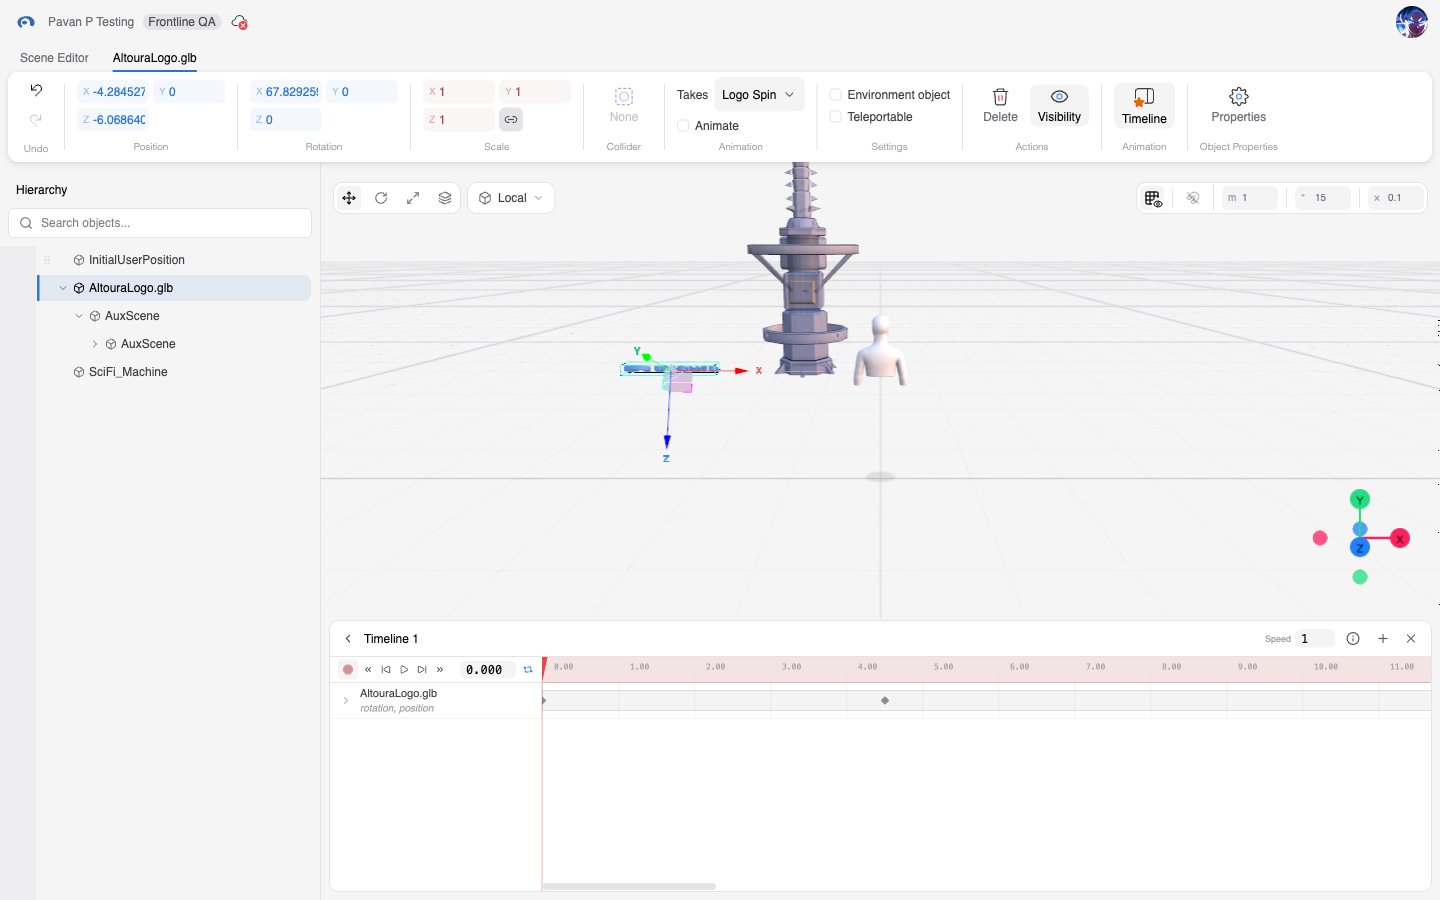
- Right-click a Position, Rotation, or Scale field while recording and choose Add Key to set a keyframe without changing the value.
- Recording a keyframe at a time that already has one replaces the old value.
- If Record and Play are both on, dragging the gizmo captures your motion as keyframes every 0.1 seconds.
- Only changes made while recording become keyframes. Changes made while the timeline is paused but not recording permanently change the object.
Tracks
An object with several animated properties shows one collapsed row. Click its arrow to expand the individual tracks. A warning icon before a name means the track’s object no longer exists in the scene.
Track Actions
Hover over a track name for:- Eye icon: mutes the track so playback skips it without deleting it. Muted tracks are dimmed.
- Trash icon: deletes the track.
- Speaker icon on audio tracks: opens the volume slider.
Select Several Tracks
Shift+click track names to select several rows at once. Press M to mute or unmute the selected track. See Keyboard Shortcuts. Right-click a group for Rename, Mute or Unmute, and Delete group. Muting a group mutes every track inside it. Deleting a group deletes every track inside it.Detail View
Double-click an object row or a group to open a detail view that shows each of its properties on its own lane. The transport controls, Speed, and Loop work the same way. Hover over a lane and click the trash icon, or right-click and choose Delete property, to remove that single property. Click the ‹ button, whose tooltip reads Back to timeline editor, to return to the full timeline.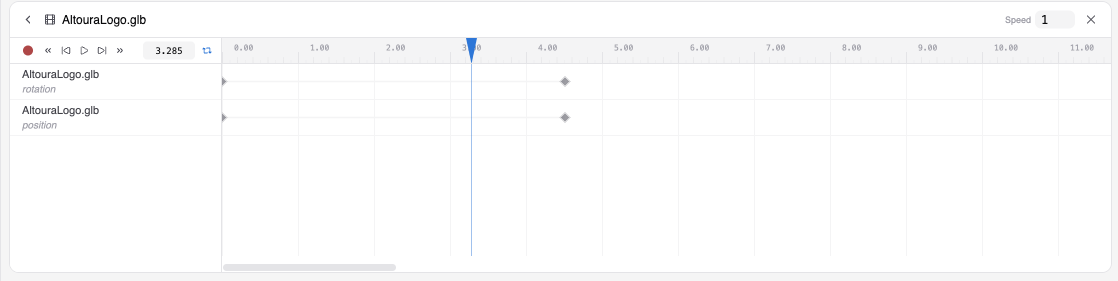
Keyframes
Keyframes are the diamonds on a track. Hover over one to see its value.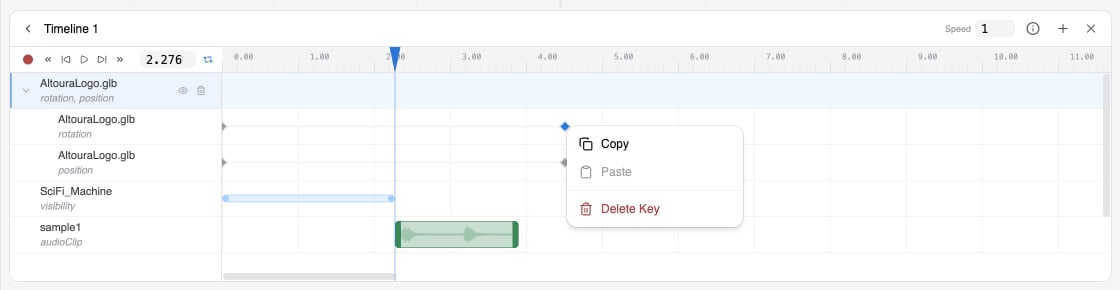
Keyboard shortcuts add to the selection, select ranges, select all, copy and paste several keyframes at once, and cancel a move. See Keyboard Shortcuts.
Pasting onto a track of a different object works when the property matches, for example position to position. Deleting the last keyframe on a track removes the track.
Visibility Tracks
A visibility track shows blocks. The object is visible inside a block and hidden outside it. To create one, click Record, move the playhead, and click the object’s eye icon in the Hierarchy or Object Properties pane.- With the playhead at 0, a 5-second visible block is created.
- With the playhead later, a block from 0 to the playhead is created.
- Clicking the eye in a gap between blocks extends the next block back to the playhead, or adds a new 5-second block if there is no block after the playhead.
- Clicking the eye inside a visible block does nothing.
Audio
Add Audio
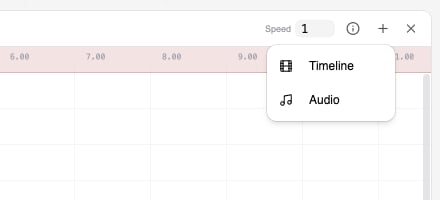
- Click + and choose Audio. The Audio Library picker lists your organization’s audio assets. Search or filter by tag, click one, and click Add. Double-clicking also adds it. The clip is placed at the playhead.
- Or drag an
.mp3,.wav, or.oggfile from your computer onto the tracks area. A hint appears while you drag, and the clip is placed where you drop it. File names must be 50 characters or fewer. MP3 and WAV files must be smaller than 10 MB.
Edit Audio
Audio is silent during backward playback.
Nested Timelines
You can place one timeline inside another so that it plays as part of the longer sequence.- Click + and choose Timeline.
- In the Insert timeline picker, choose a timeline and click Insert.
Playback
Click Play to play. During playback:- Objects move, appear, disappear, and change material according to the tracks
- Transform and material fields, the eye icons, and pivot and collider editing are disabled
- Muted tracks are skipped