Objects Dashboard
In the Altoura Portal, go to the Objects tab, the Objects Dashboard page will be dispalyed. Here, all the Objects that are created under your Organization will be displayed.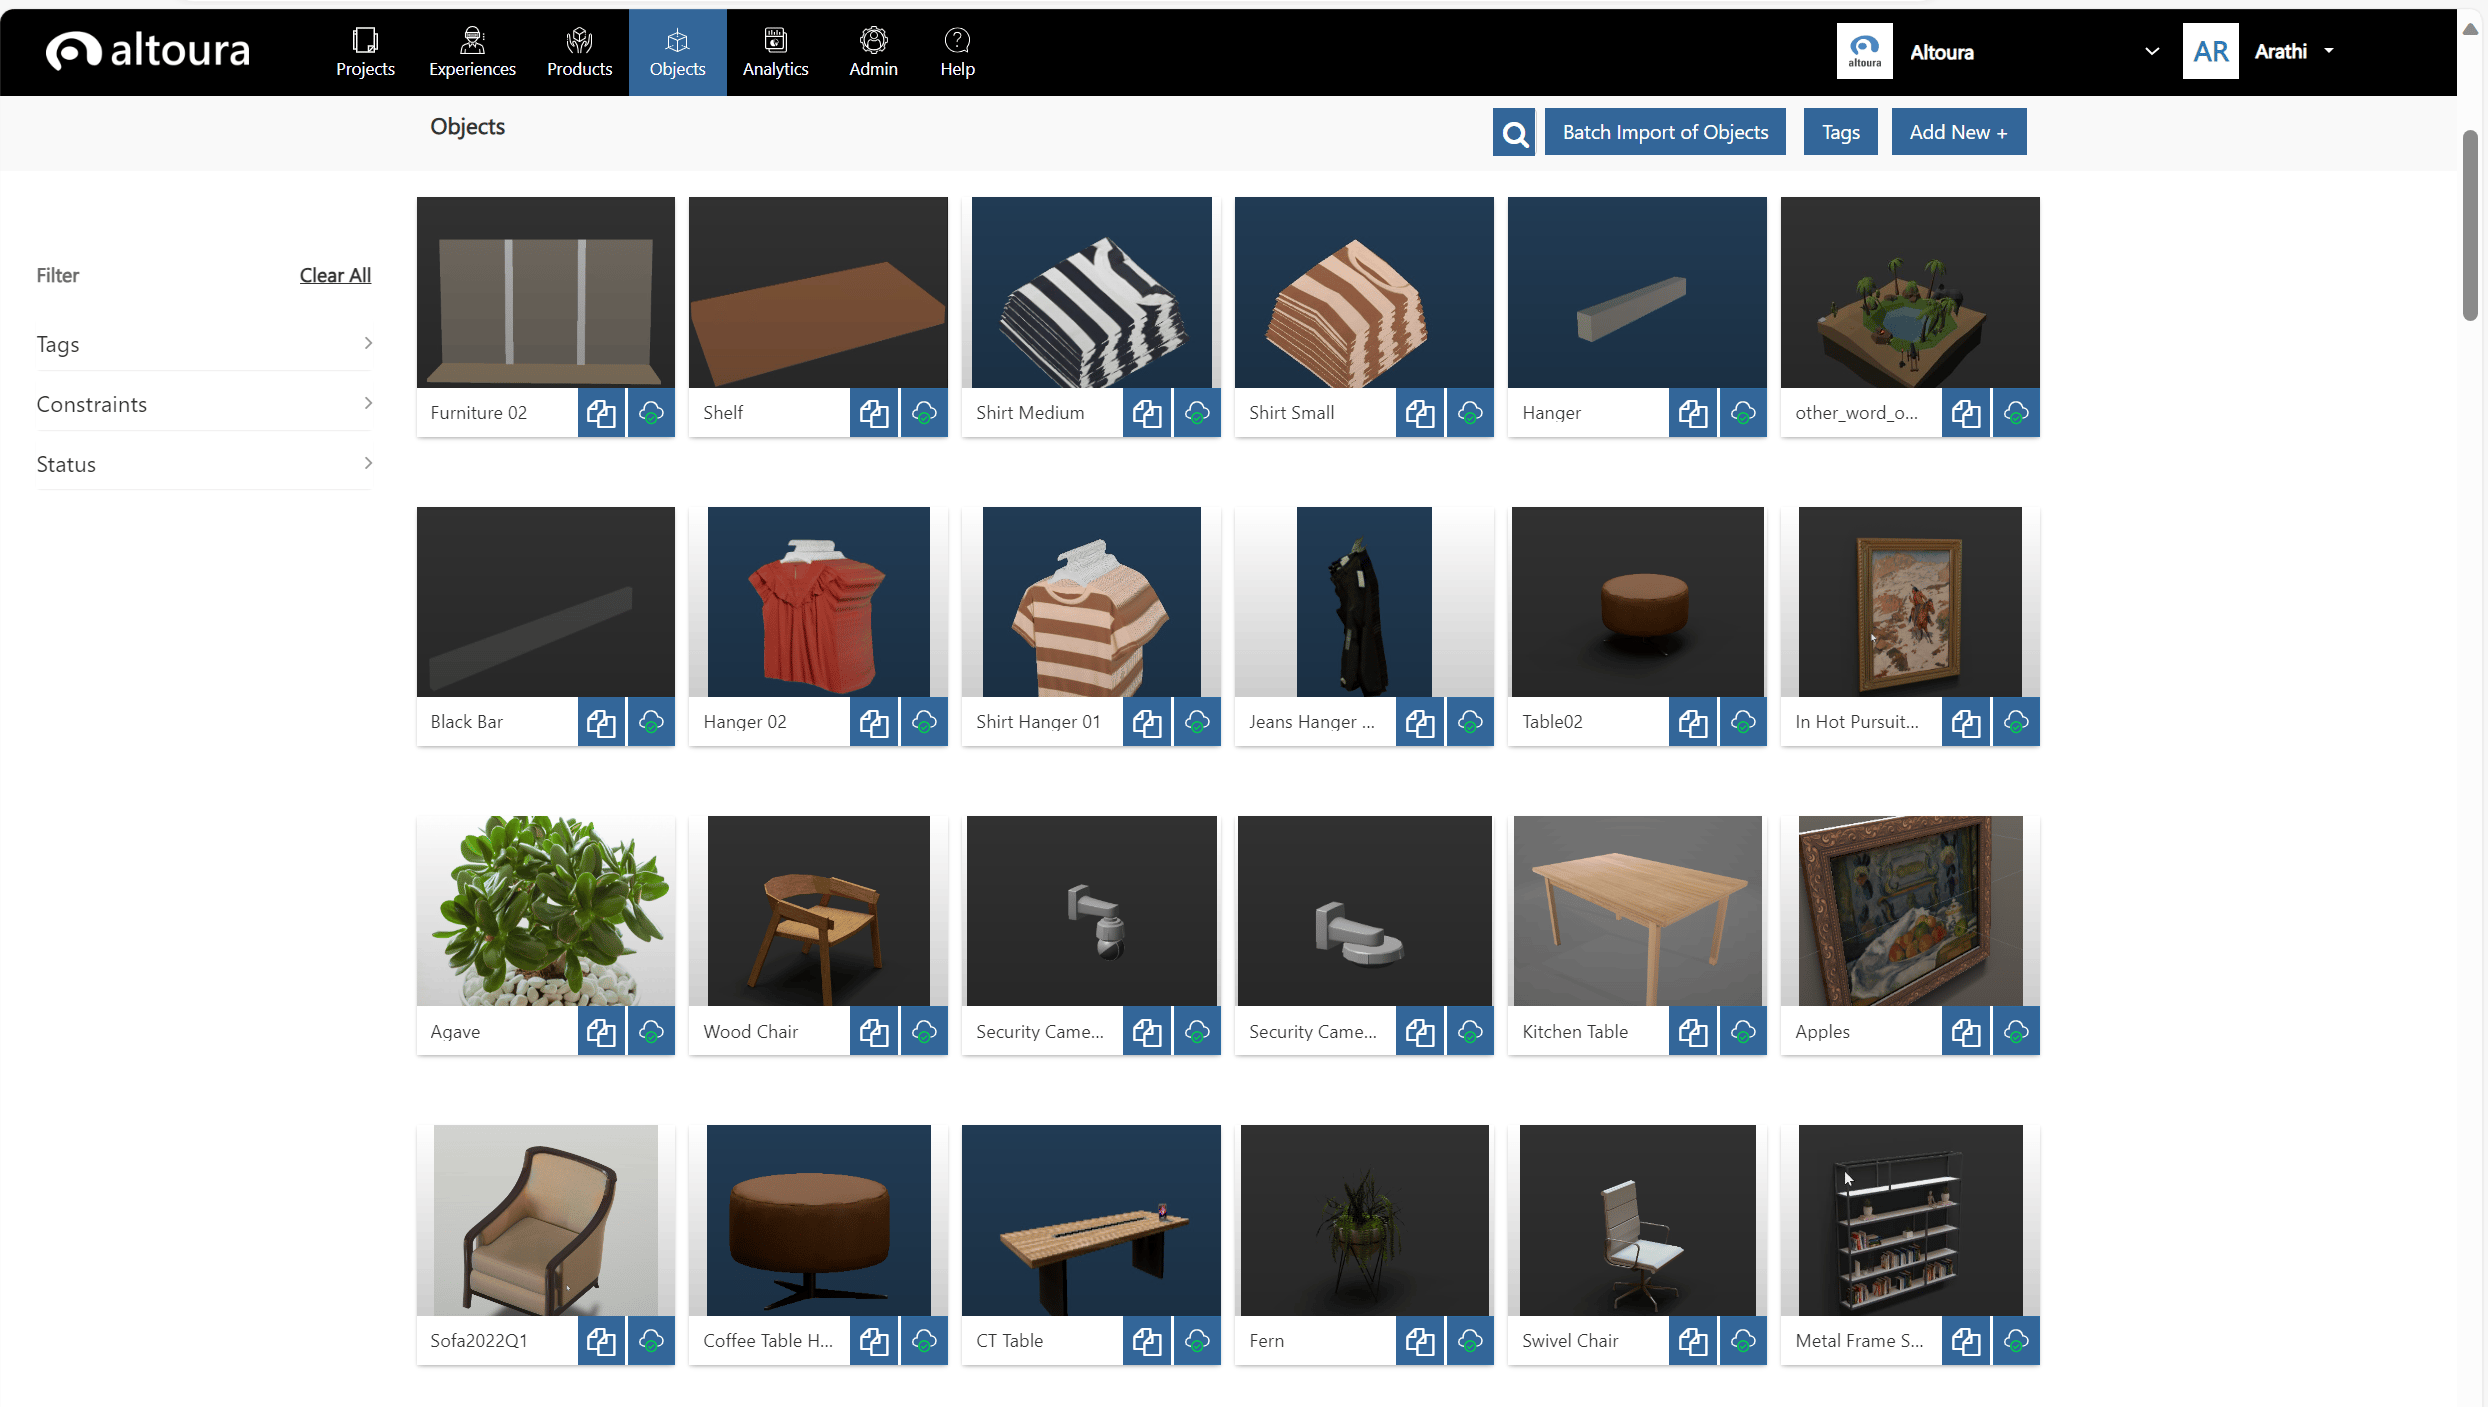
Create a New Object
To create a new object, click on the Add New + button in the Dashboard page. The New Object page is displayed.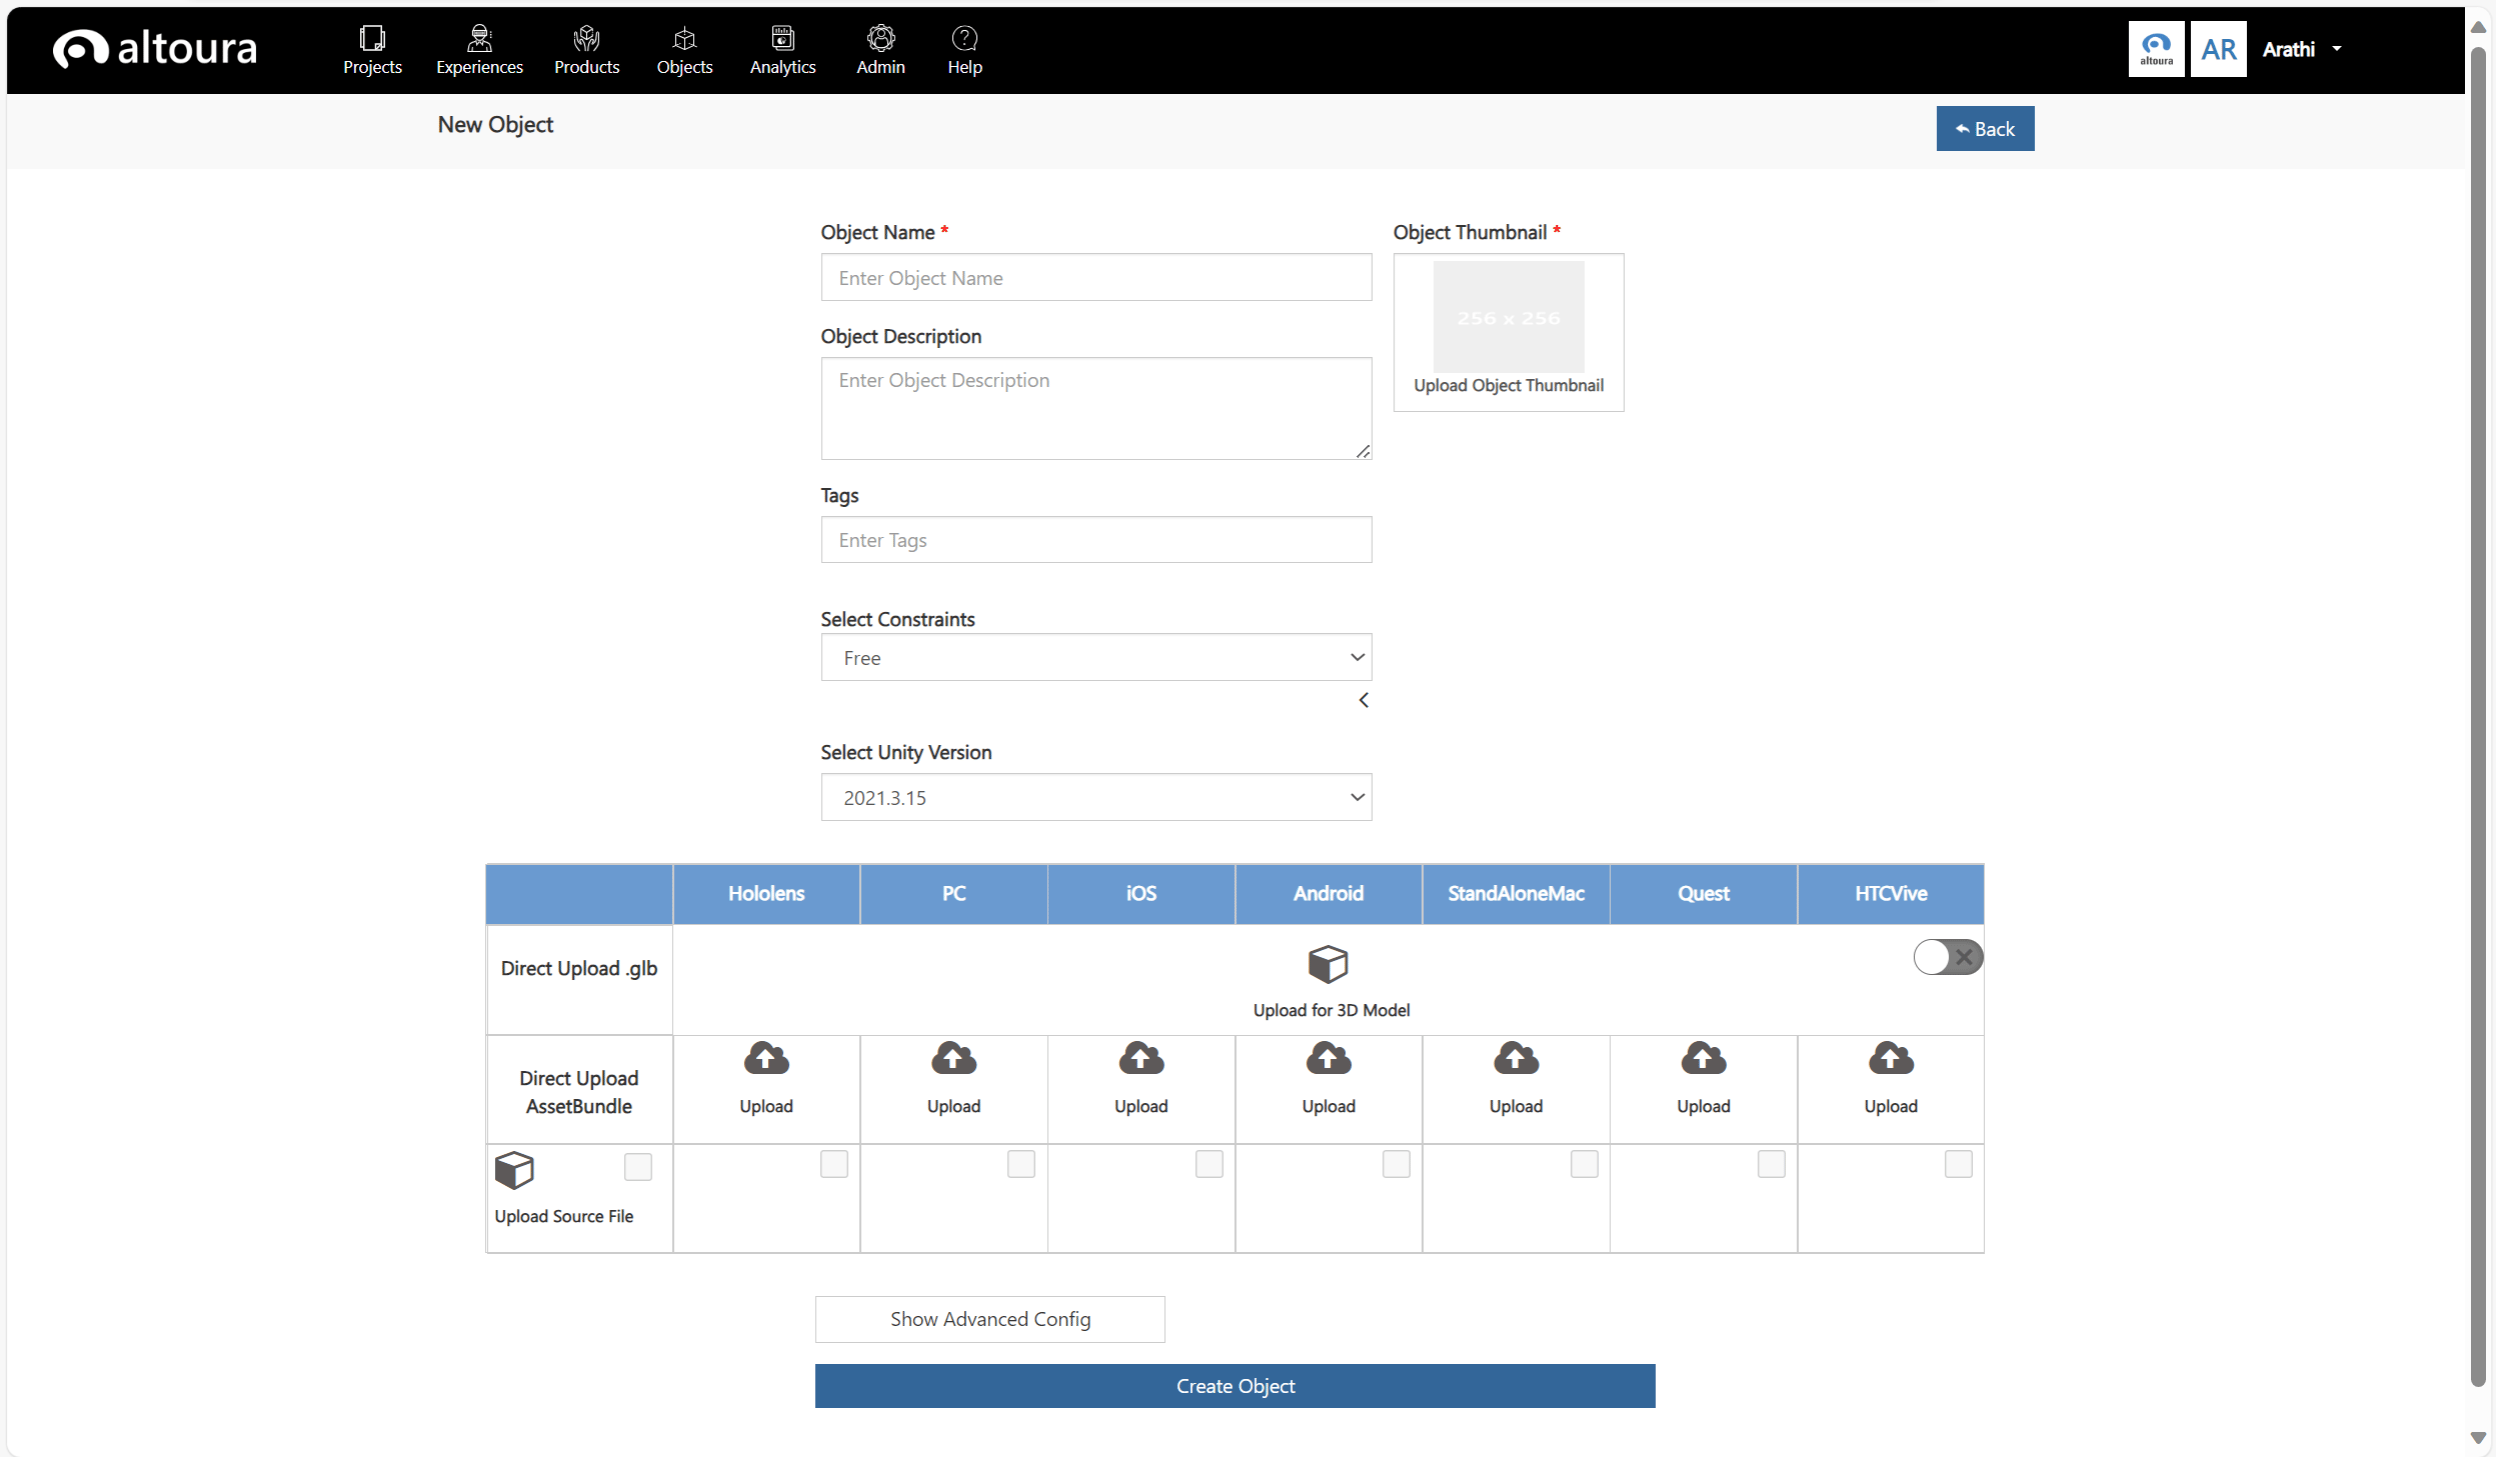
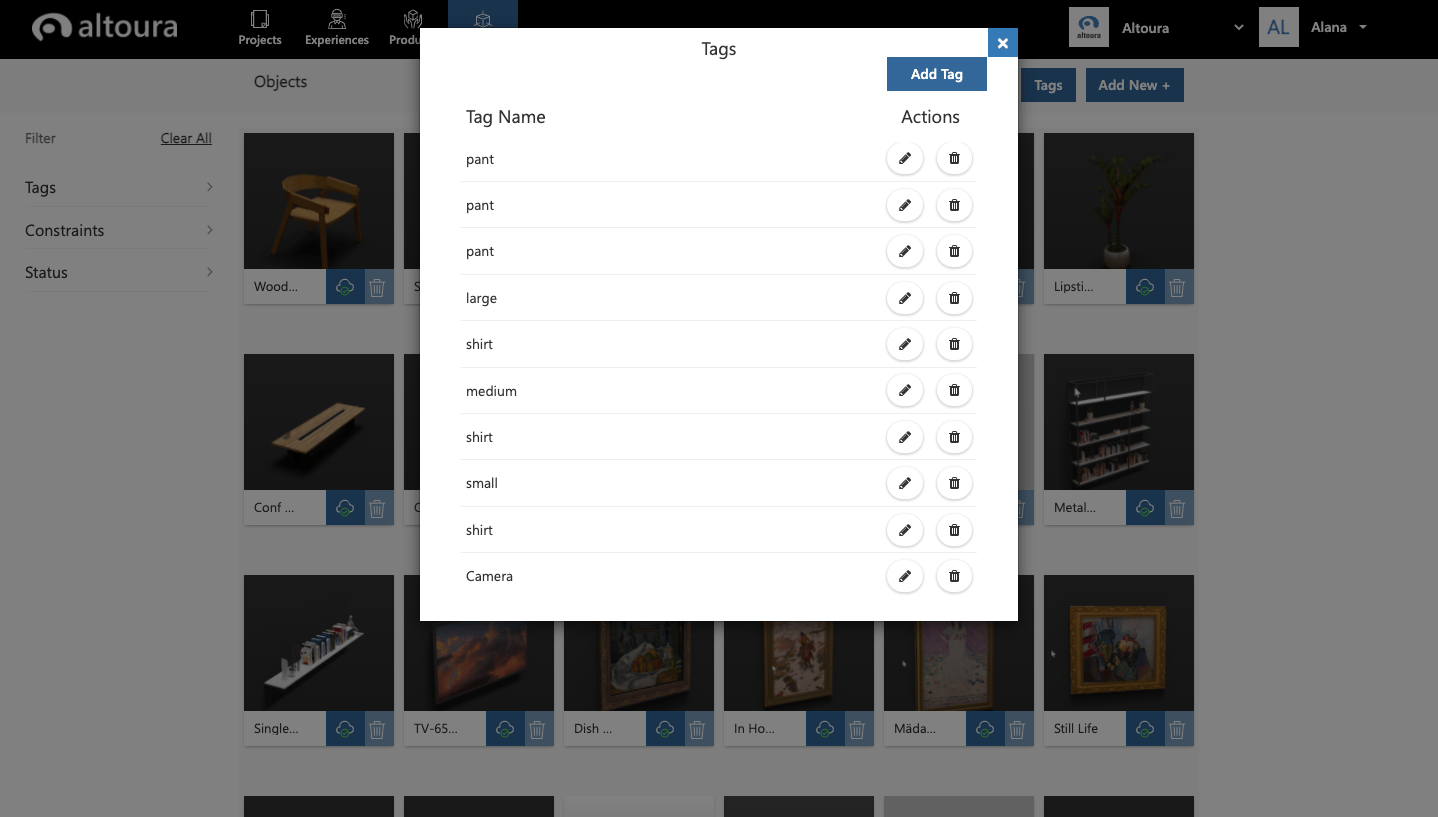
Adding Object Tags
Before you create and upload a new Altoura object, you can add to the Tags catalogue. Tags are a way to sort and filter the objects in the portal and in the app. It is also important for defining the objects for certain slots. To view your organization Tags, choose Tags at the top right corner under the Objects tab.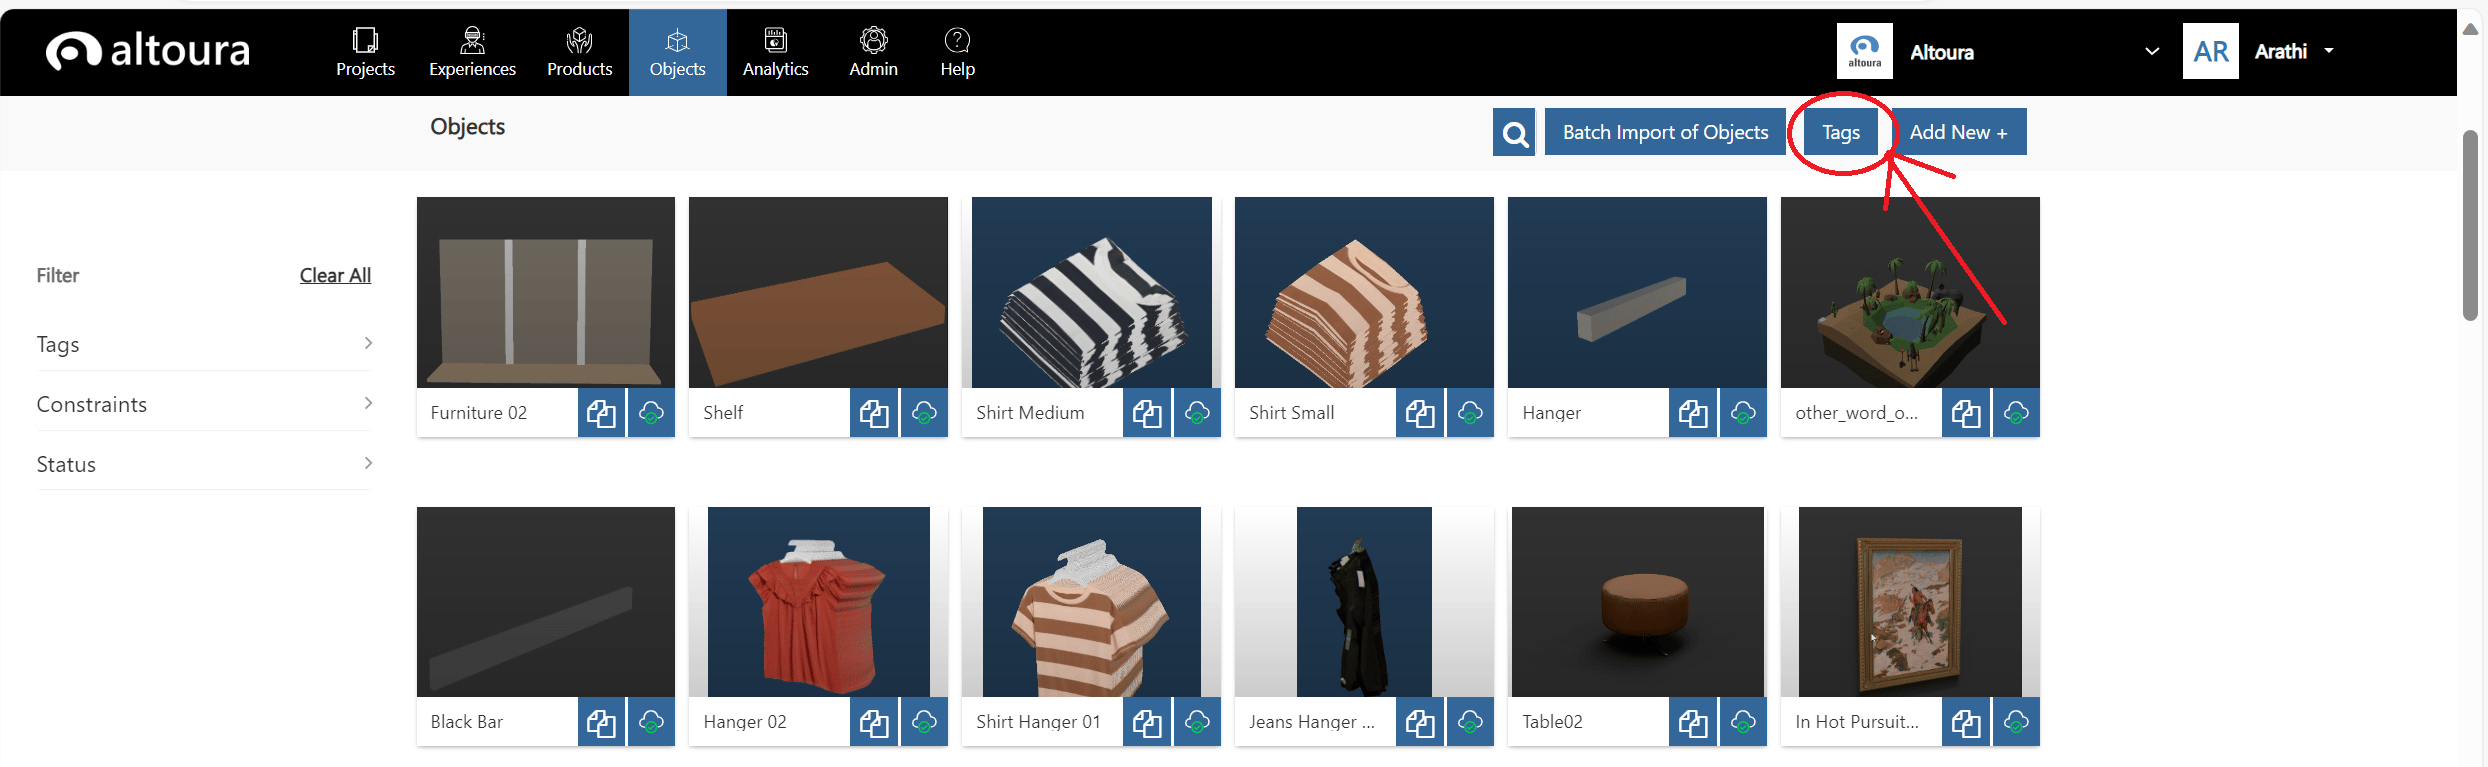
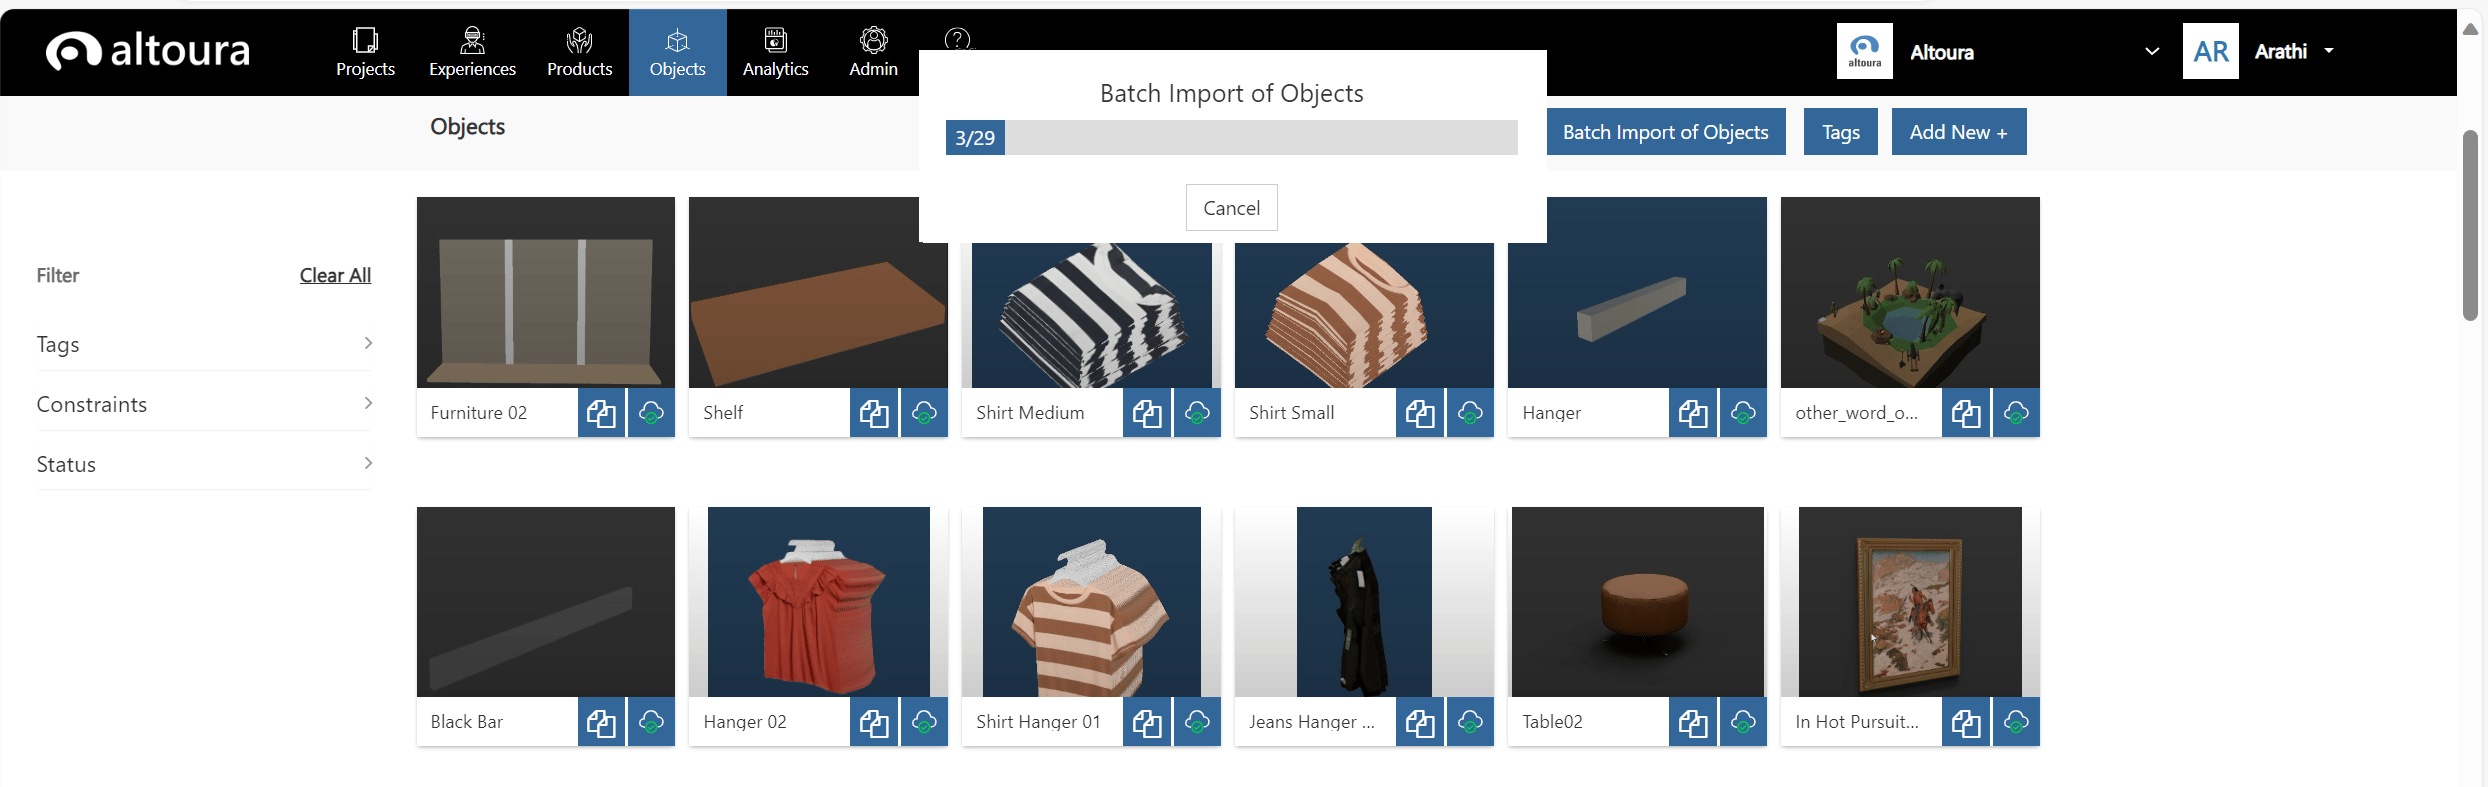
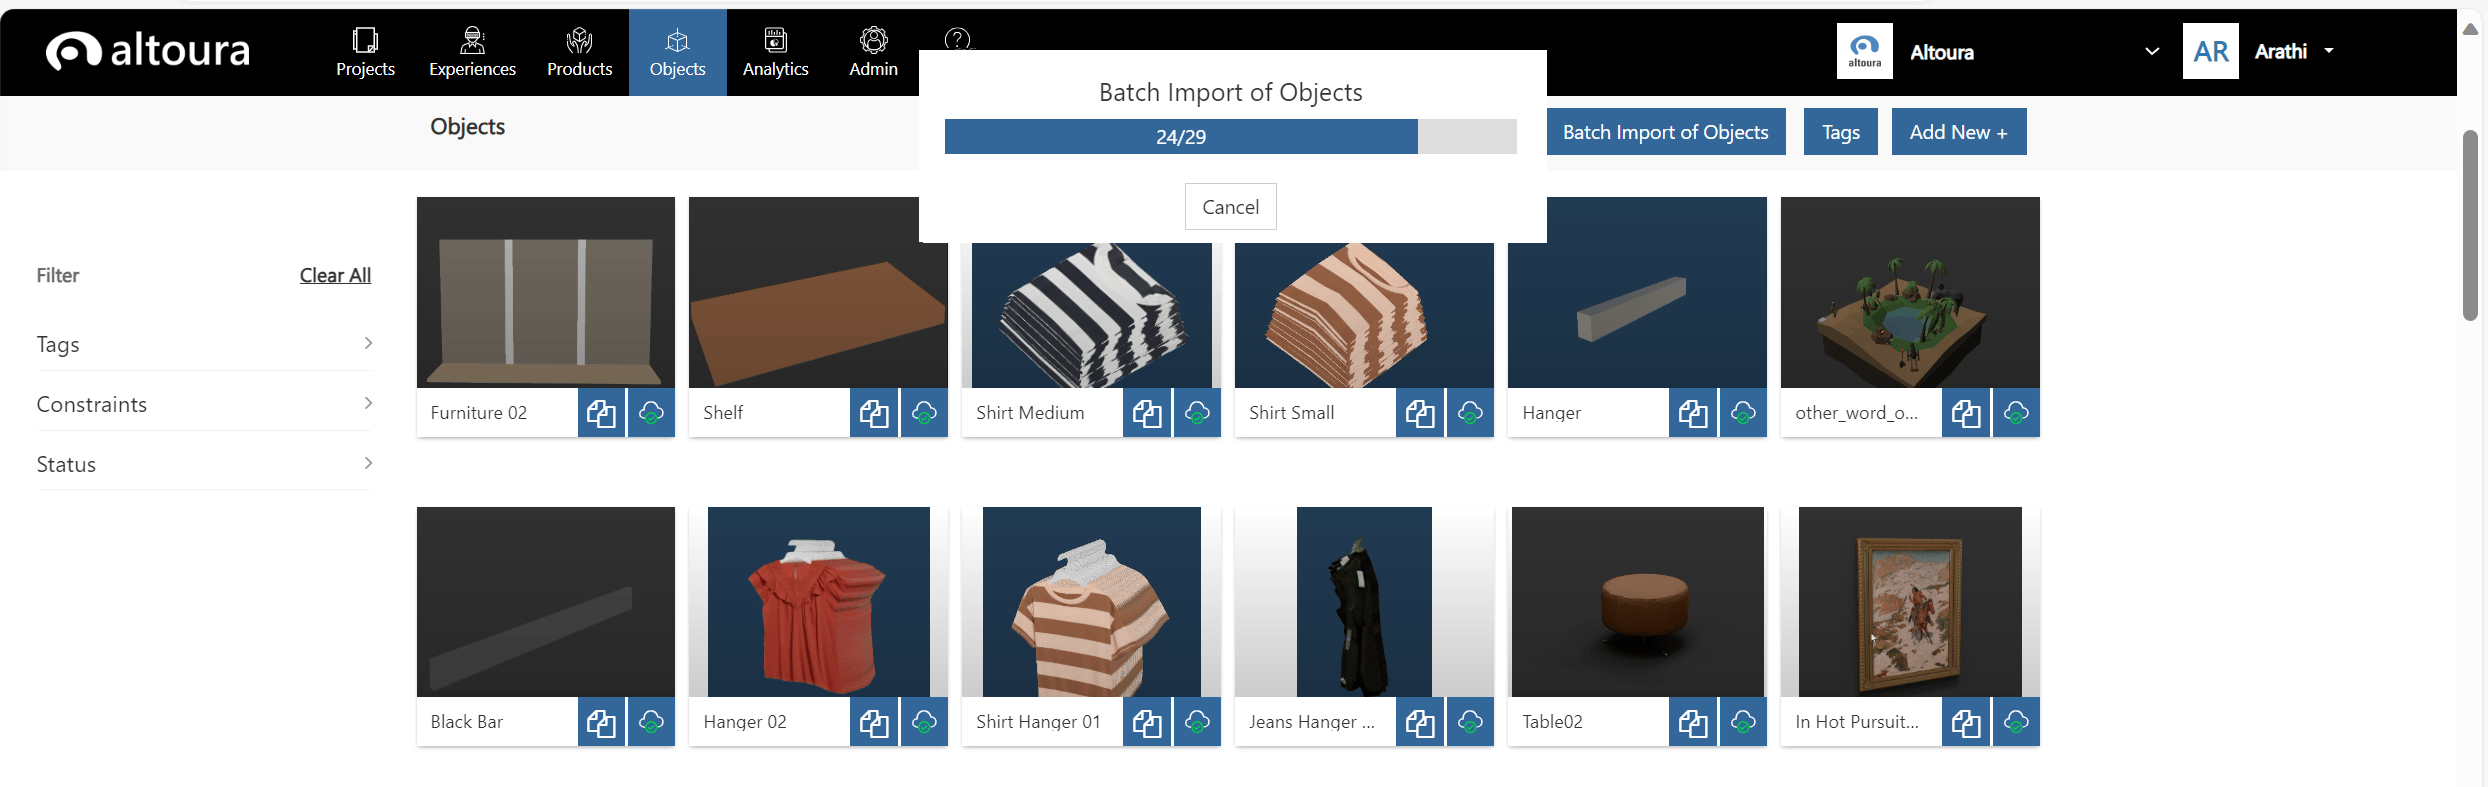
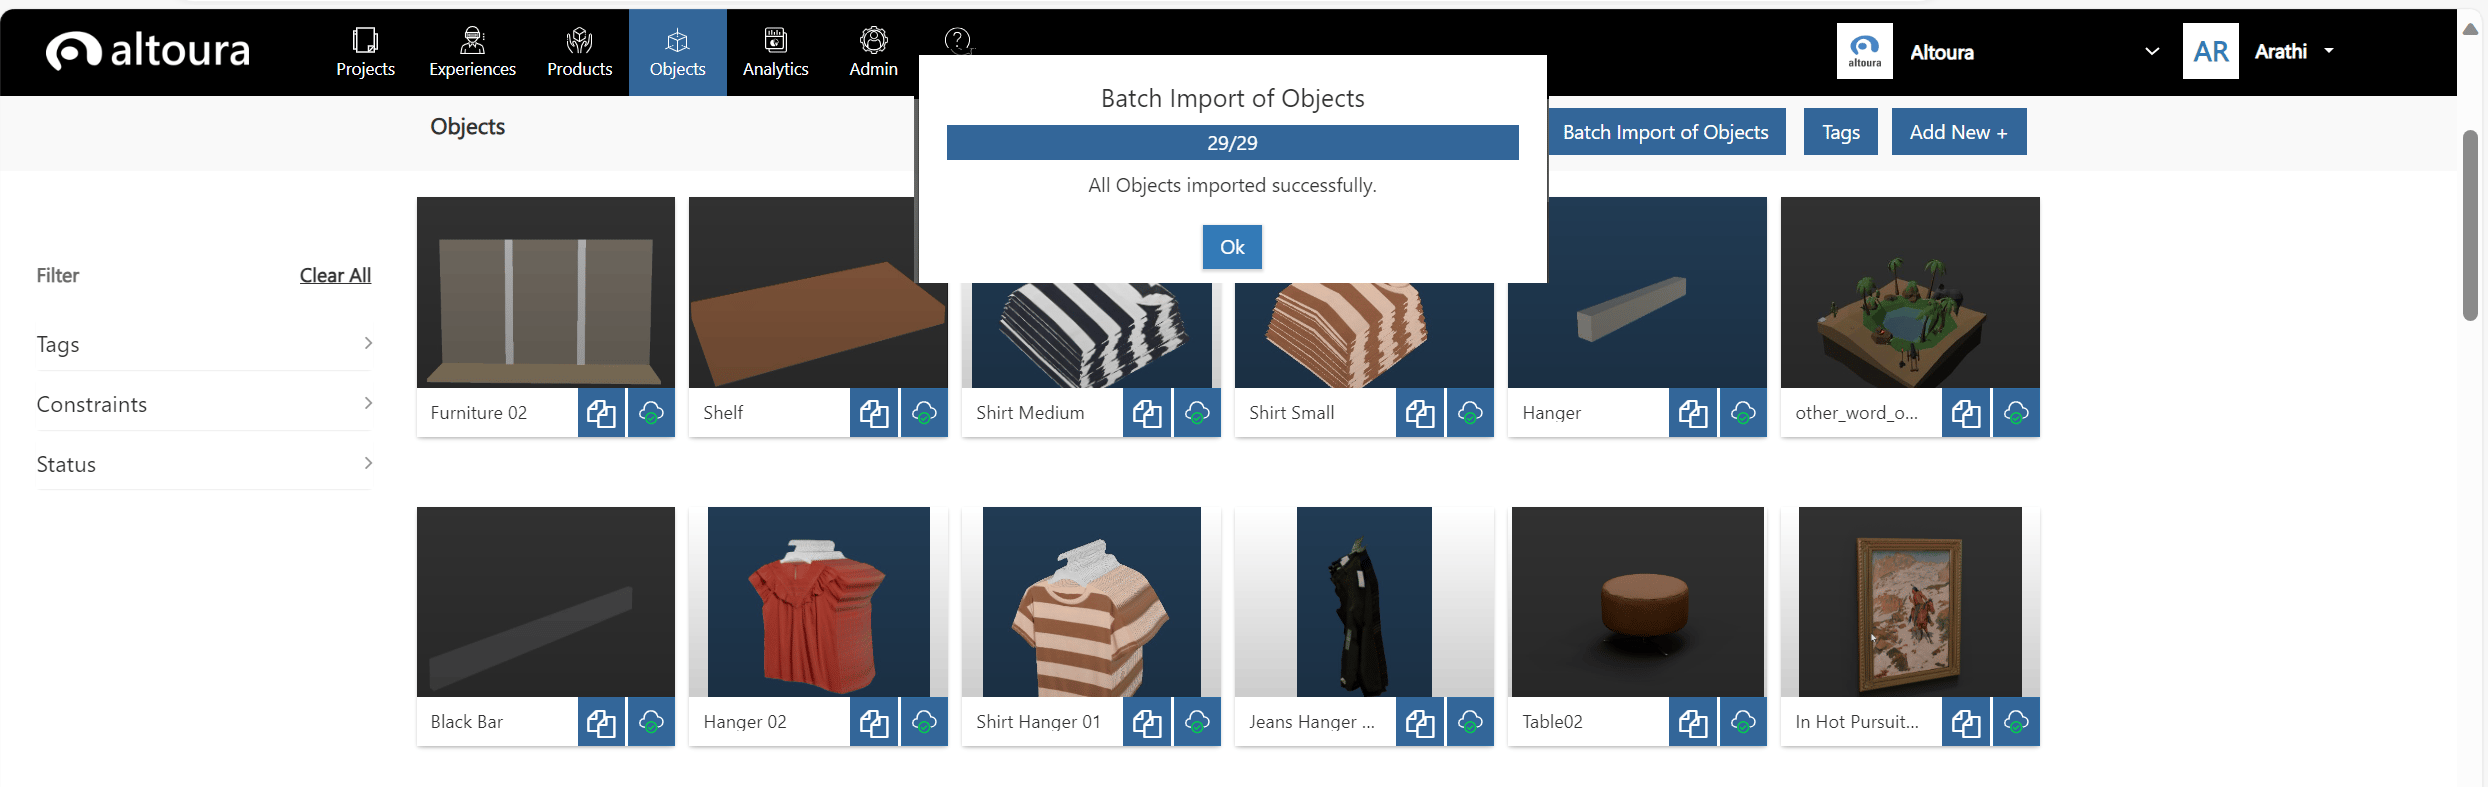
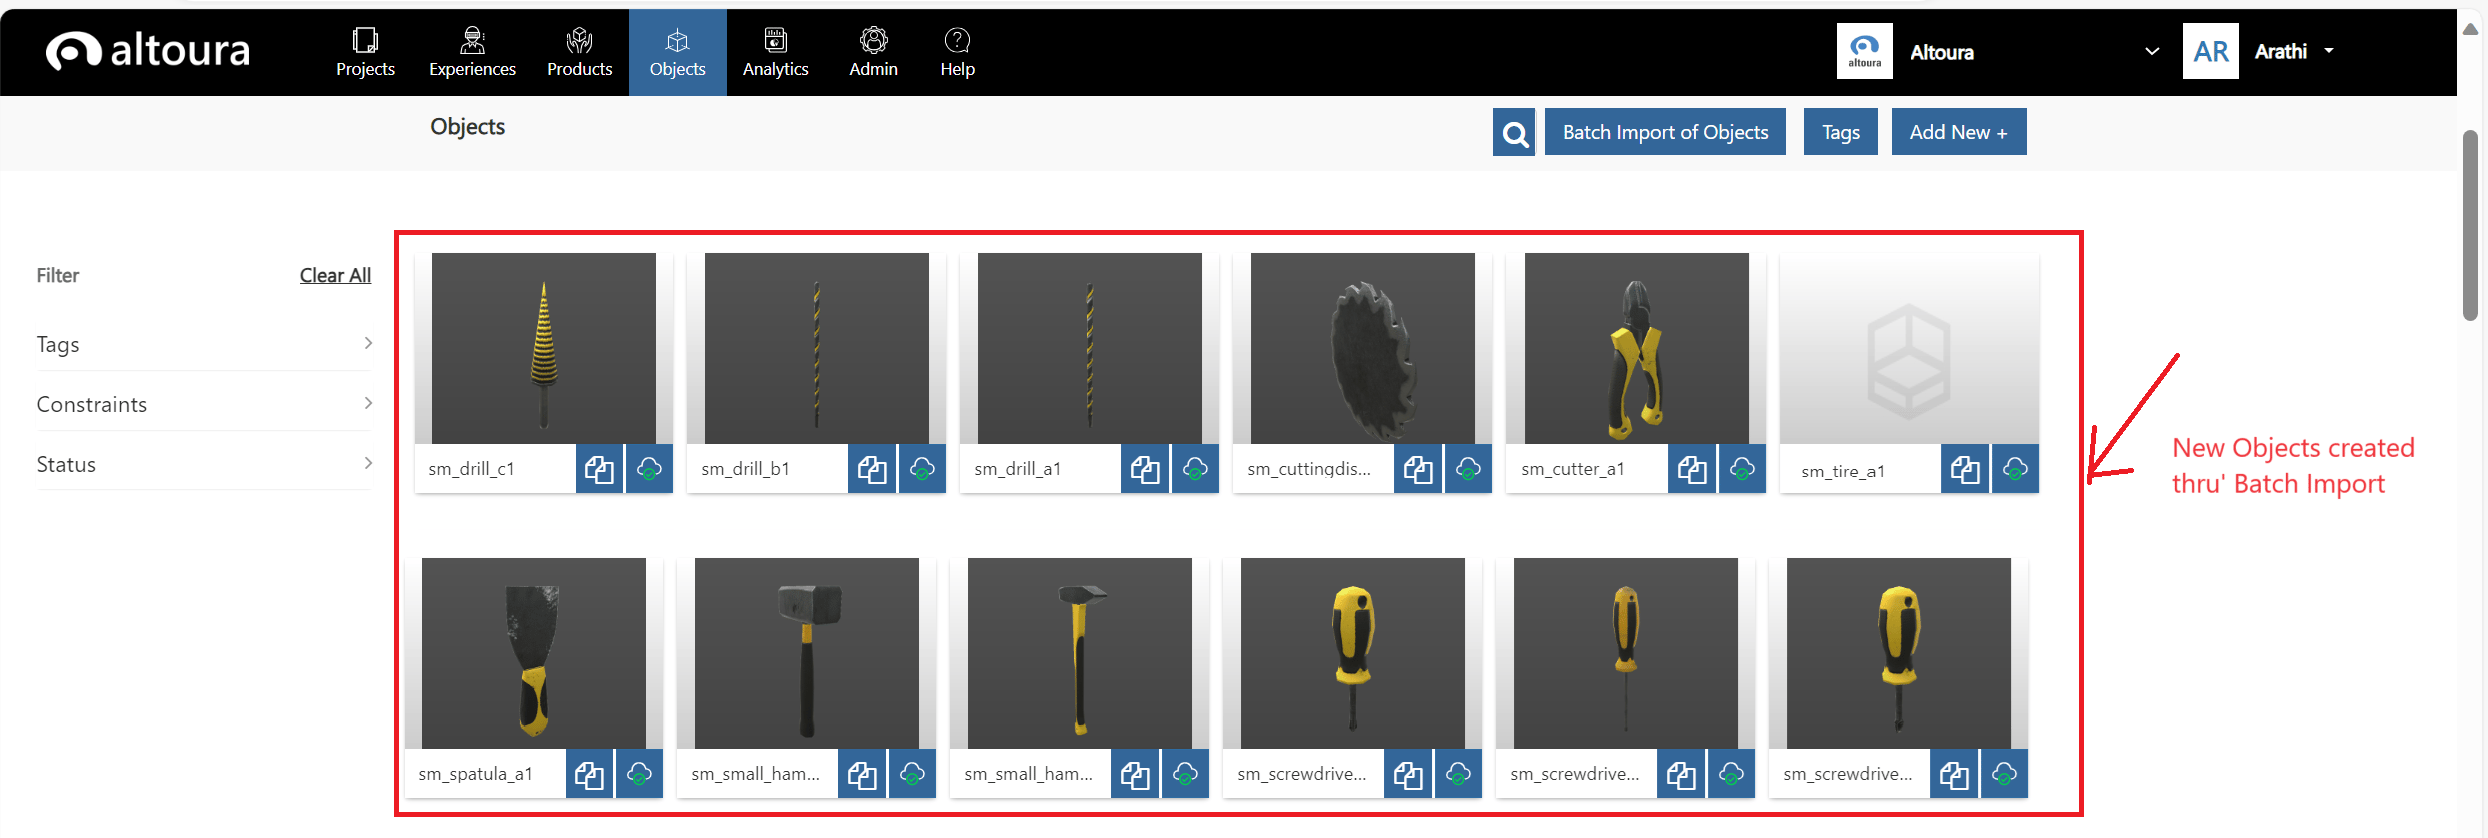
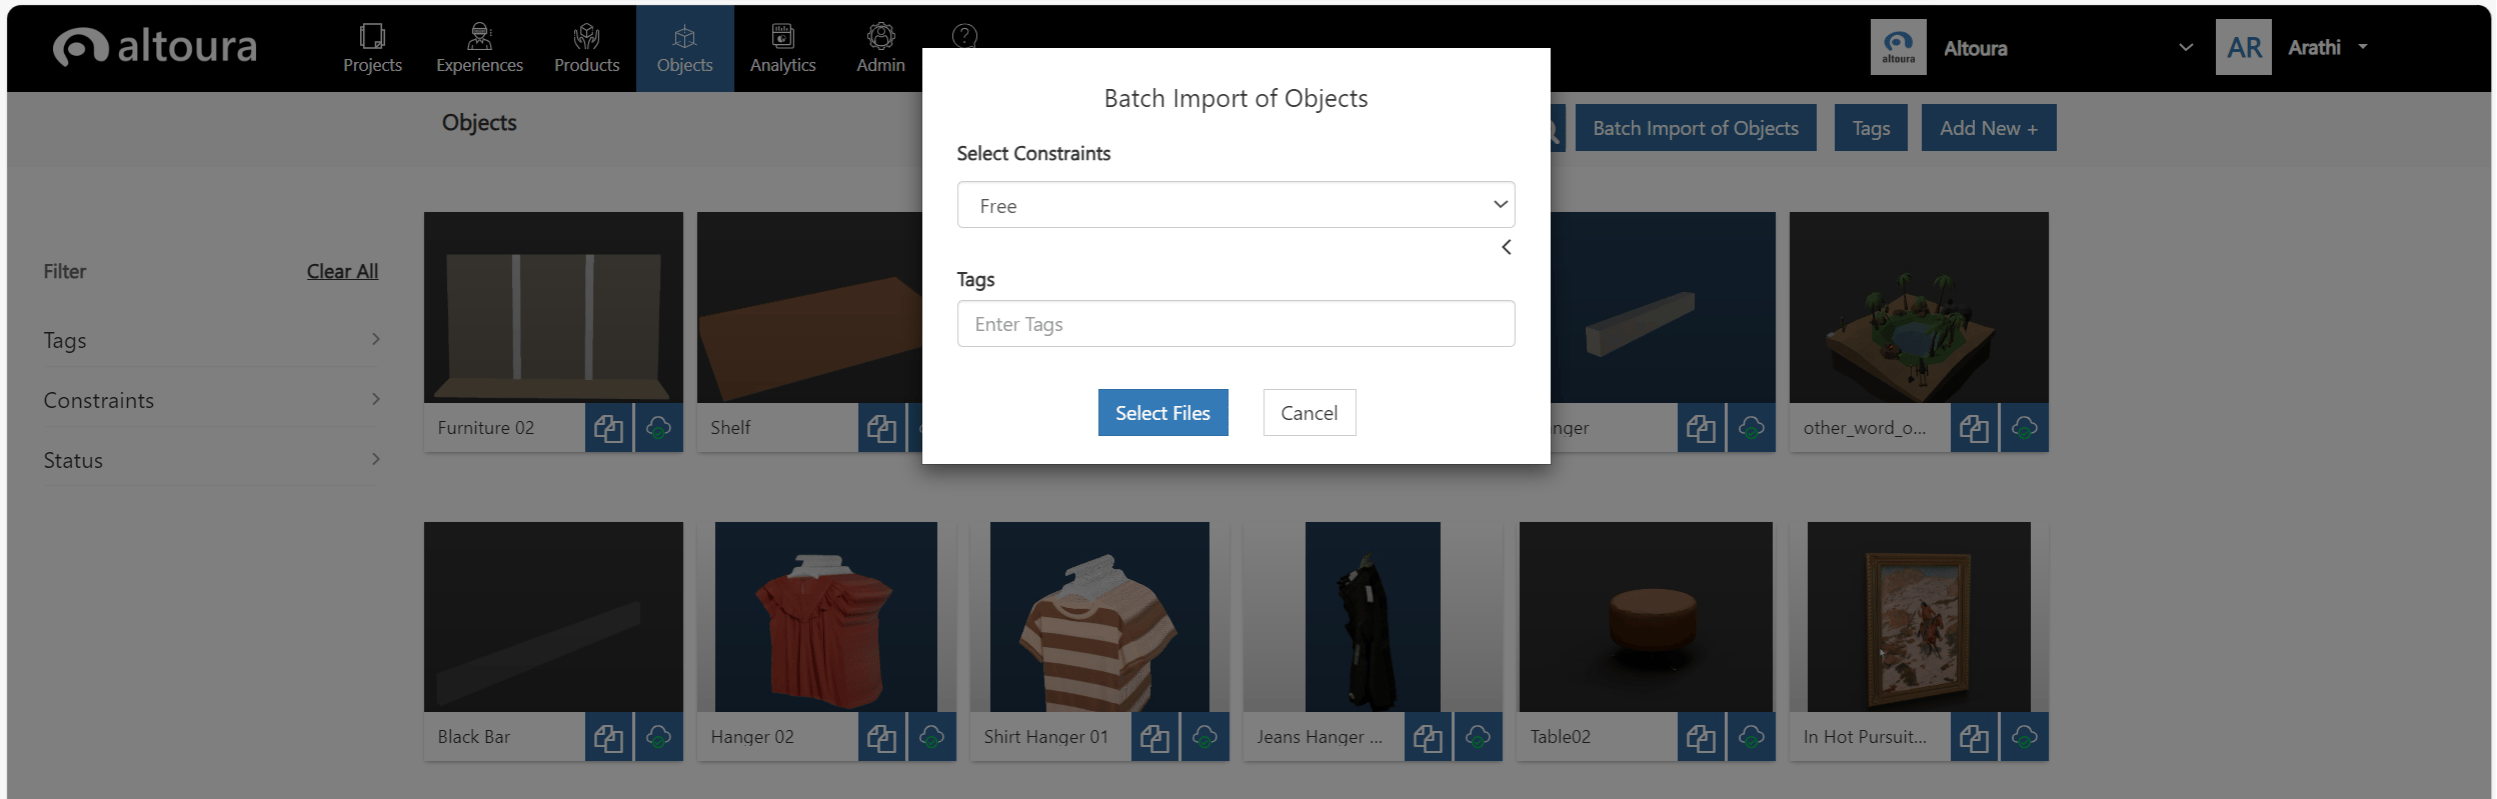
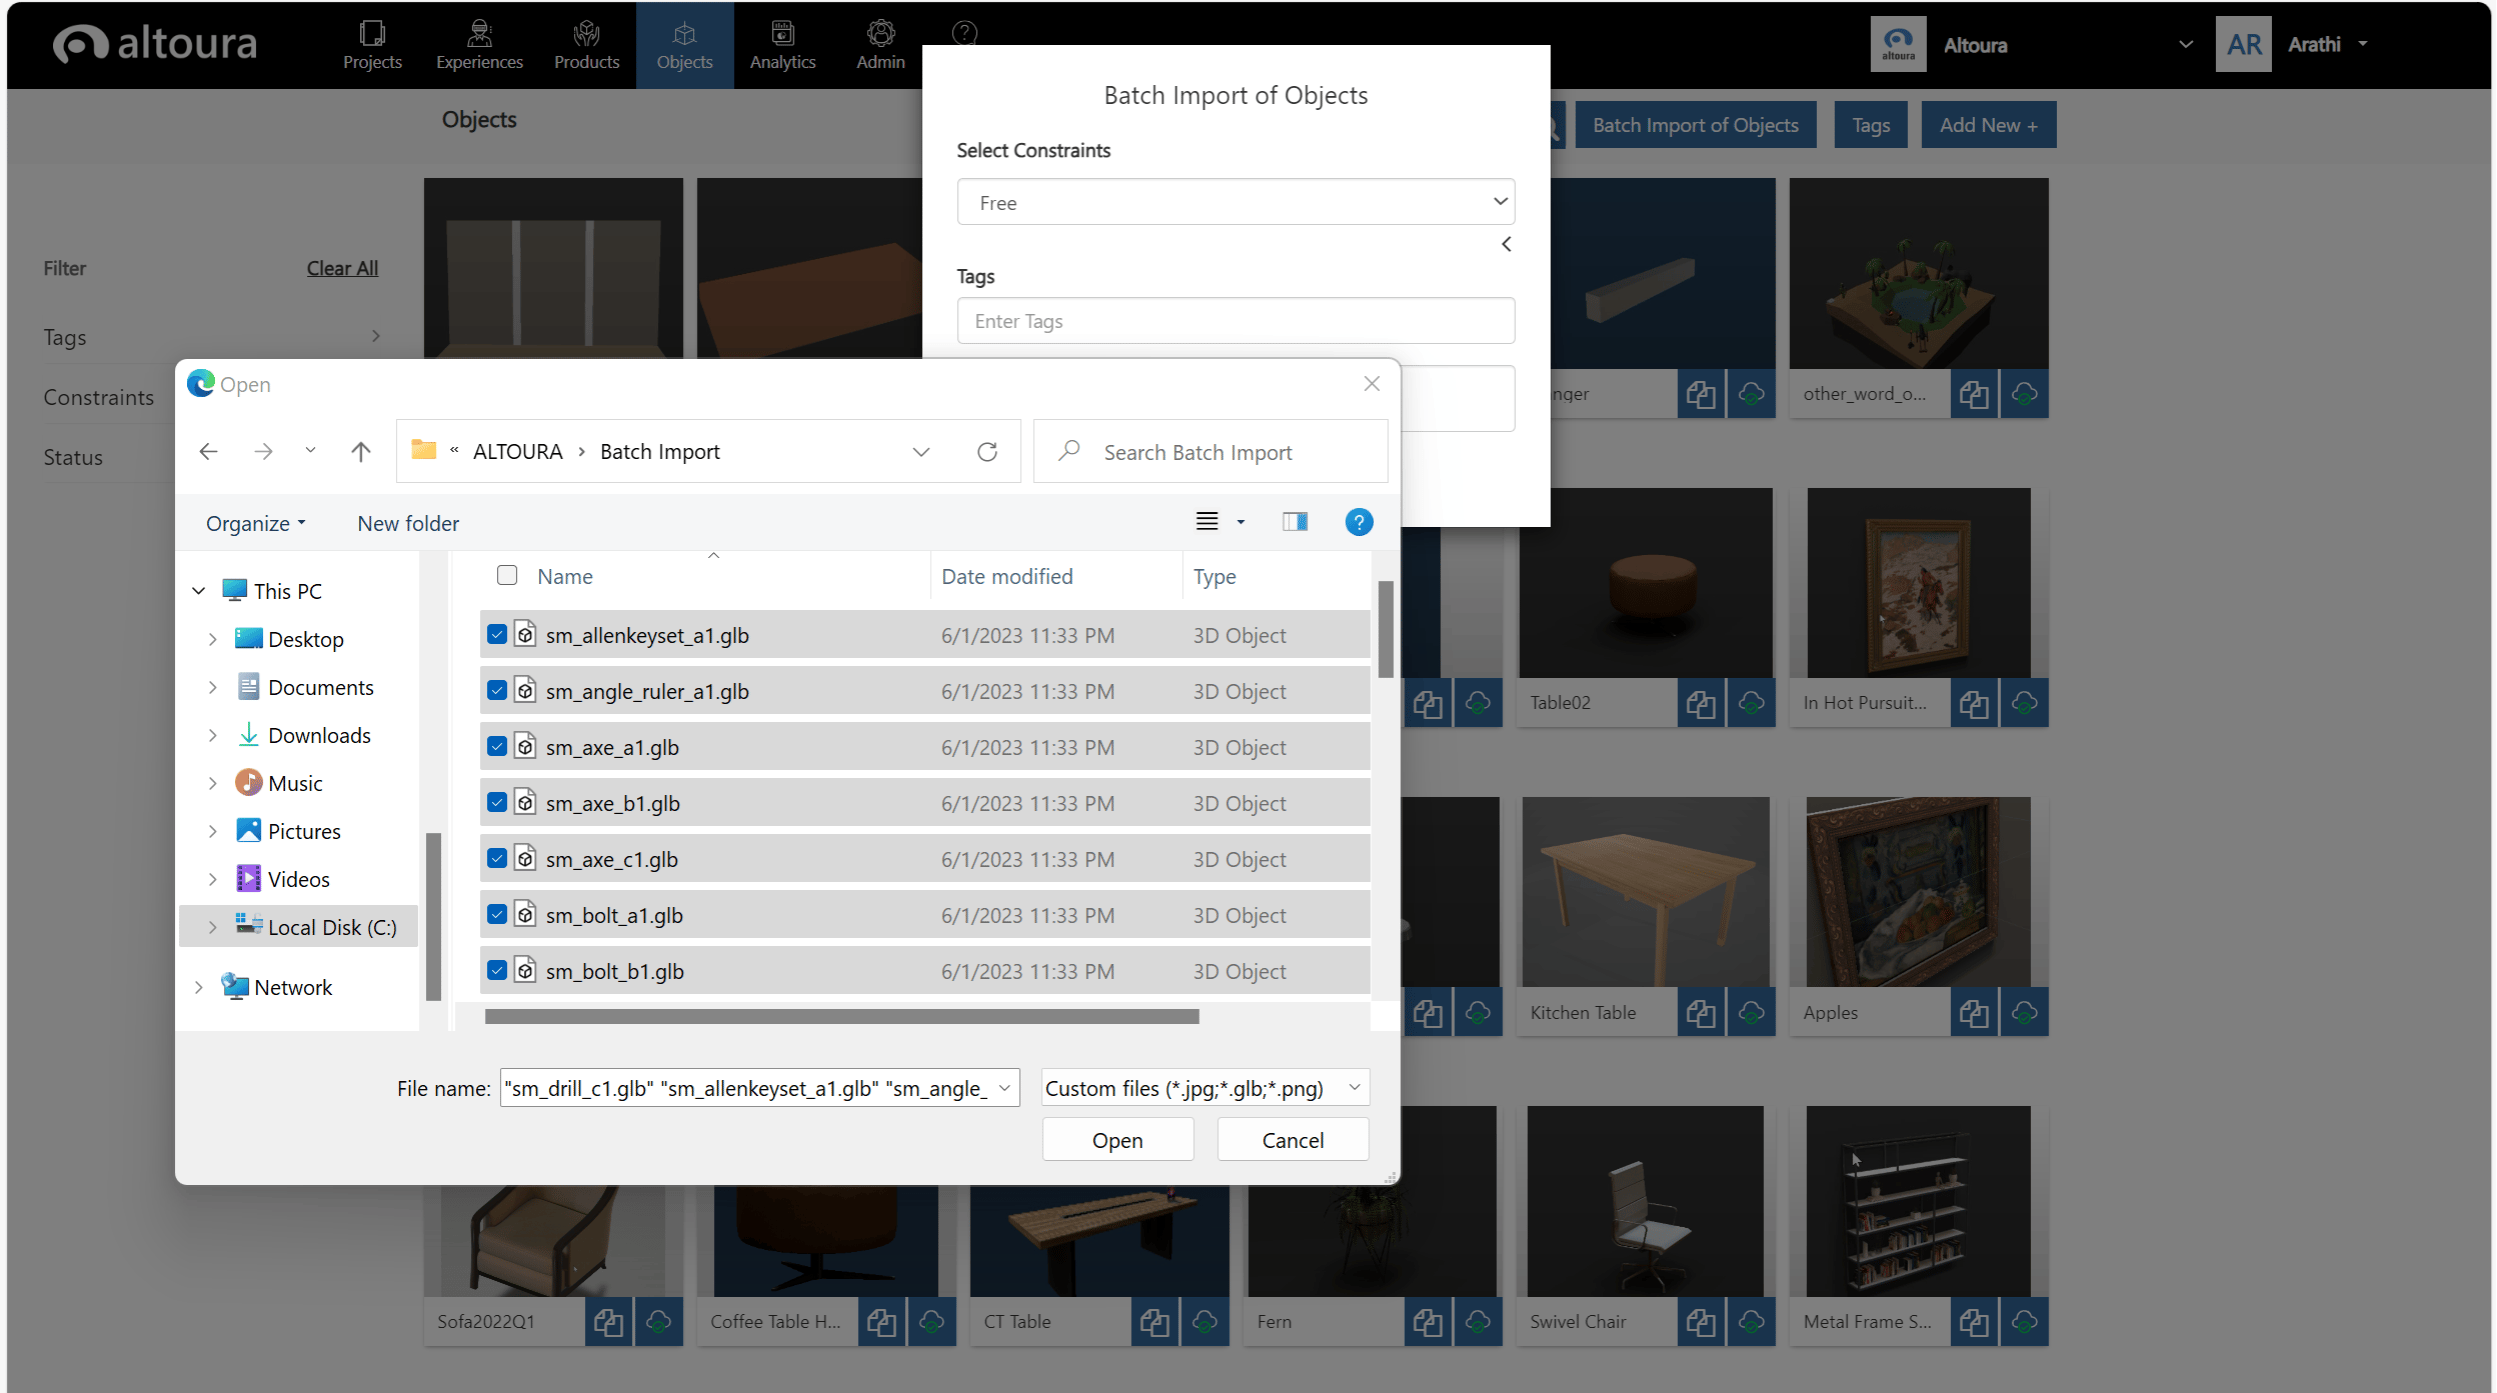
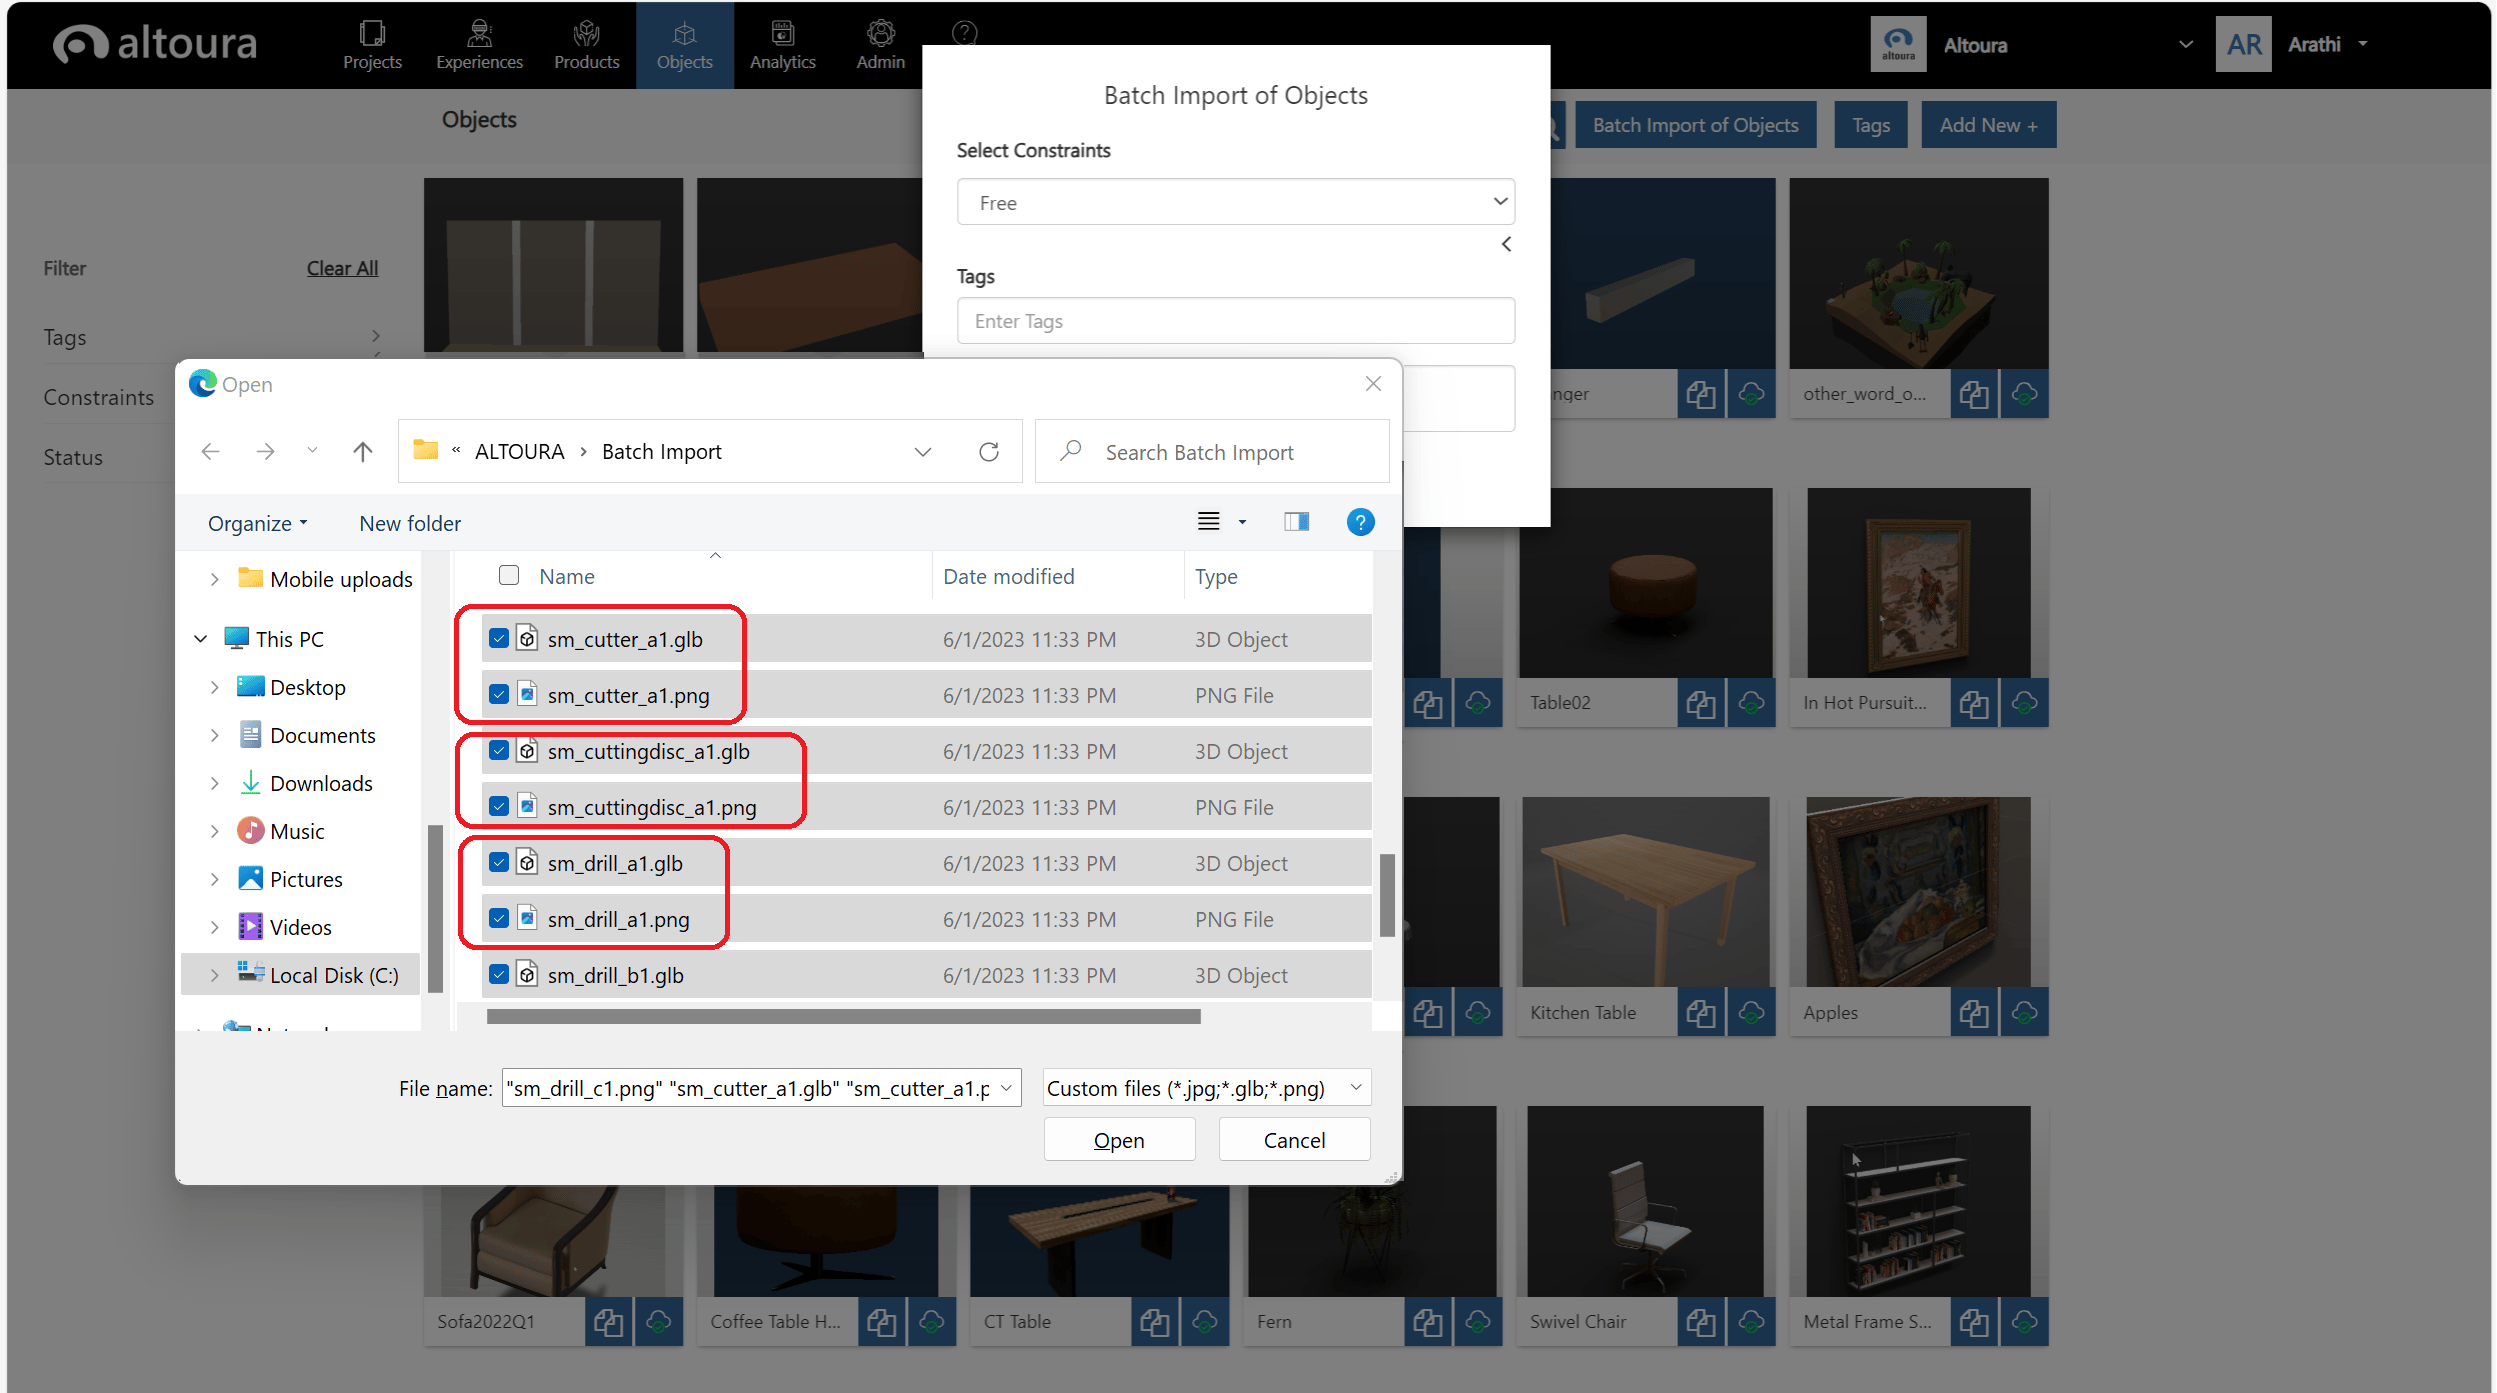
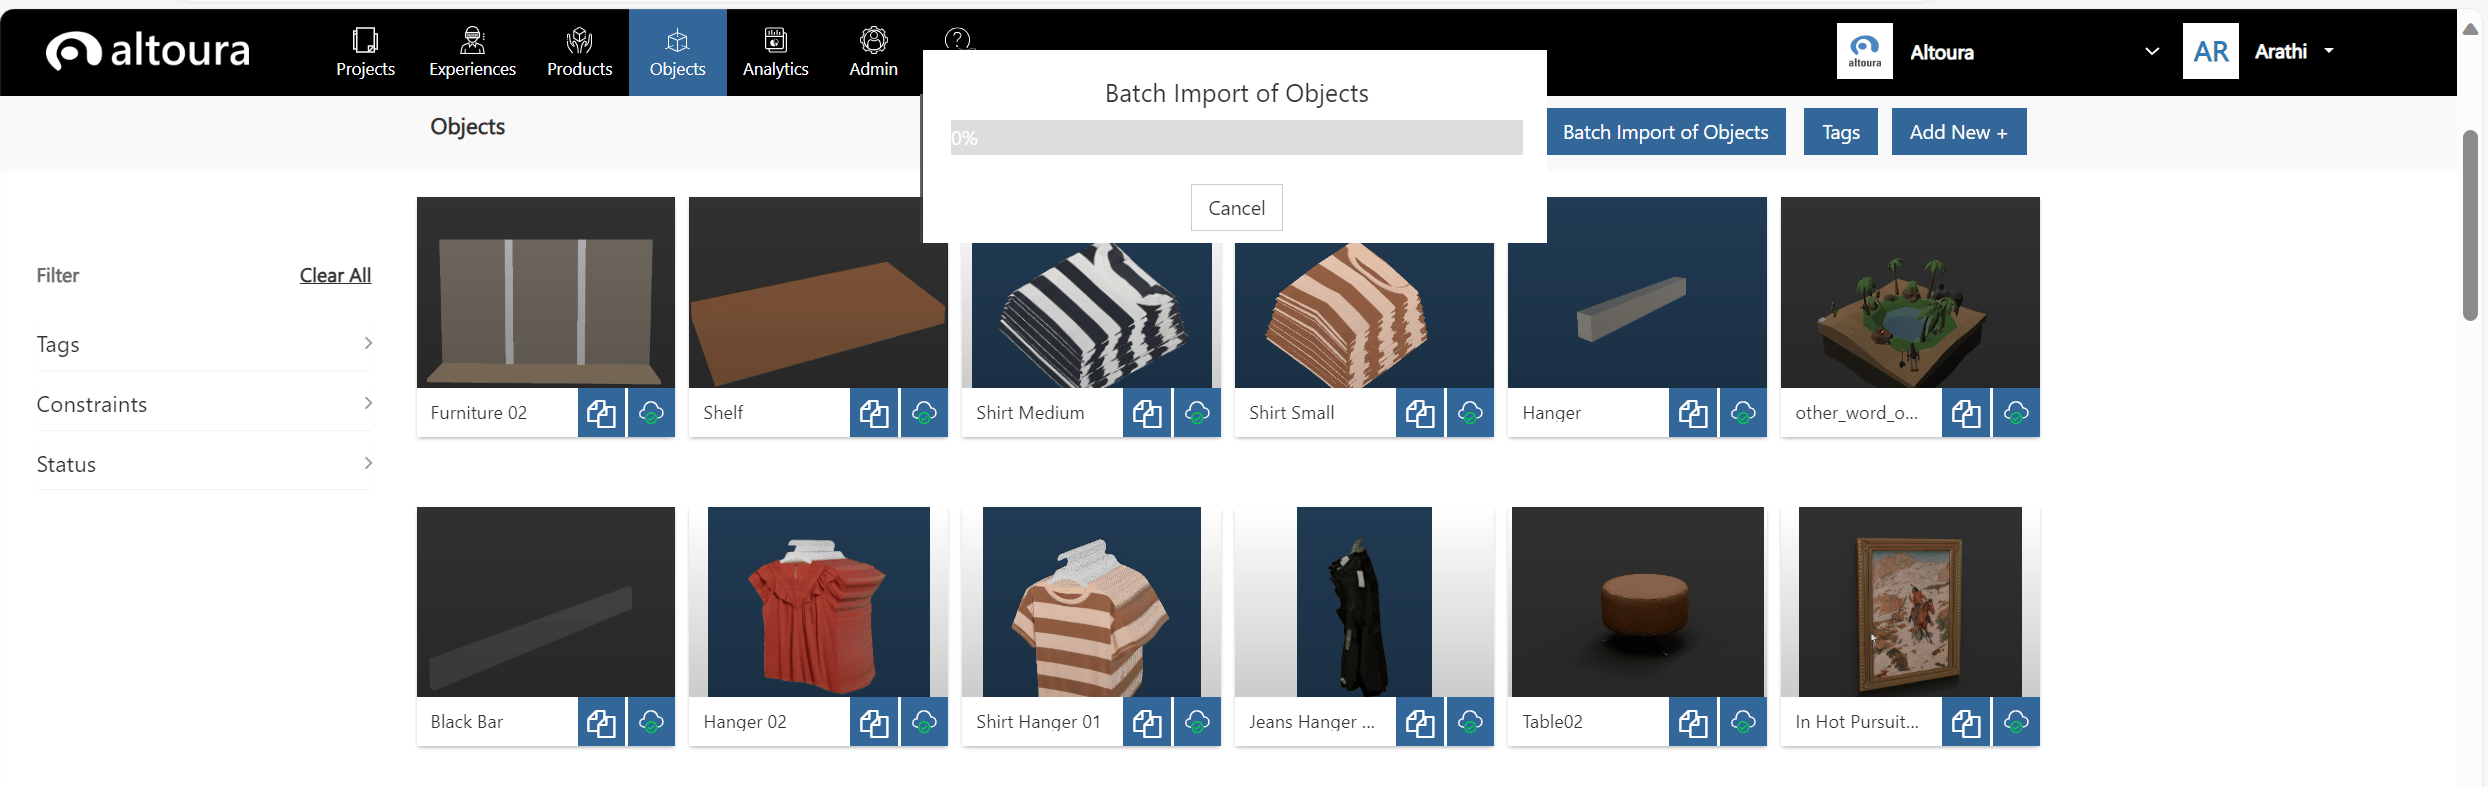
Batch Import of Objects
The system allows for multiple Objects to be added to the catalog by using the Batch Import of Objects feature. This feature currently supports only Objects that can be created from glb files. Click on the Batch Import of Objects button in the Objects page.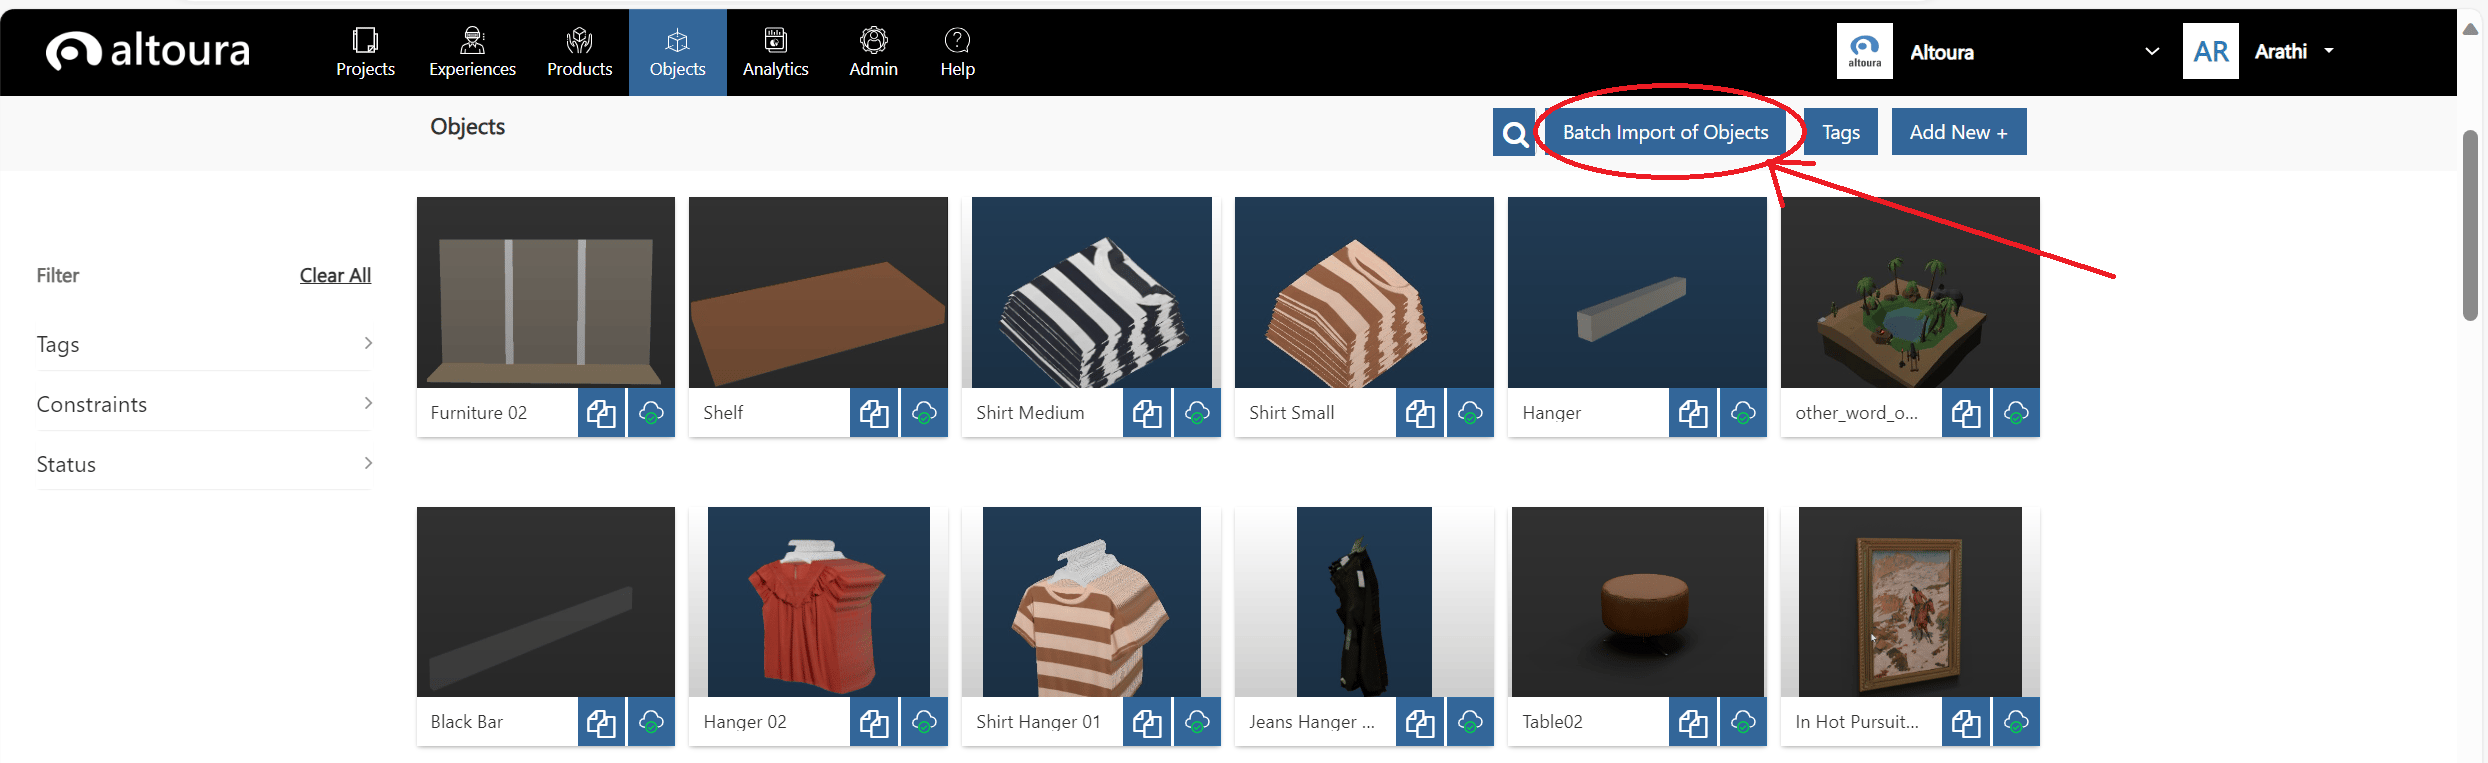
Progress of the Import process