

Add a 3D Model to a Step
Each procedure step can contain one or more 3D models.1
Open the 3D Model tab
Select an empty model slot or tap the + button.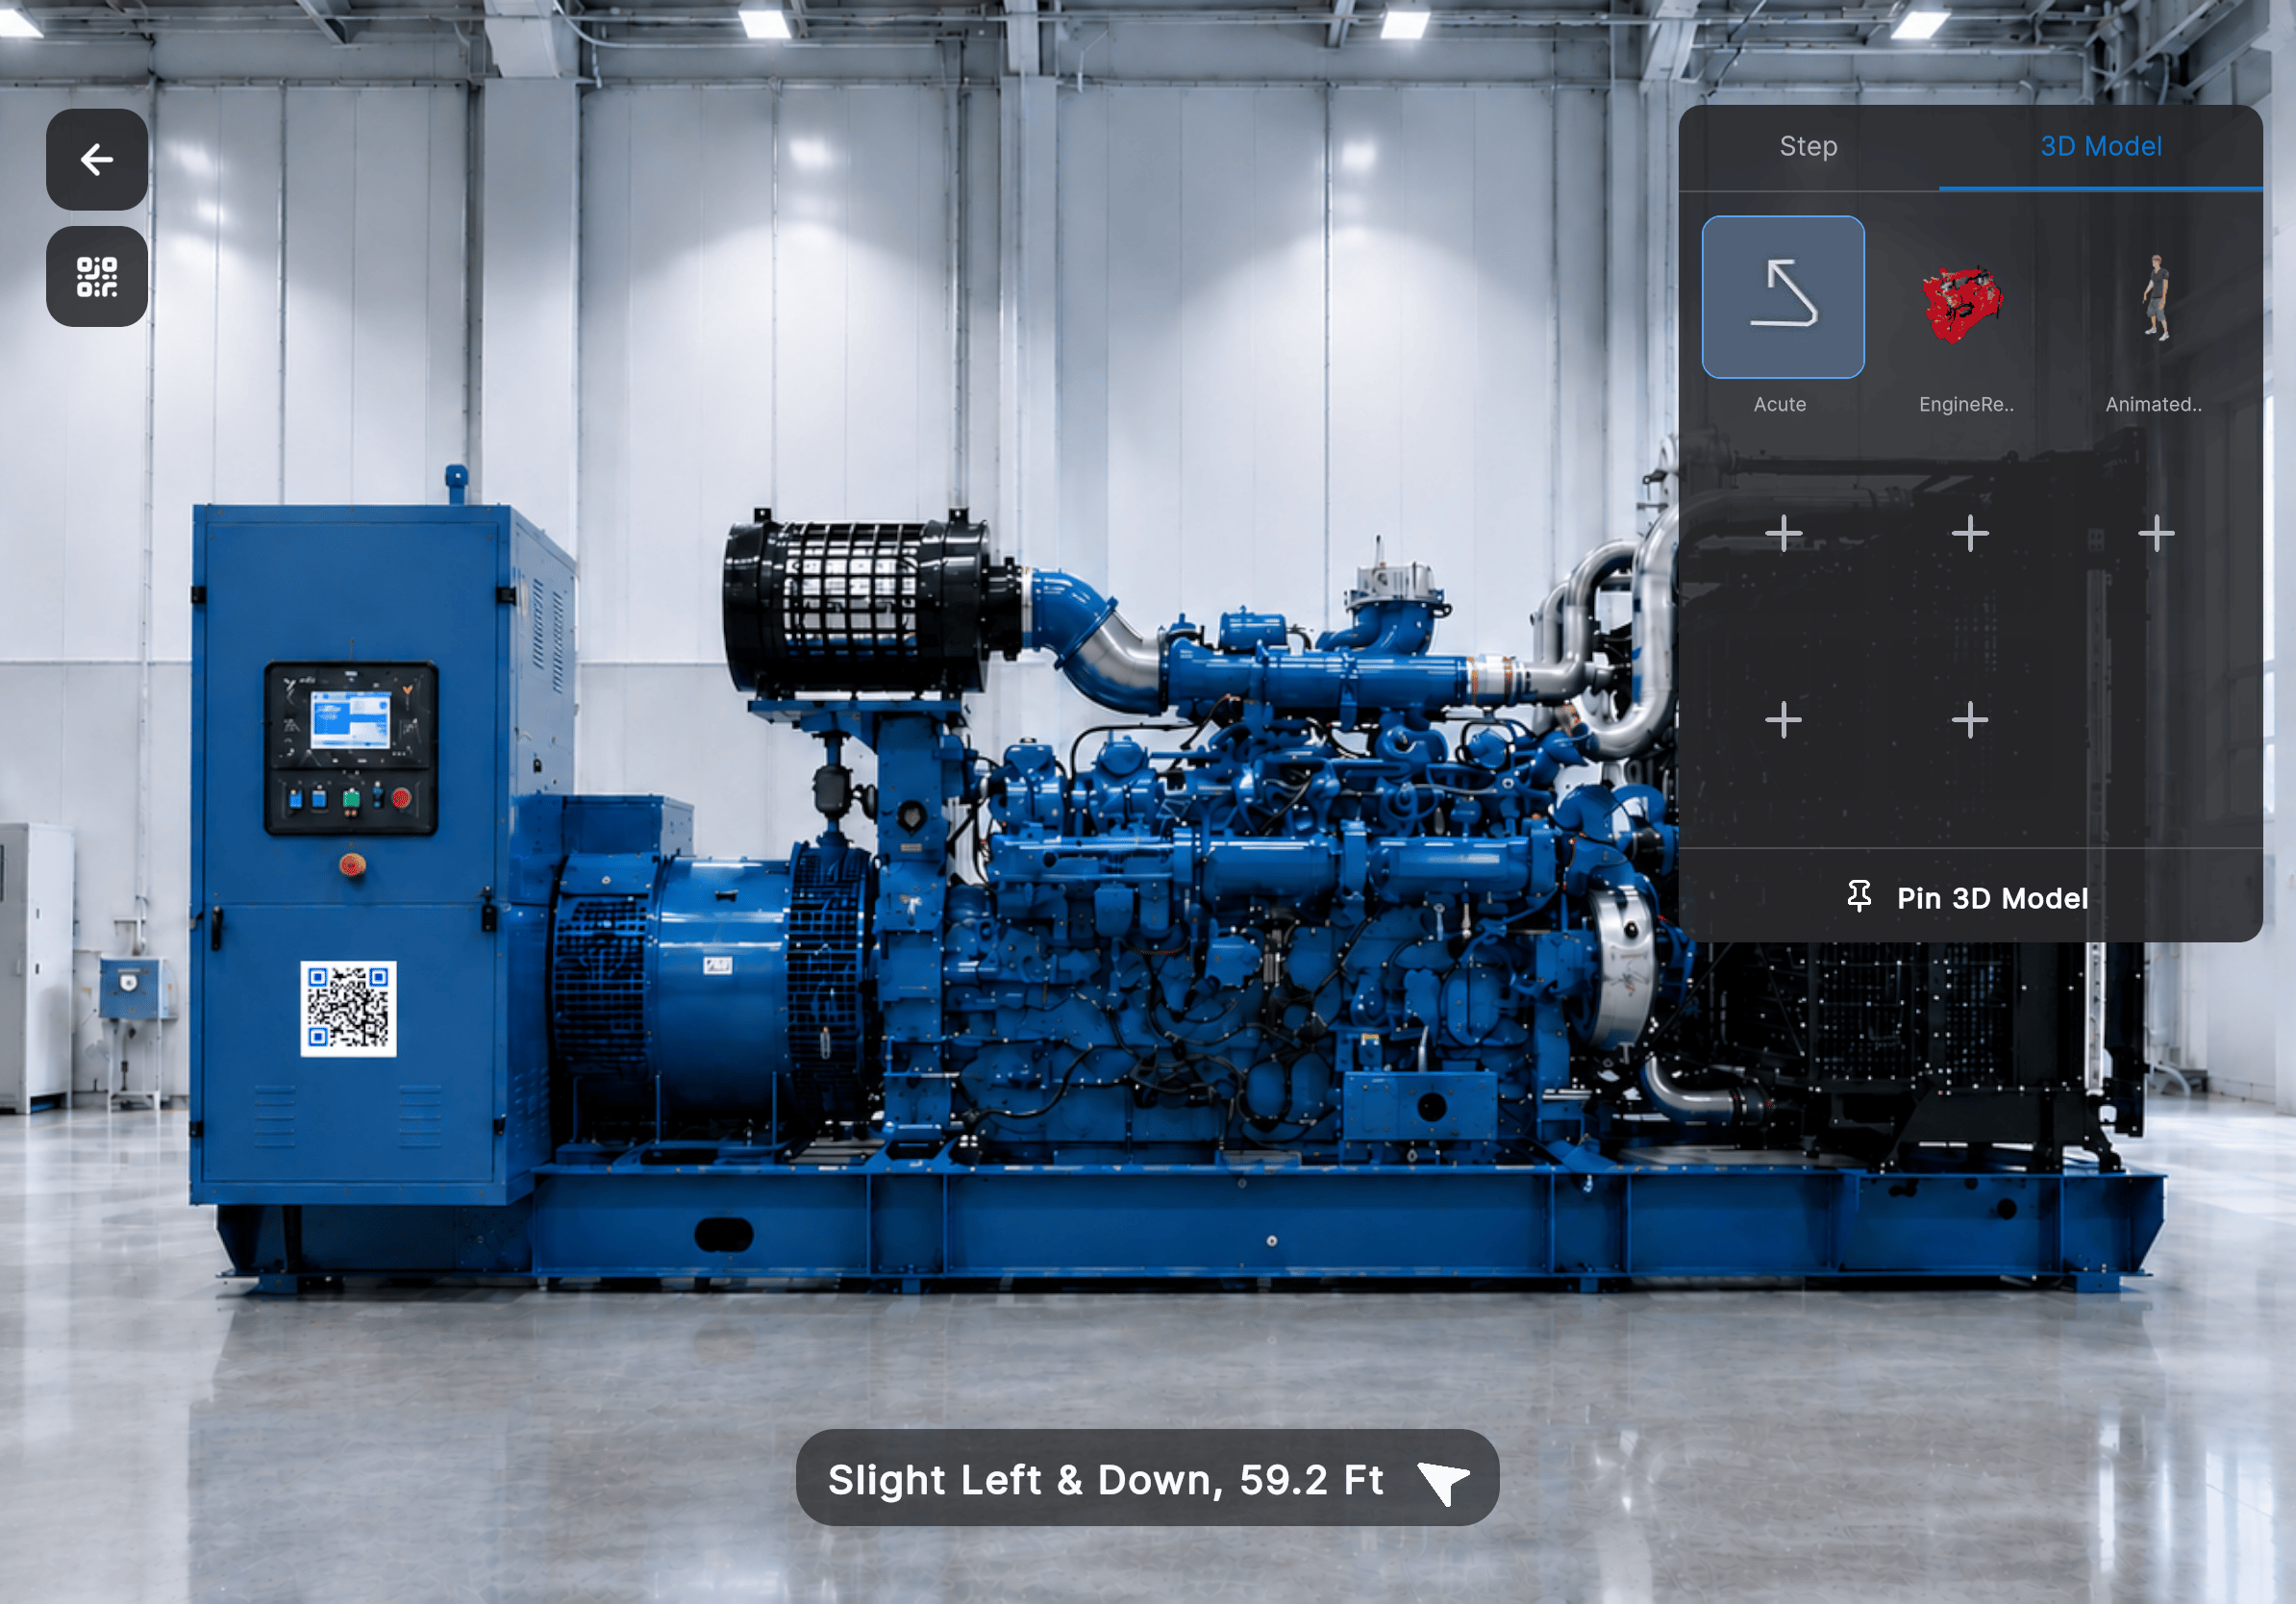
2
Browse or search the Model Library
The Model Library opens with the default 3D models available to you.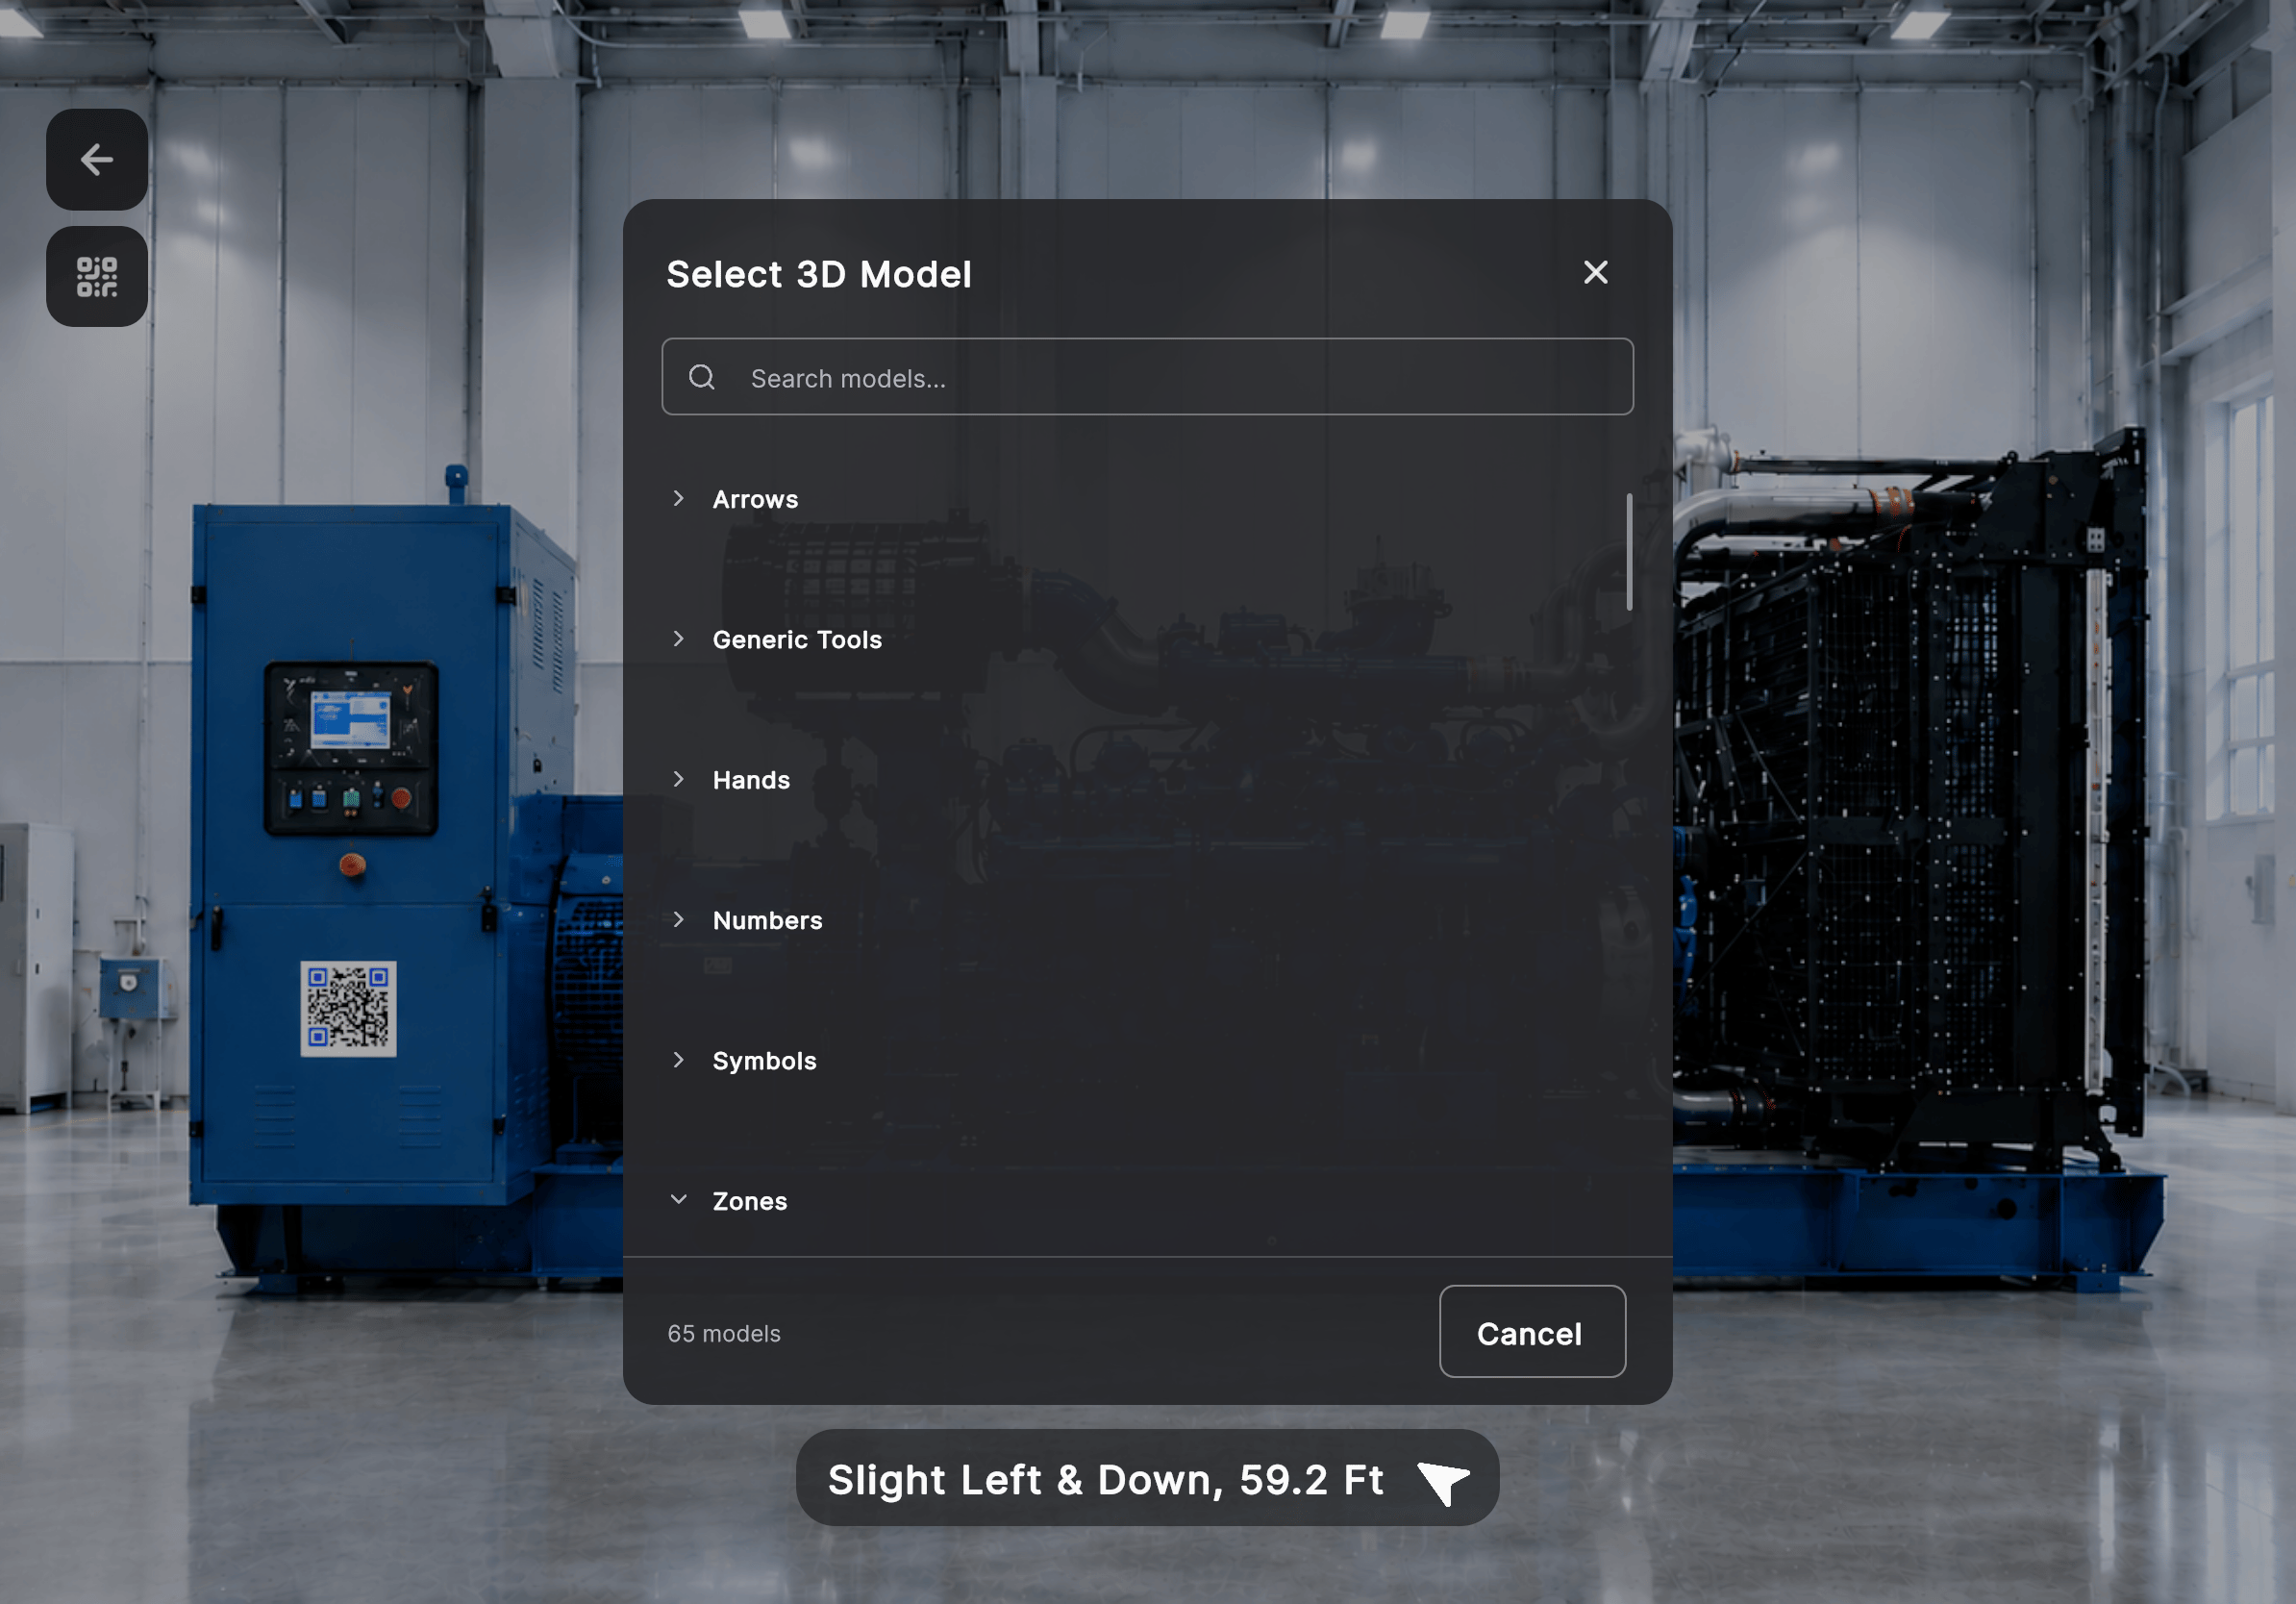
3
Select the model
The model is added to the current procedure step.
Pin the Model in the Workspace
After selecting a model from the Model Library, position it in the AR view.1
Align the model
Move the iPad and adjust until the model sits where it belongs.
2
Select Pin 3D Model
The model enters placement review.
3
Review the placement and select Confirm
The pinned model becomes part of the current procedure step and remains in its saved position until it is edited or removed.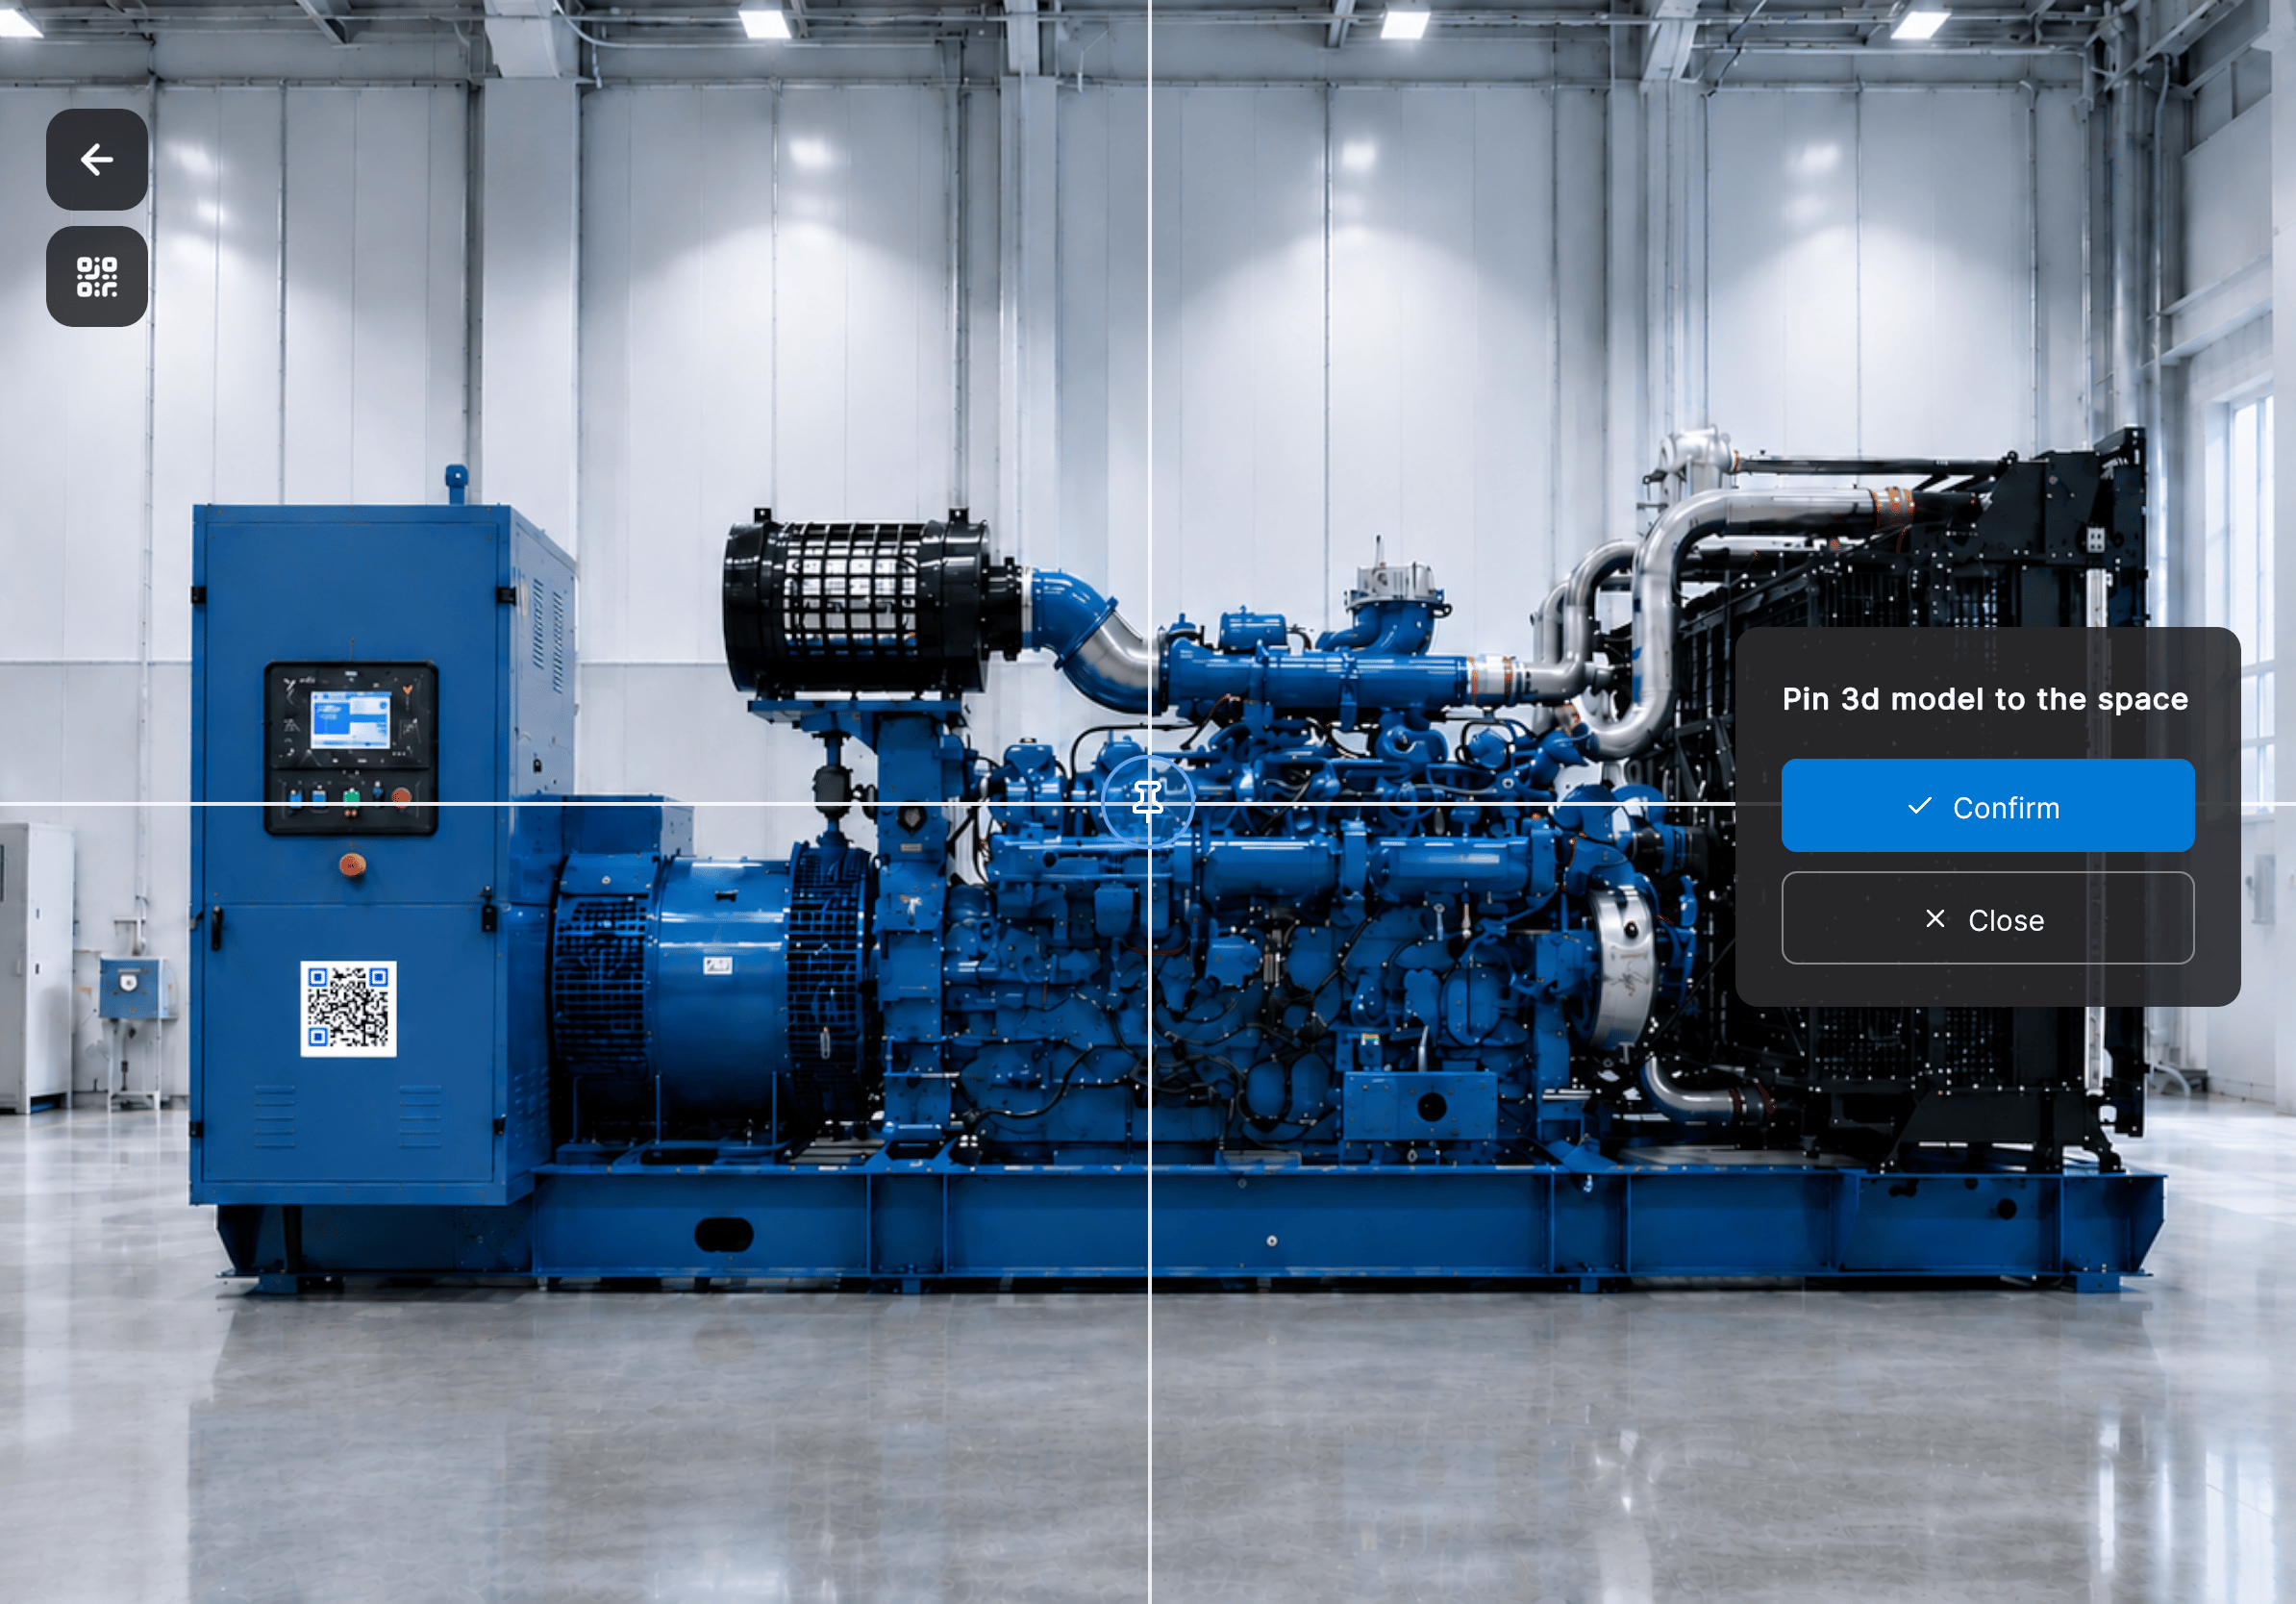
Edit a Pinned Model
Select a pinned model to display its editing controls:Move, Rotate, and Scale
Use the transformation tools to fine-tune model placement.Move
Reposition the model along the X, Y, and Z axes. The Move tool supports both Global and Local coordinate modes.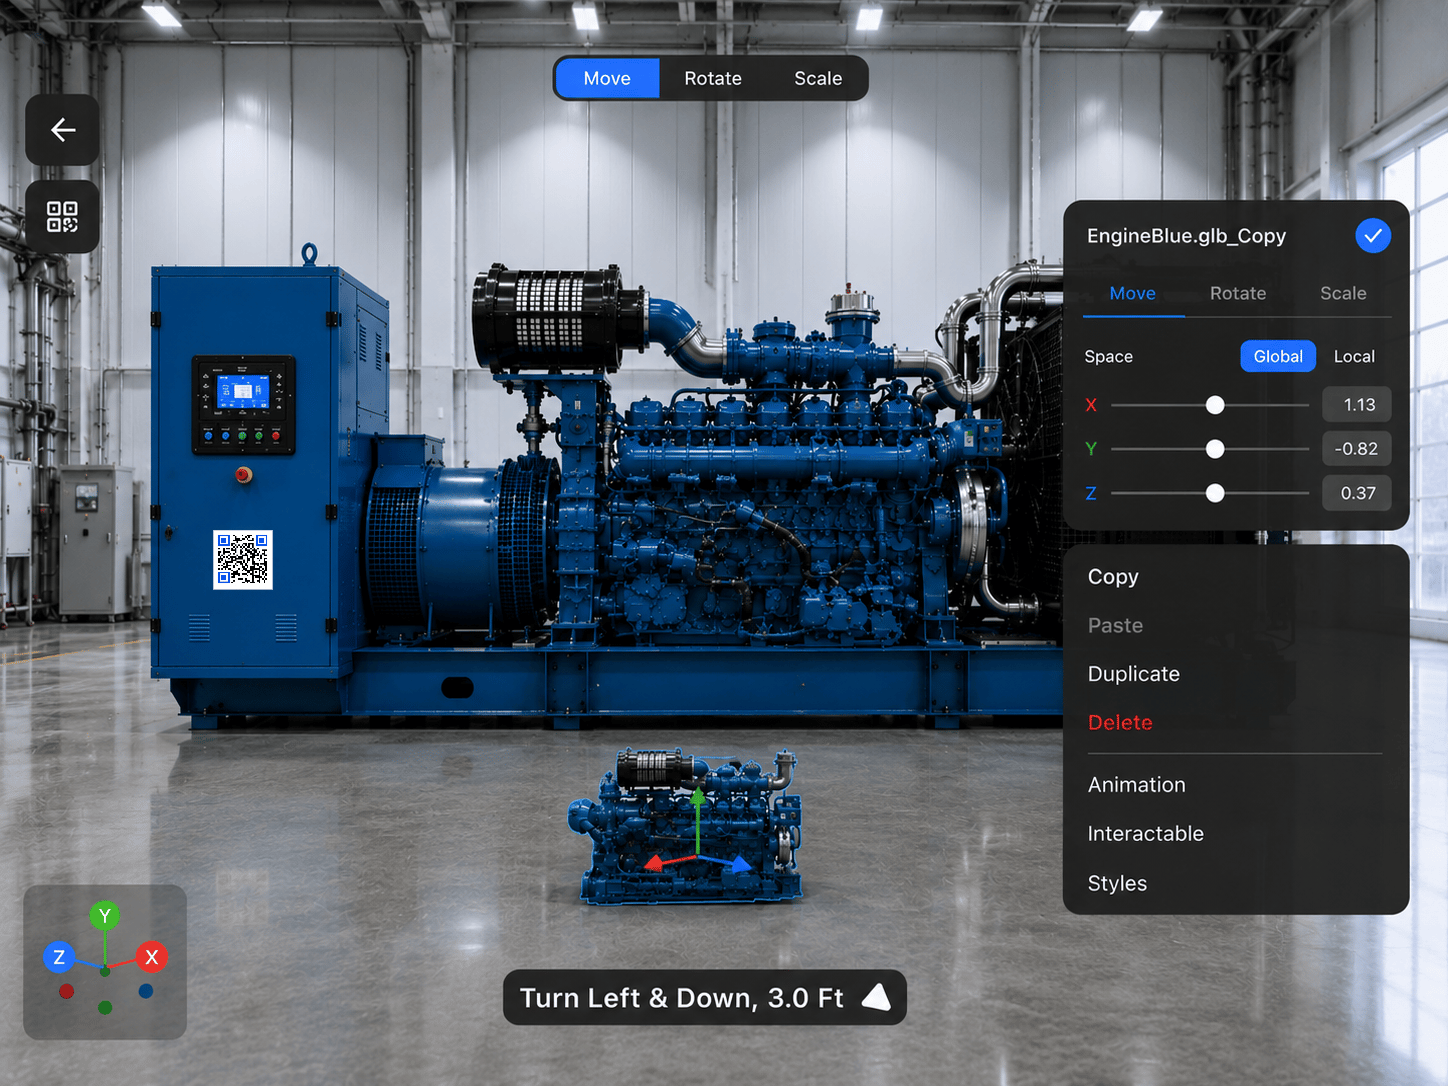
Rotate
Change the orientation of the model. The Rotate tool supports both Global and Local coordinate modes.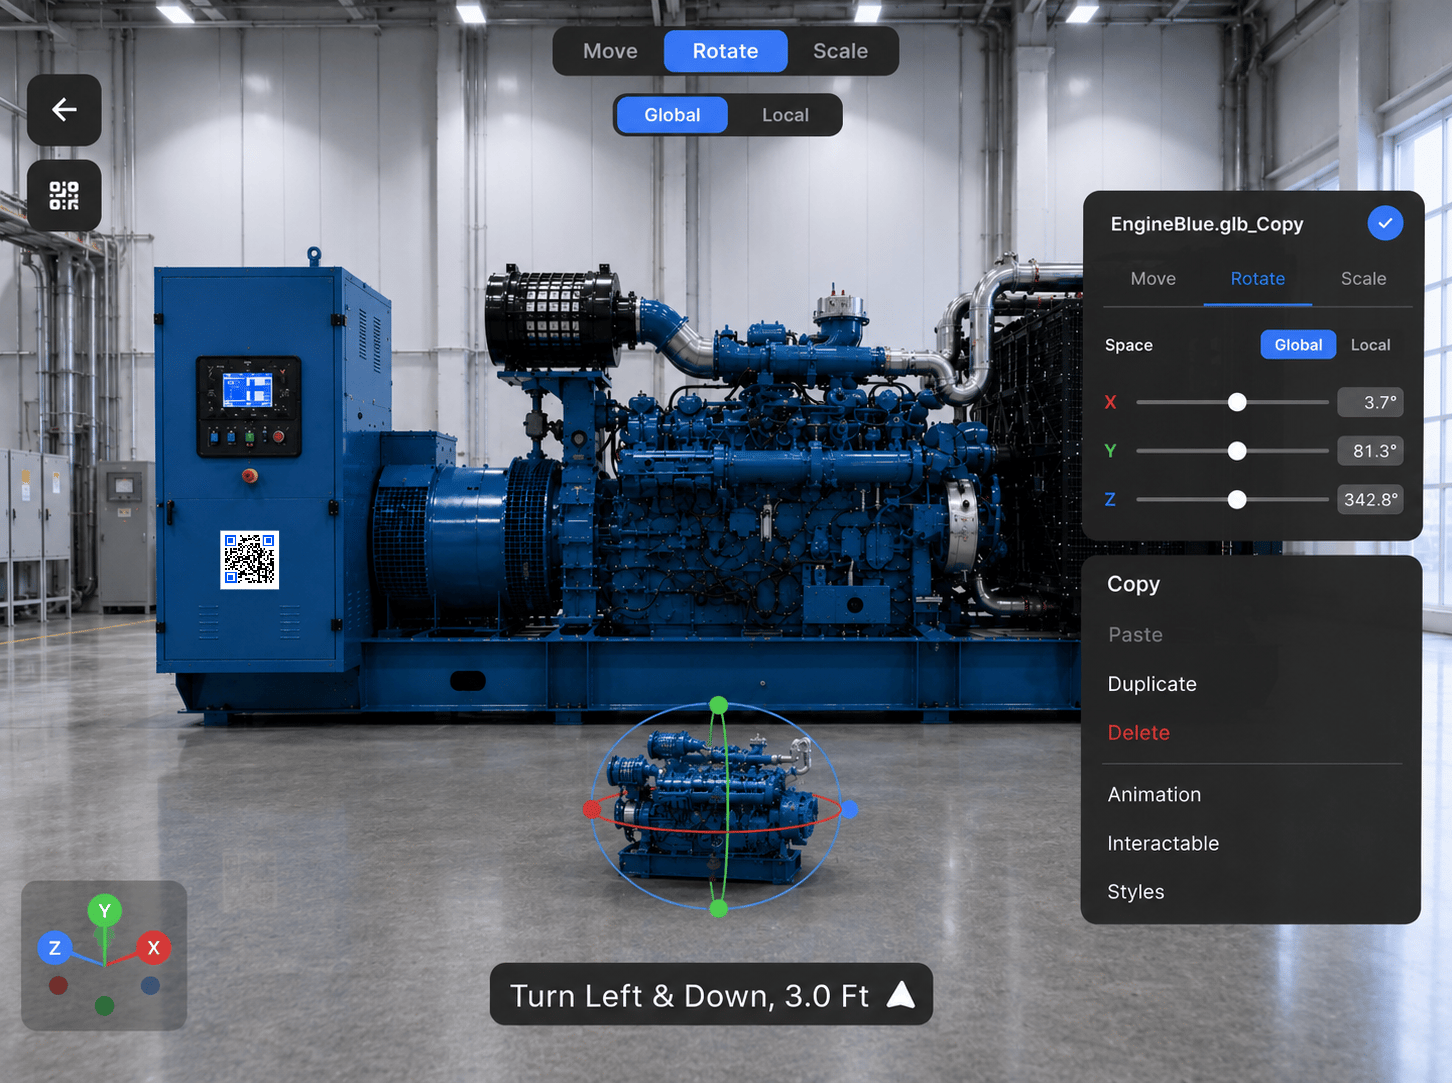
Scale
Increase or decrease the size of the model independently along each axis.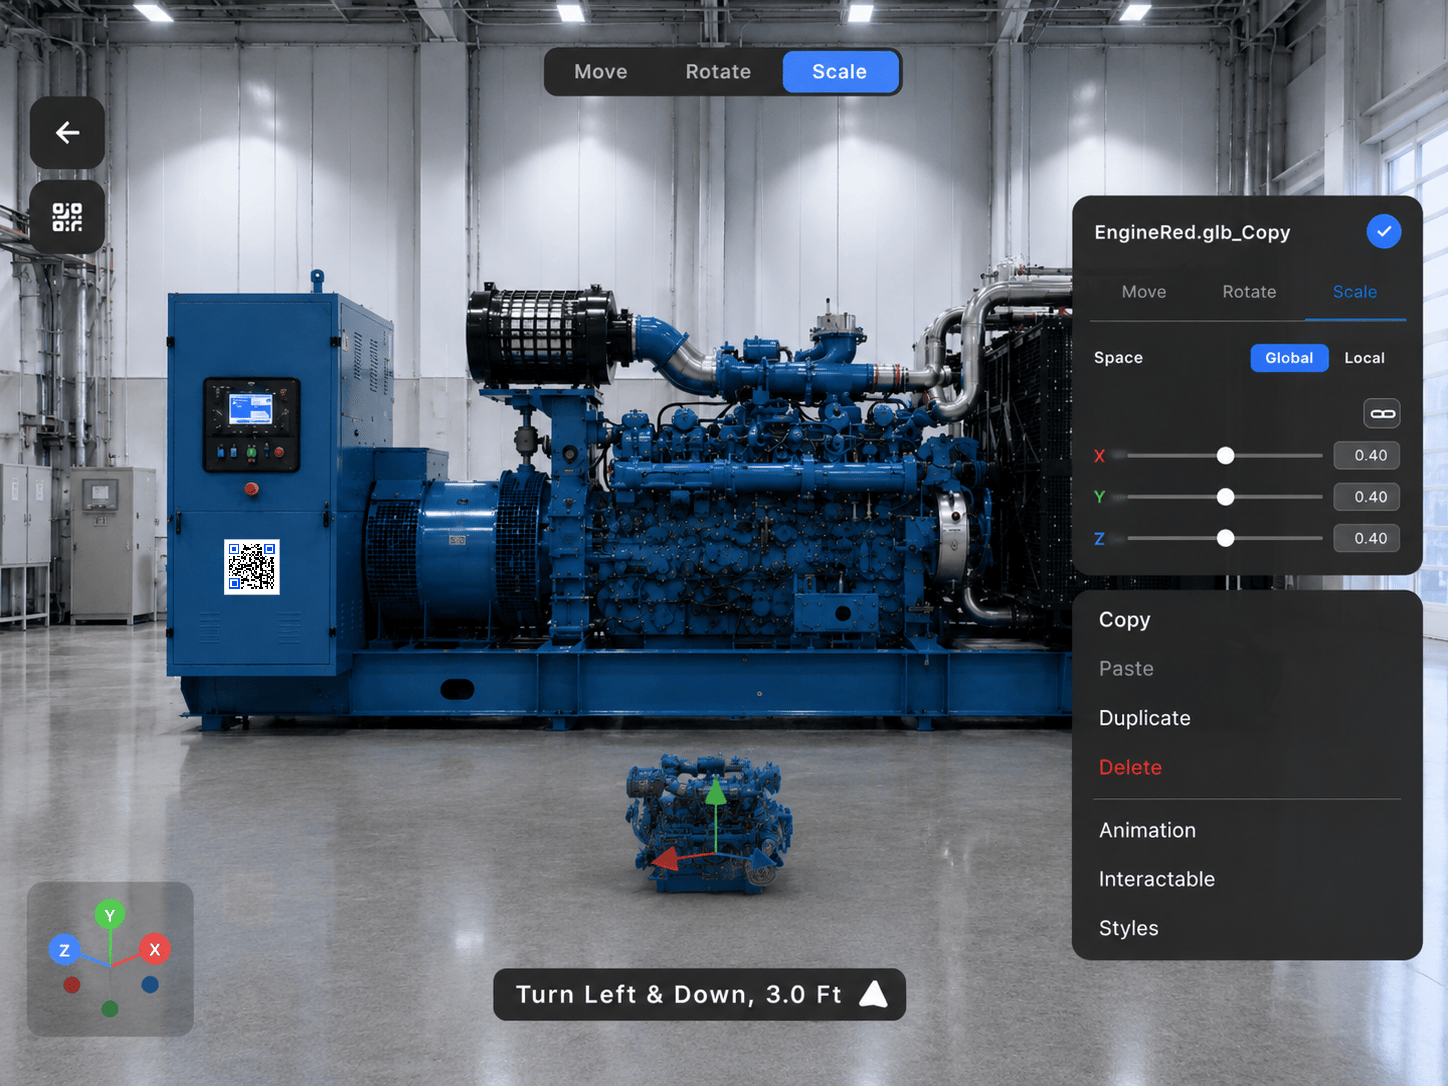
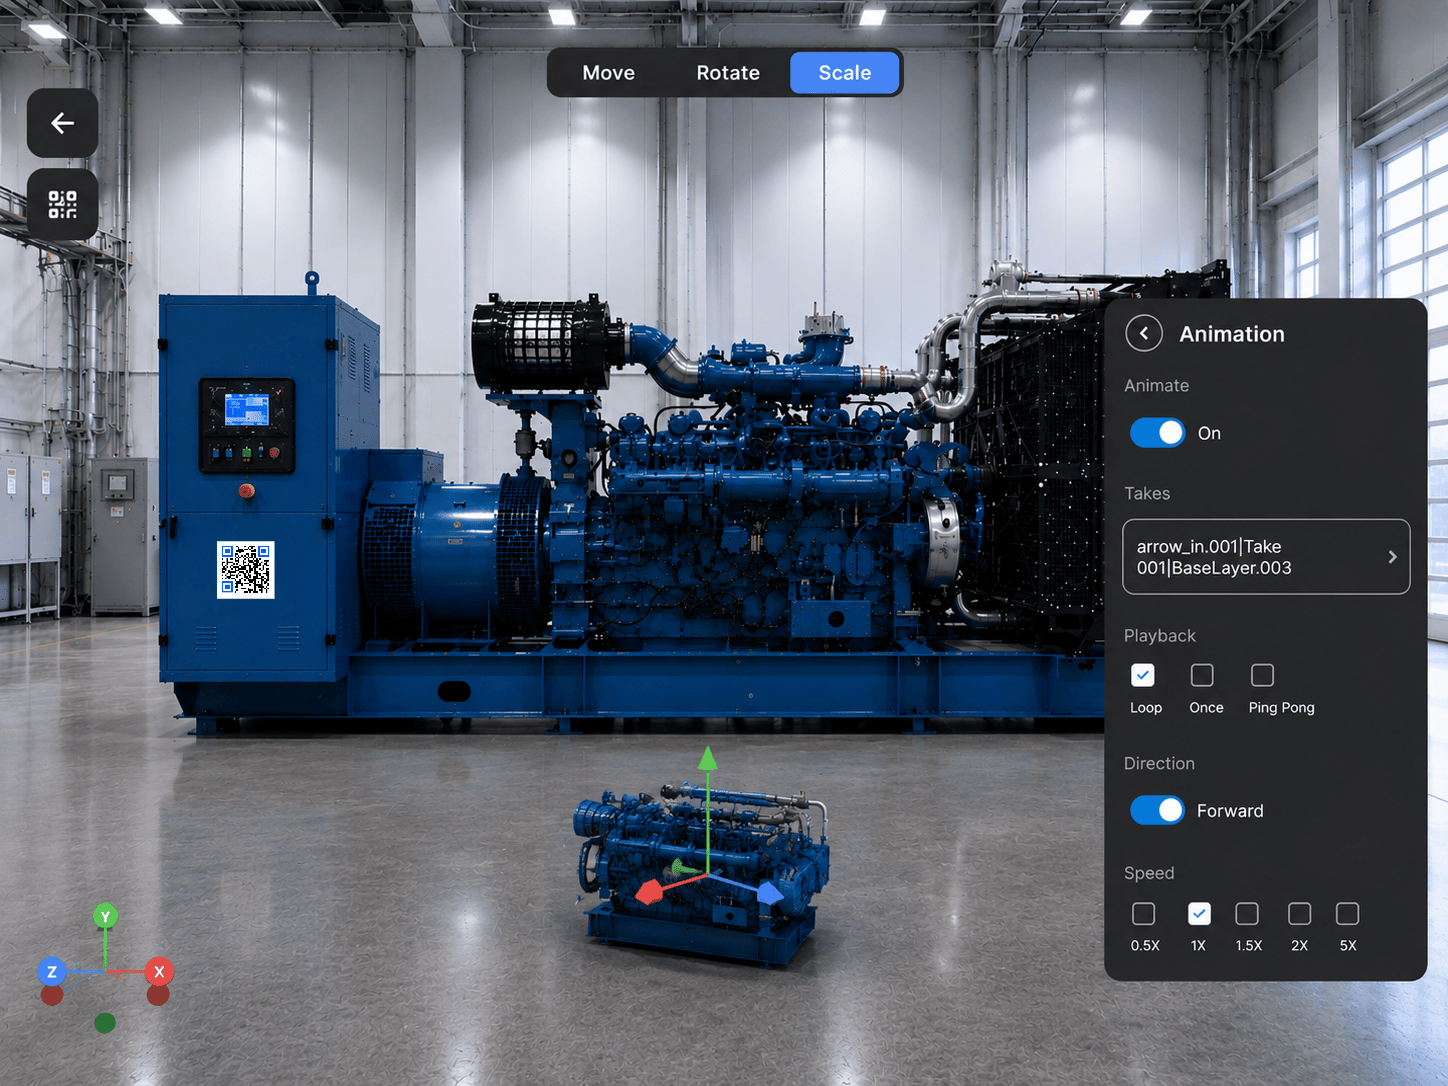
Configure Model Animation
Some 3D models support animation. For animated models, you can configure:- Animation take
- Playback mode
- Direction
- Speed
Next: Invite an Expert to a Call