

Anchor the Session
After you choose Author Mode, Frontline prepares the workspace the same way it does for a procedure run: scan your environment, then scan the printed QR code. The full walkthrough and best practices are in Anchor with a QR Code; the concept is explained in Anchoring and QR Codes.Pin the Procedure Panel
The procedure panel displays the current step and task information during a procedure. Pin it in the workspace so it stays visible where the work happens.1
Select Pin Panel
The panel enters placement mode.
2
Review the panel placement
Position the panel where it should appear in the workspace.
3
Select Confirm
The panel is pinned at the chosen location.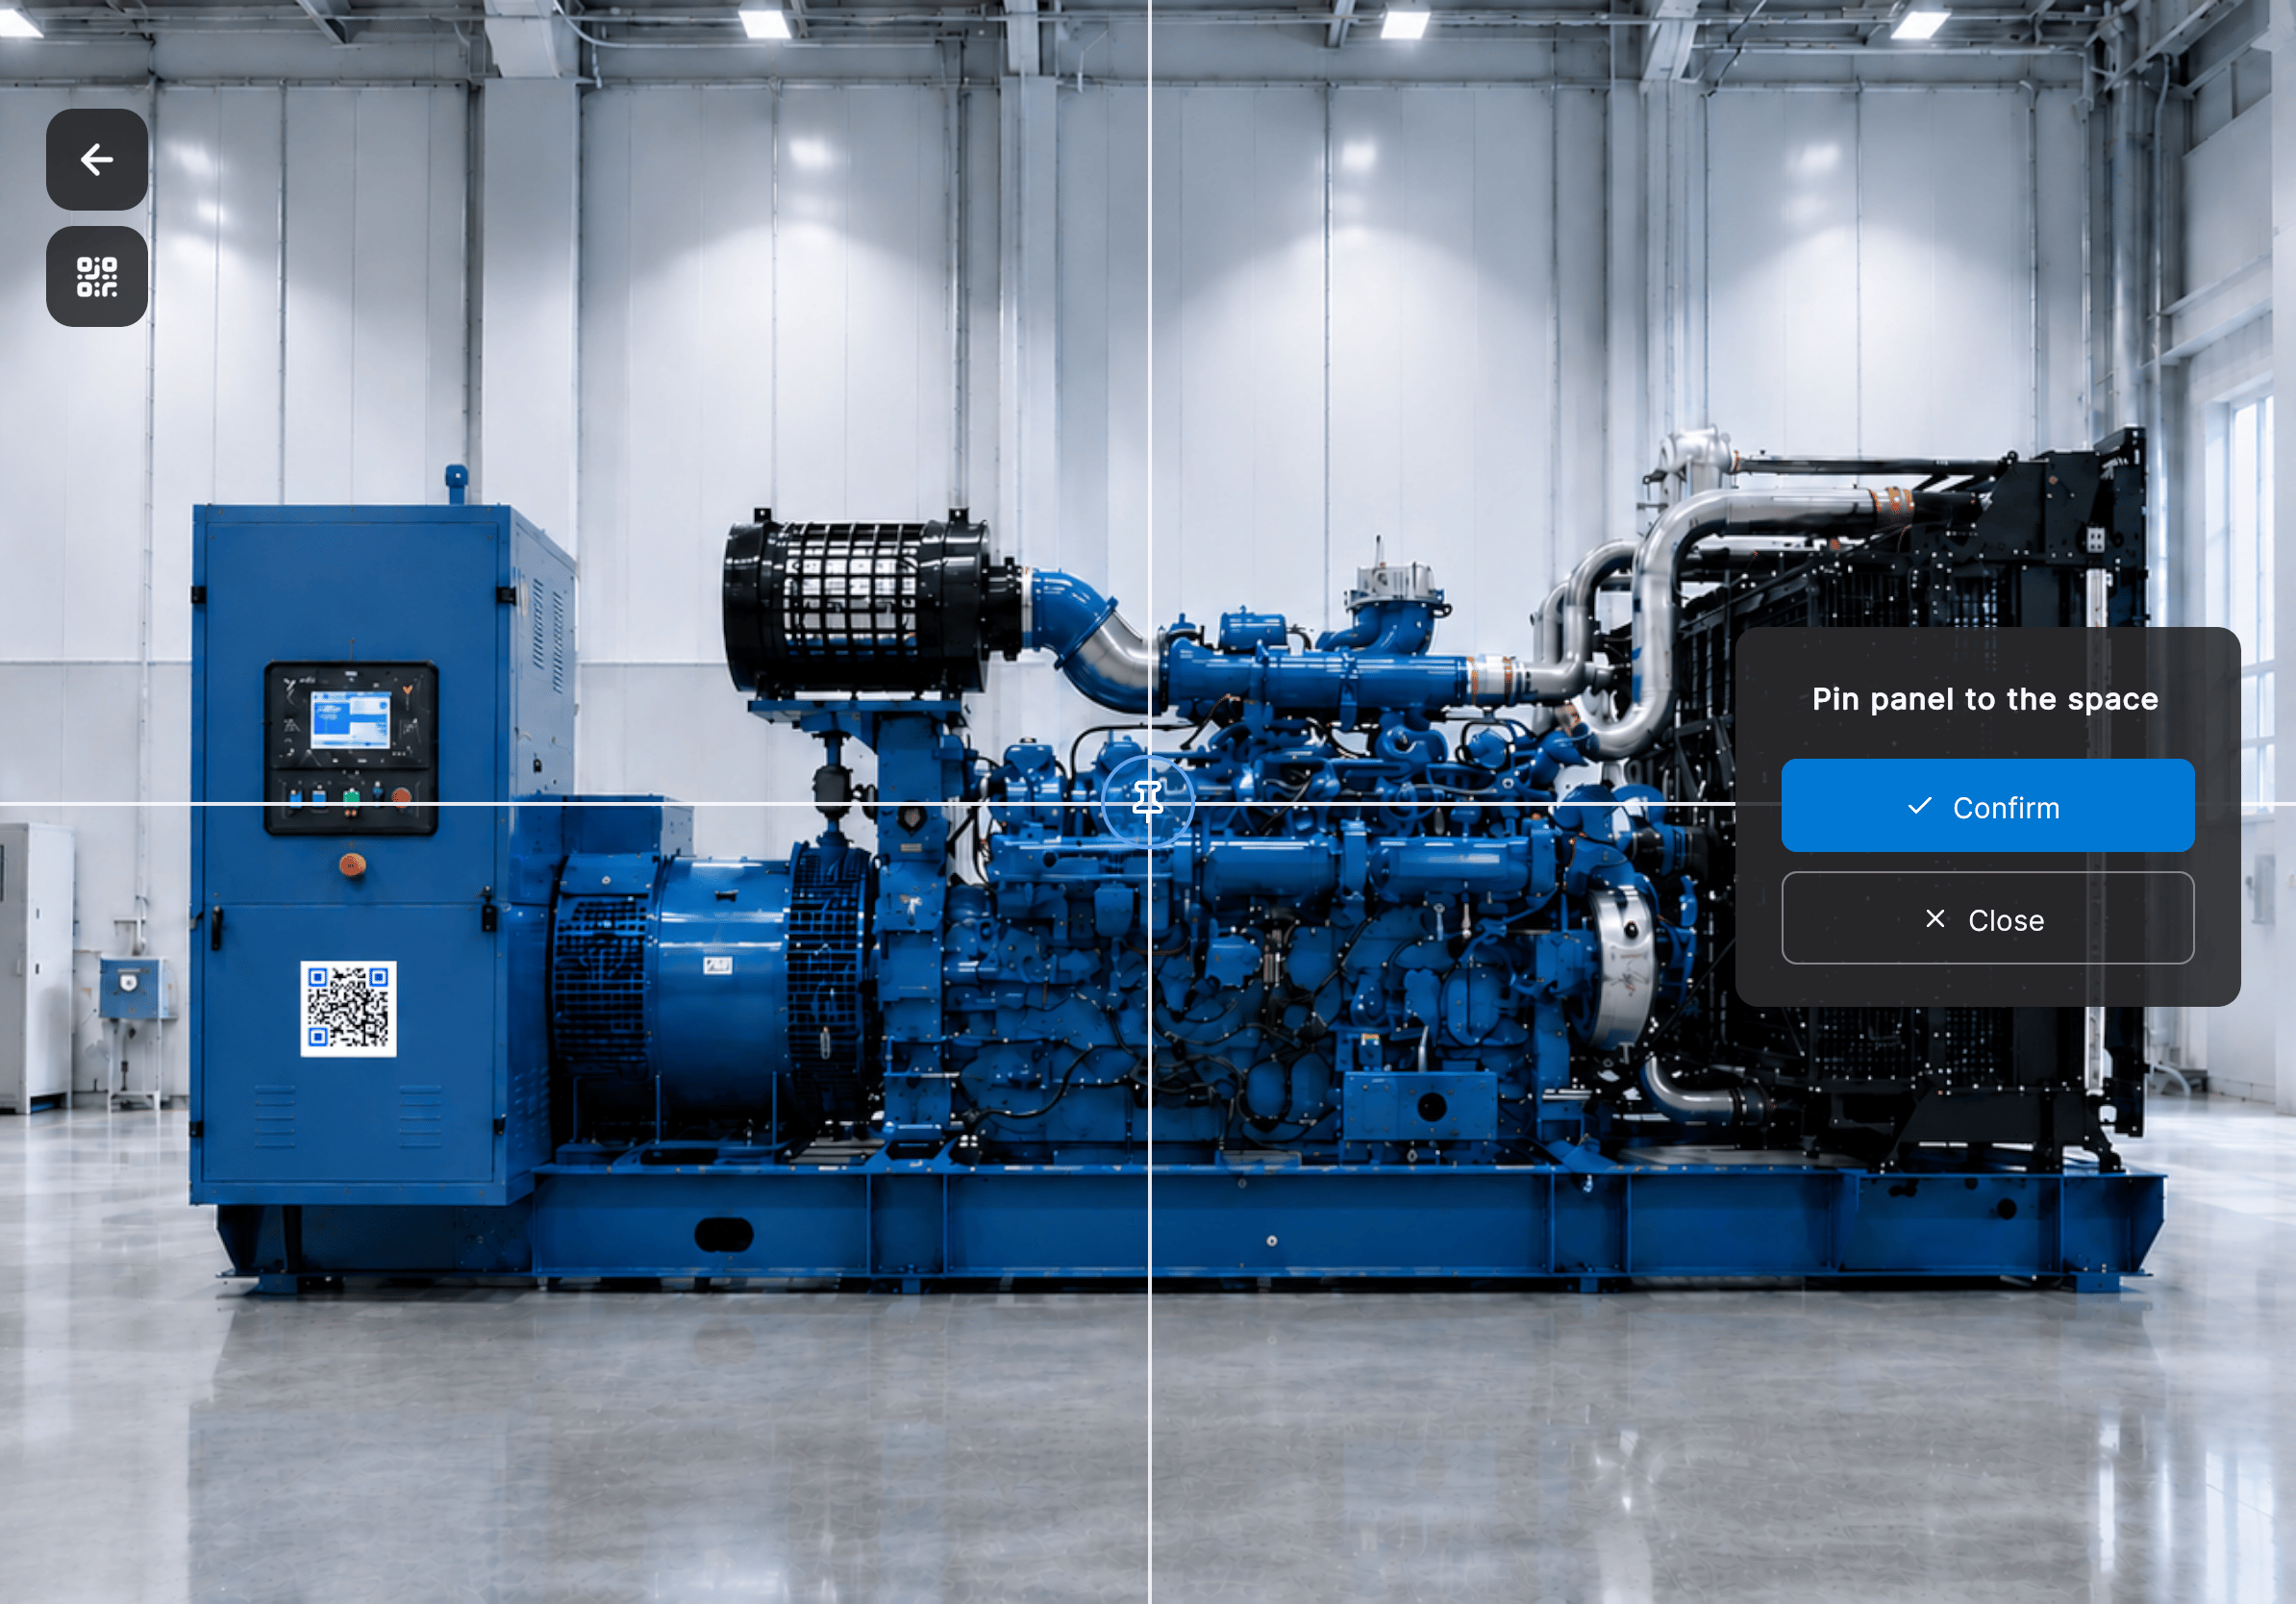
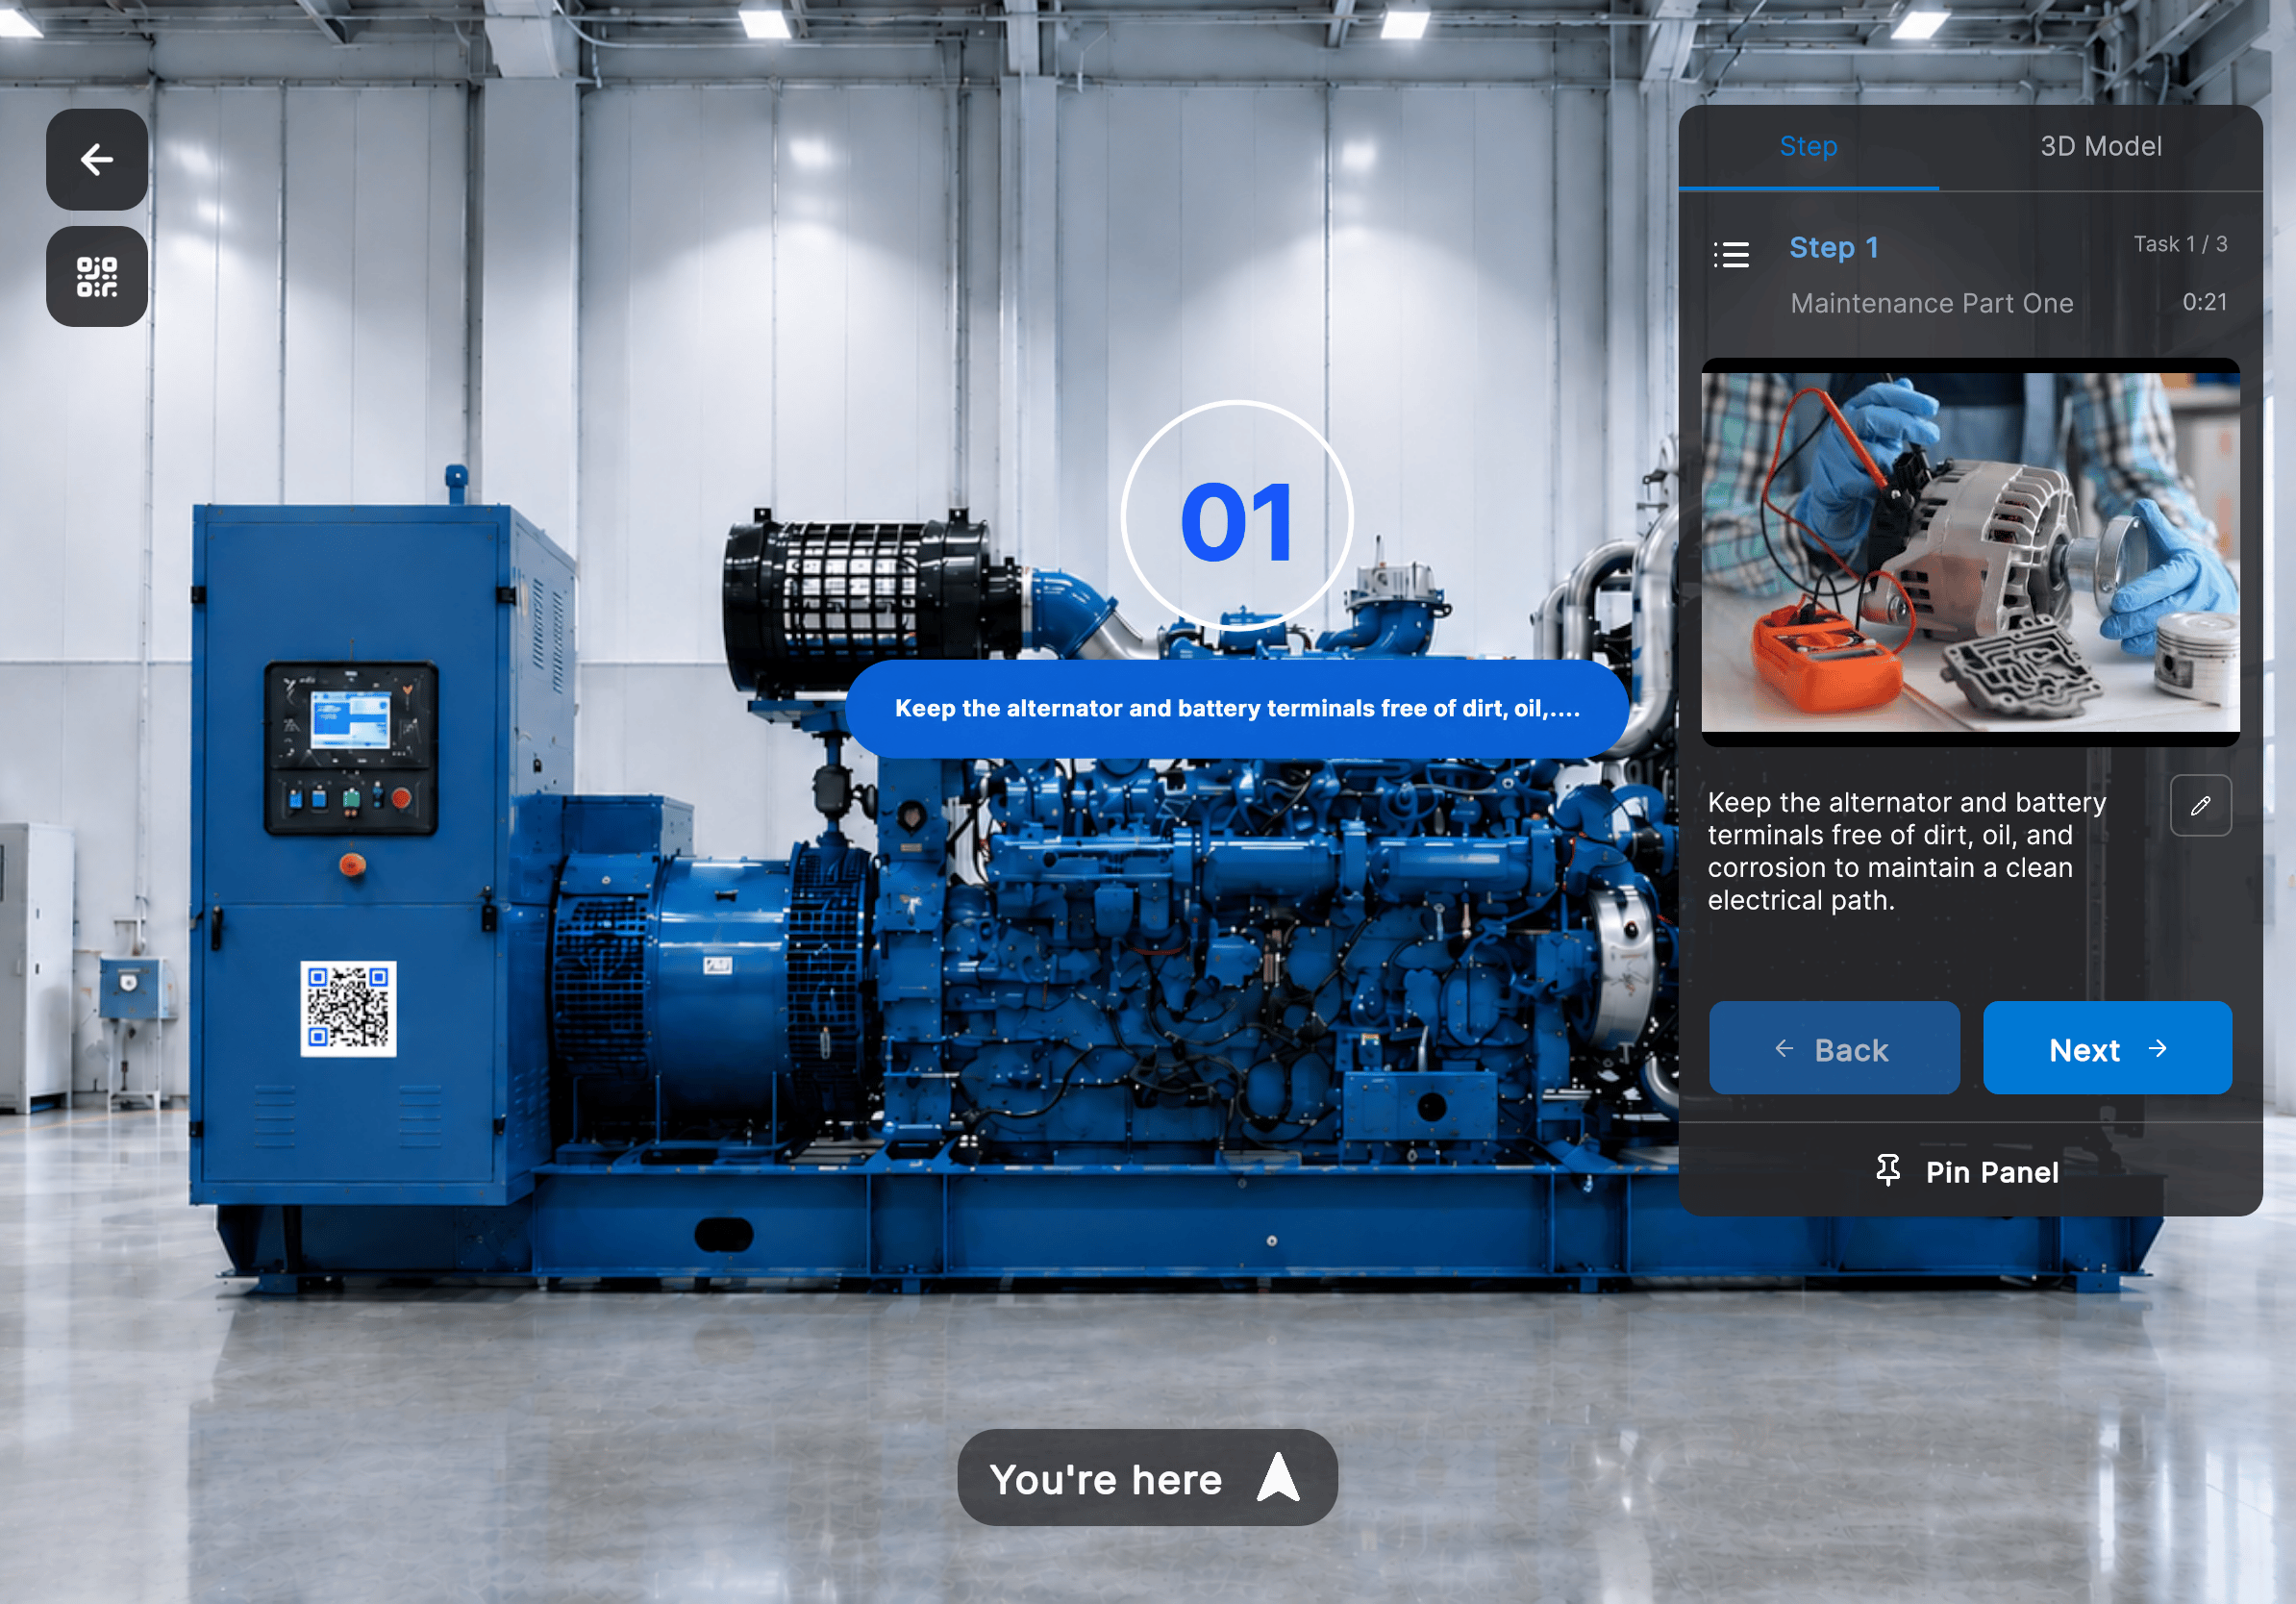
When the next instruction is outside the camera view during a run, Frontline shows directional guidance (for example, Look Down, 26 cm) to lead the user to the pinned marker. See Follow Steps for how this appears to operators.
Next: Add 3D Models and Media