

access_as_user scope, authorizing trusted client applications, granting the required Microsoft Graph and Azure Communication Services (ACS) permissions, and creating a client secret.
Which app is this? This registration is the multitenant Entra ID app used only for Teams meeting verification (Teams SSO) and the associated Microsoft Graph access. It is separate from the single-tenant Entra ID app that handles sign-in to the Altoura Frontline application itself — see Data Security & FAQ for details.
Replace placeholder values such as
<clientId> and <your entraid name> with the values that match your environment. For customer-hosted deployments, deploy the Azure Communication Services (ACS) resource separately.1
Create a New App Registration
In the Azure portal, navigate to Microsoft Entra ID → App registrations and click + New registration.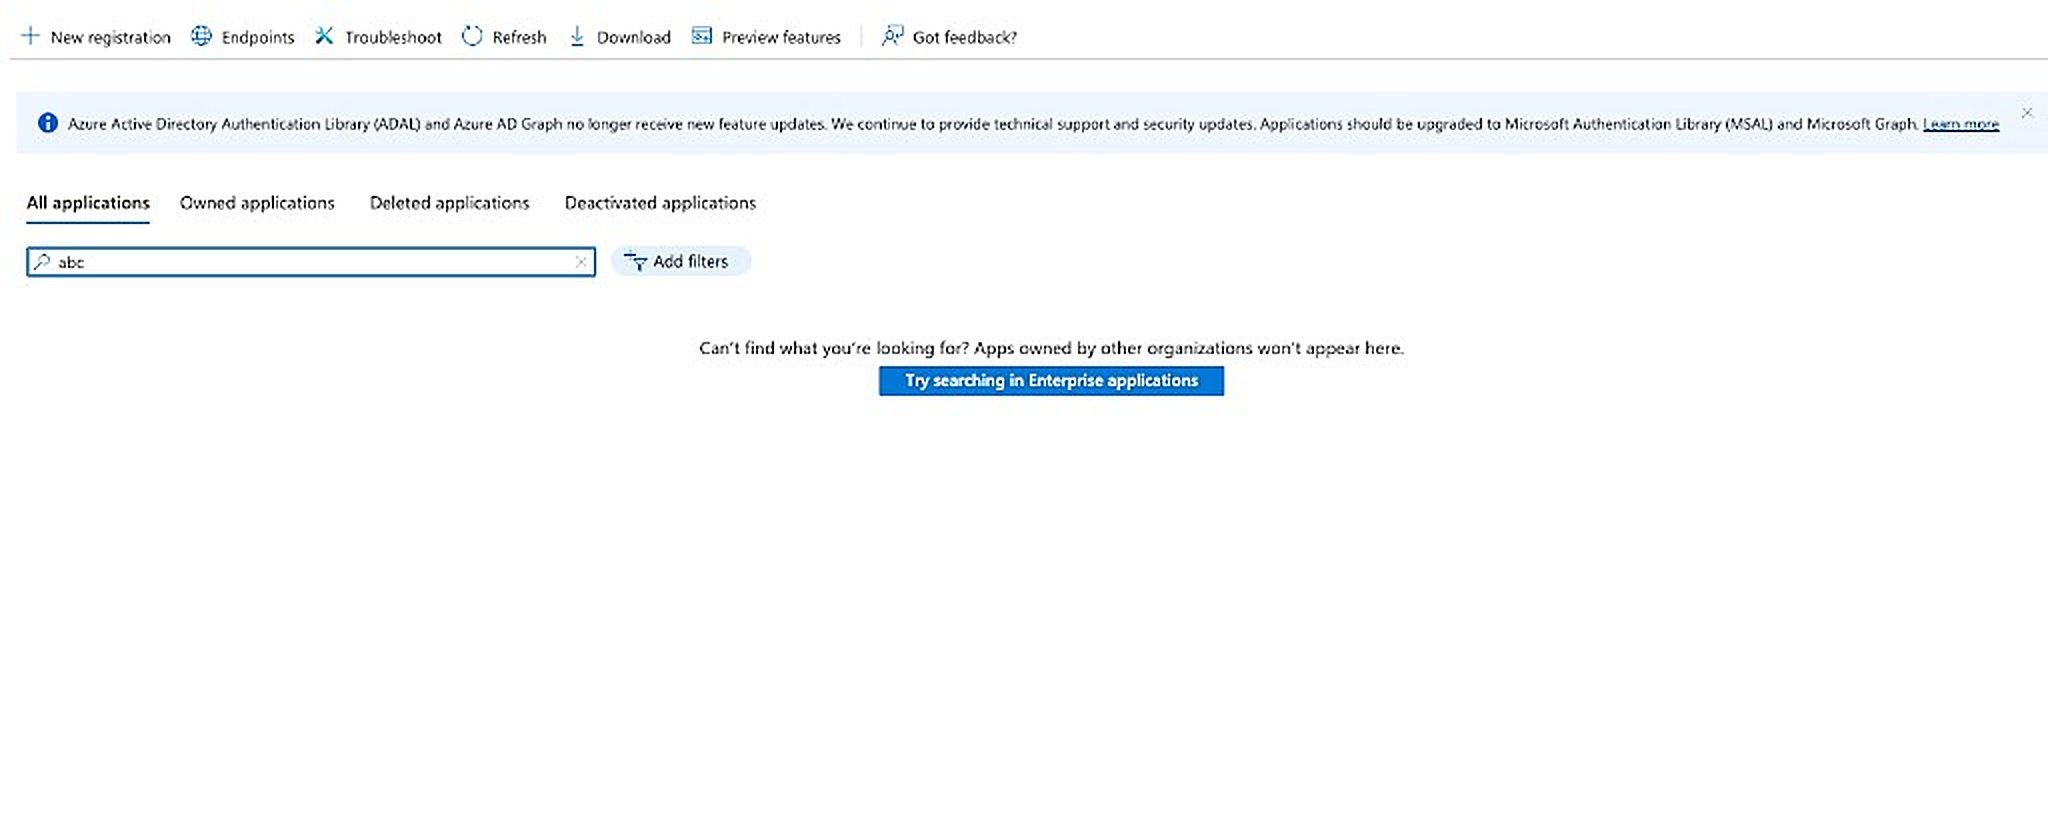
2
Configure Name, Account Types, and Redirect URI
Fill in the registration form, then click Register: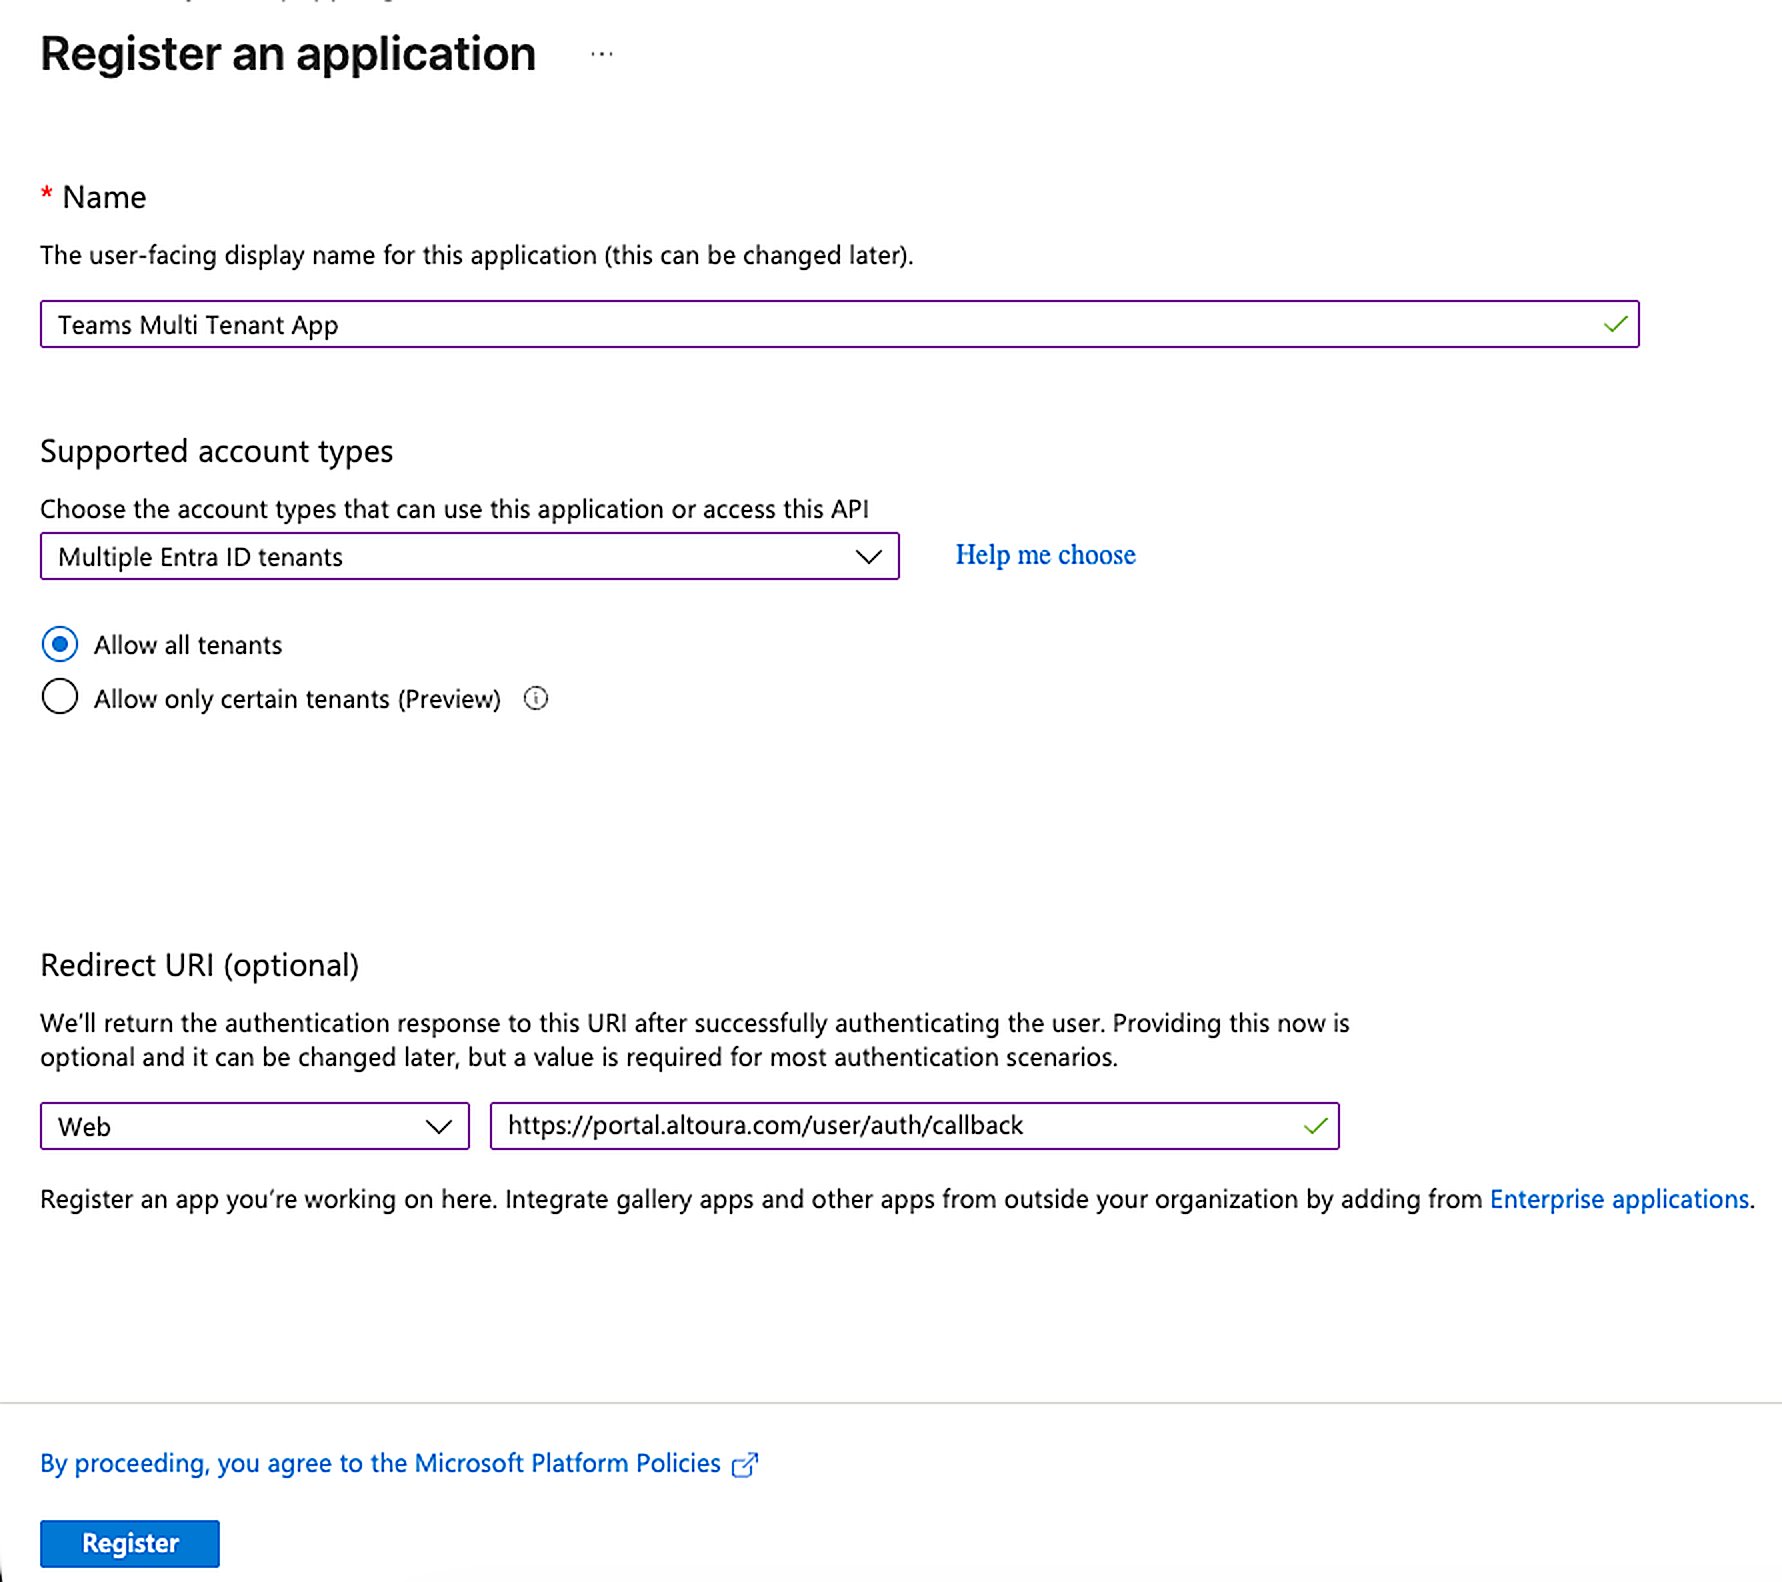
- Name: Teams Multi Tenant App
- Supported account types: Multiple Entra ID tenants
- Select Allow all tenants
- Redirect URI Platform: Web
- Redirect URI URL:
https://portal.altoura.com/user/auth/callback
3
Add an Application ID URI
Open the newly created app registration, go to Expose an API, and click Add next to Application ID URI.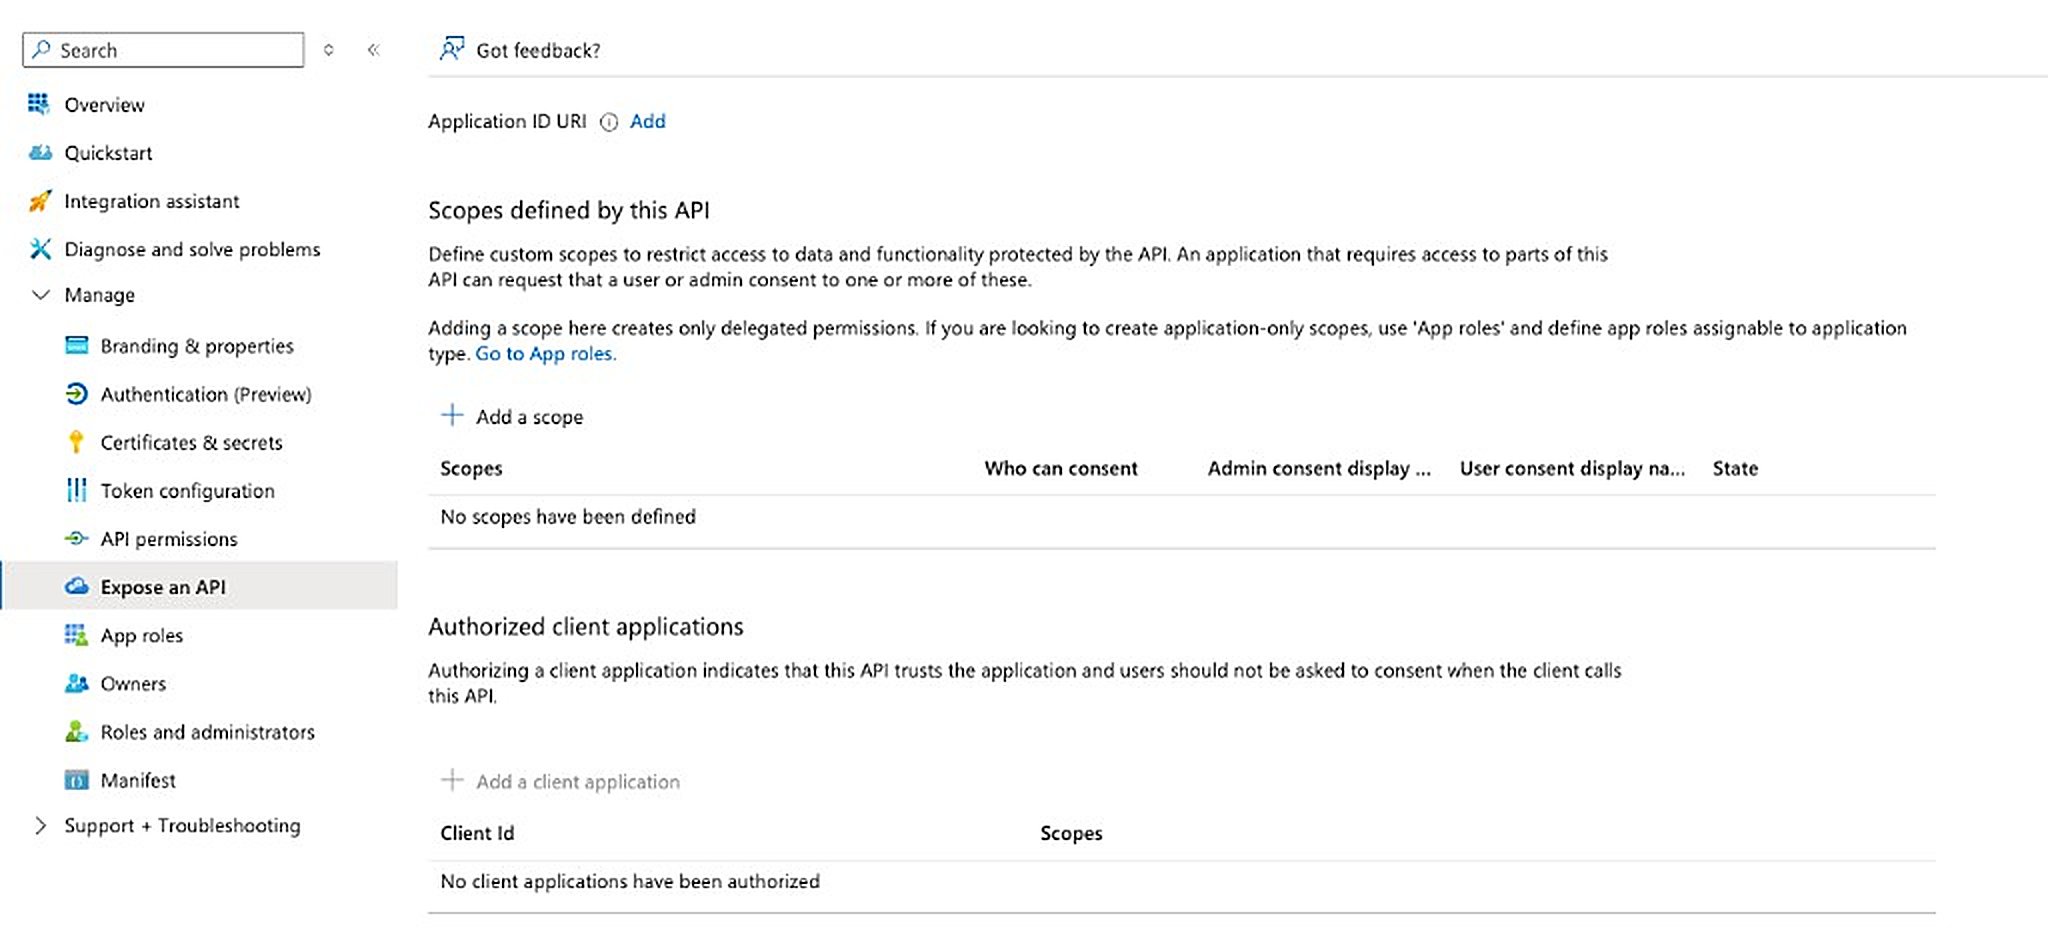
4
Set the Application ID URI
Set the URI so the Remote Expert web app domain (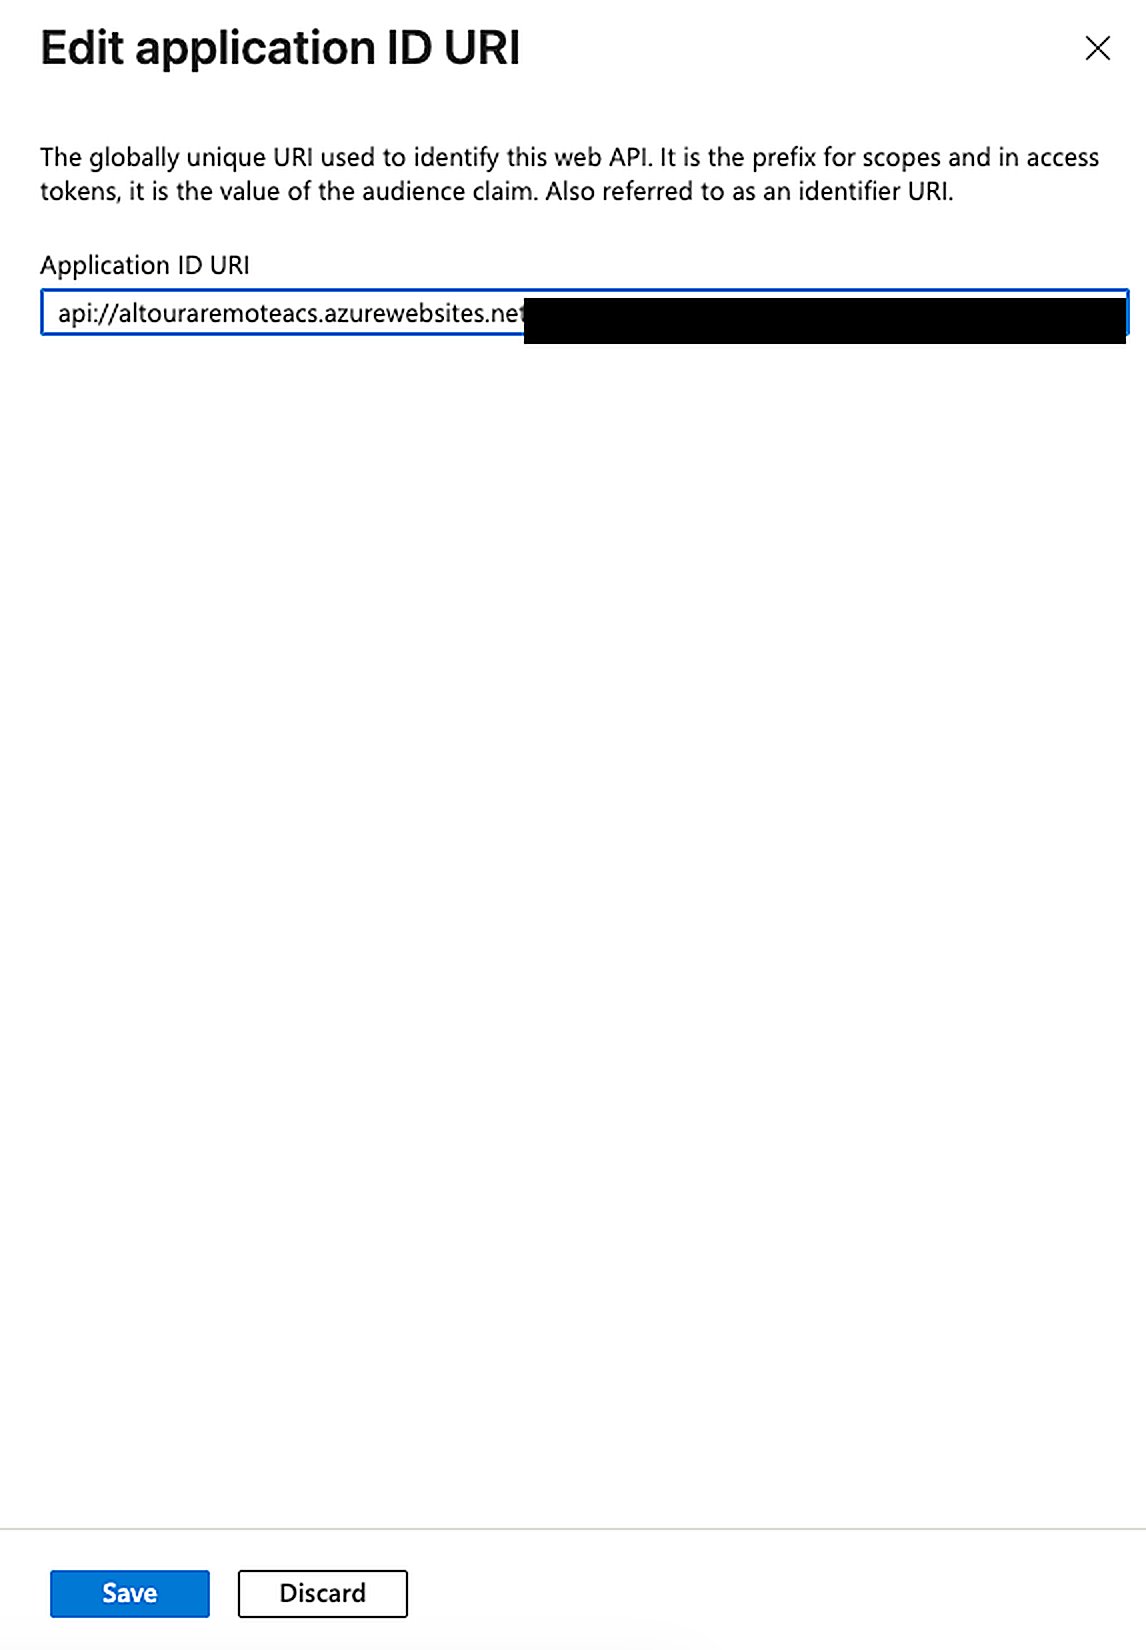
remote-expert-web.altoura.com) sits between api:// and the client ID, then click Save:5
Add a Scope
On the Expose an API page, click + Add a scope.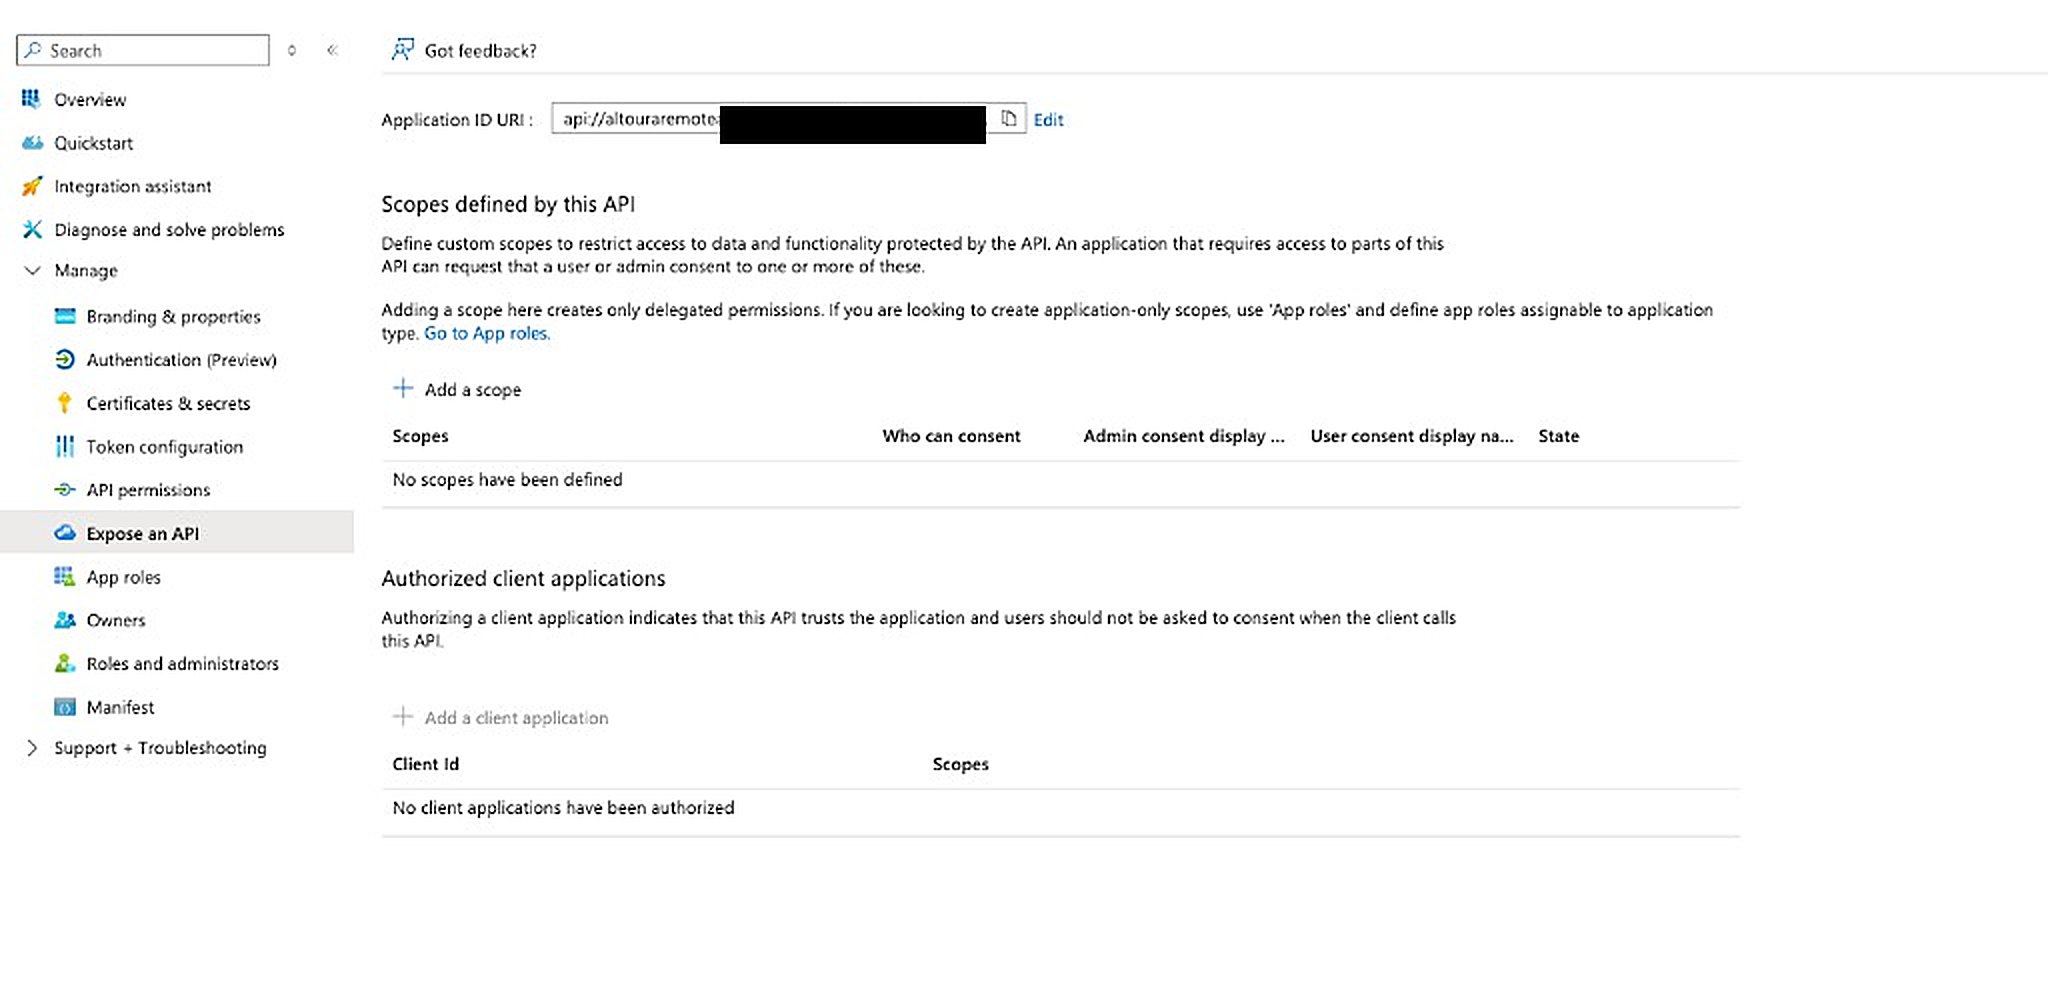
6
Define the access_as_user Scope
Fill in the scope details and click Add scope: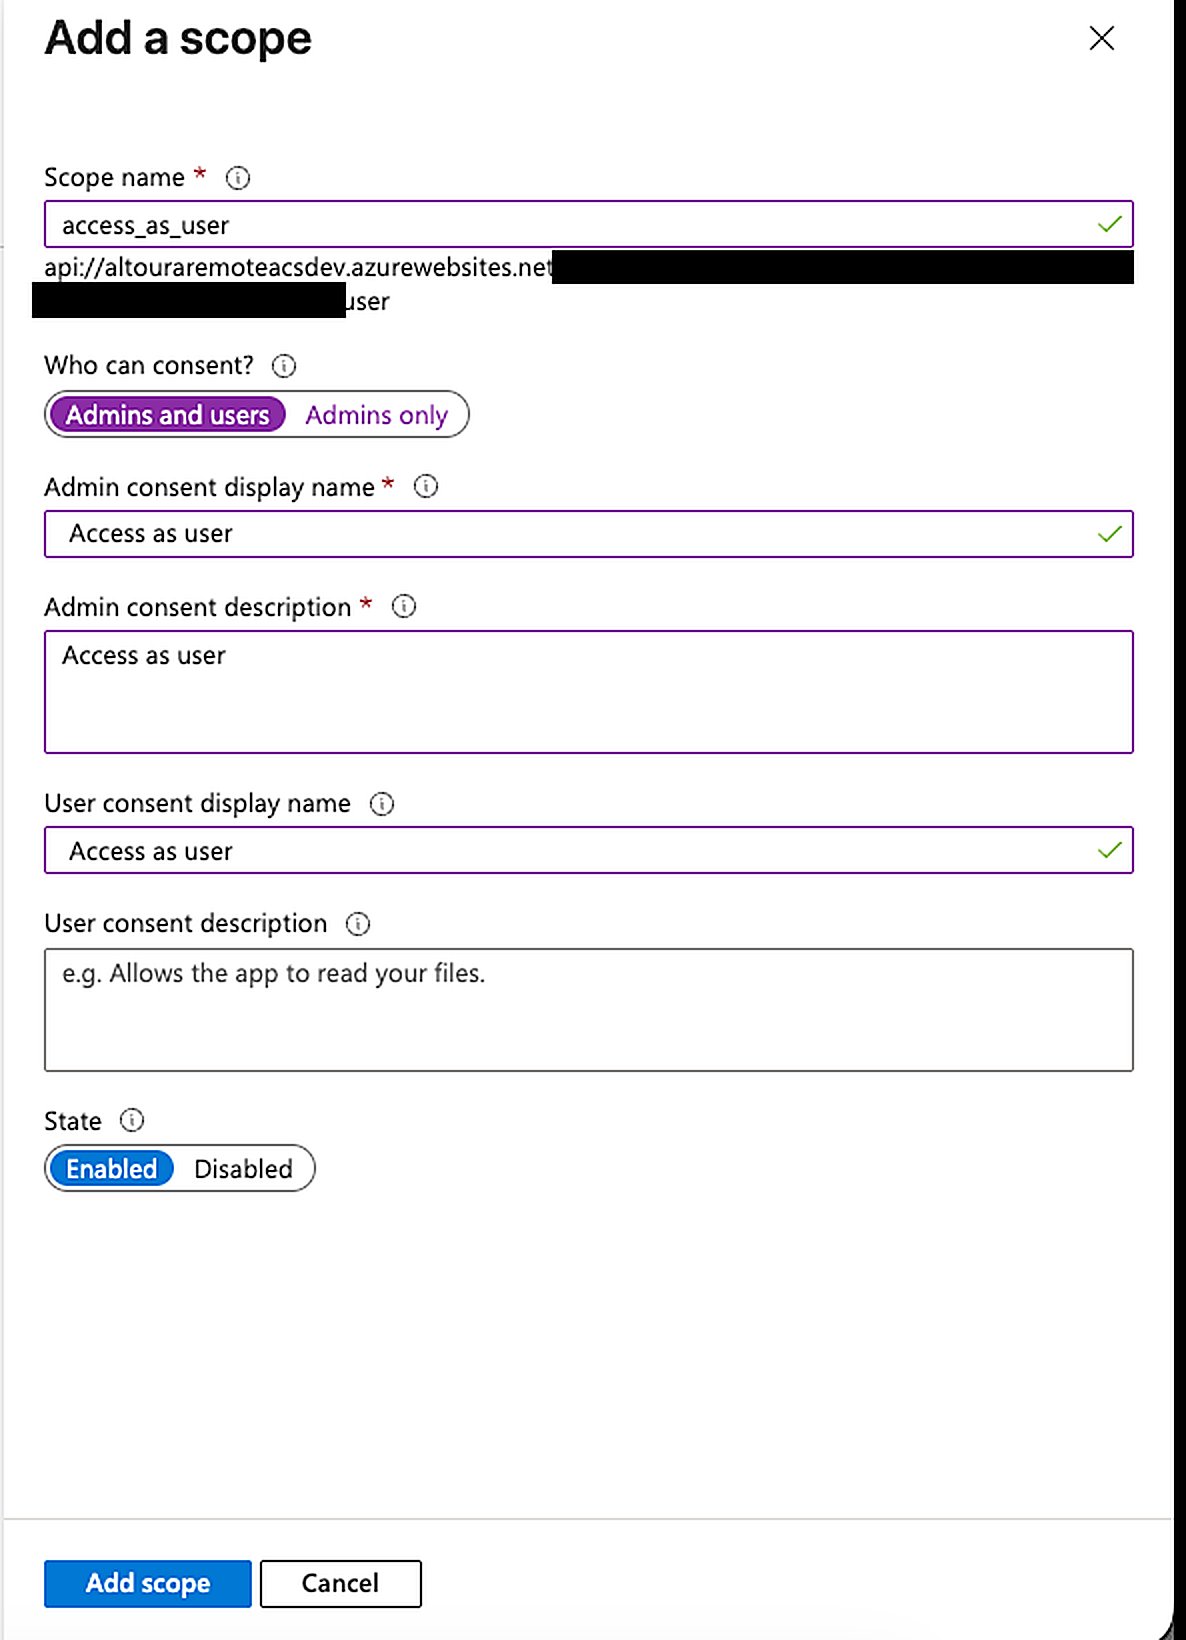
7
Add a Client Application
Still on the Expose an API page, click + Add a client application.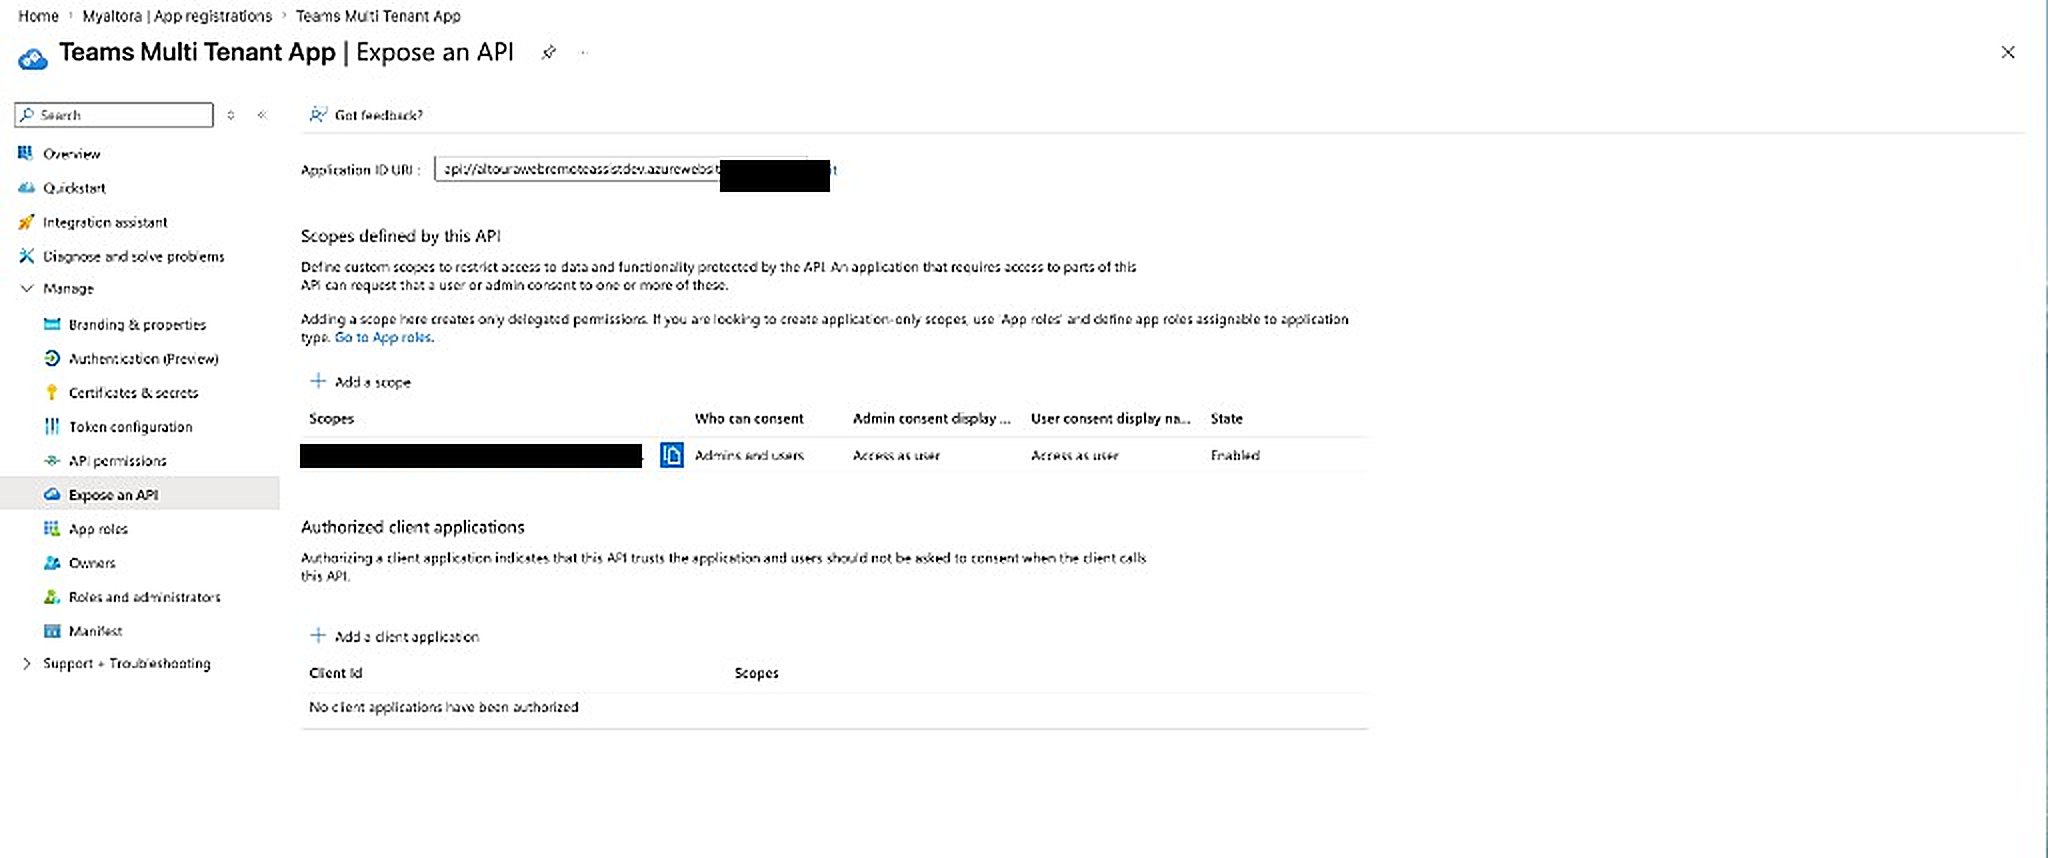
8
Authorize the Trusted Client Applications
Add each Microsoft Teams client ID, check the box next to the access_as_user scope, and click Add application. Repeat for both: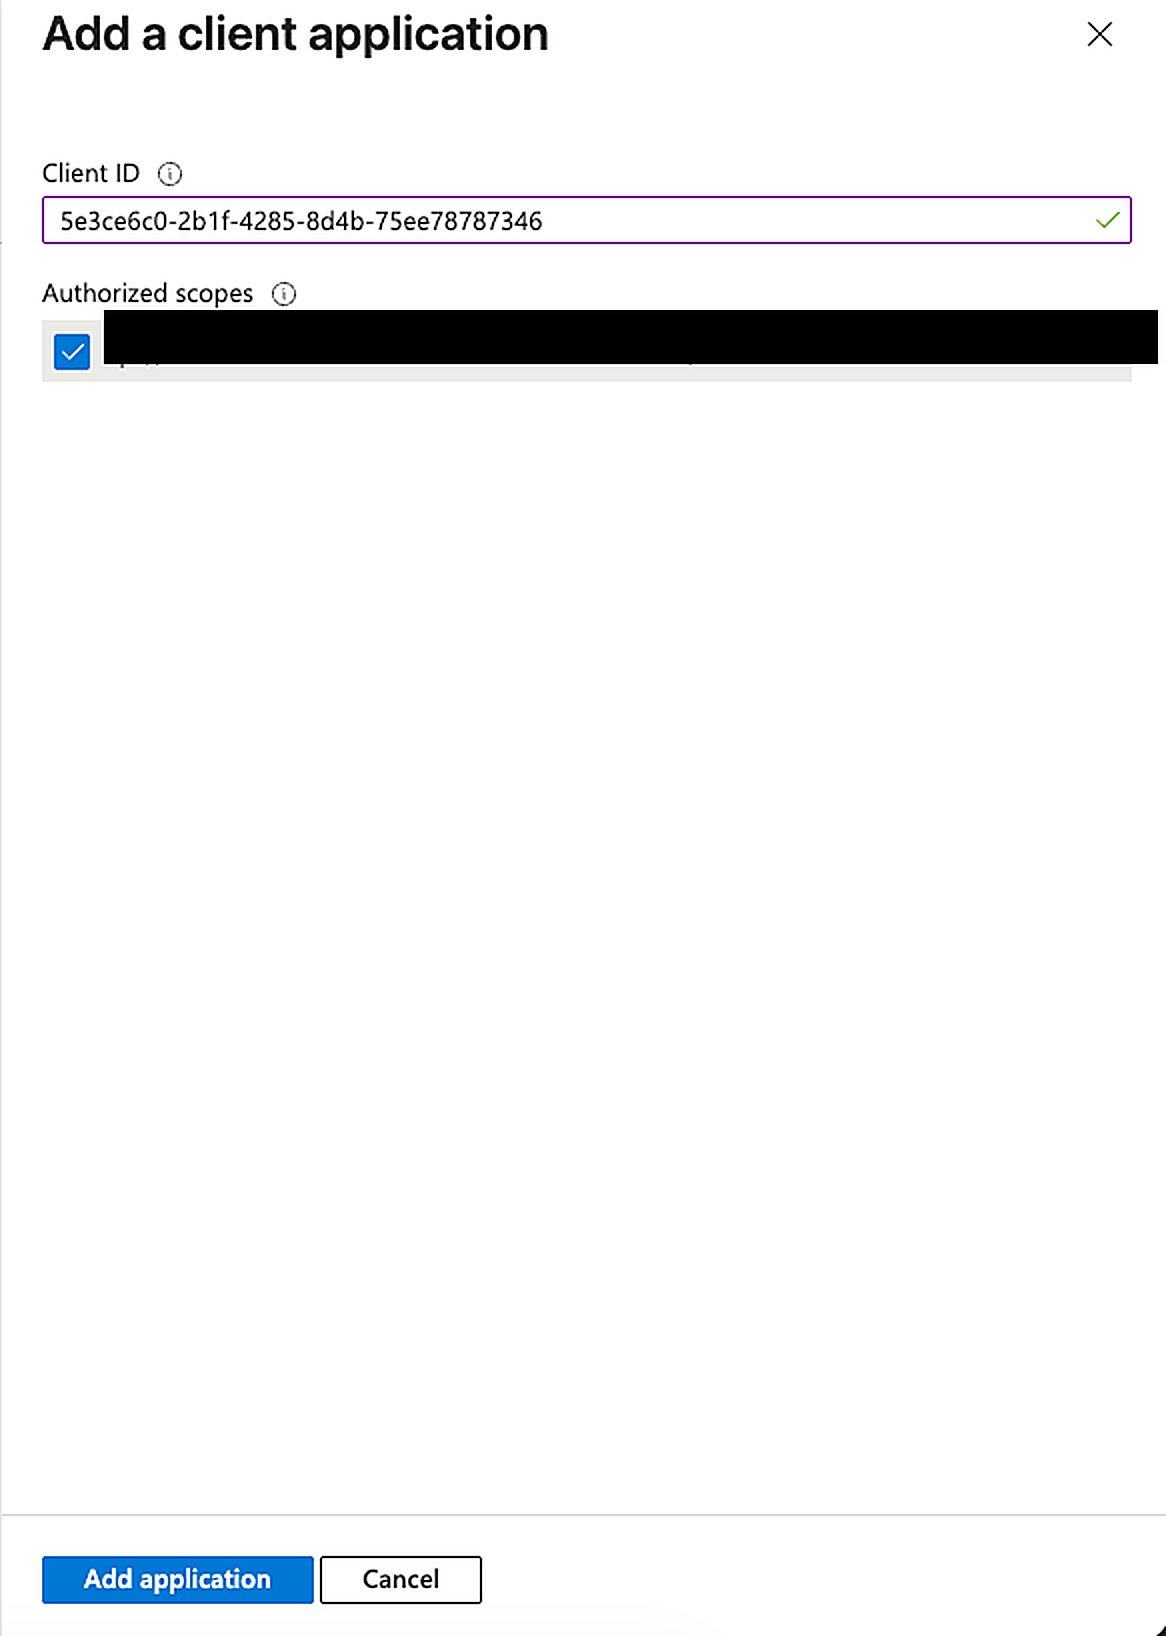
5e3ce6c0-2b1f-4285-8d4b-75ee78787346(Teams web)1fec8e78-bce4-4aaf-ab1b-5451cc387264(Teams desktop / mobile)
9
Open API Permissions
In the left menu, click API permissions, then click + Add a permission.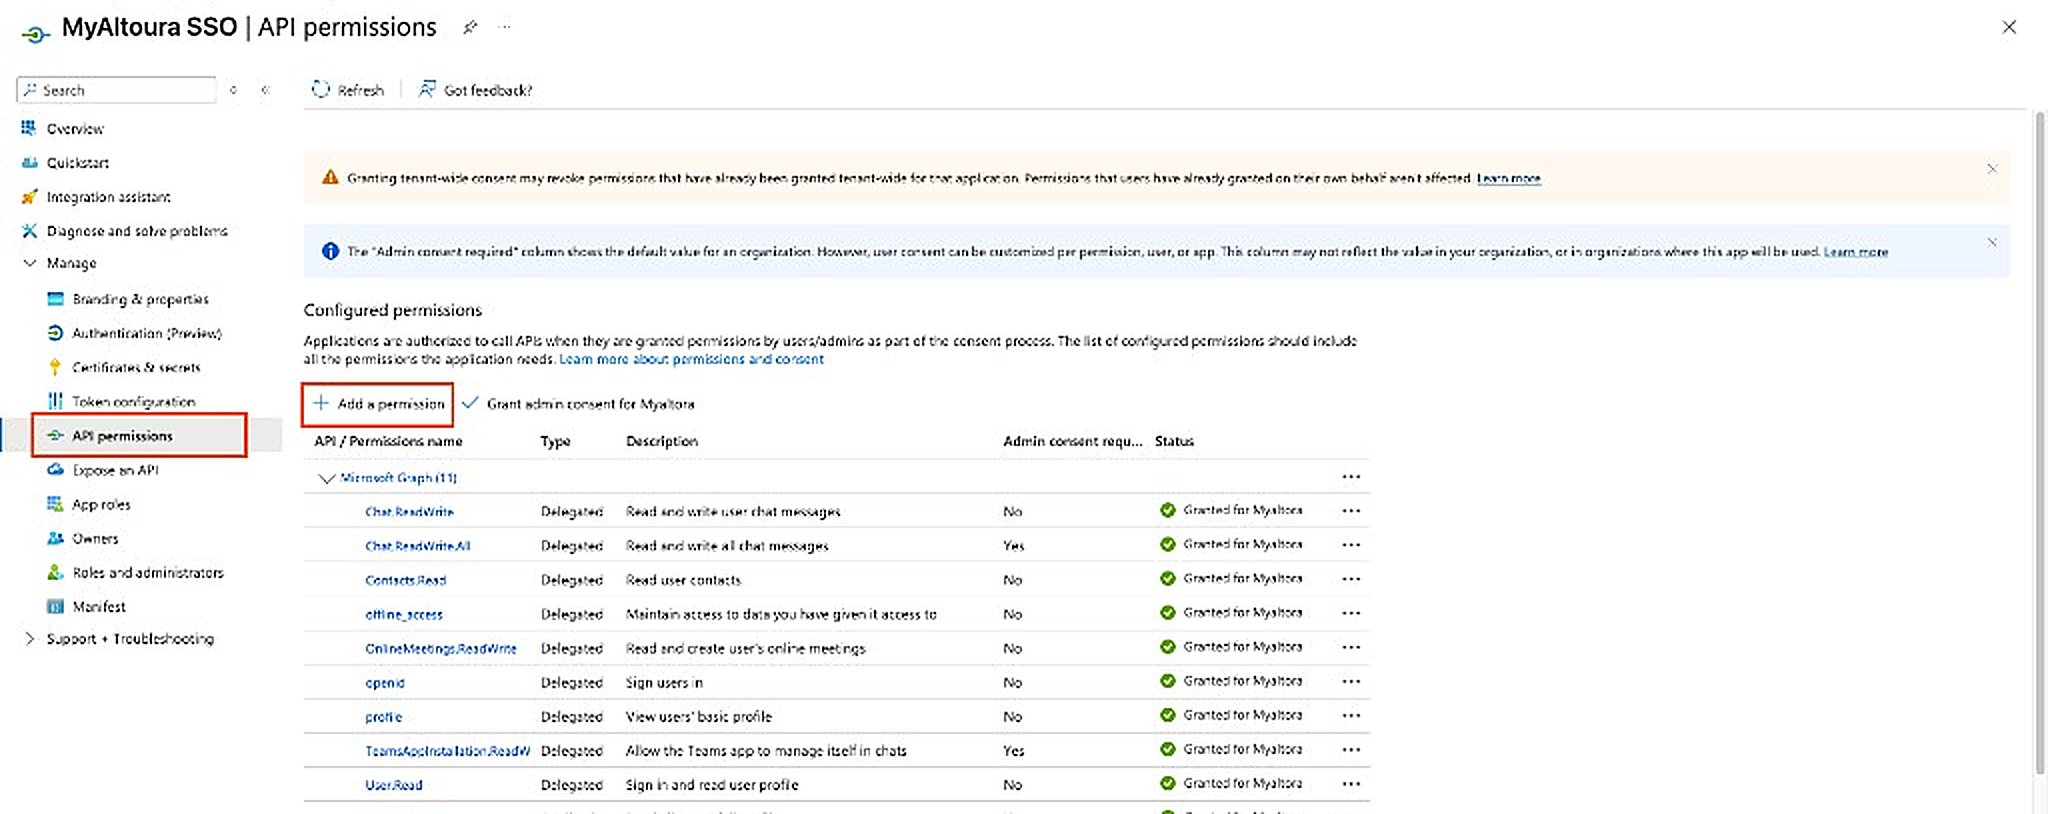
10
Select Microsoft Graph
In the Request API permissions pane, select Microsoft Graph.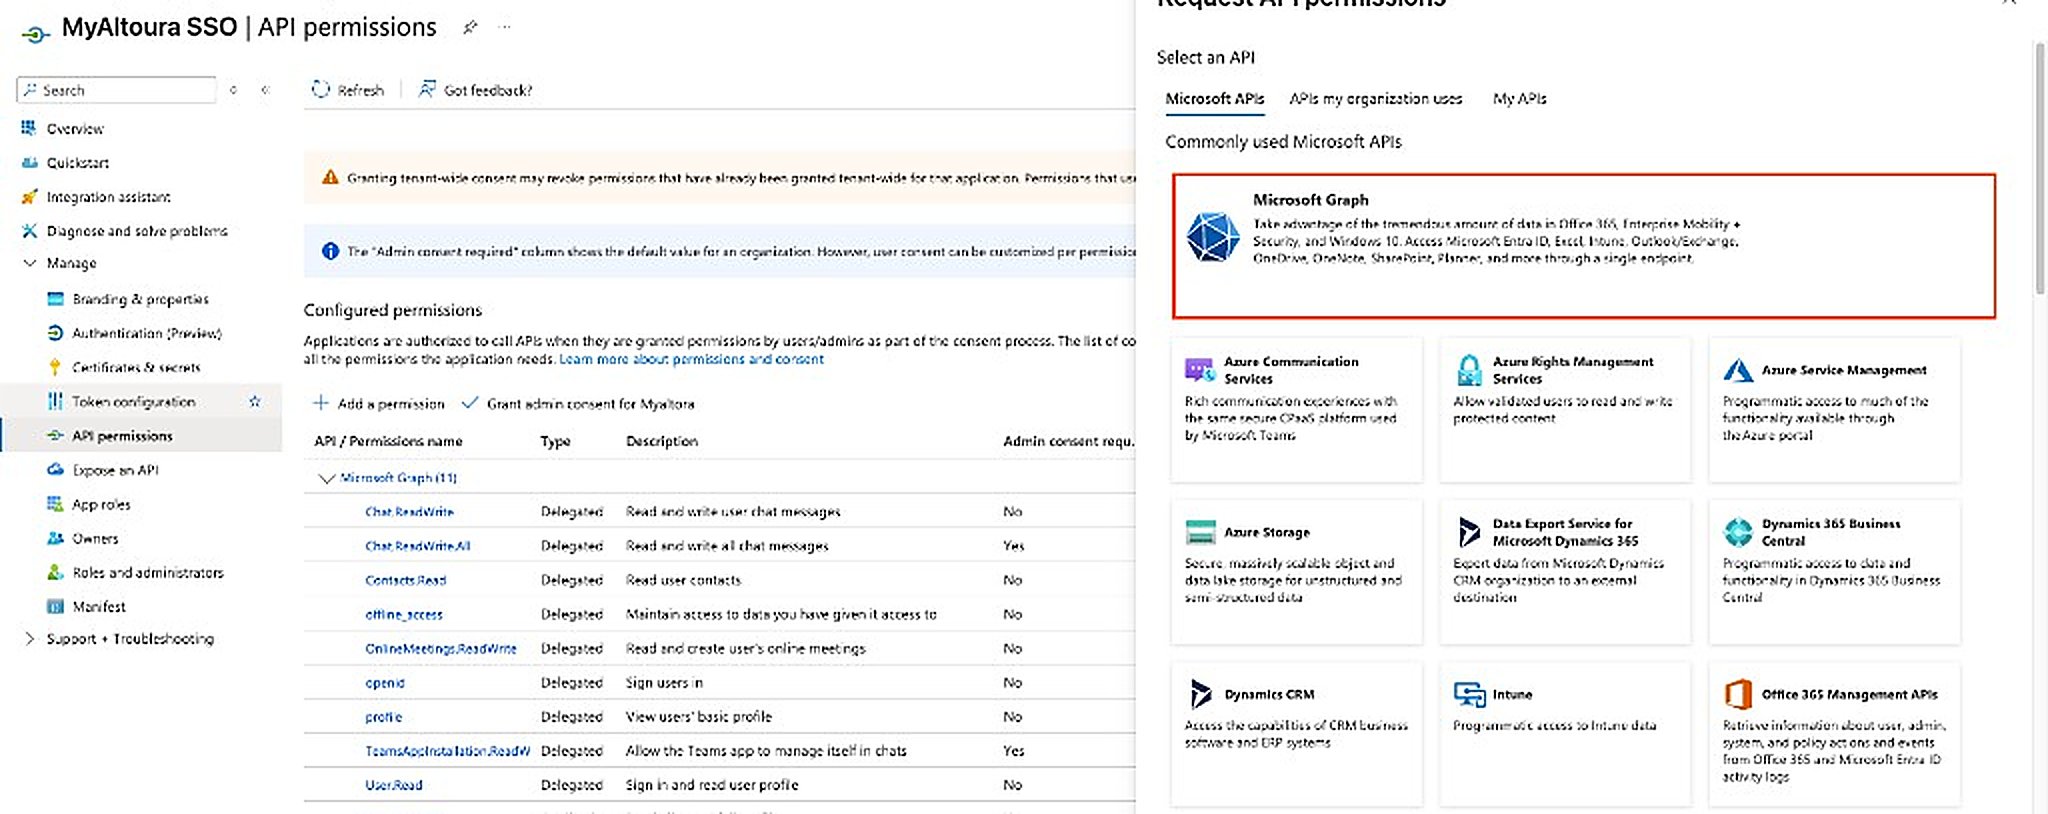
11
Choose Delegated Permissions
Select Delegated permissions.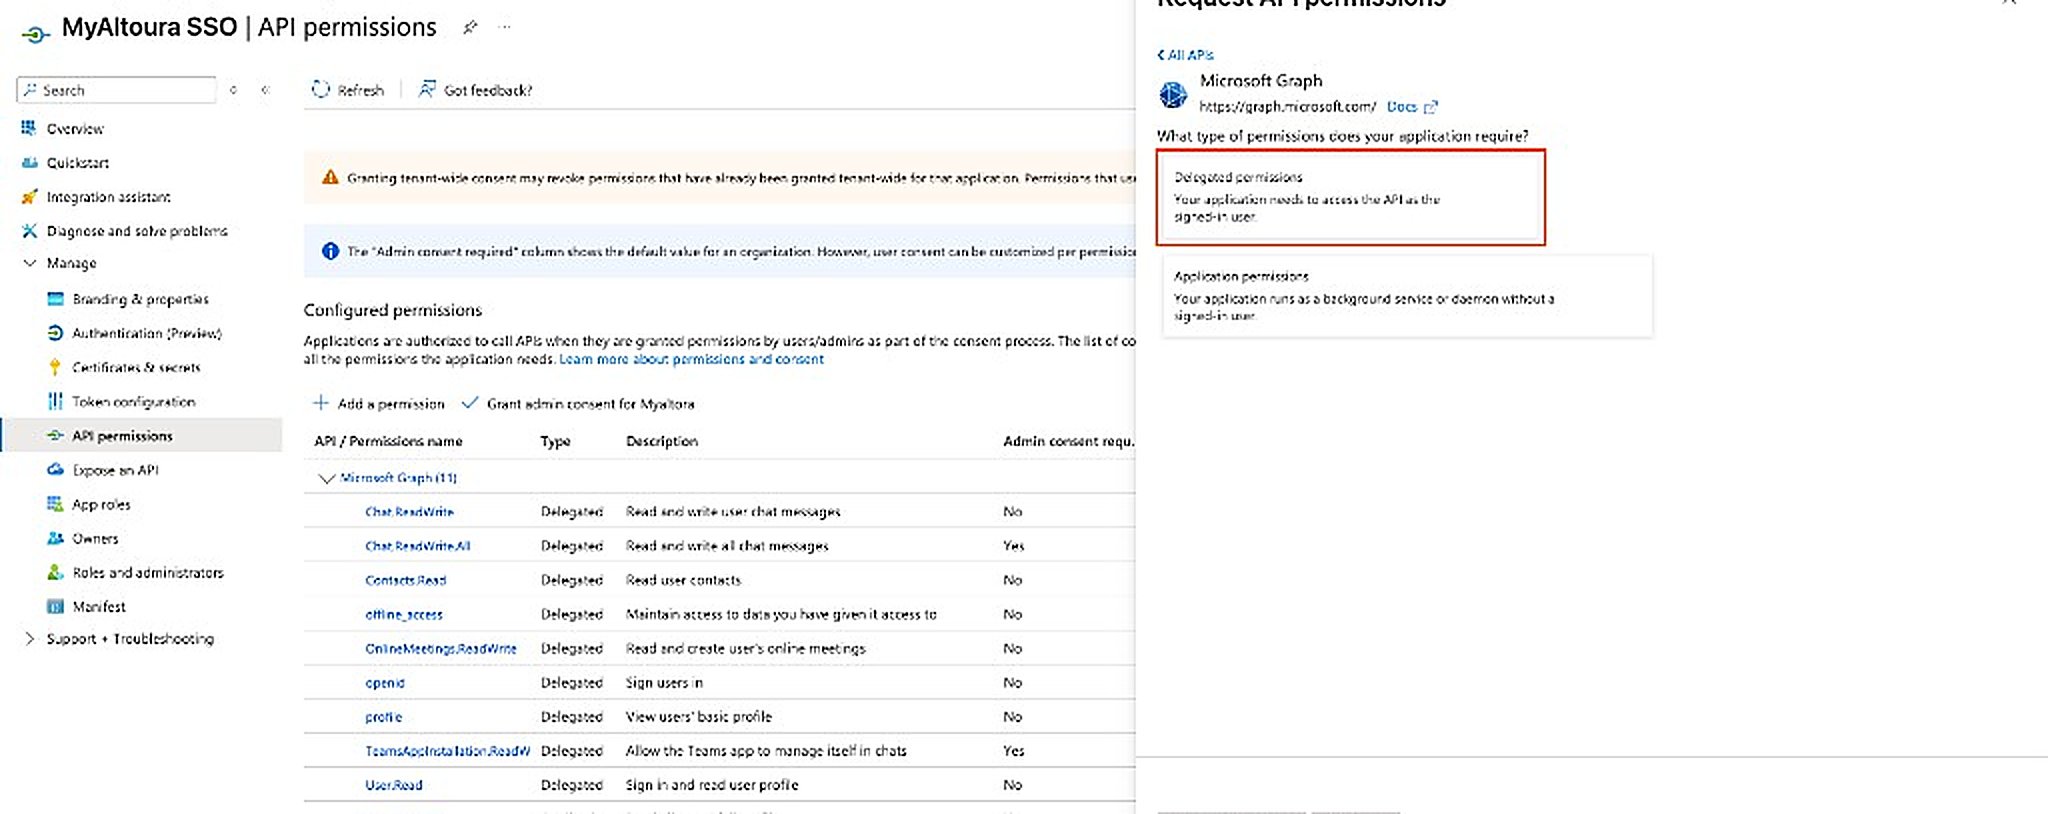
12
Select the Required Microsoft Graph Permissions
Search for and select each permission listed below. All are delegated permissions.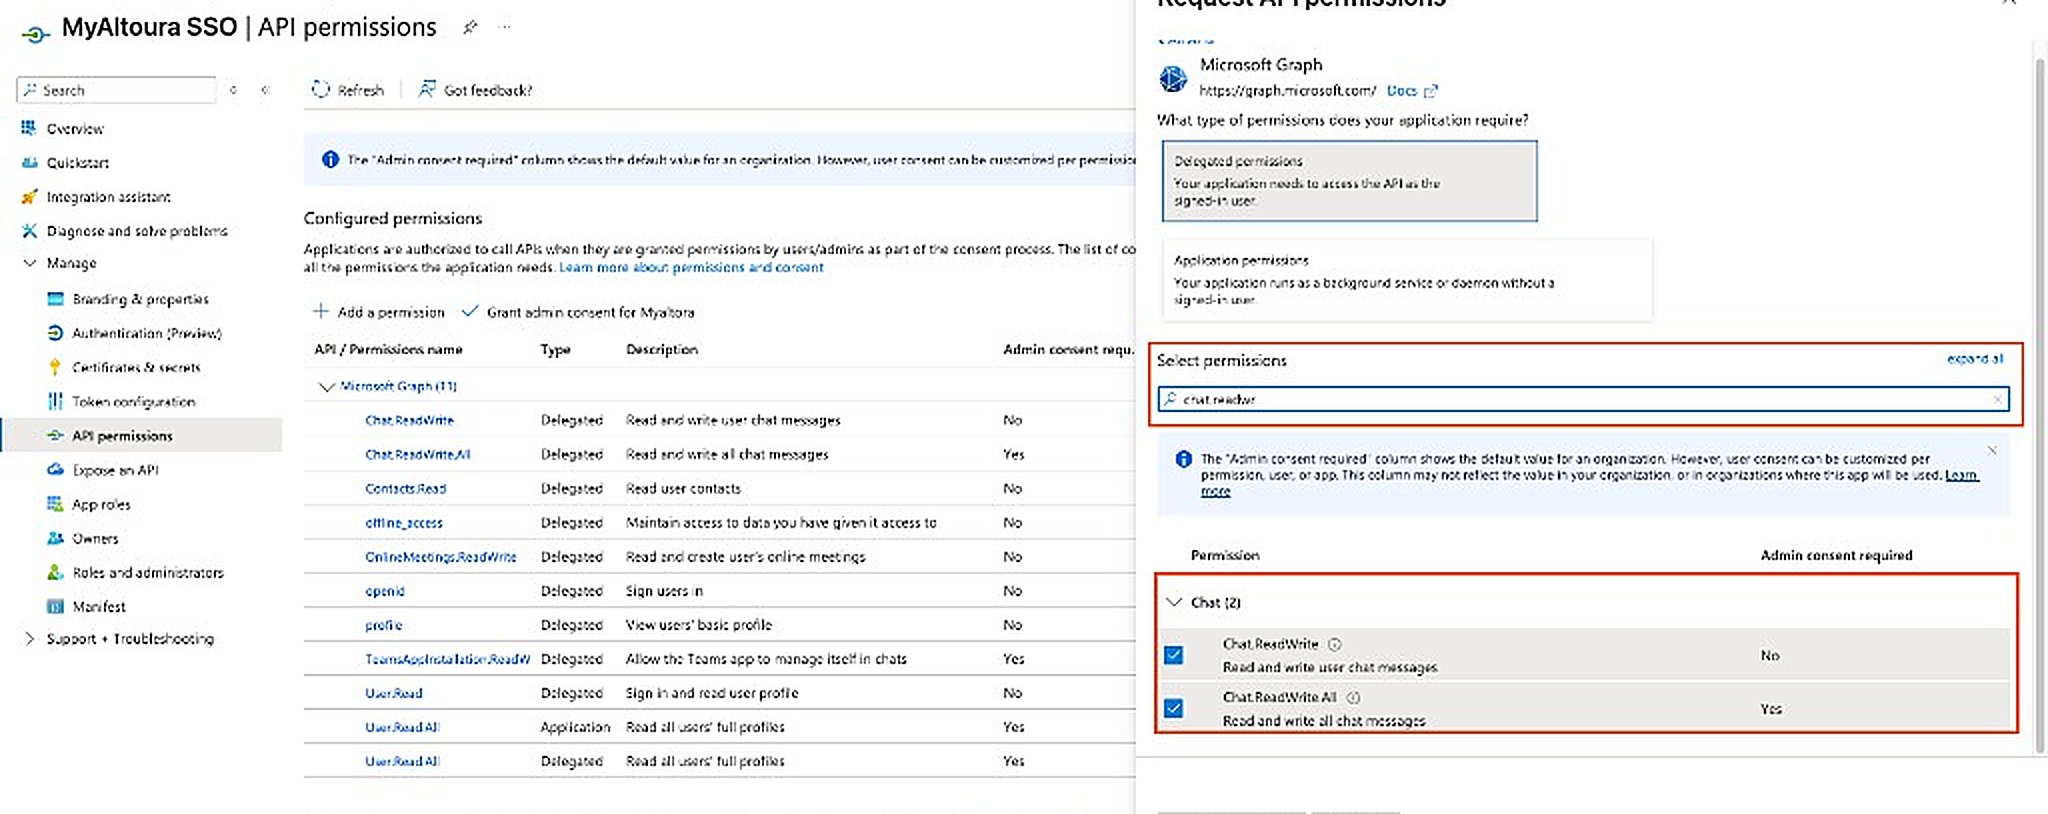
13
Add the Selected Permissions
Click Add permissions to add all the selected Microsoft Graph permissions to the configured permissions list.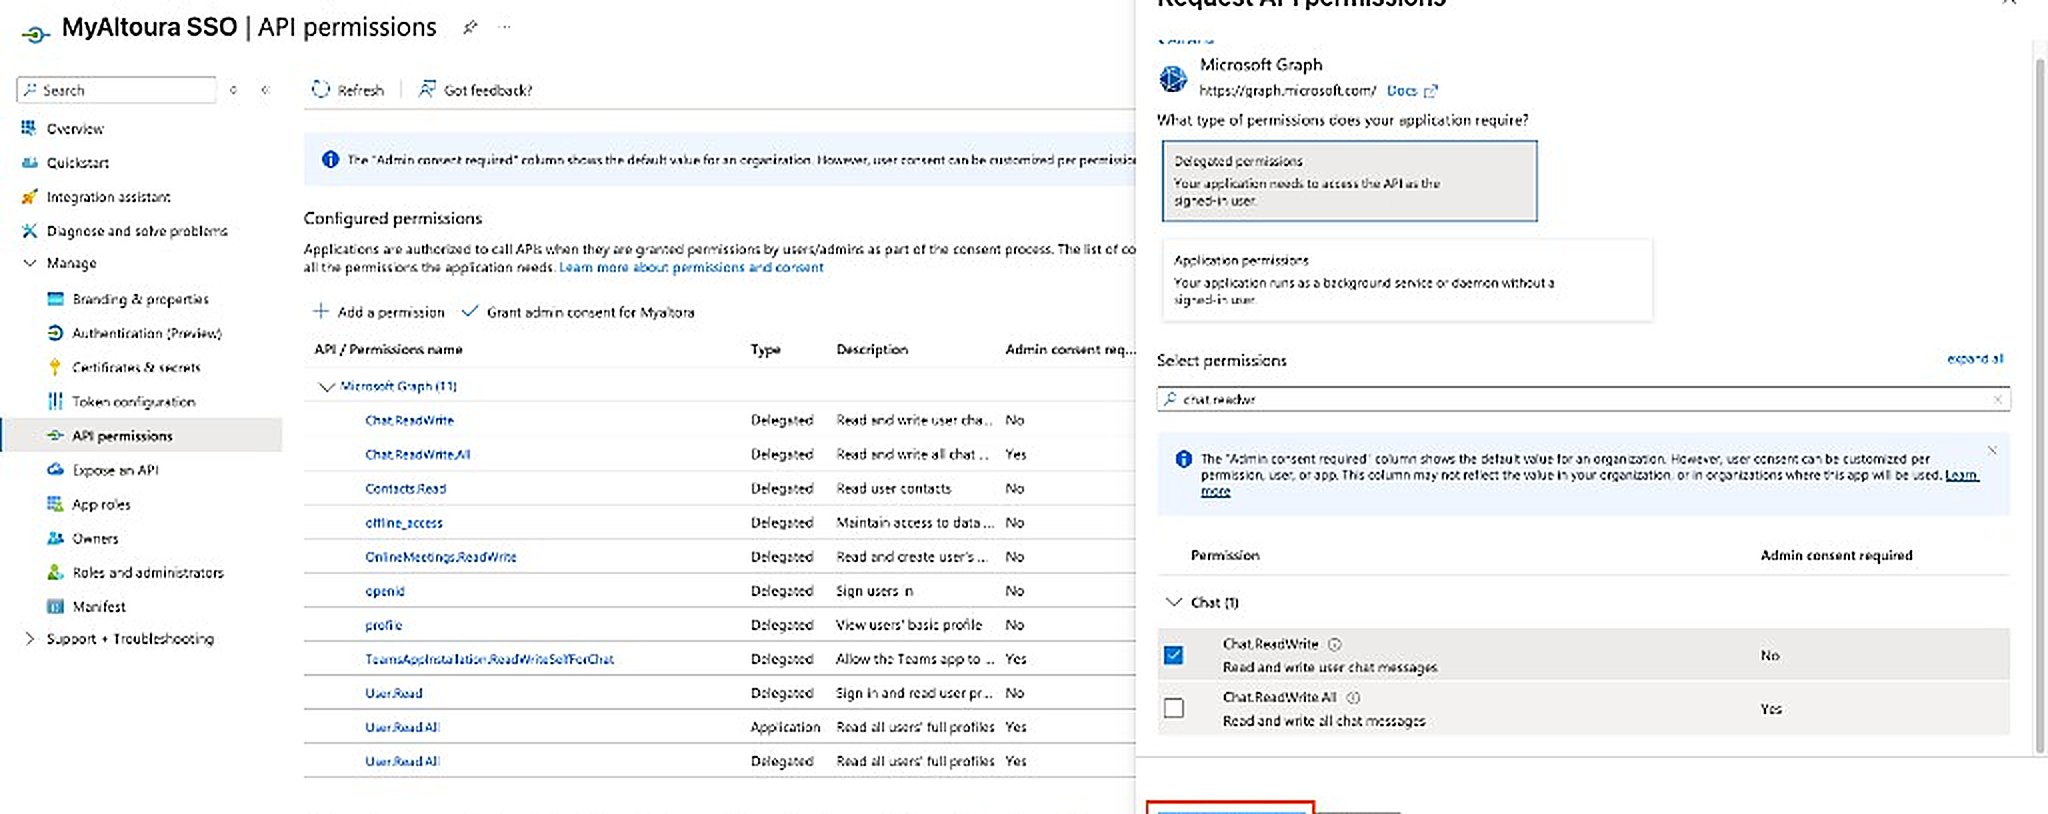
14
Add Azure Communication Services Permission
Click + Add a permission again and this time select Azure Communication Services.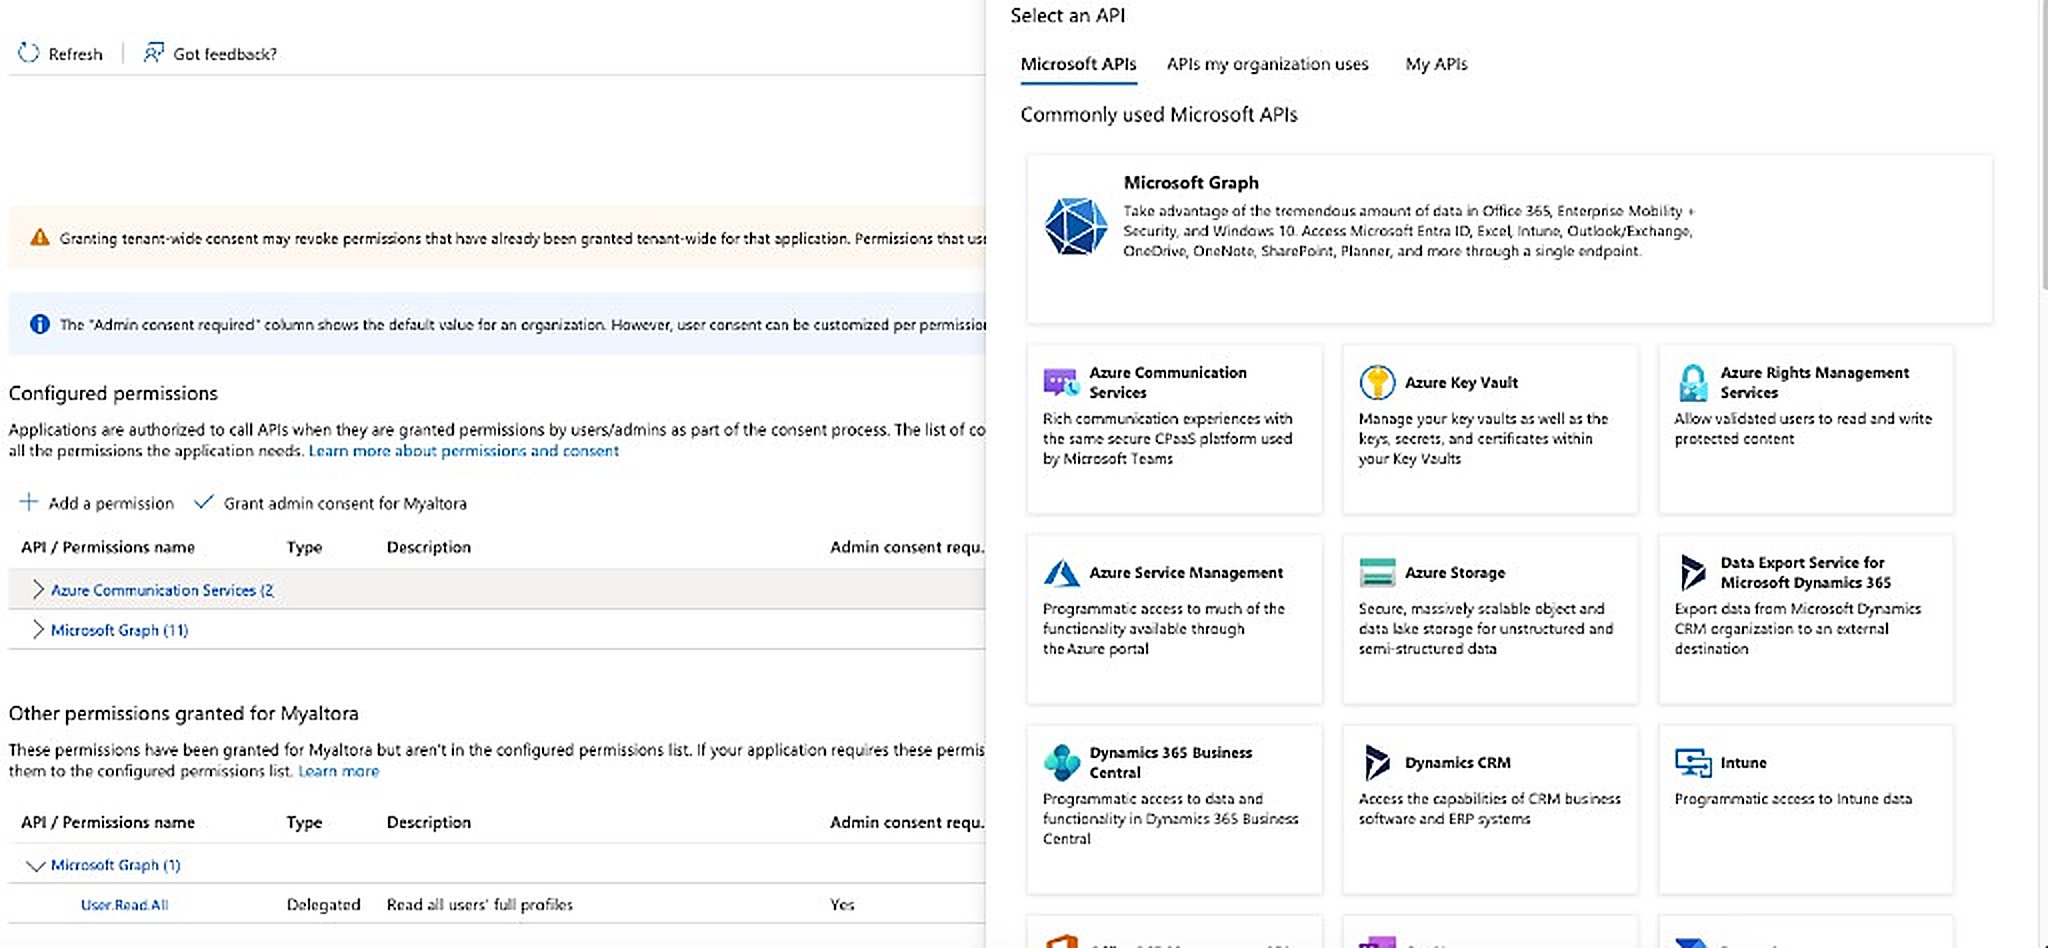
15
Select Teams ACS Permissions
Under Delegated permissions, select: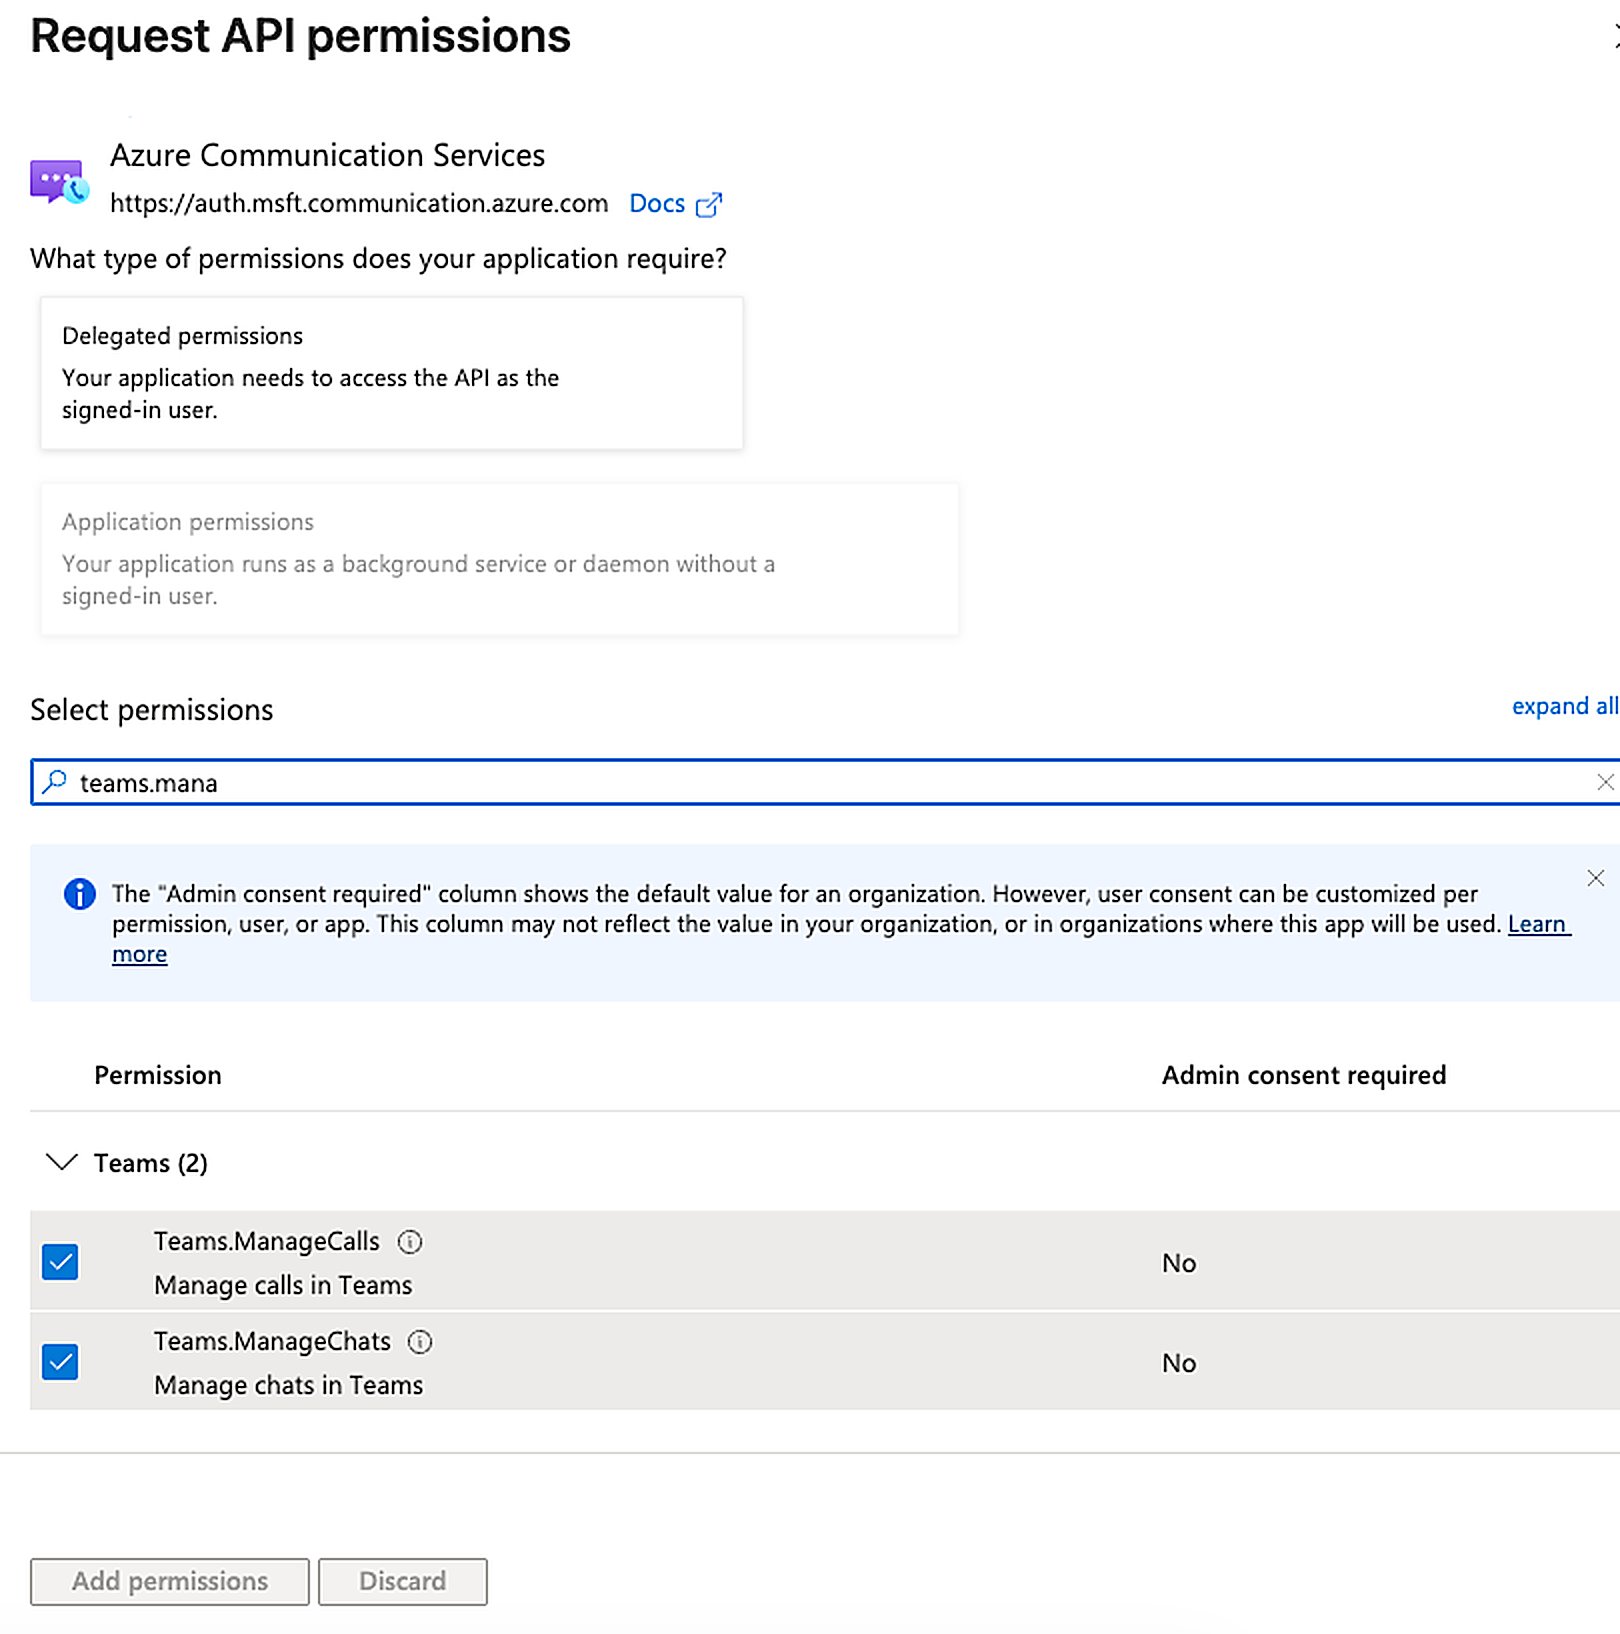
- Teams.ManageCalls — Manage calls in Teams (real-time session)
- Teams.ManageChats — Manage chats in Teams (real-time session)
16
Grant Admin Consent
Back on the API permissions page, click Grant admin consent for 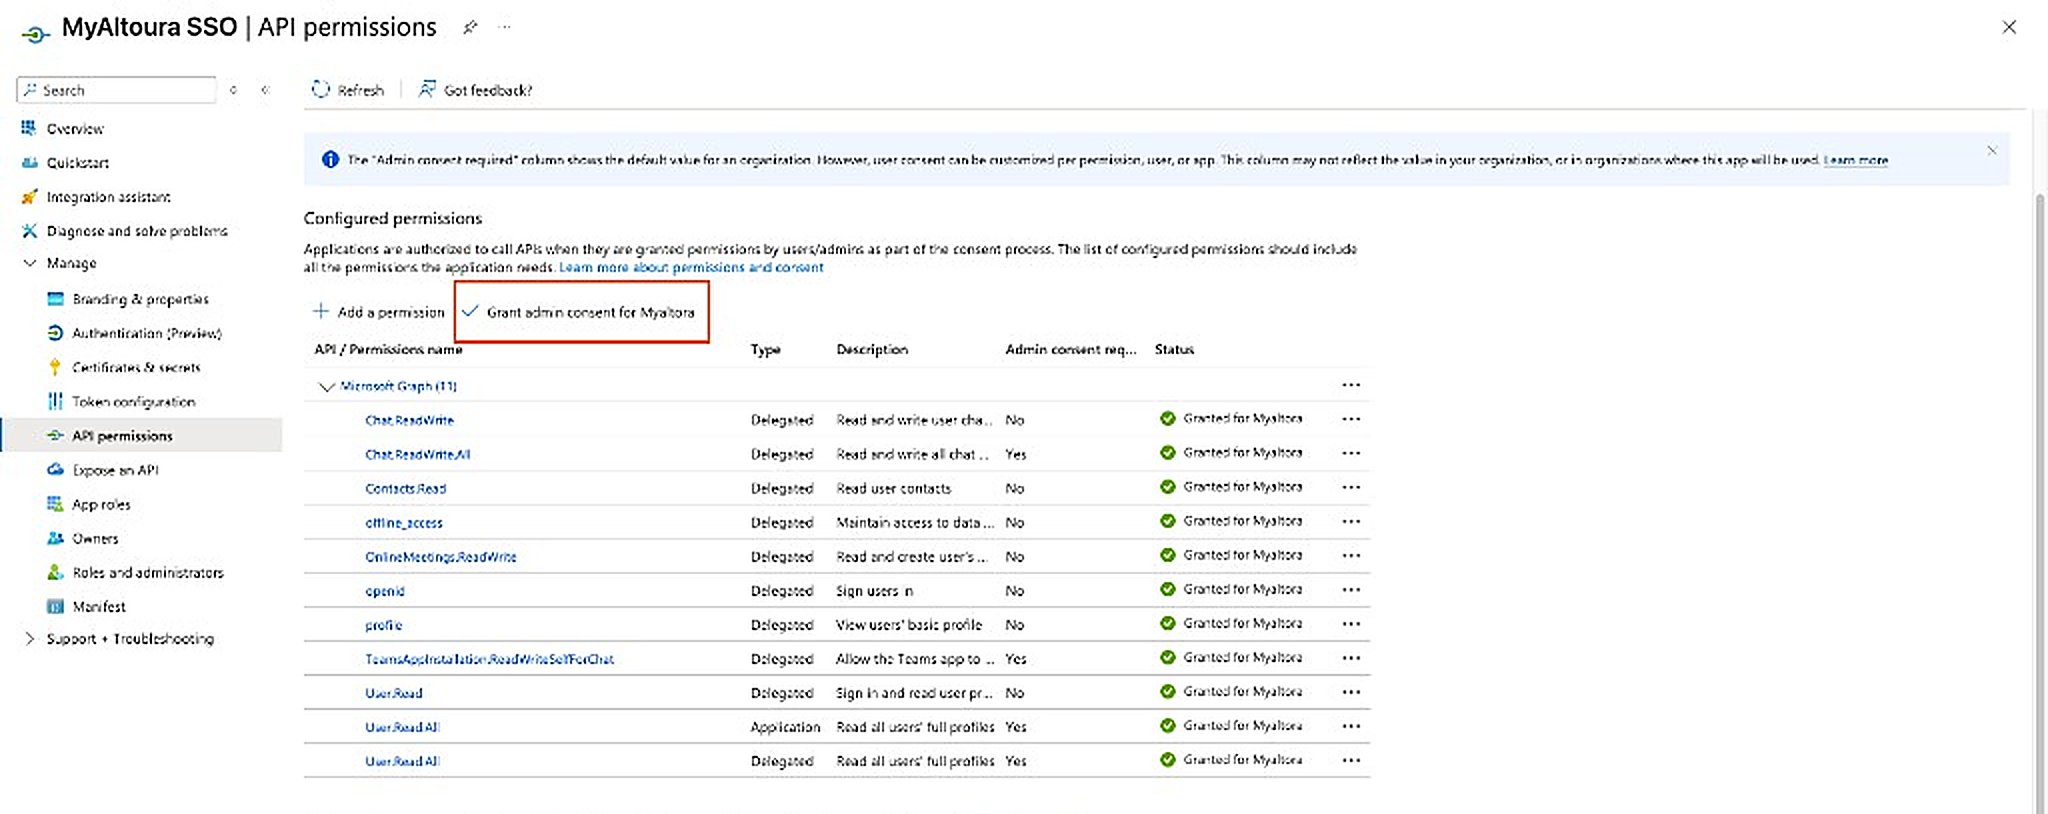
<your entraid name> to grant tenant-wide admin consent for all the configured permissions.All permissions should now show Granted under the Status column.17
Open Certificates & Secrets
In the left menu, click Certificates & secrets, switch to the Client secrets tab, and click + New client secret.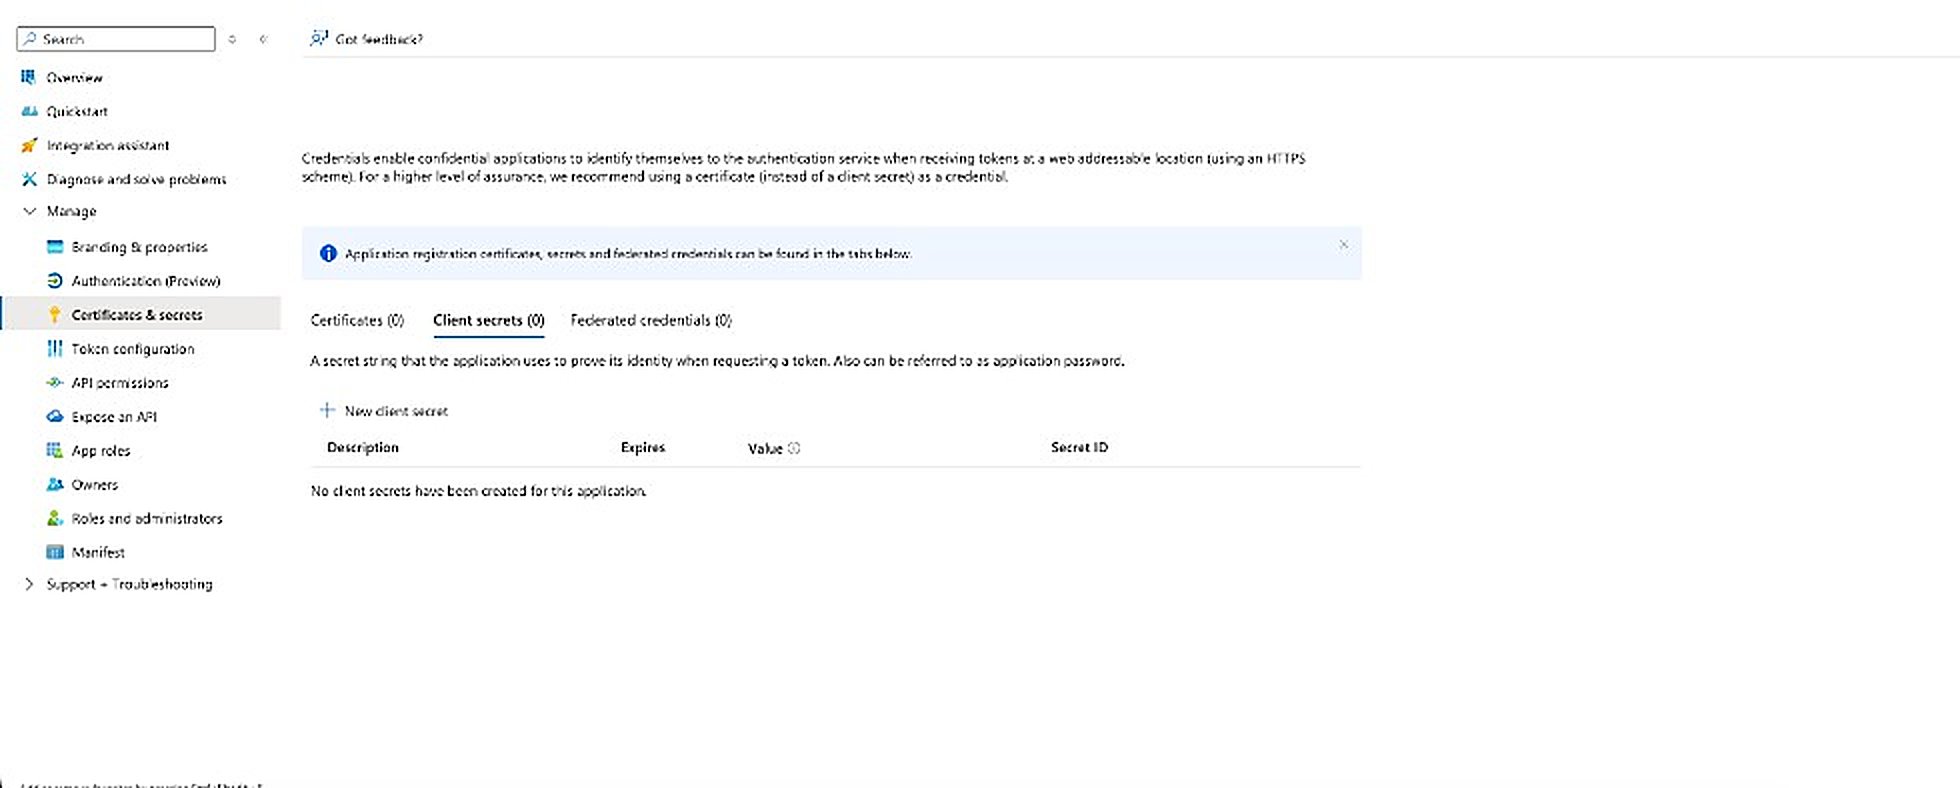
18
Create the Client Secret
In the Add a client secret panel, provide a description, choose an expiry duration, and click Add.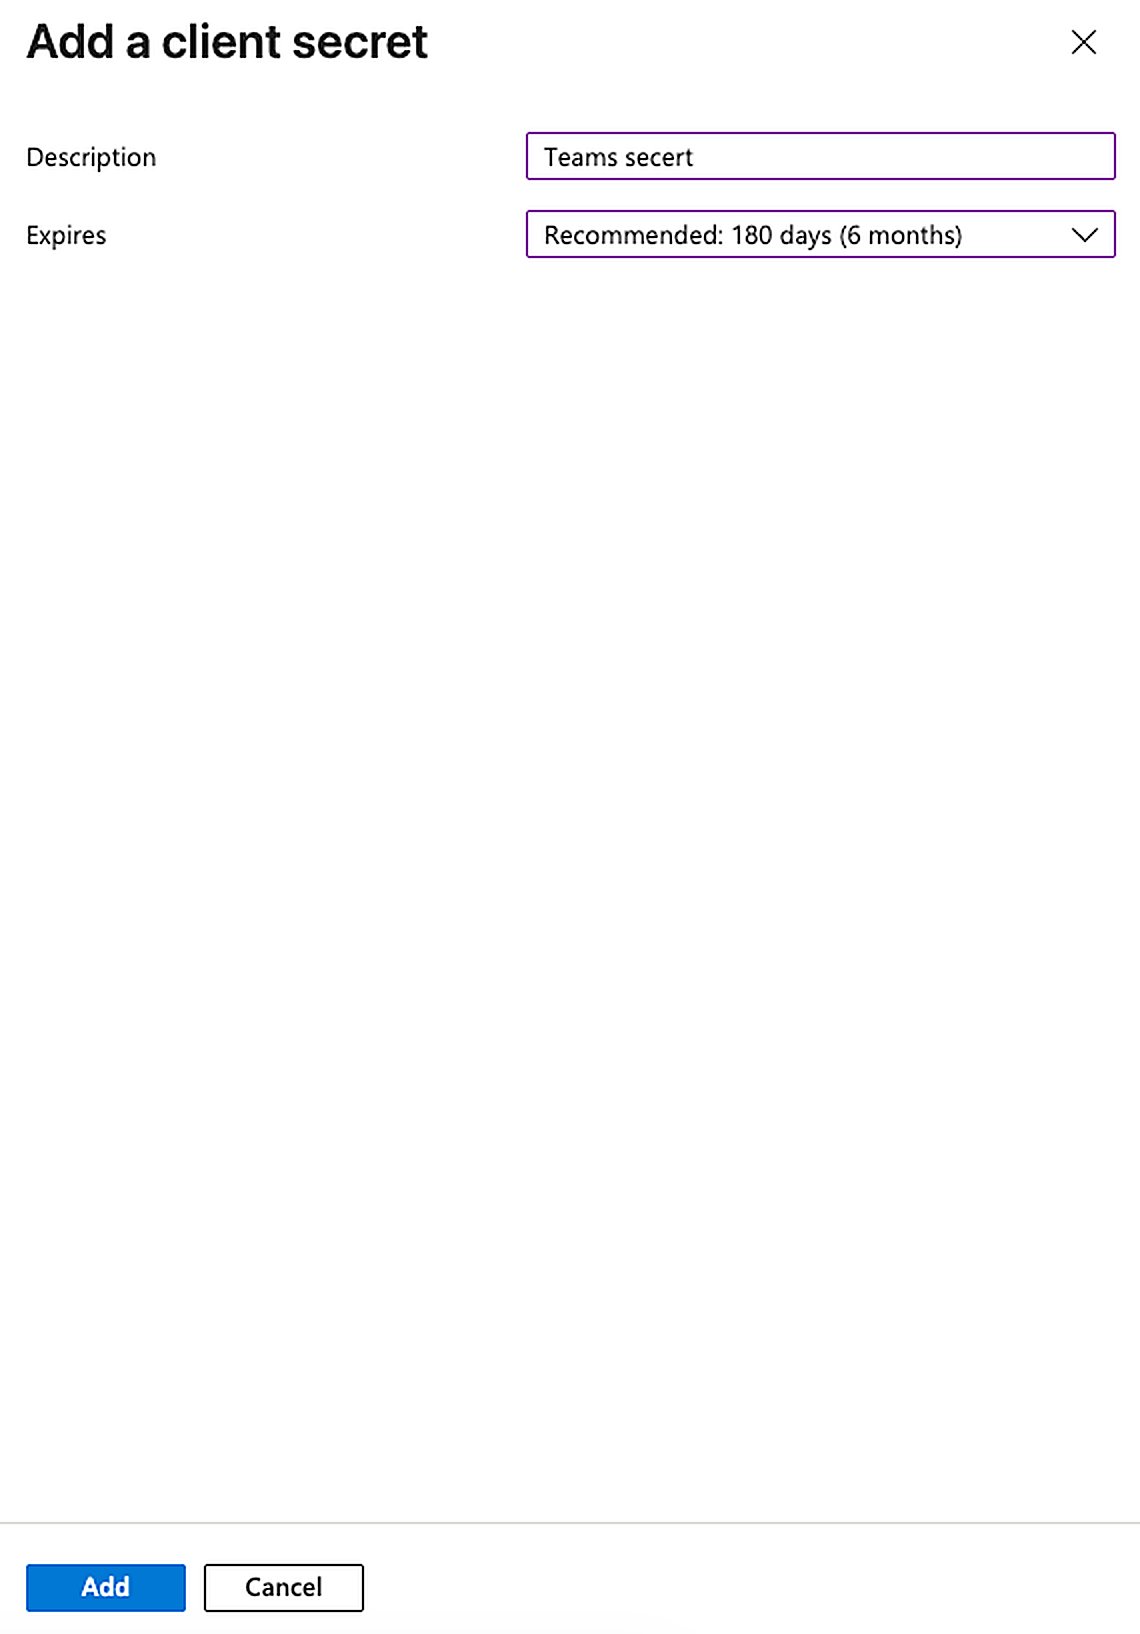
19
Copy the Secret Value
Copy the secret Value immediately — it is shown only once and cannot be retrieved later. Store it securely (for example, in Key Vault).Altoura will provide a secure, time-limited sharing link (restricted access, one-time or limited viewing) for you to submit the value — never send it via plain email or chat.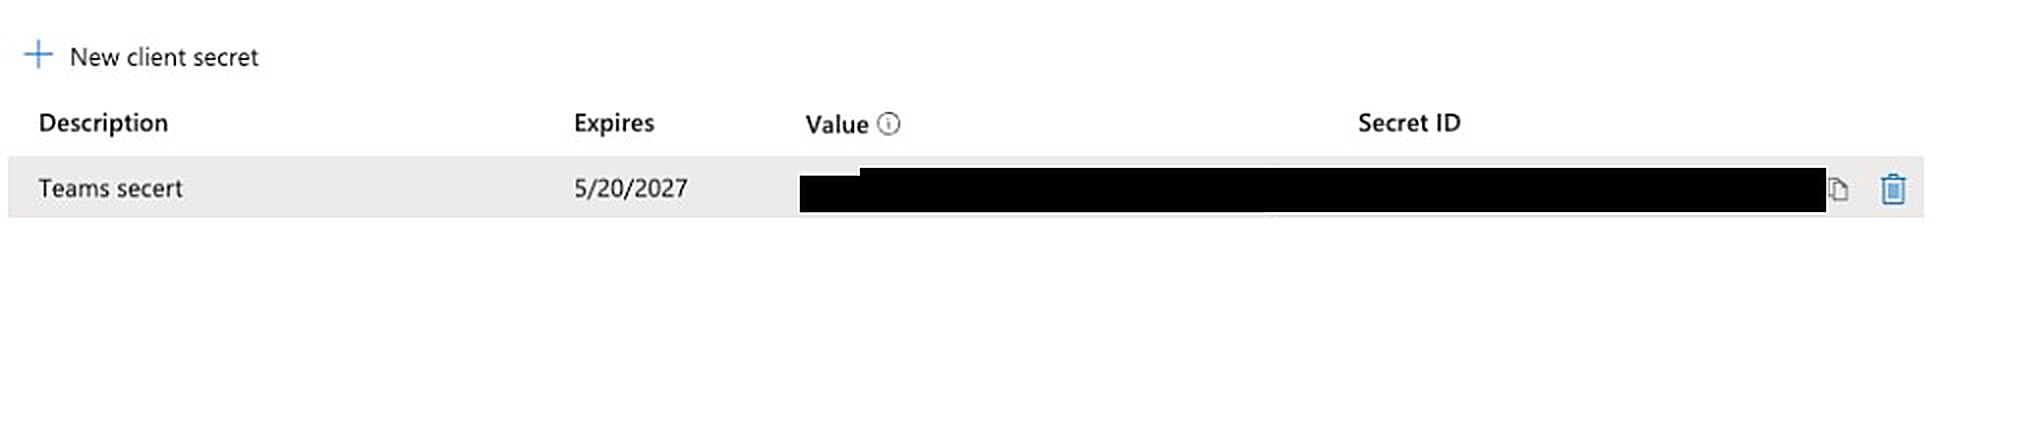
Summary
After completing all steps, the app registration will have:- A multitenant configuration with the correct Redirect URI.
- An Application ID URI of the form
api://remote-expert-web.altoura.com/<clientId>. - An exposed
access_as_userscope. - Delegated Microsoft Graph permissions for chat, contacts, meetings, profile, and Teams app installation.
- Azure Communication Services delegated permissions
Teams.ManageCallsandTeams.ManageChats. - Admin consent granted tenant-wide.
- A client secret value stored securely.