

Why anchoring matters
A procedure’s 3D models, gems, and instructions are placed at real positions in a physical workspace. For that content to appear in the right place every time — for every worker, on every session — the device needs a fixed reference point in the room. That reference point is the QR anchor.- Authors scan the QR code, then place 3D models, gems, media, and instructions in the physical space. Everything is stored relative to the QR’s position.
- Operators scan the same QR at the same physical location, so all authored content appears exactly where the author placed it.
The QR code
The Altoura Frontline QR code is a physical marker: you print it once, fix it to a stable surface at the work site, and reuse it for every procedure anchored to that location.Use the QR code provided by Altoura for anchoring. Third-party or self-generated QR codes might not work reliably with the Frontline QR scan flow. Download the print-ready PDF, printing guidance, and scanning tips from QR for Author and Operator.
- One QR per anchor location — a dedicated printout per physical workspace, kept fixed.
- High contrast, matte, flat. Glossy or wrinkled printouts cause scan failures.
- Look straight at it from roughly 30–60 cm for the fastest lock.
- Re-scan if drift appears. If placed content looks off-position, exit and re-scan the QR to re-anchor — a rescan updates the QR anchor, and every placed item repositions with it, preserving the author’s relative placement.
Anchor gems — step-level markers
The QR anchor aligns the whole procedure. Anchor gems go one level finer: they link an individual step to a specific point in the environment.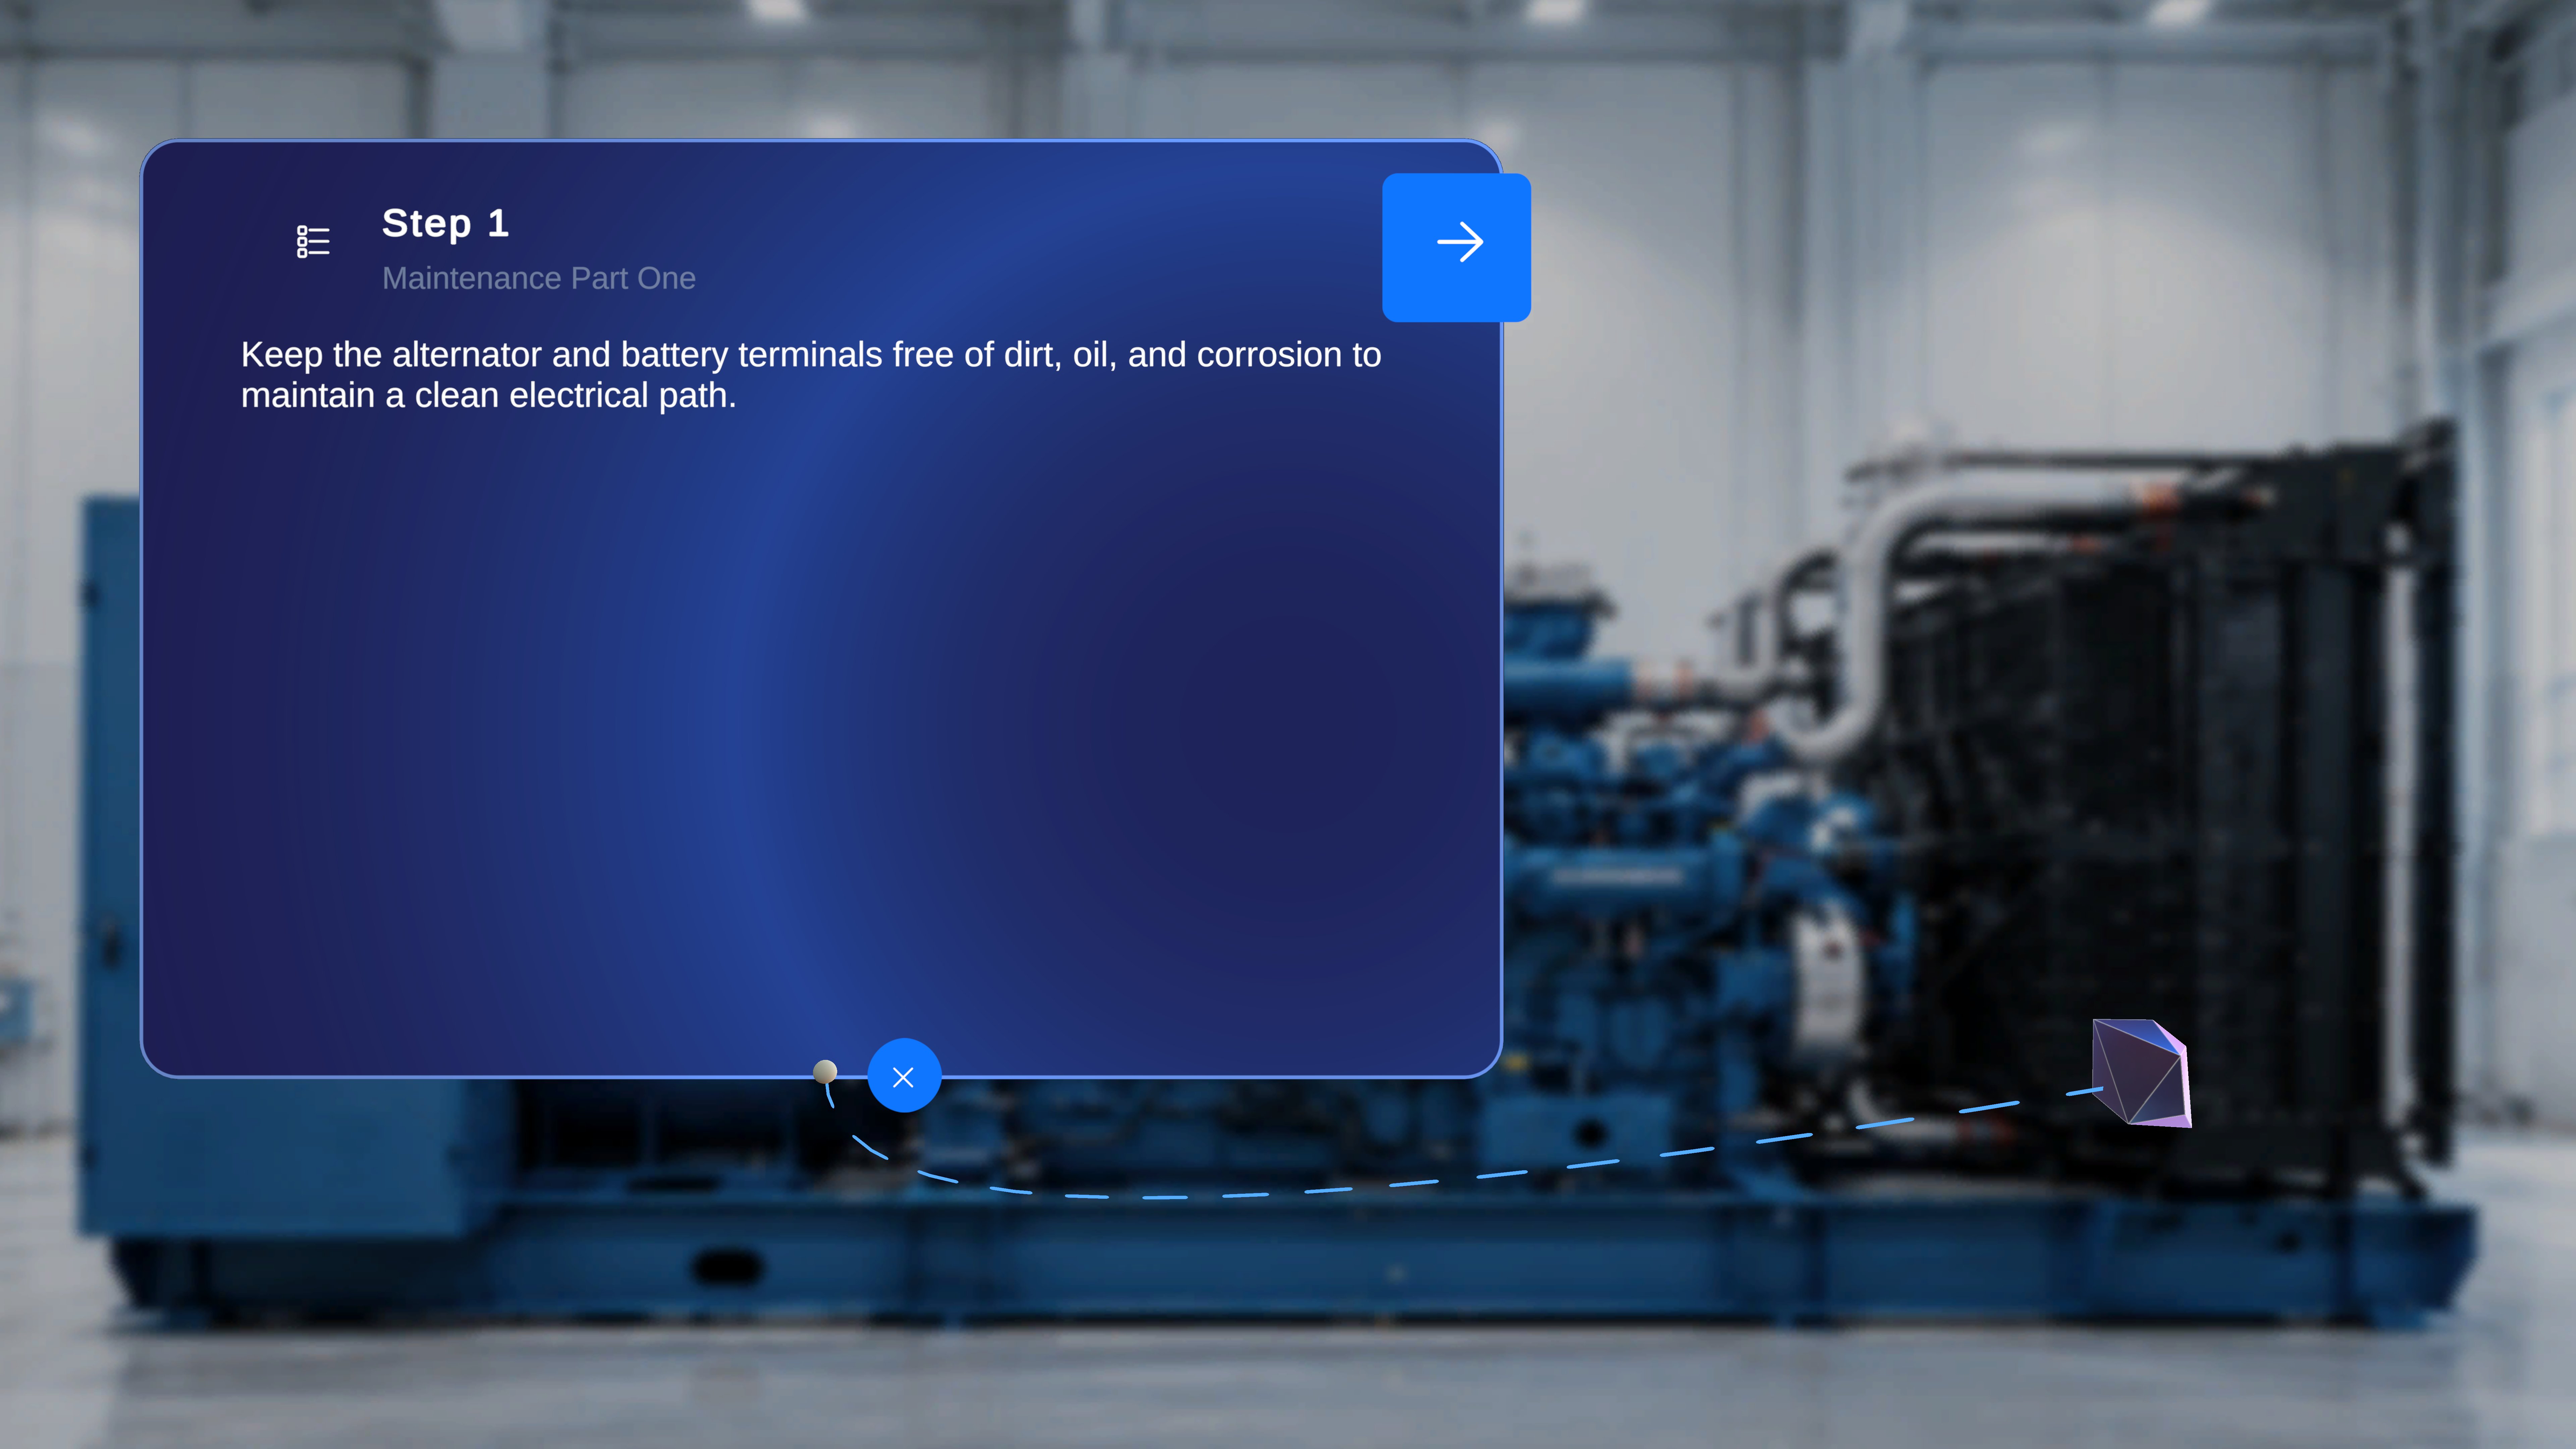
- In Author Mode, each step panel has a diamond-shaped gem icon. The author clicks it, points at a location in the physical space, and places the anchor there.
- A visible tethered line (thread) connects the step panel to the placed anchor.
- Gem placement is per step — one step may have an anchor while the next has none. Navigating between steps updates the tether to match that step’s configuration.
- Gems are stored relative to the QR anchor, so they survive re-anchoring.
What the operator sees
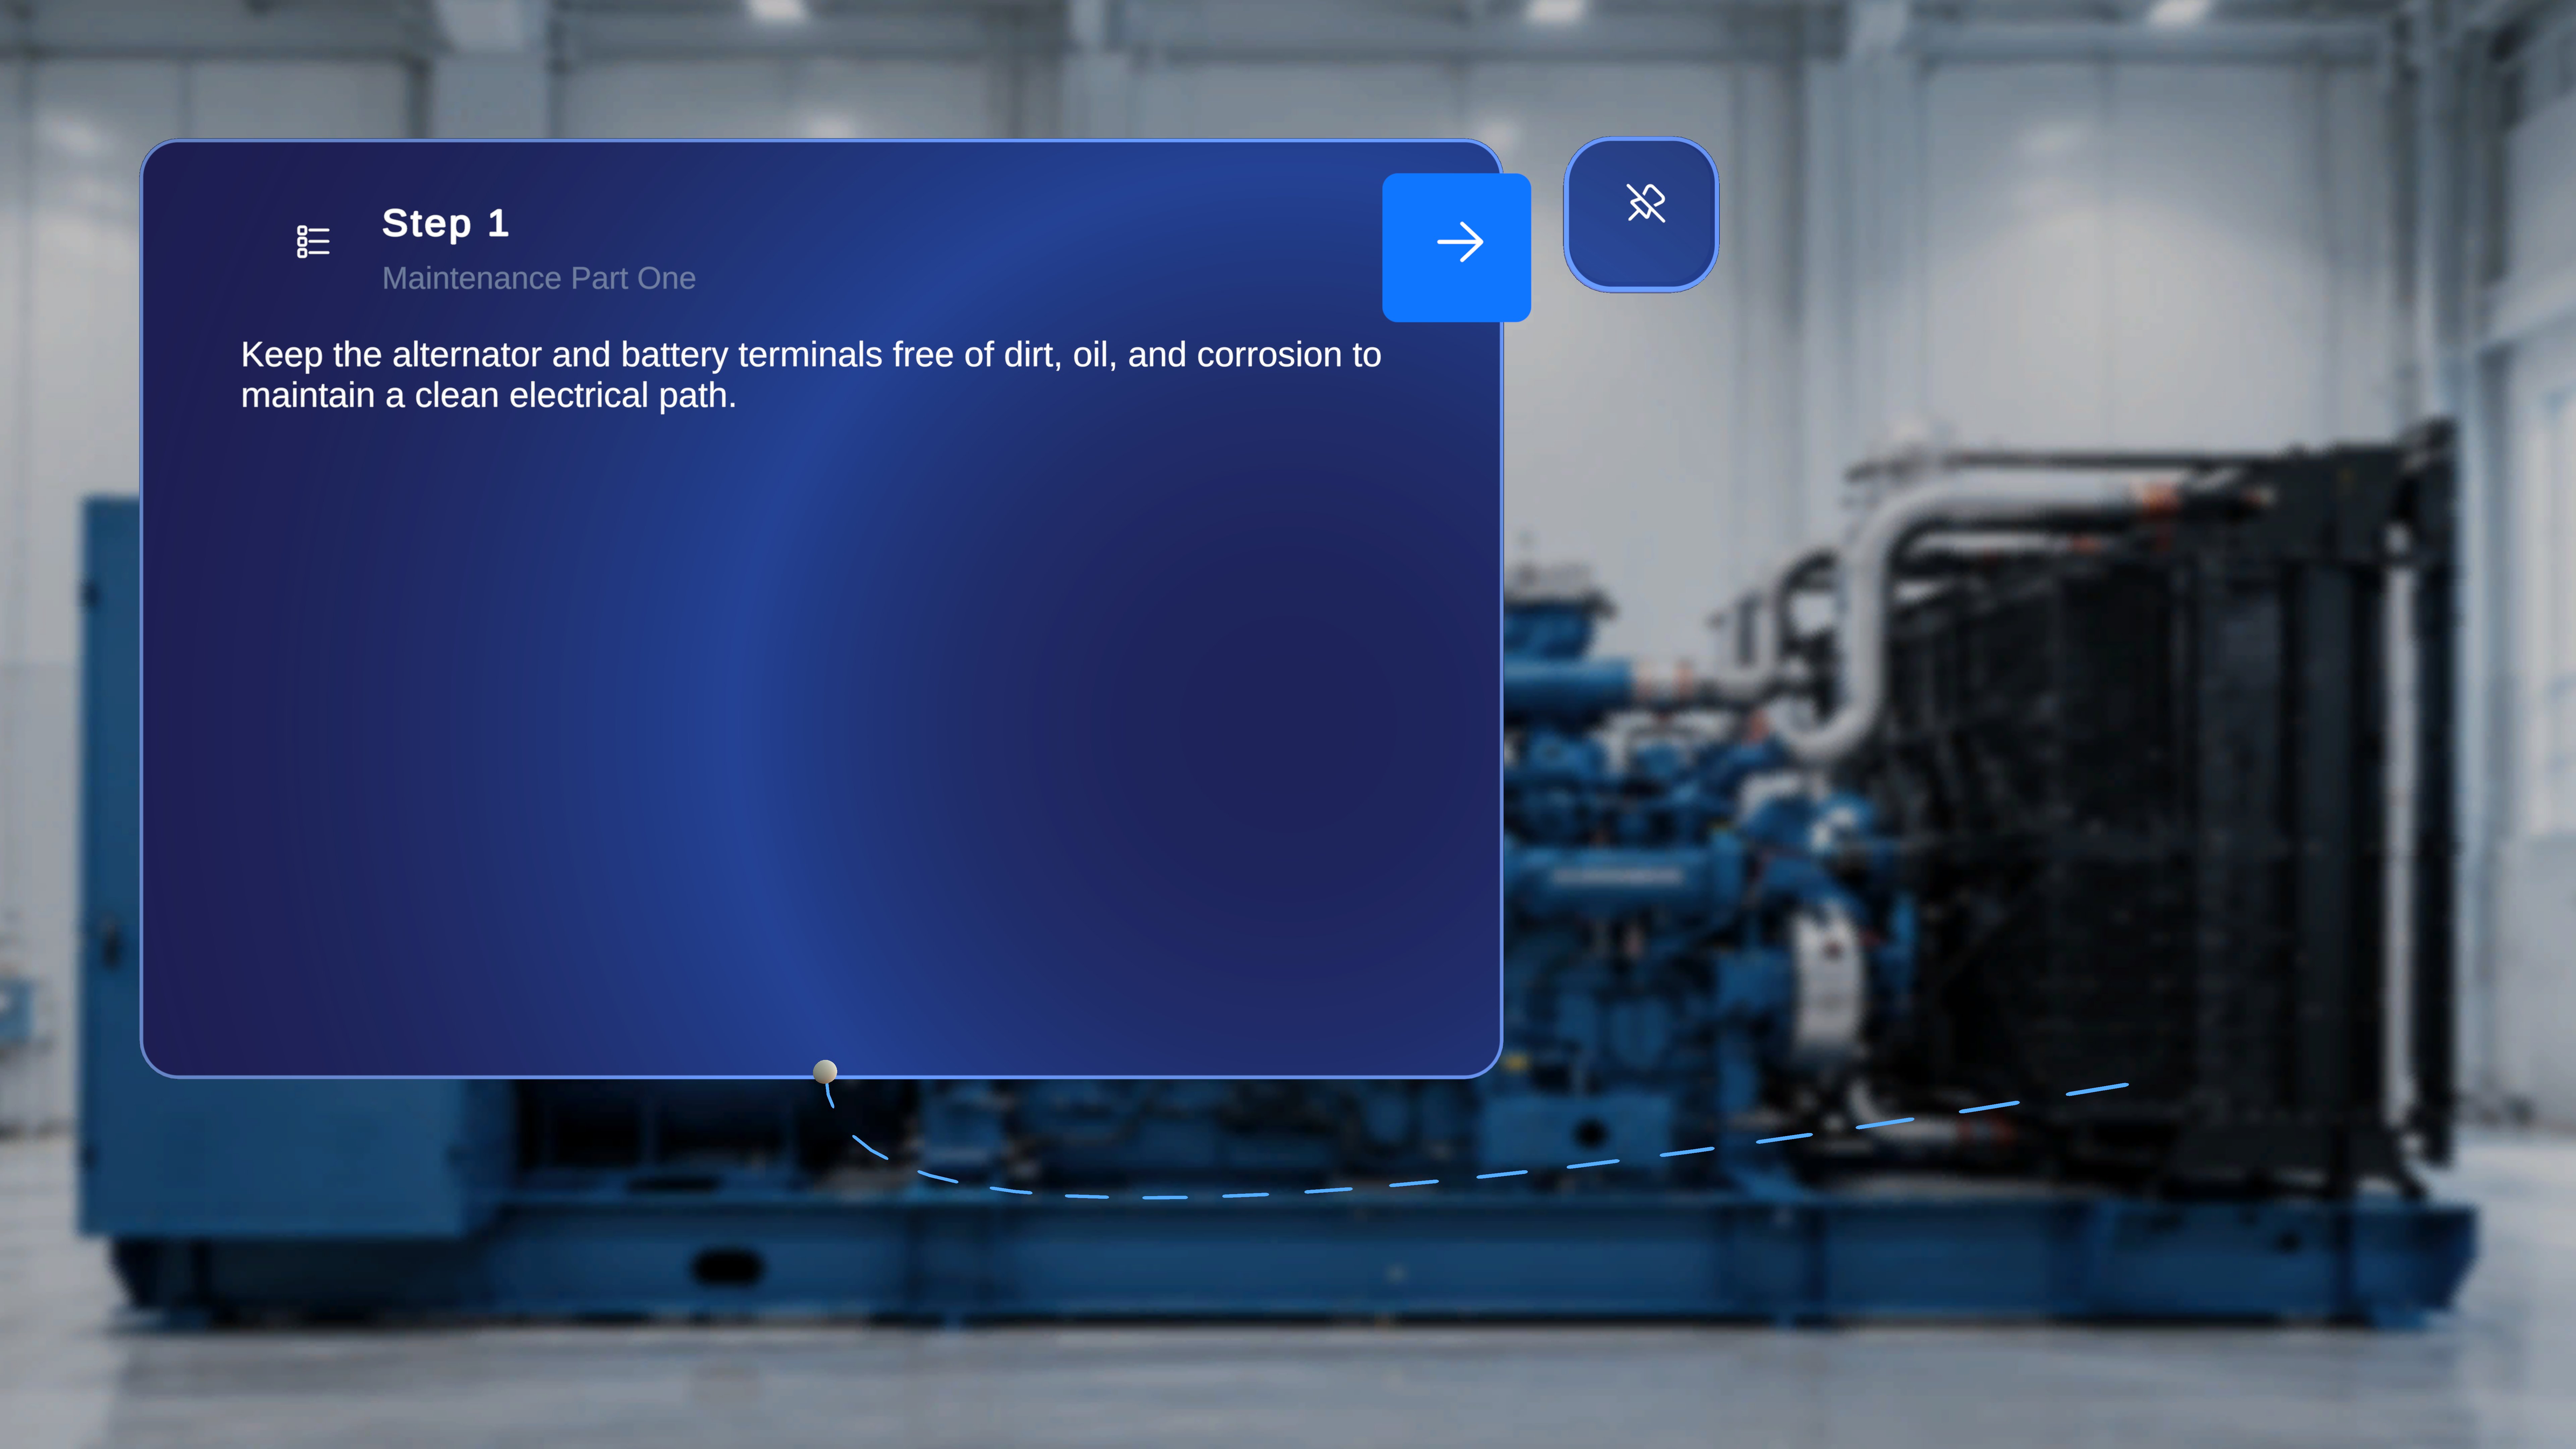
- Where the step applies
- Which physical location is relevant
- Where attention or action is required