

Overview
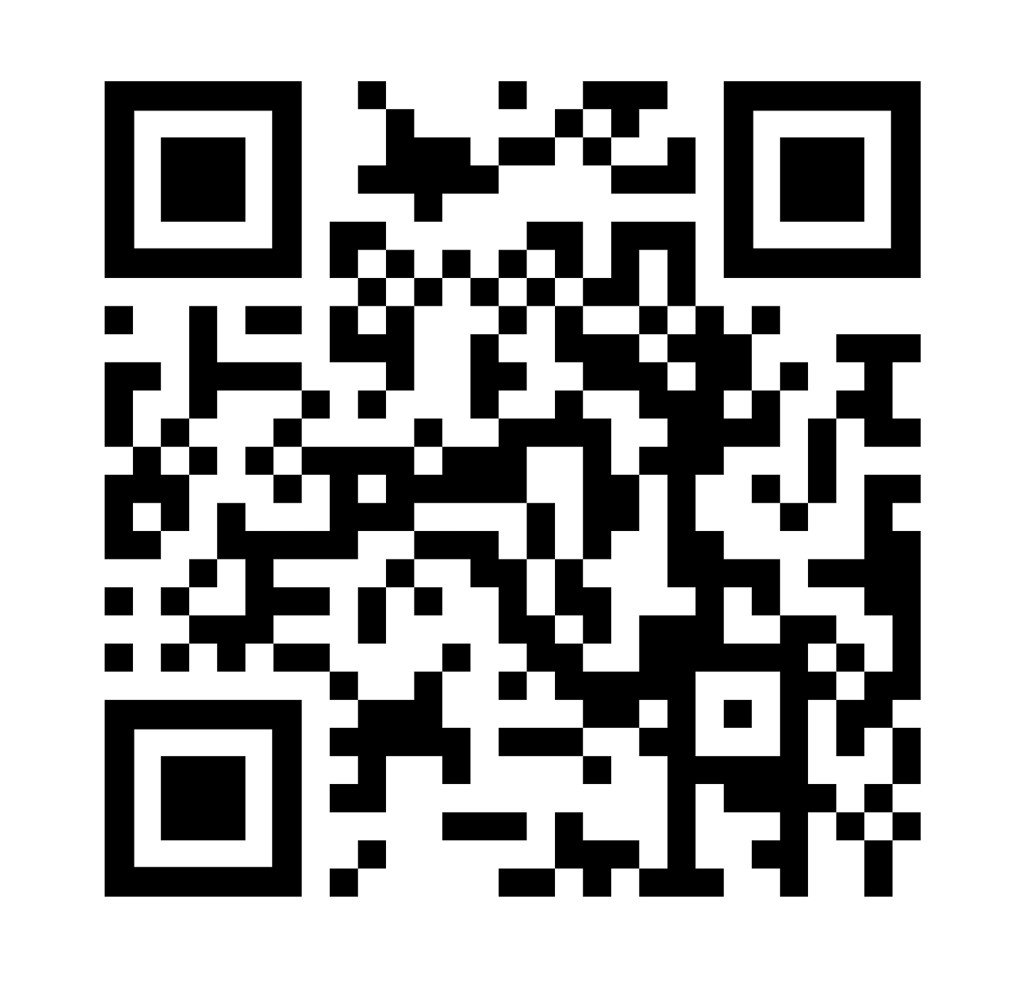
The Altoura Frontline QR code is the physical marker that Altoura Frontline uses to anchor a procedure to a real-world location. The same printed QR is used by both roles:- Authors scan it to place 3D models, gems, media, and instructions in the physical space. Everything is stored relative to the QR’s position.
- Operators scan the same QR at the same physical location so that all authored content appears exactly where the author placed it.
We recommend using the QR code provided by Altoura for anchoring. Third-party or self-generated QR codes might not work reliably with the Frontline QR scan flow.
Download the QR Code
Frontline QR Code (PDF)
Click to download the official Altoura Frontline QR code as a print-ready PDF.
Preview
How to Print
For reliable scanning, print the QR code so it is clean, flat, and well-lit.- Paper size: A4 or Letter — the QR fills the page at the correct size.
- Colour: Black and white is fine. Ensure high contrast — no grey scaling.
- Finish: Matte paper is preferred. Glossy or laminated surfaces can cause glare that prevents scanning.
- Mounting: Fix the printout to a flat, non-reflective, stable surface. Curled or wrinkled paper will not scan reliably.
How to Use
The same printed QR is used in both Author Mode and Operator Mode — only the intent of the scan differs.While Authoring
- Put on the HoloLens and sign in to Altoura Frontline.
- Open the procedure you want to author.
- Select Author Mode.
- When prompted, scan the printed QR code — see the full walkthrough in QR Scan Flow for Author Mode.
- Once the anchor is set, place your 3D models, gems, media, and instructions in the physical space. Their positions are stored relative to the QR.
- Publish the procedure. Operators scanning the same QR at the same location will see your content in exactly the positions you set.
While Executing a Procedure
- Put on the HoloLens and sign in to Altoura Frontline.
- Open the procedure you need to run.
- Select Operator Mode.
- When prompted, scan the printed QR code at the anchor location.
- Once anchored, the step gem, 3D models, and instructions appear in the physical space — see Step Anchor (Gem) in Operator Mode for how the anchor gem is used during execution.
- Follow the on-device instructions to complete each step.
Tips
- One QR per anchor location. For each physical workspace where a procedure will be authored and executed, use a dedicated printout. Keep it fixed at that location.
- Match the author’s anchor when operating. For content to appear in the correct location, operators must use the same QR printout at the same position the author used when creating the procedure.
- Keep spares. Print two or three copies and store extras so a damaged QR does not block authoring or execution.
- Lighting matters. Ensure the QR is well-lit and not in direct glare. Very bright or very dim conditions can slow down or block scanning.
- Line of sight. When scanning, hold your head steady and look directly at the QR from roughly 30–60 cm away for the fastest lock.
- Re-scan if drift appears. If placed content looks noticeably off-position in Operator Mode, exit and re-scan the QR to re-anchor the procedure.