

Scan the same QR code, at the same physical position, that was used when the procedure was set up for this location. Use the official printout from the QR code download page — third-party or self-generated QR codes might not work reliably.
Scan the QR Code
After you select a procedure, a Scan QR Code instruction panel appears, with a Cancel button at the bottom.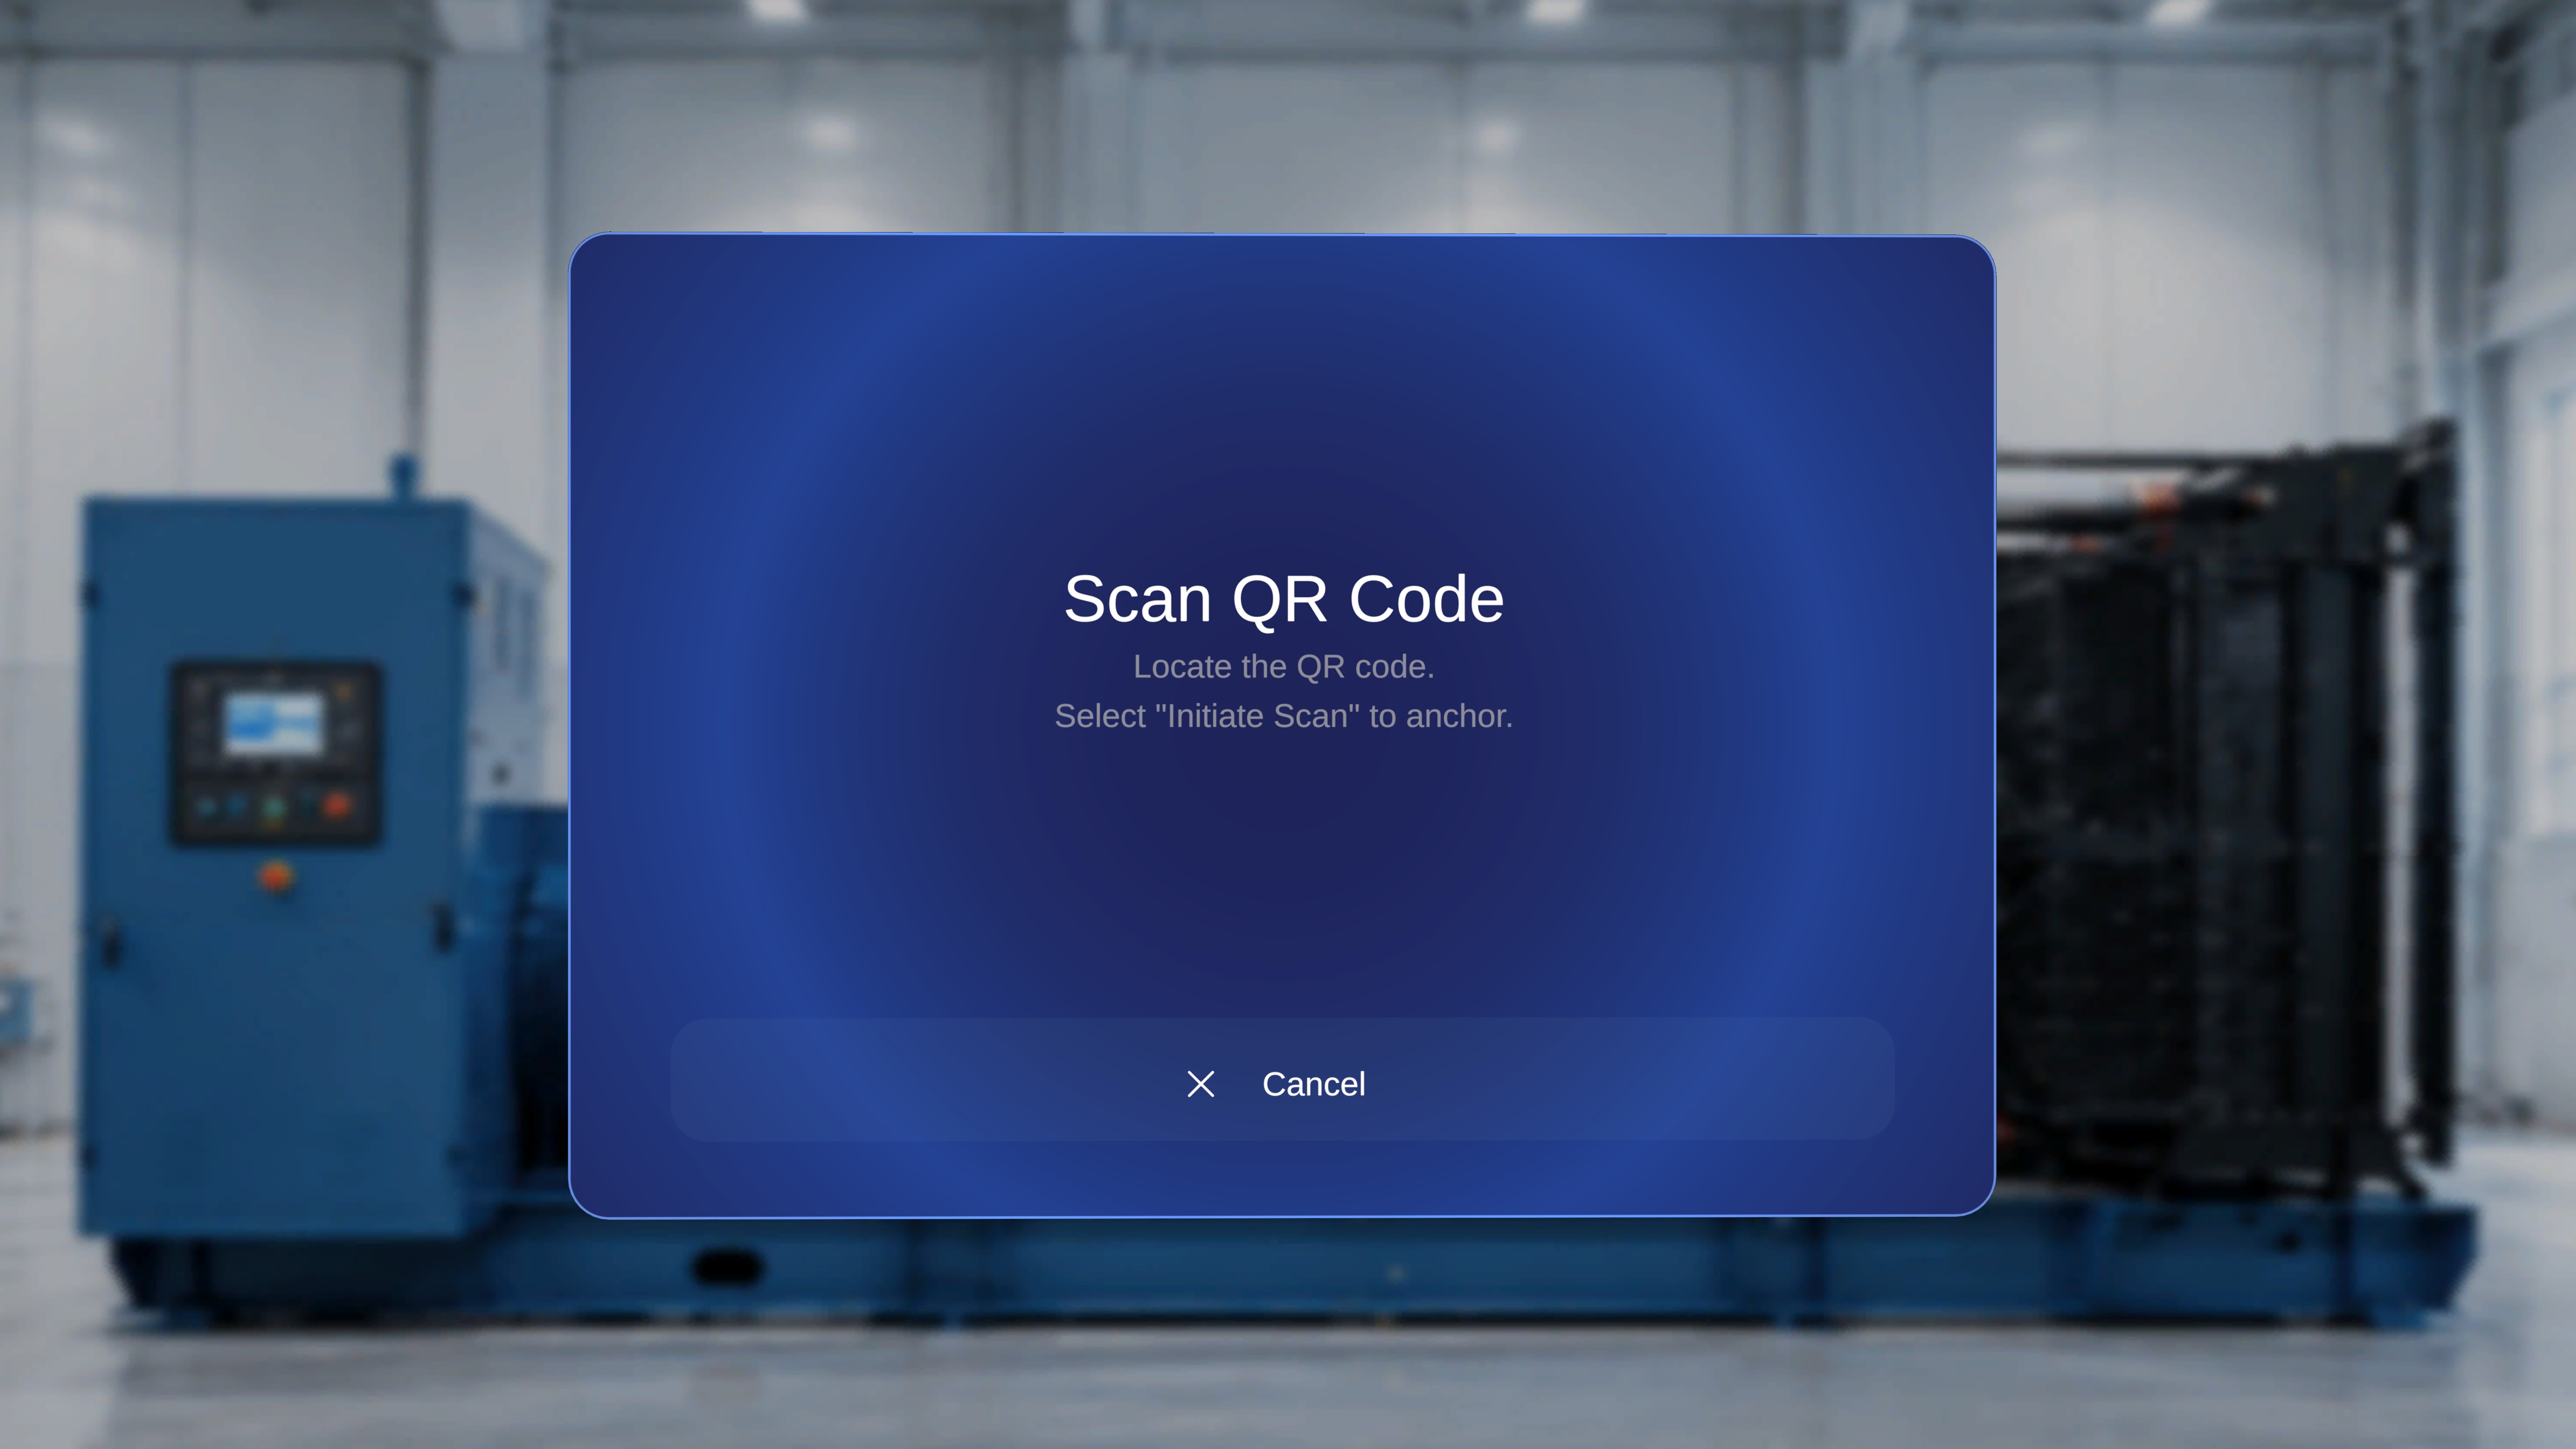
1
Locate the physical QR code
Find the printed QR code fixed at your work site. A scanning frame appears on screen with the label Scan the QR code.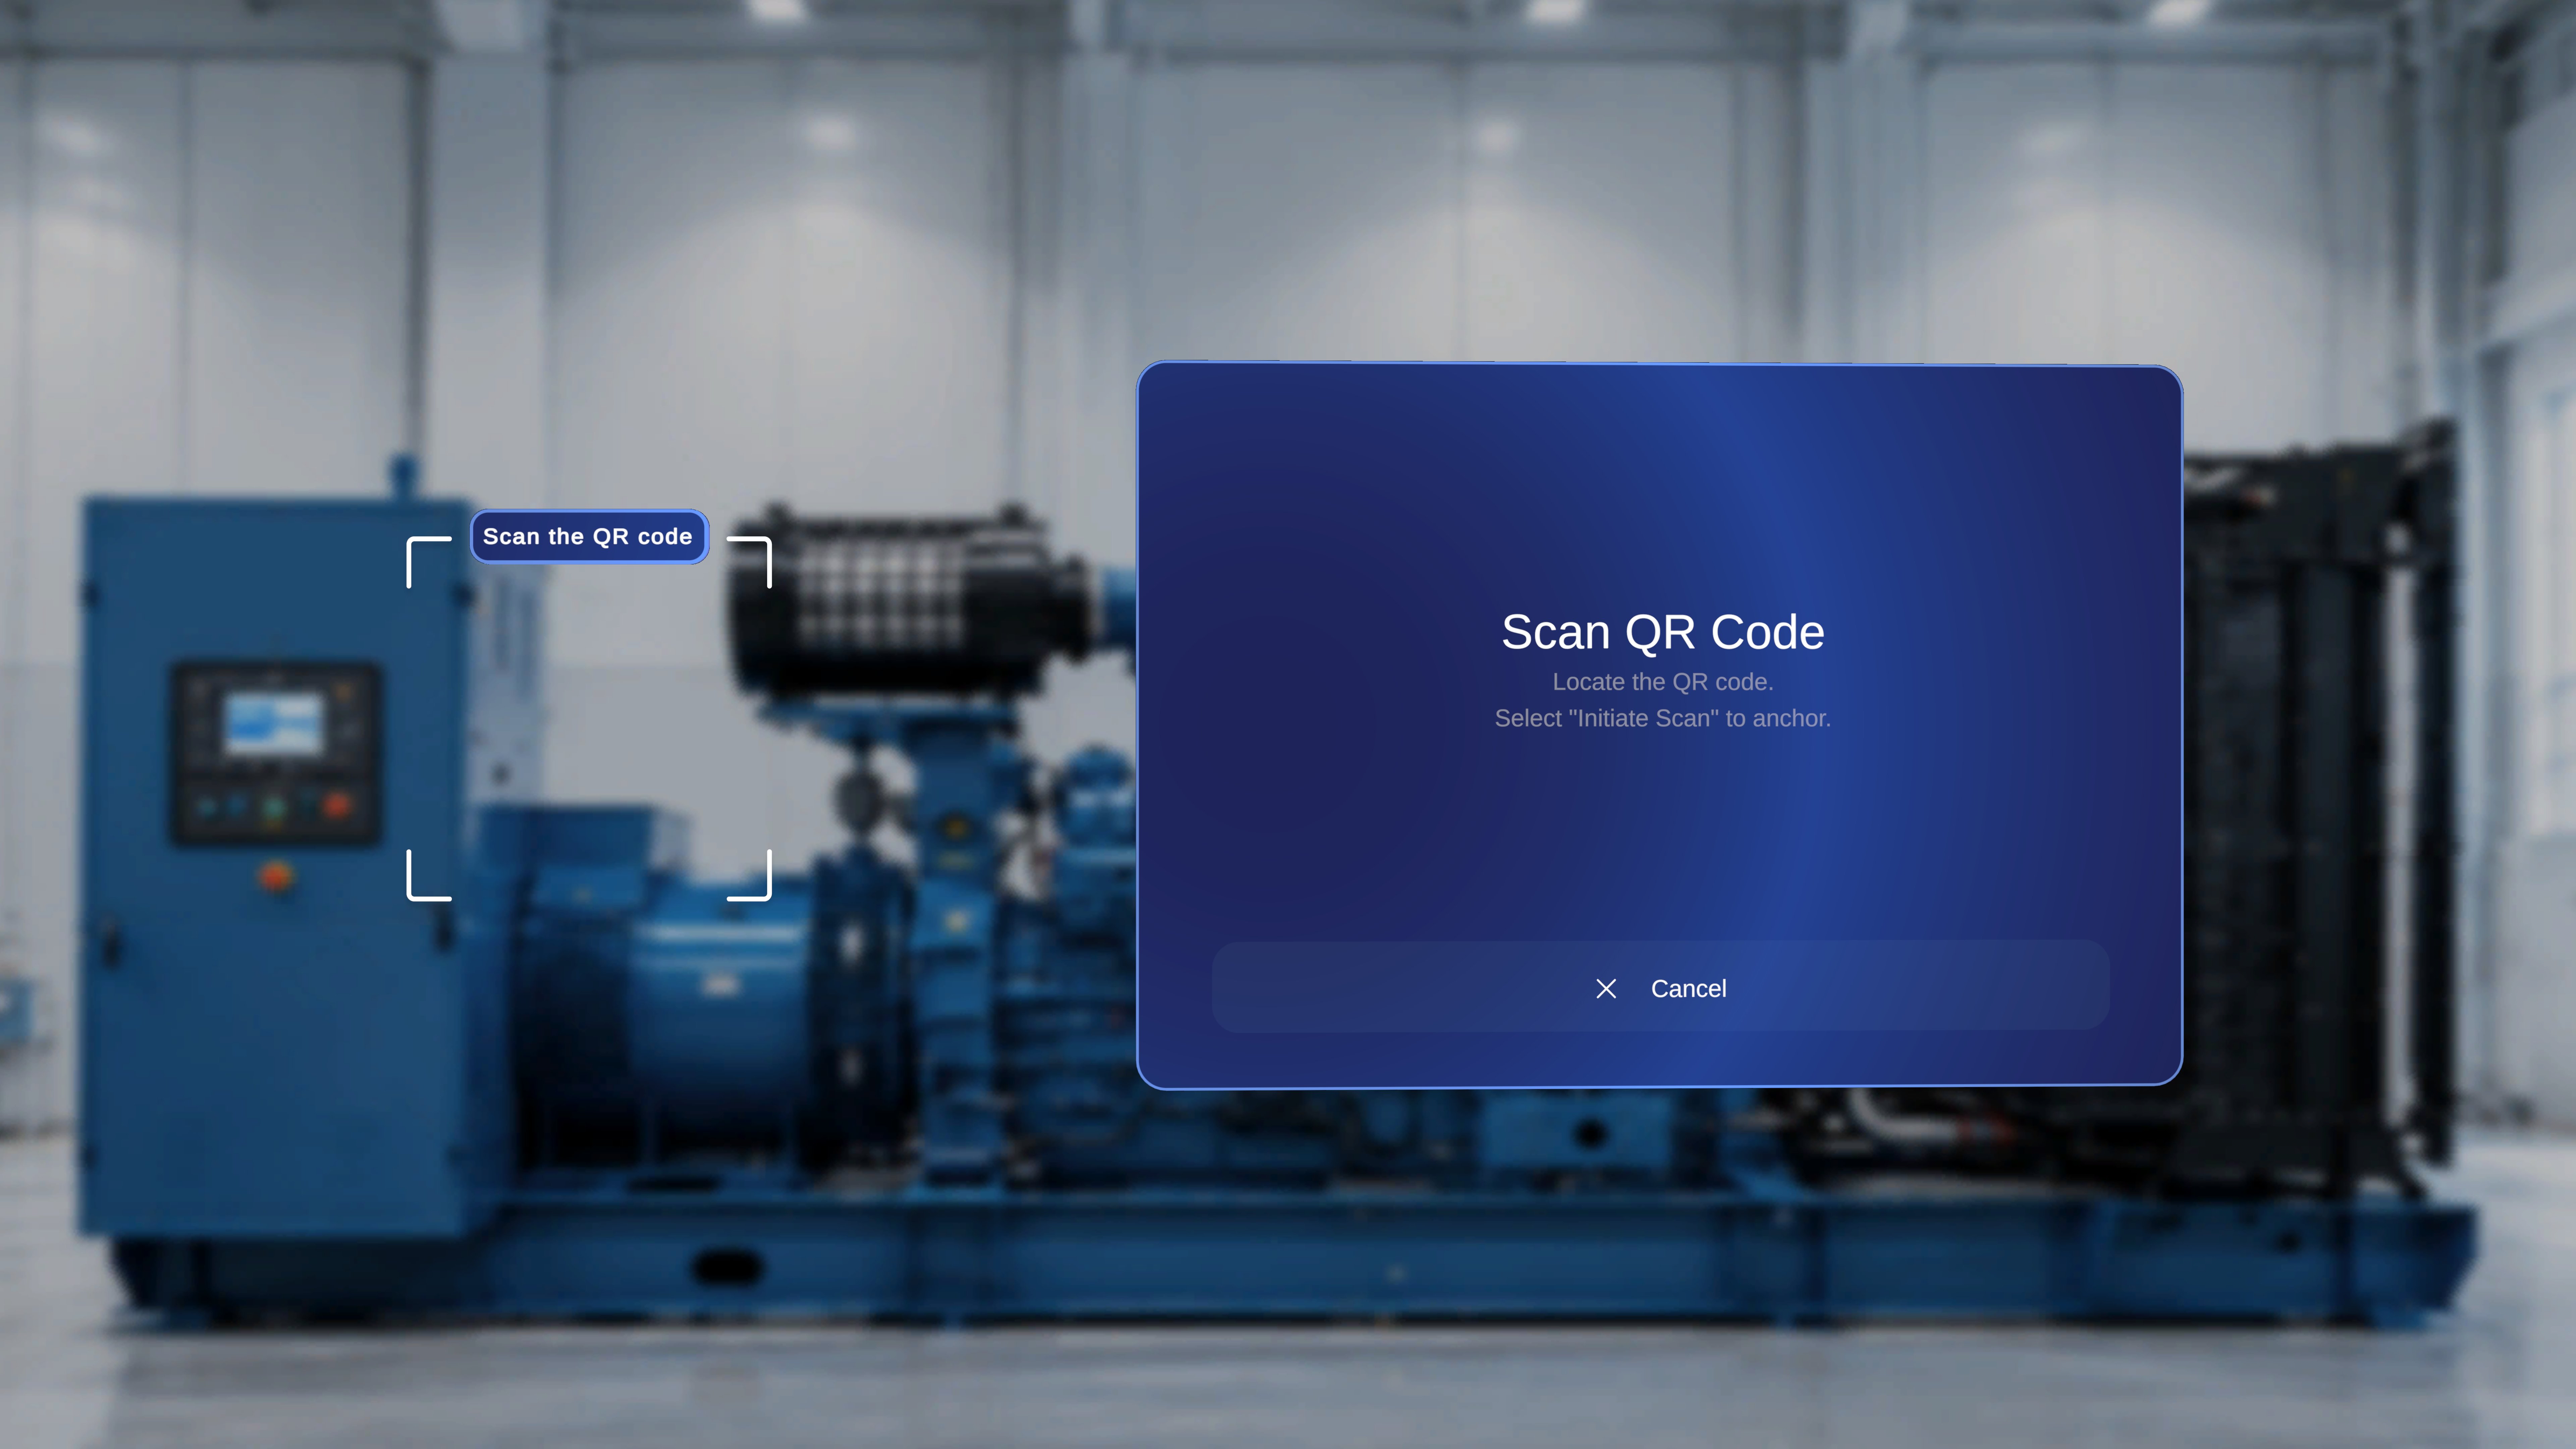
2
Align the QR code in the frame
Hold your head steady and look directly at the QR code so it sits inside the bracketed scanning frame. A distance of roughly 30–60 cm gives the fastest lock. Keep steady until the system detects the code.
3
Check the alignment
Once the code is detected, an Anchor found panel appears with the instruction: select Confirm if the blue outline is aligned, or Rescan if not.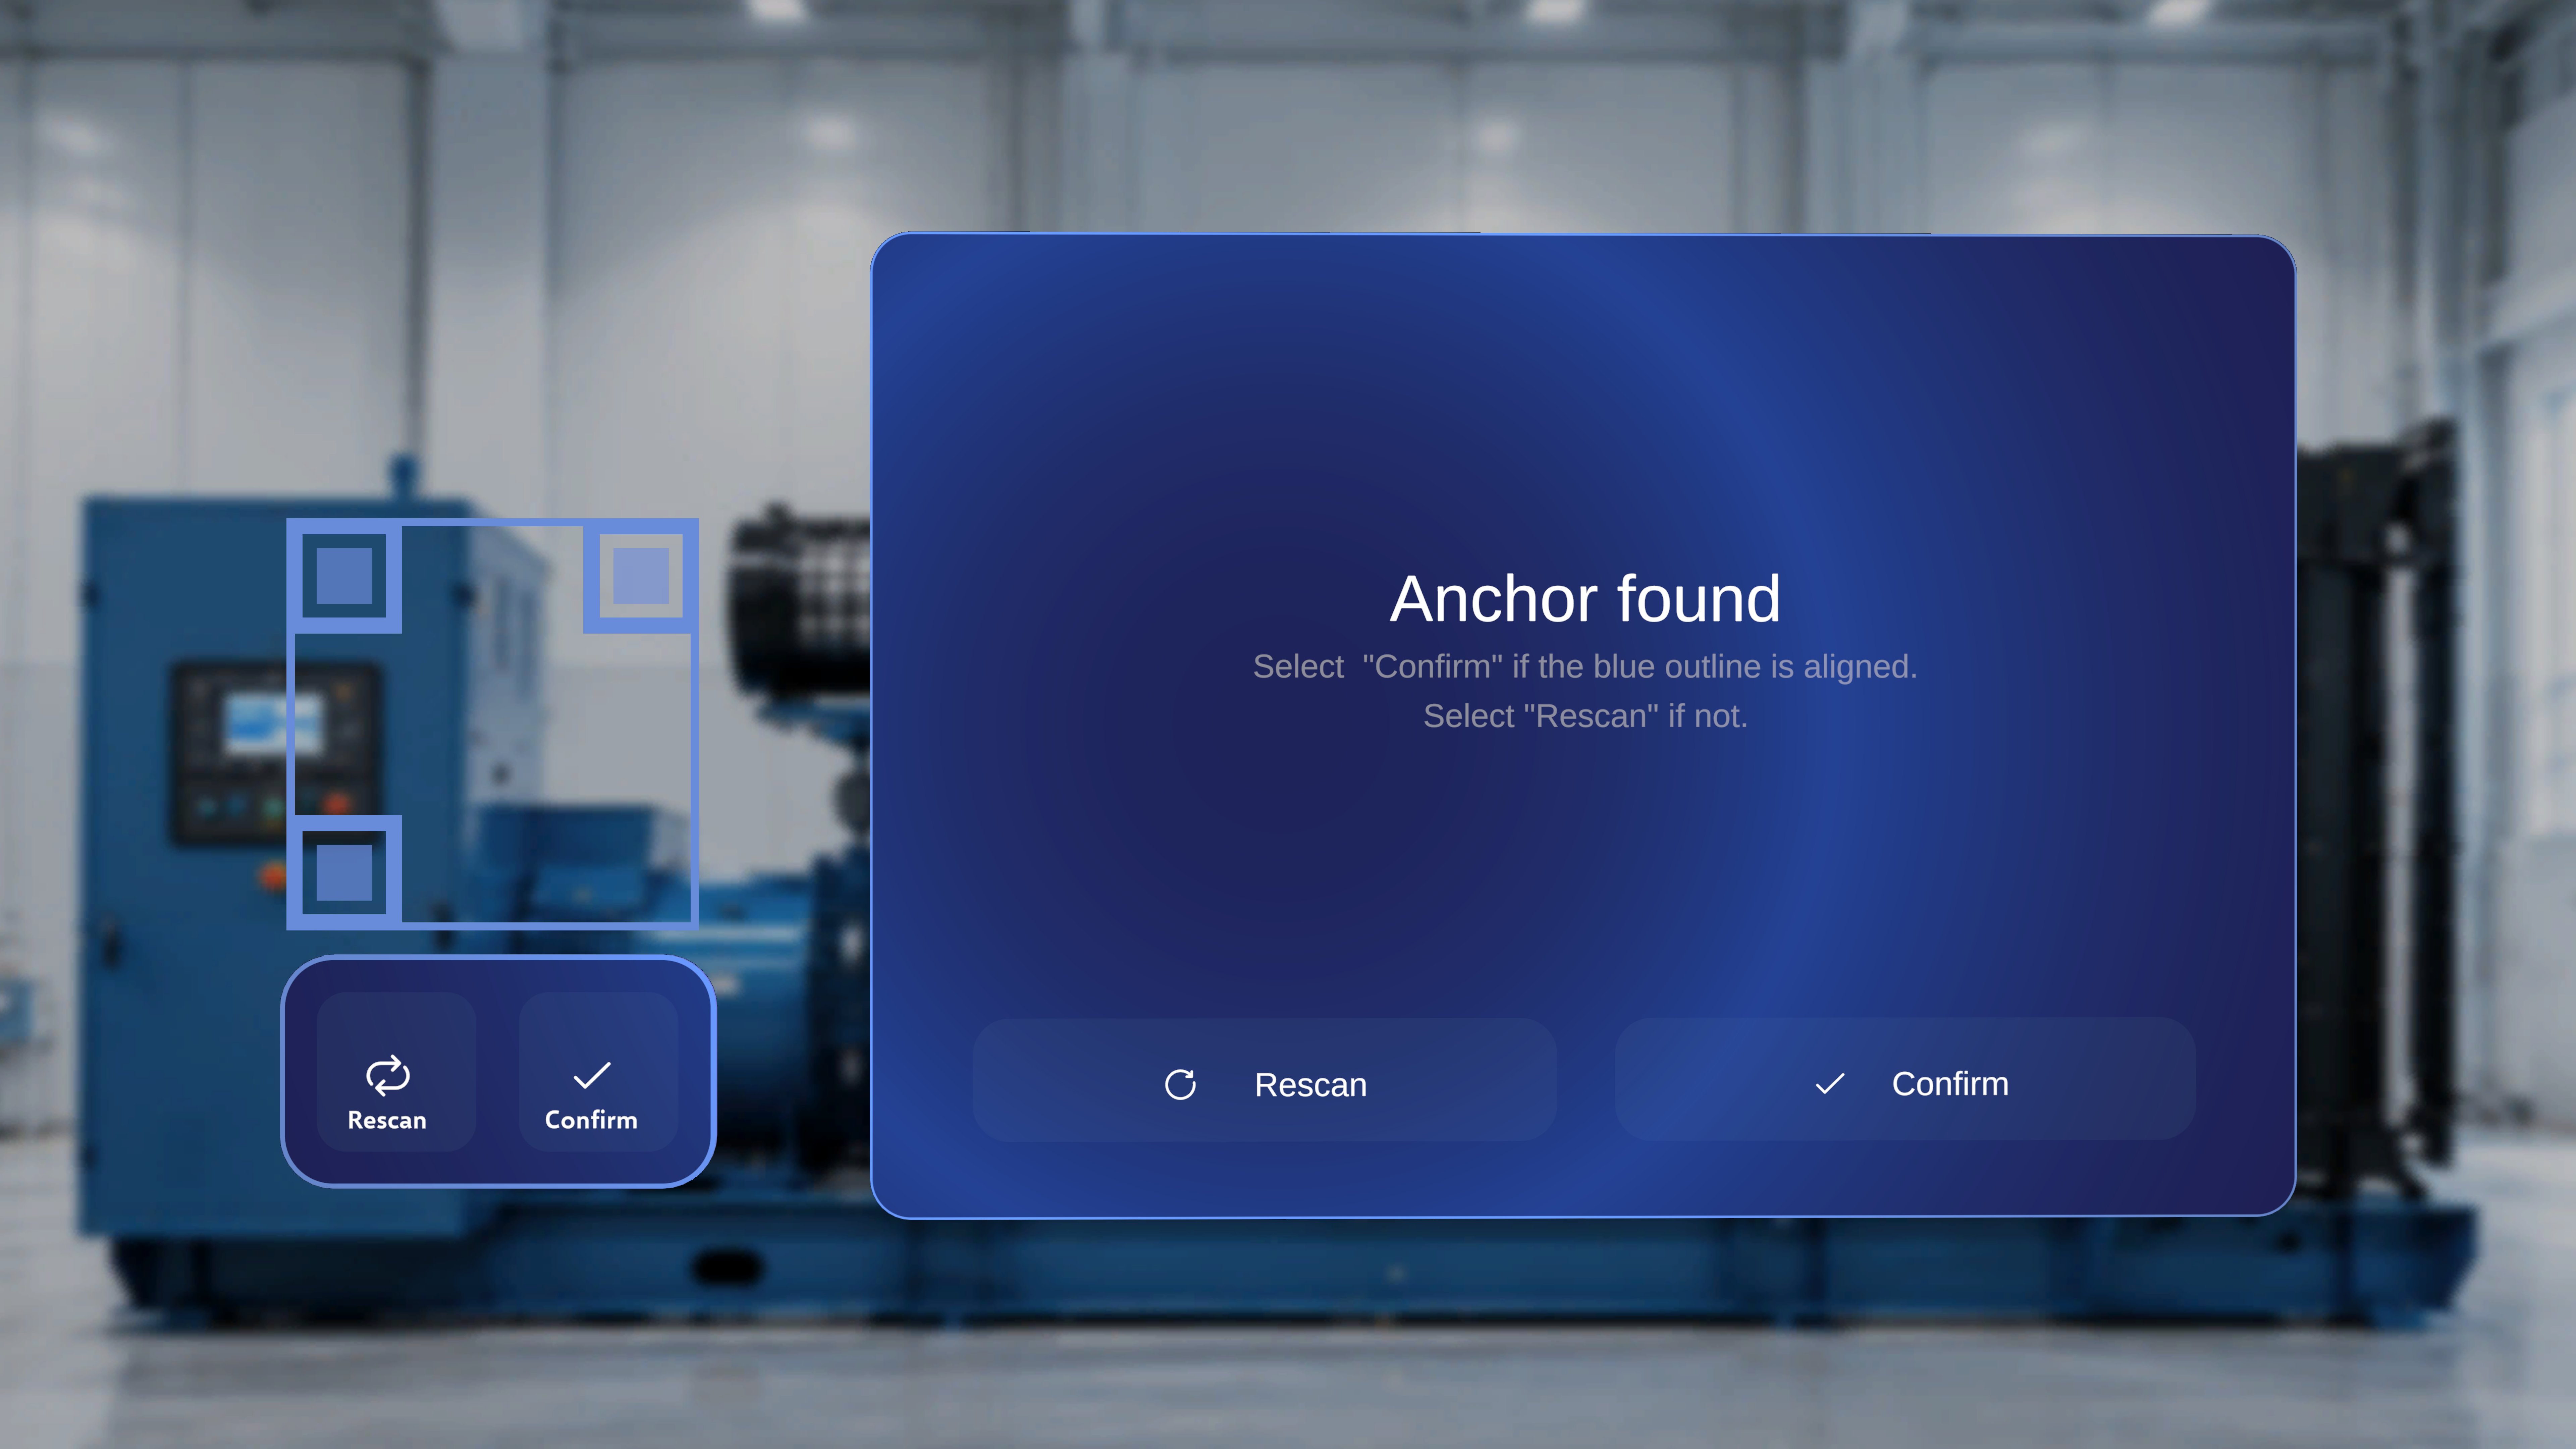
4
Confirm the anchor
Verify the blue outline sits neatly on the QR code, then select Confirm — either in the Anchor found panel or on the button below the QR frame.
What Happens on Success
The system anchors to the QR code and opens the procedure. You are taken to the first step and can begin working through the procedure in your physical space — instructions, media, and 3D content appear in their saved positions relative to the QR code.If the Outline Isn’t Aligned: Rescan
If the blue outline is off, or the wrong QR code was detected, select Rescan — in the Anchor found panel or below the QR frame. The current detection is cleared, active scanning resumes, and you can realign the QR code within the frame.If You Change Your Mind: Cancel
Select Cancel at the bottom of the instruction panel to leave the scan flow. You do not enter the procedure — access is granted only after a successful confirmation.The Step Anchor Gem
Once you are anchored and inside the procedure, some steps display a diamond-shaped gem in the physical environment, connected to the instruction panel by a tethered line that updates as you move.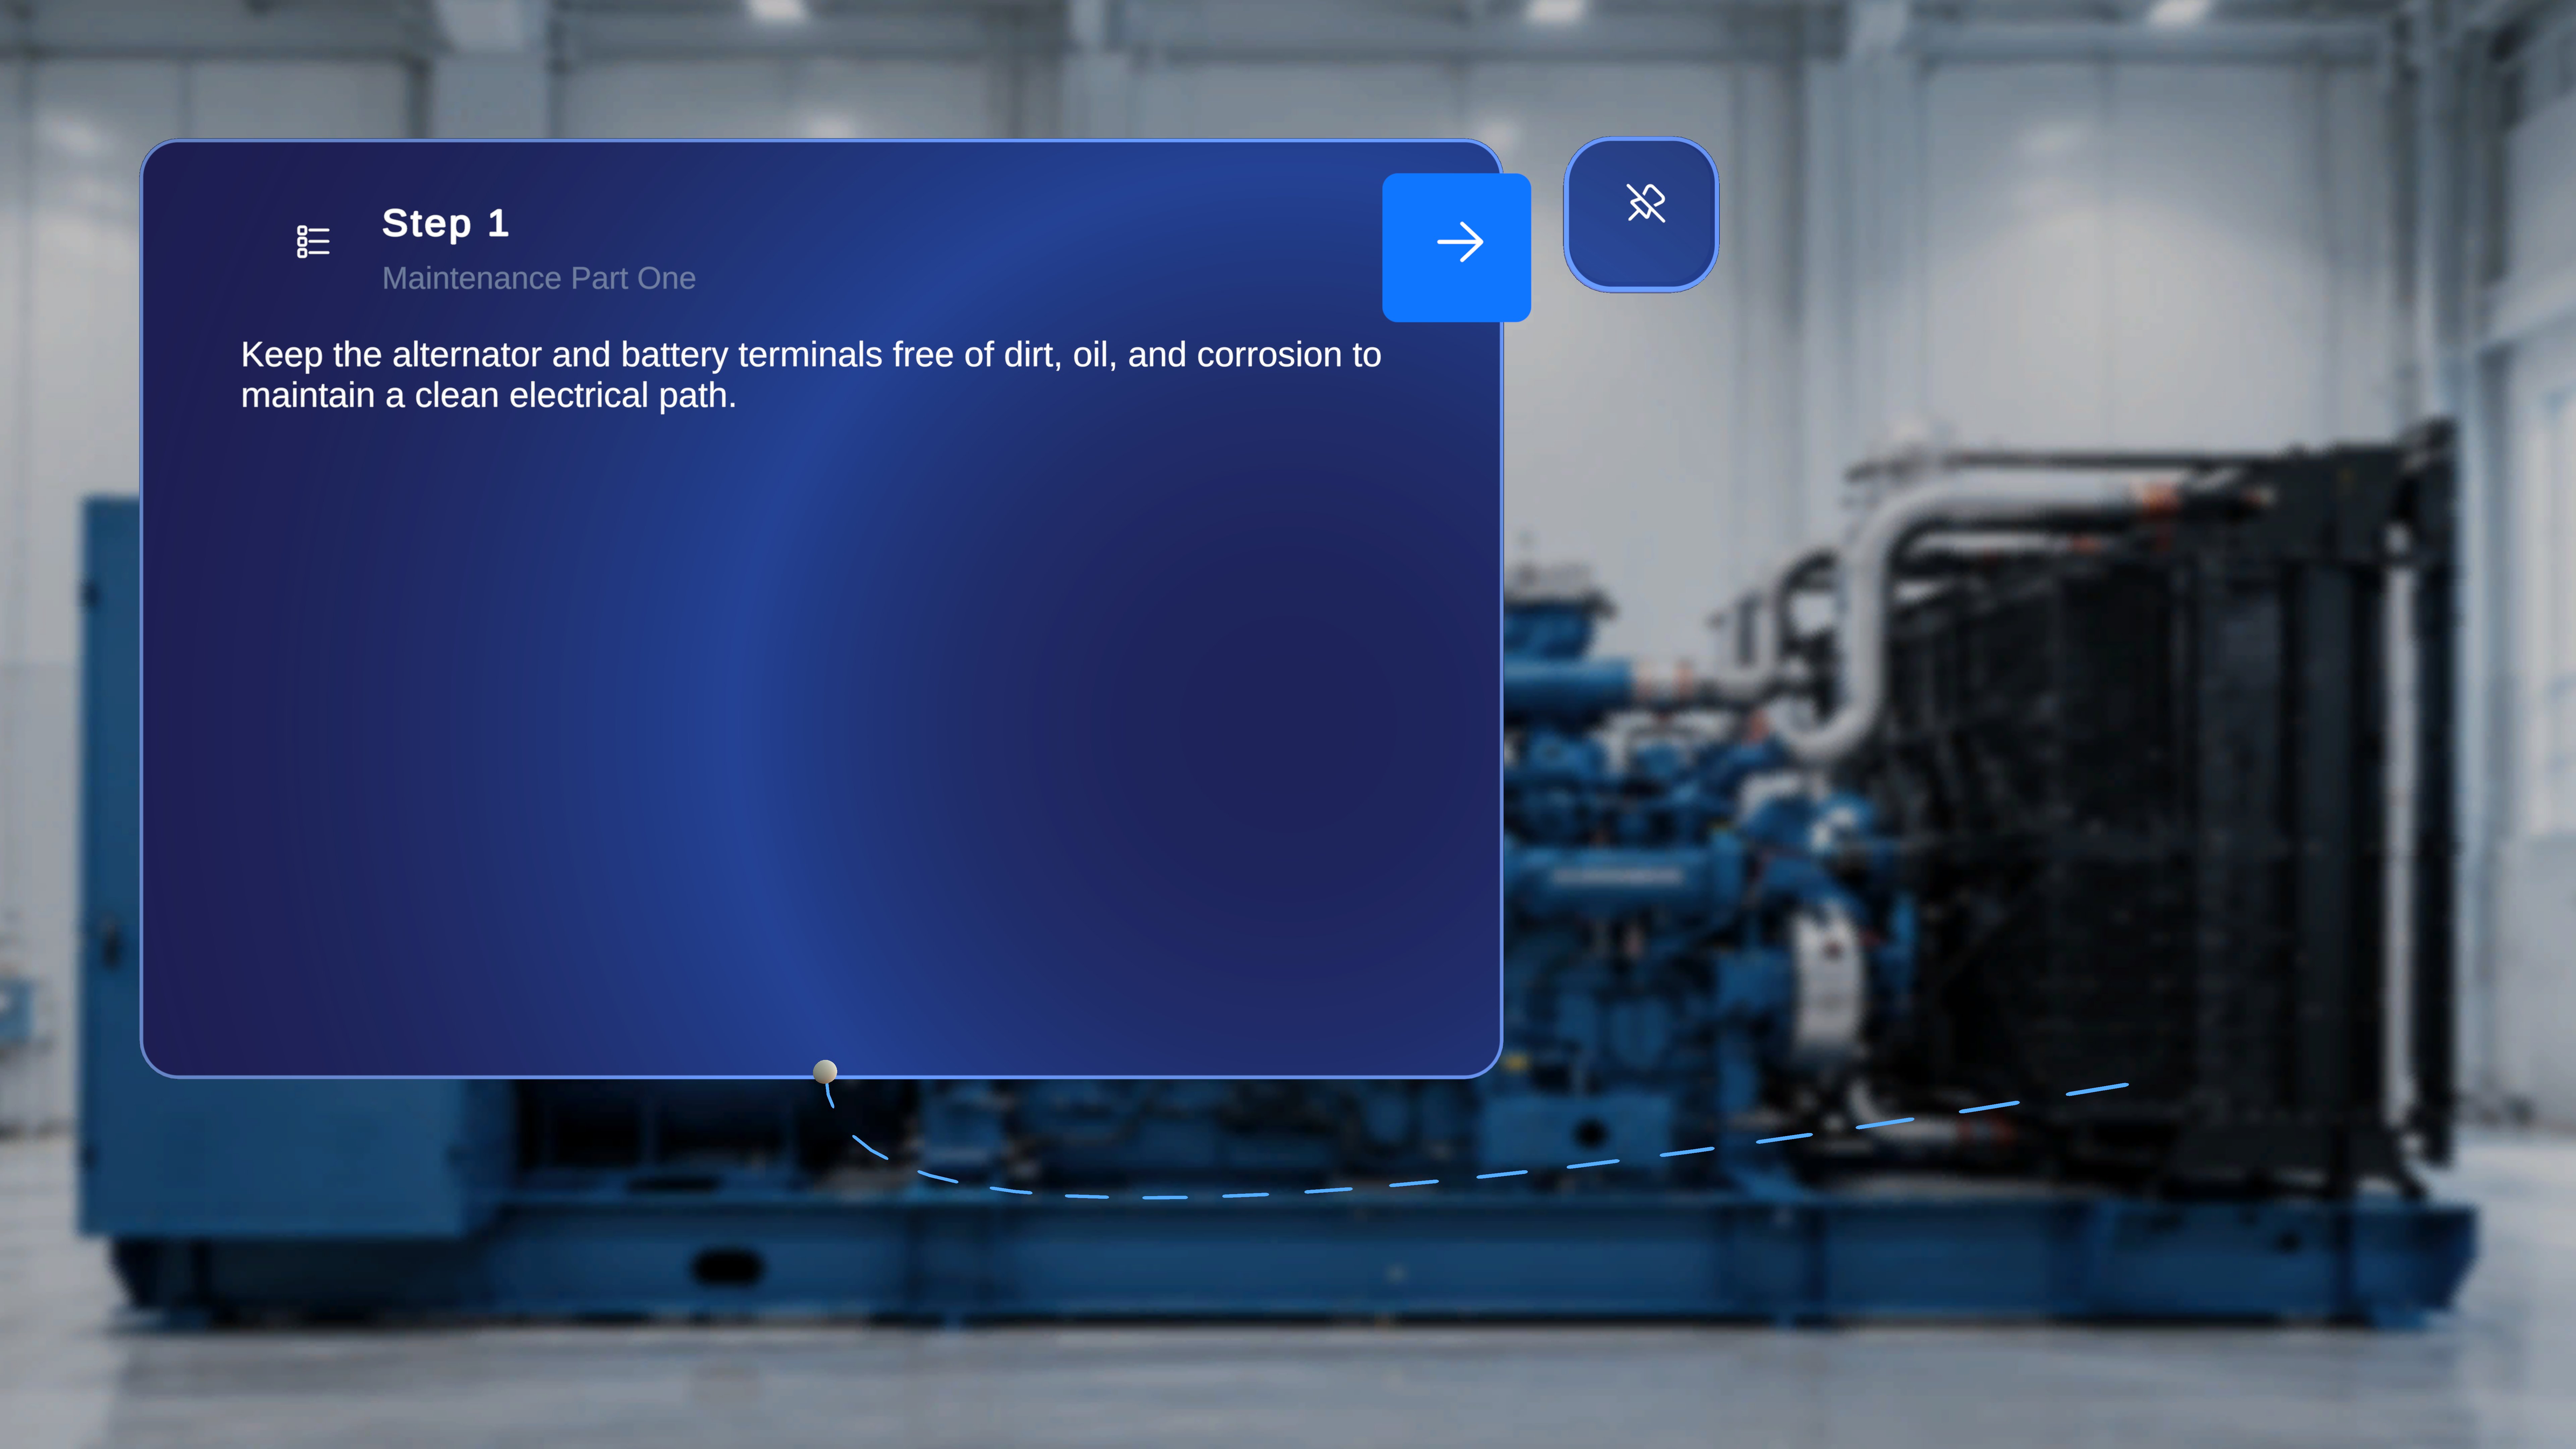
- The gem appears only on steps that have one; other steps show no gem or tether. Whether a step has a gem depends on how the procedure was authored.
- The gem is fixed — you cannot select, move, or modify it.
- Gems are positioned relative to the QR anchor. If you rescan the QR code later (see Follow the Steps for the in-procedure side menu), the gems reposition accordingly and stay correctly aligned.
Next: Follow the Steps