

Viewing Scenes
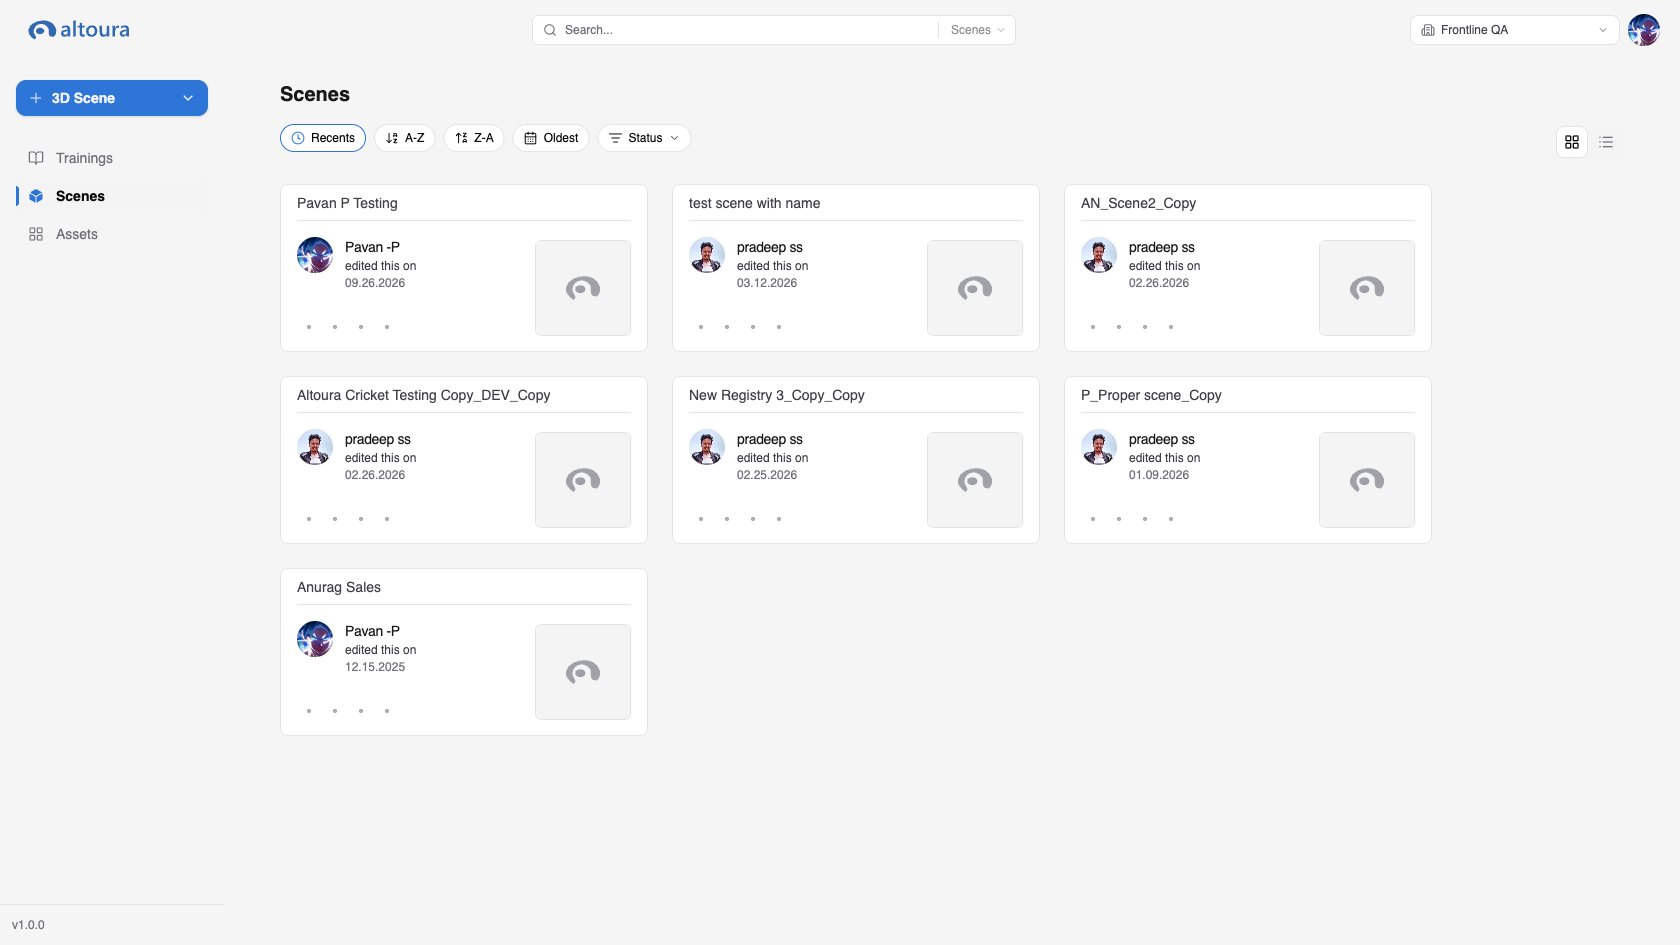
Switch between Grid view and List view with the view toggle above the list. Each scene card shows:- The scene name
- The scene thumbnail, or the Altoura logo when the scene has no thumbnail yet
- Who last modified the scene and when
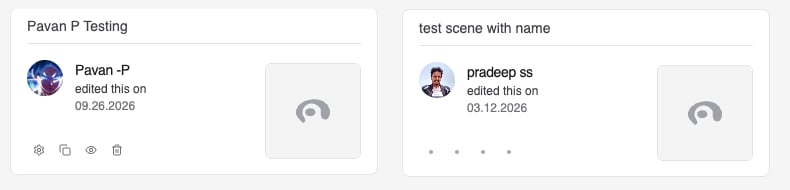
- Action buttons for Settings, Clone, Set Active or Set Inactive, and Delete
Scene Status
Use the Filter button to show only Active or only Inactive scenes.
Opening a Scene
Click an active scene card or row. The scene opens in Scene Editor in a new browser tab. For editing guidance, see the Scene Editor documentation.Creating a Scene
The Create Scene button at the top of the sidebar appears when your role allows creating scenes in the selected organization. It offers two options.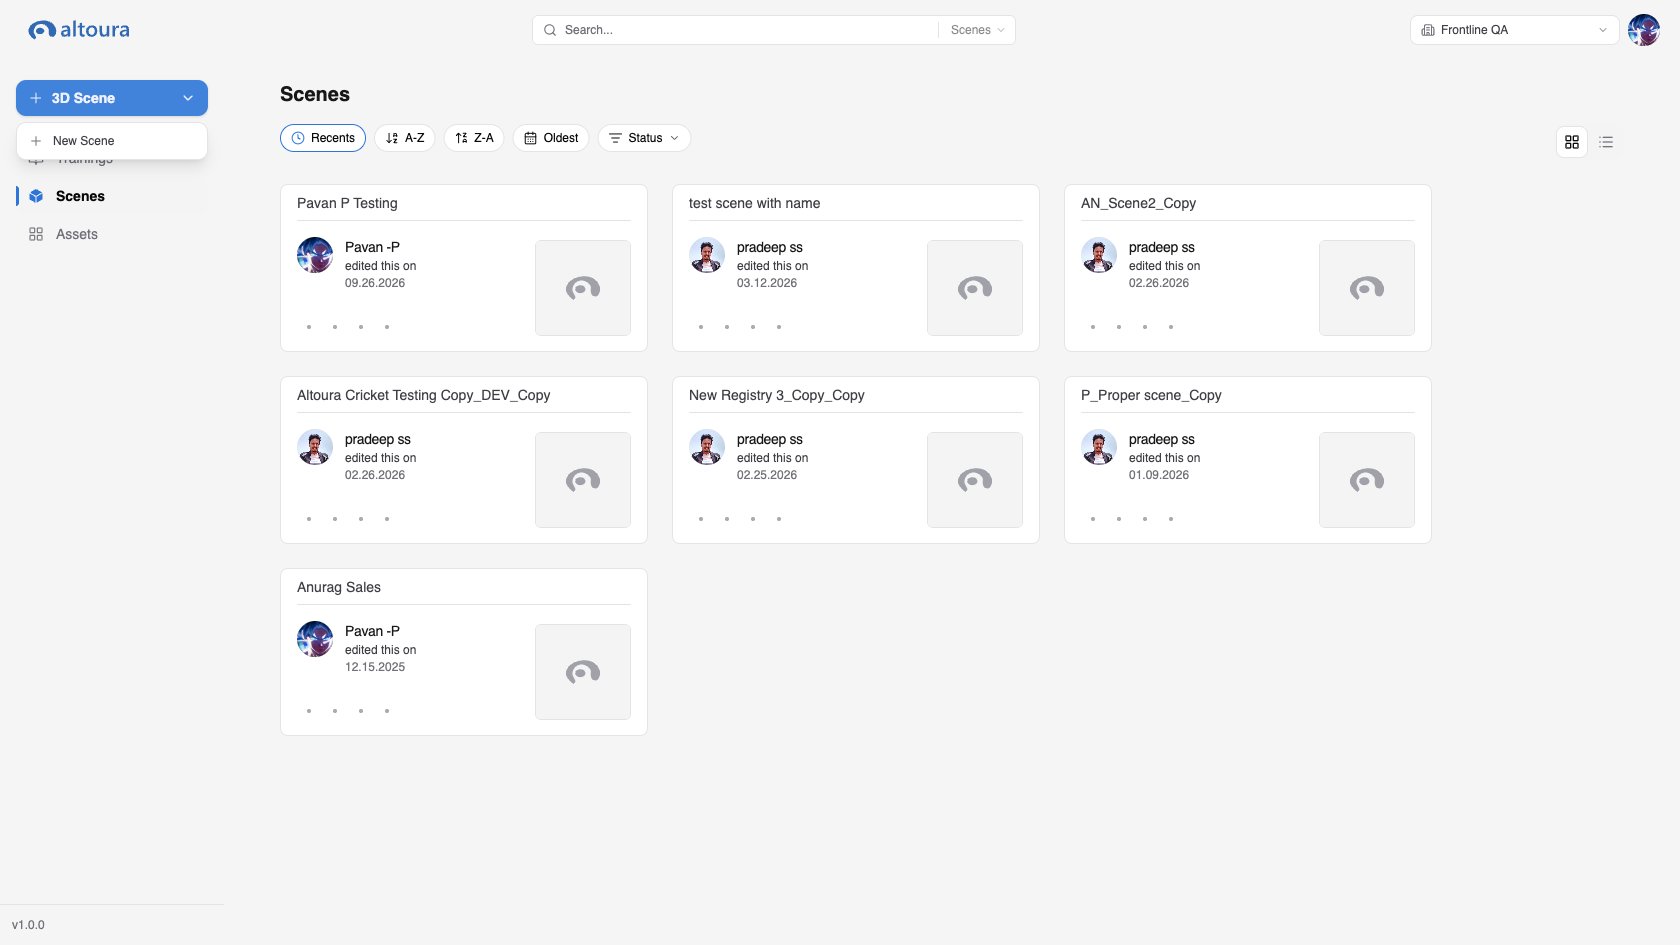
New Scene
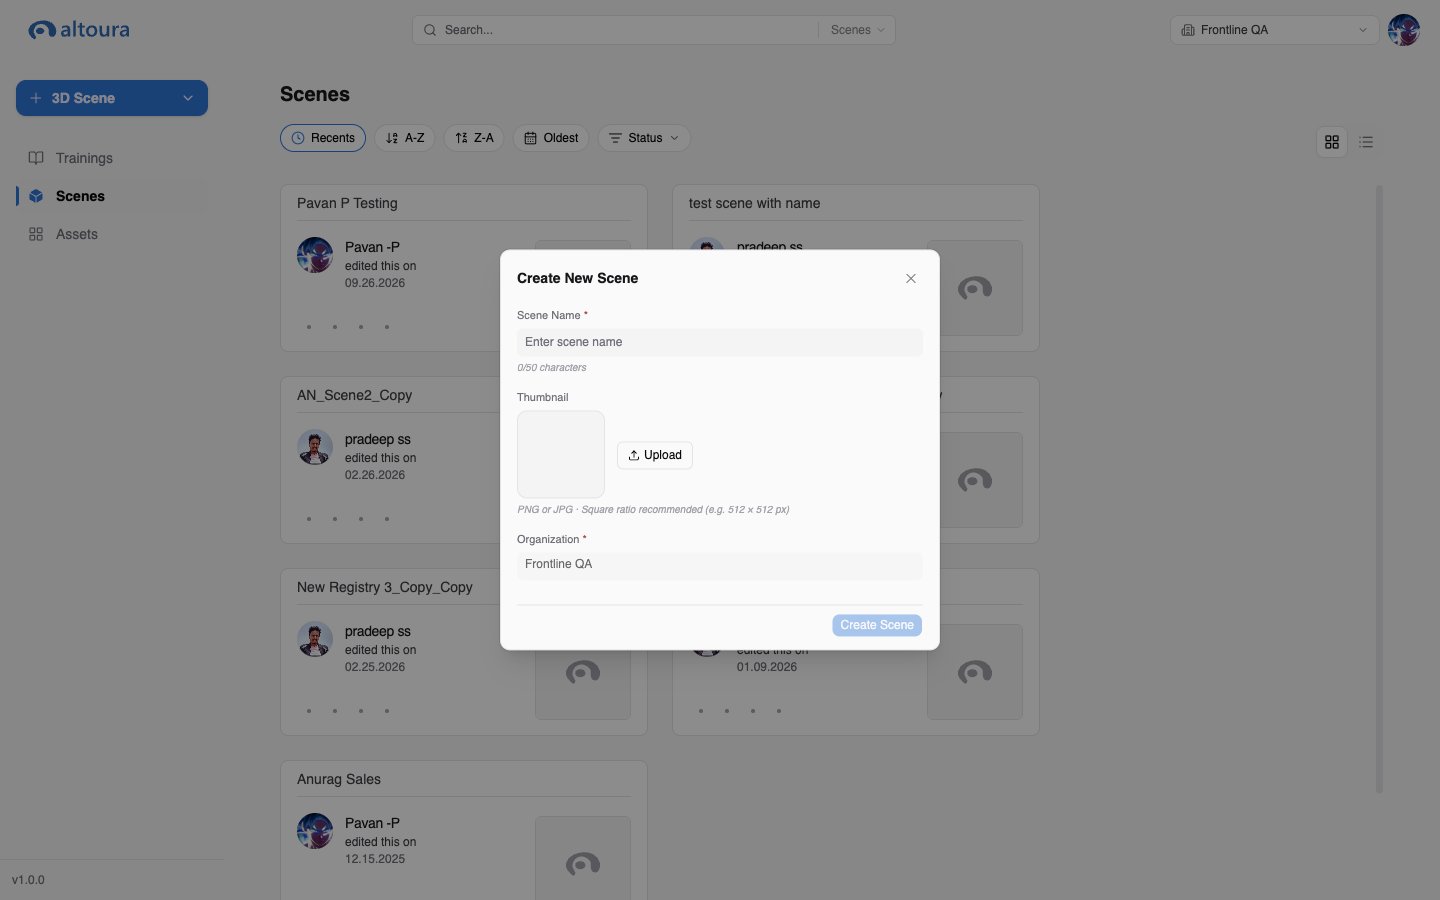
- Click Create Scene and choose New Scene.
- Enter a Scene Name of up to 50 characters. The name must be unique in the organization.
- Choose the Organization if All Orgs is selected. Otherwise the current organization is pre-filled.
- Click Create Scene.
Import Altoura Package
Import a scene that was exported from a 3D authoring tool as an Altoura package.- Click Create Scene and choose Import Altoura Package.
- Click Browse and choose the
.altpkg.zipfile. - Click Import and wait while the progress bar completes.
Scene Actions
Cloning a Scene
- Click Clone on the scene card.
- Enter a Name for the copy.
- Choose the destination Organization. Only organizations where you can create scenes are listed.
- Click Copy.
Deleting a Scene
- Click Delete on the scene card.
- Read the warning. Trainings that use this scene may no longer load it.
- Click Delete Scene to confirm.
Searching, Sorting, and Filtering
- Search in the header filters by scene name. Type at least three characters.
- Sort with Recents, A-Z, Z-A, or Oldest.
- Filter by Active or Inactive status.
- Use the Organization picker to view one organization or All Orgs.