
Creating Connector Actions
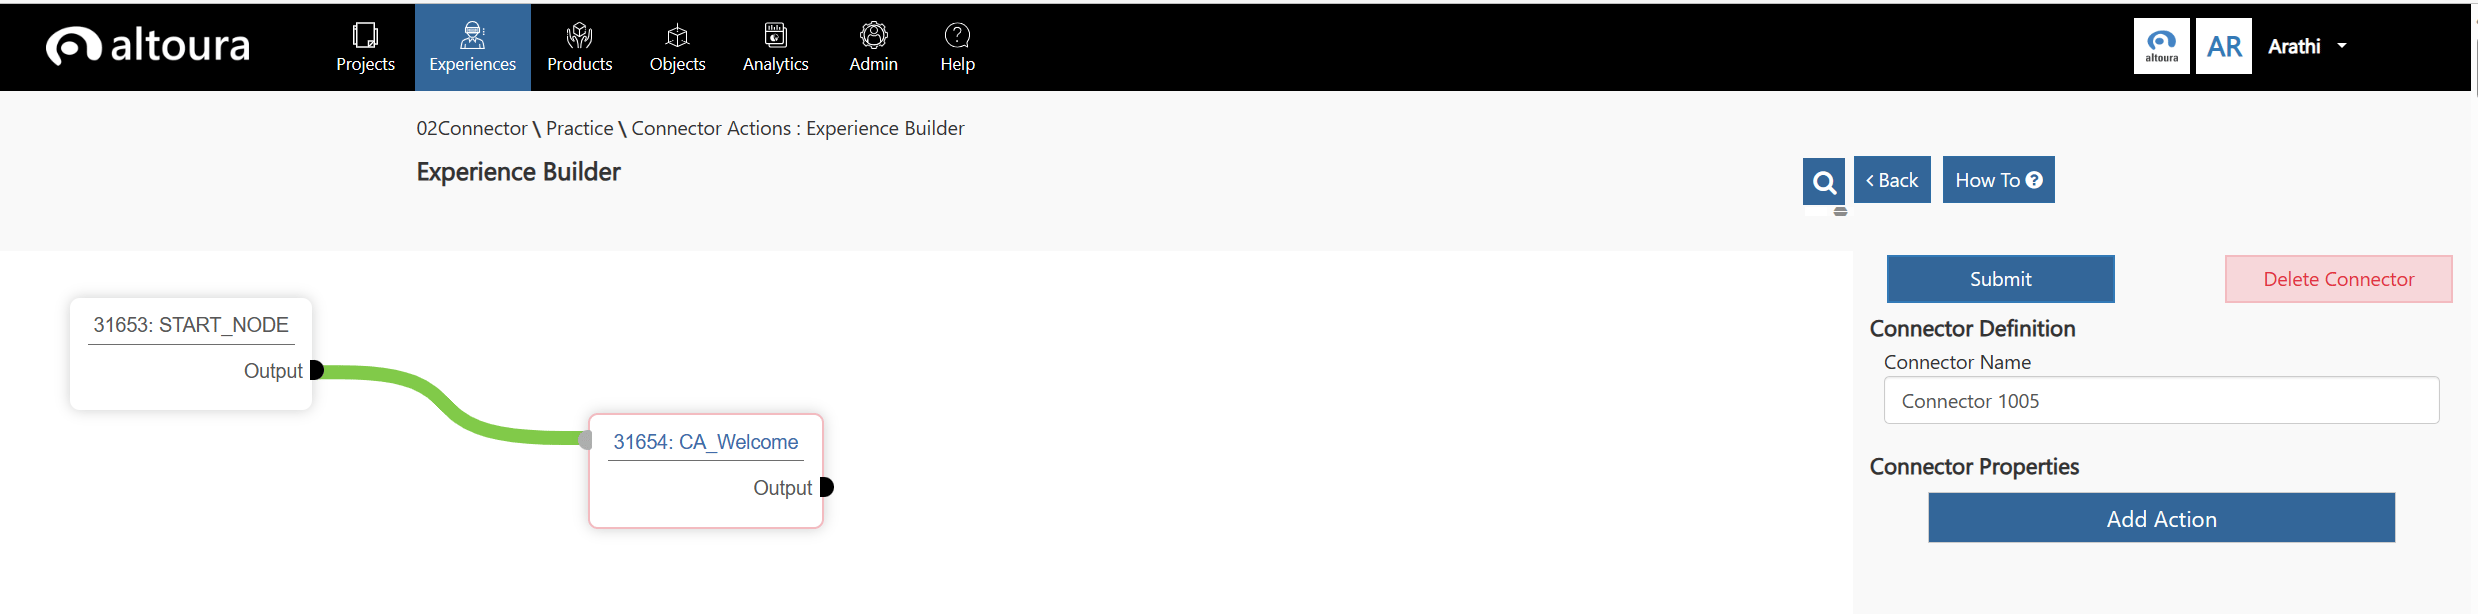
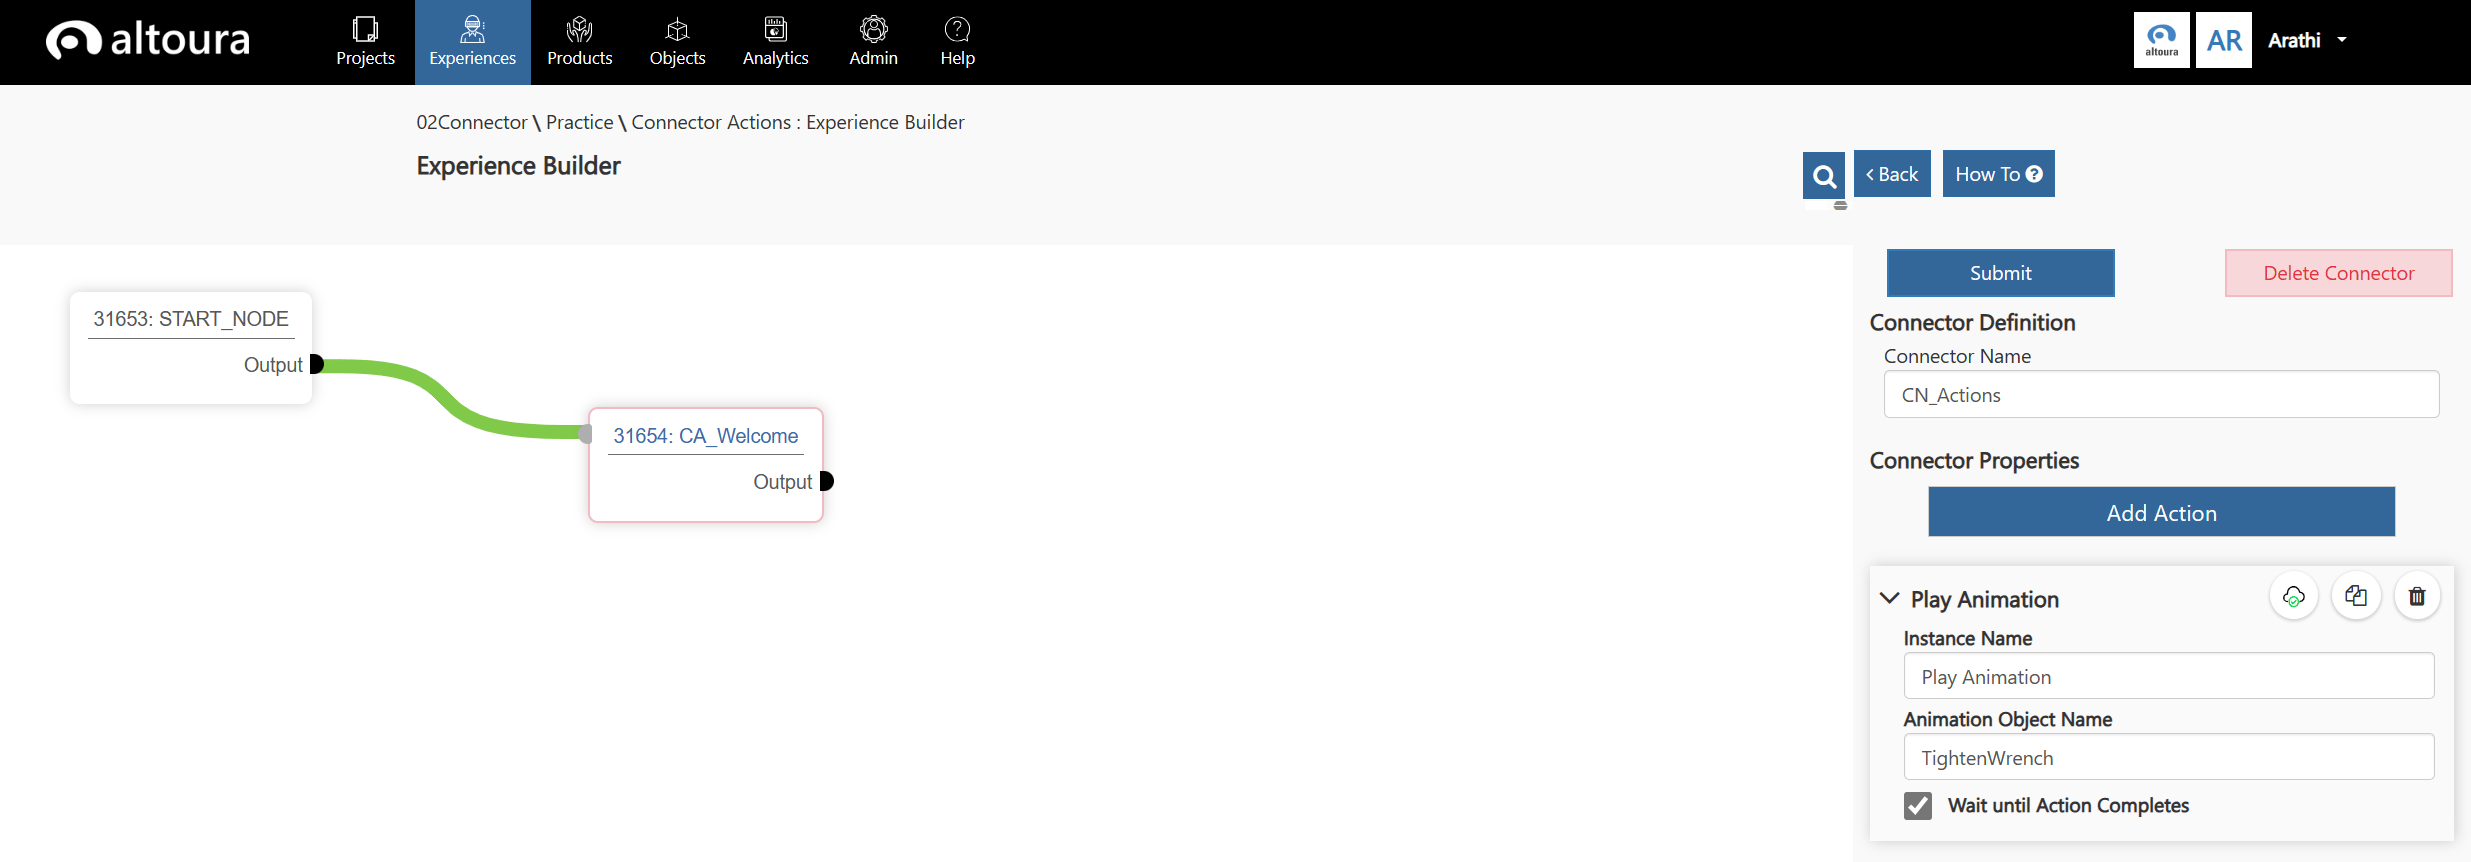
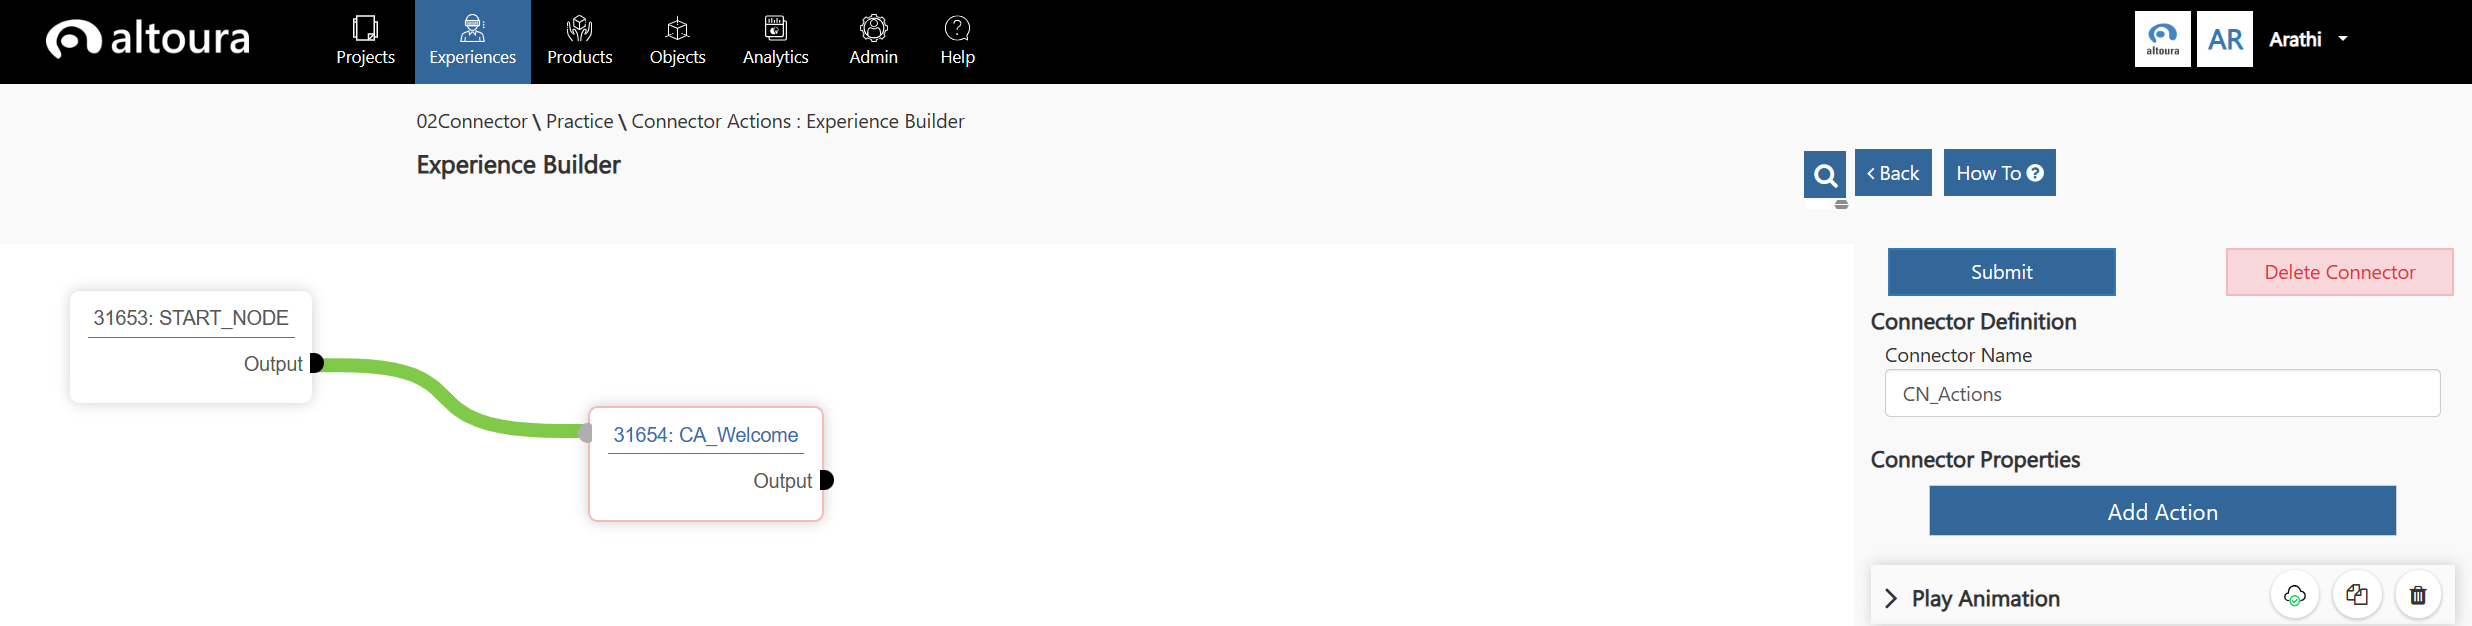
Create a new Experience in the Altoura Portal. Add a new node and connect it to the Start Node. A Connector is added between the Start Node and the newly created Node. The new properties window of the Connector is as displayed in the image below. Here the user will have the ability to add various Actions to the Connector.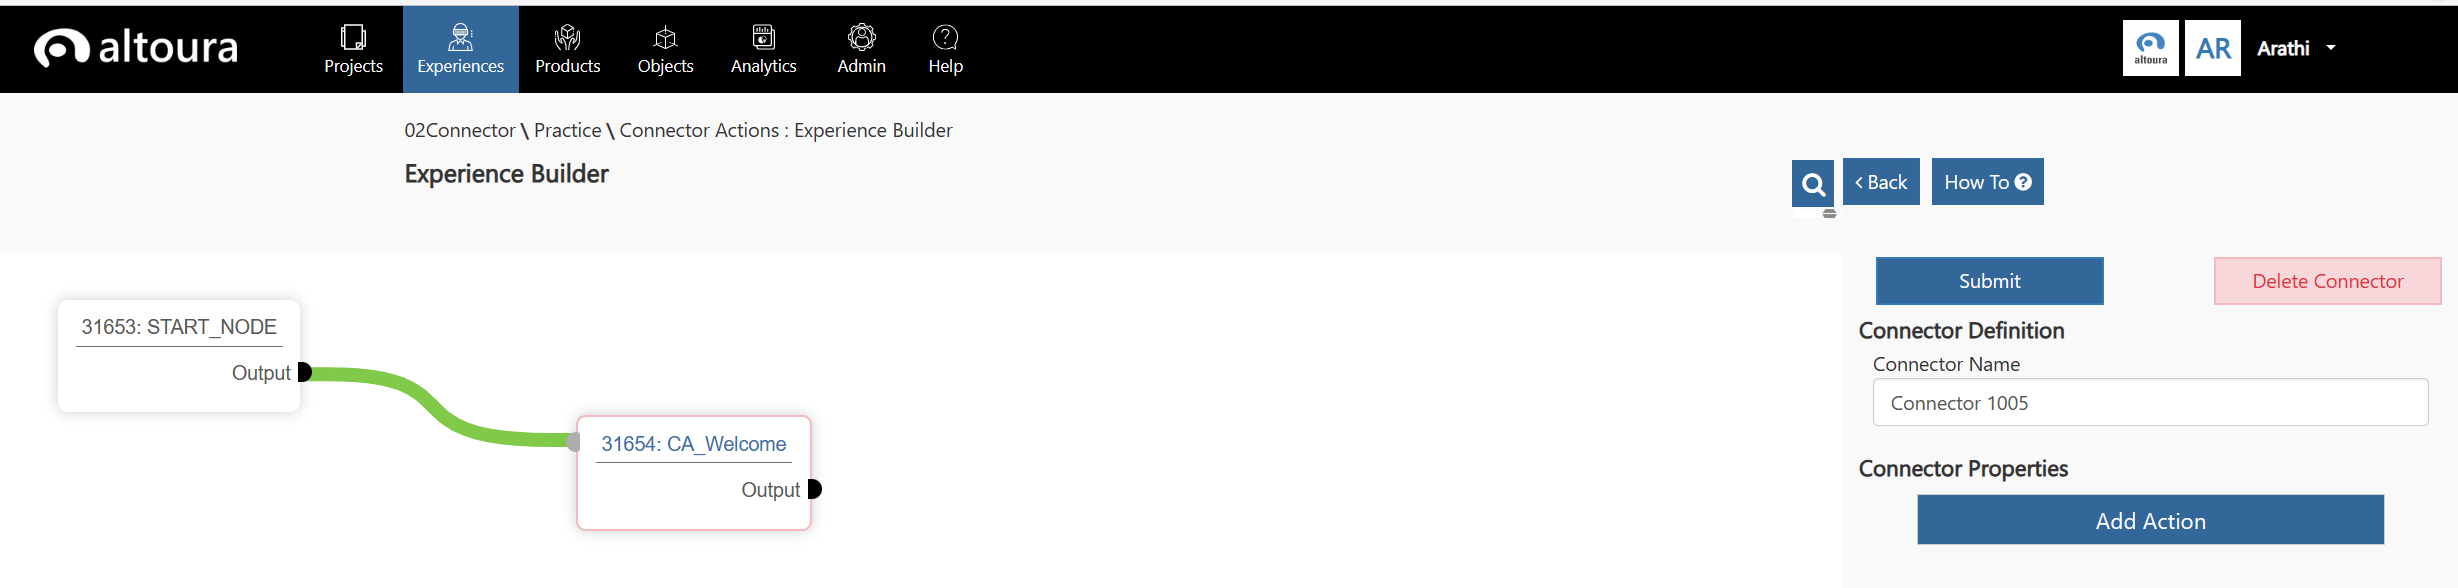
Adding Connector Actions Use case
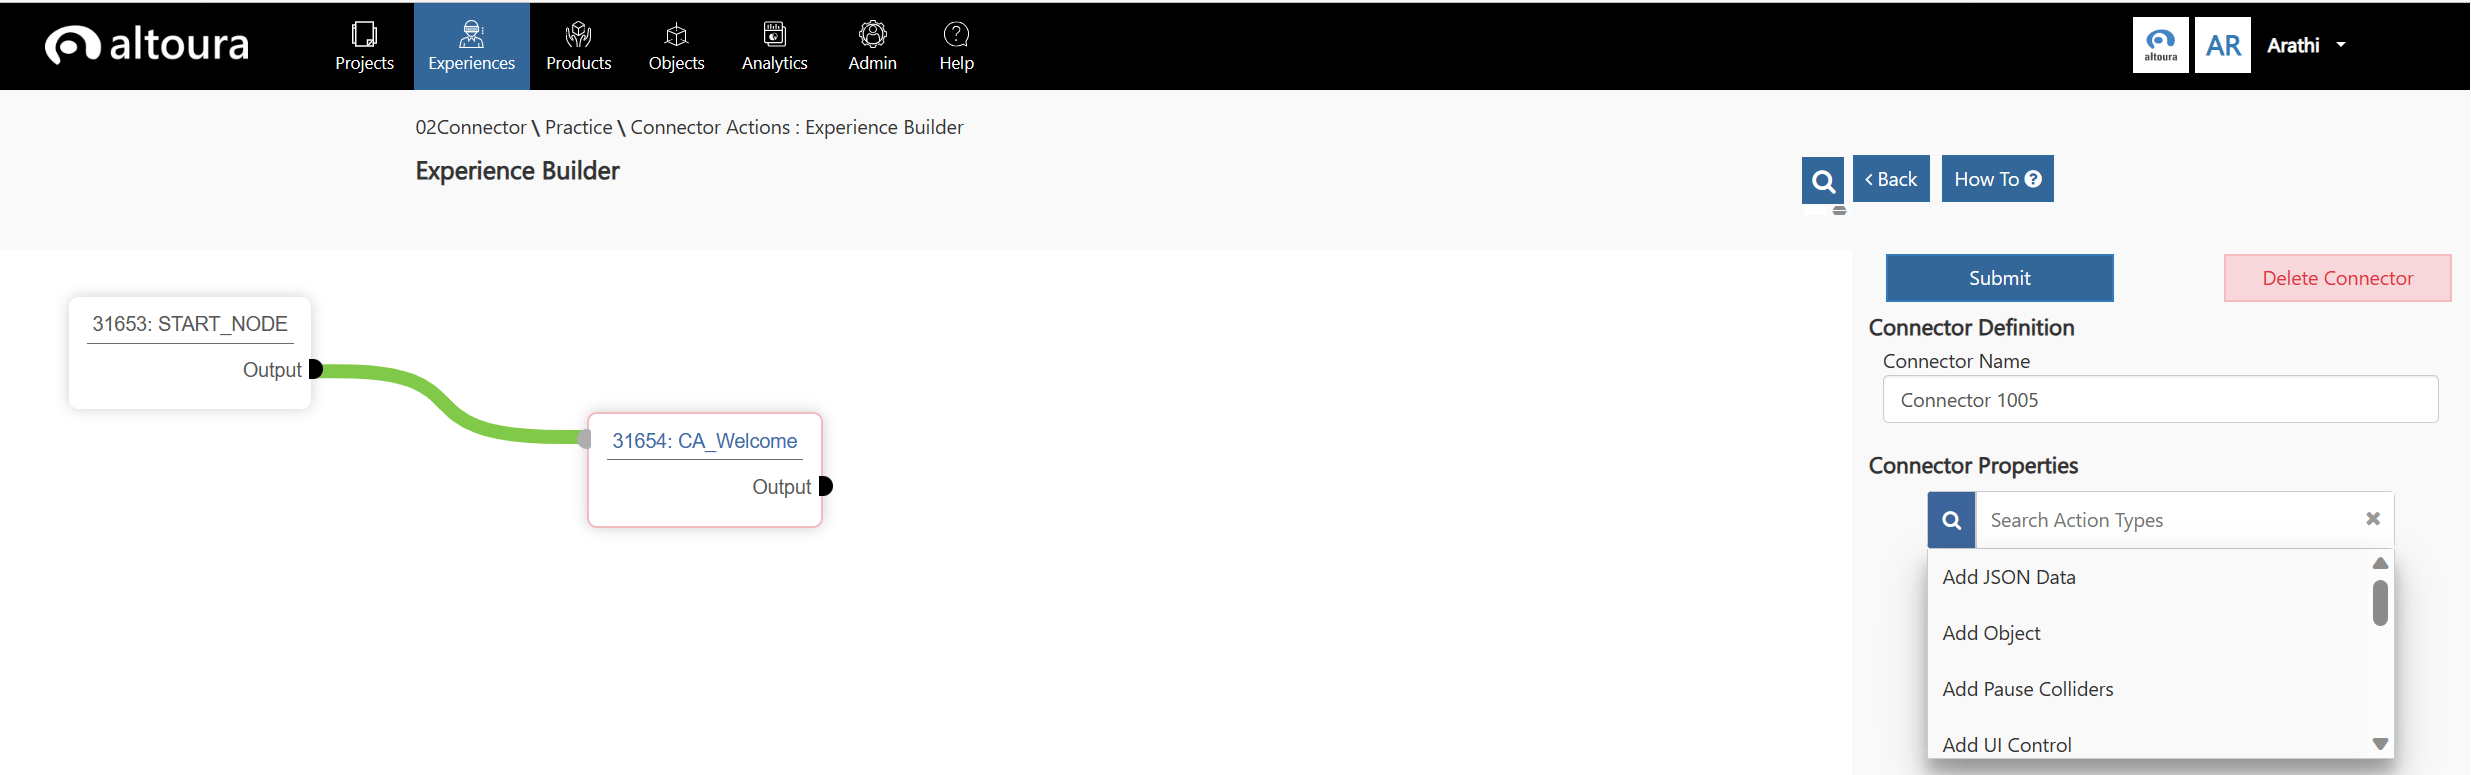
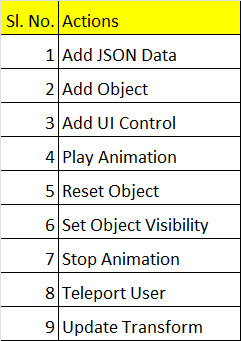
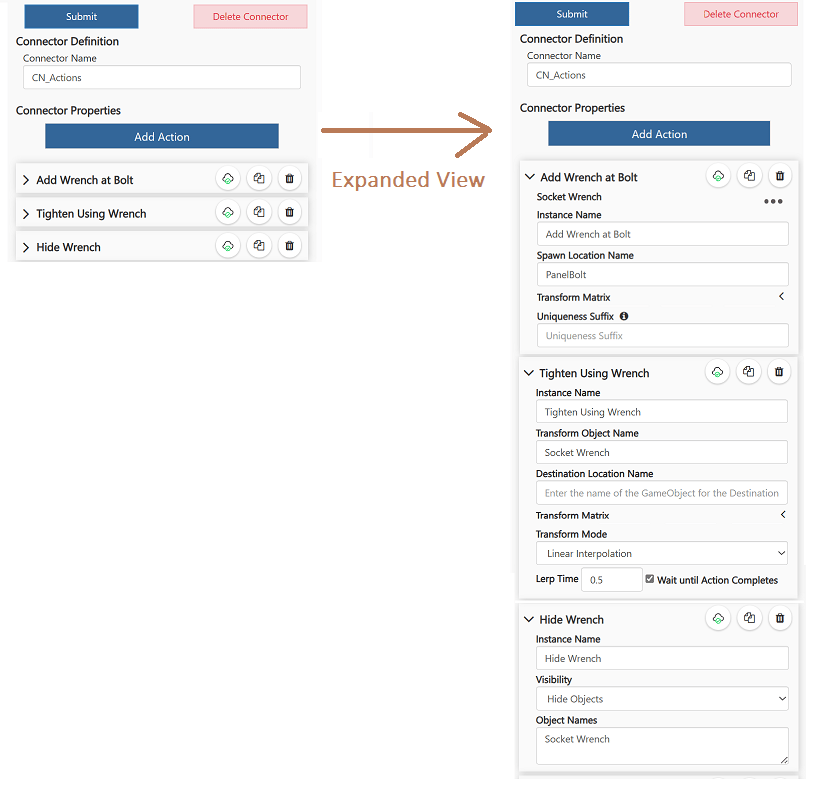
As an example, let’s say that in a connector, the user wants to add a wrench and then show it tightening the bolt on a machine and then hide the wrench. This can be done by adding three actions in the connector.- The First action would add a Wrench to the scene from the object catalog, Action - Add Object
- The second would rotate the wrench to indicate that the bolt is being tightened. Action - Update Transform
- The third action would be to hide the wrench. Action - Show Object Visibility, select Hide Objects
Others
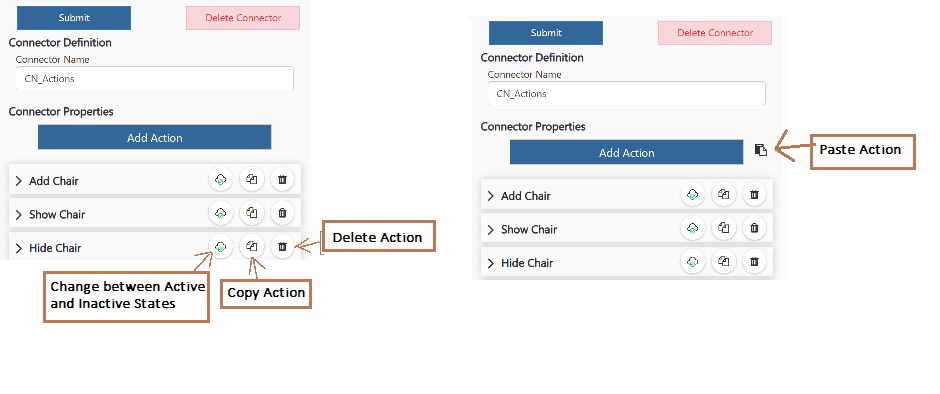
- Use the cloud icon to change the state of the Action from Active to Inactive and vice-versa.
- Use the Copy Button to copy the Action to the clipboard and paste it back to the same Connector or another Connector in the same Experience.
- Use the Delete Button to delete the Action.
- Every time a new Action is added it is added to the bottom of the list.
- To move Actions, hover over the Action, when the Move cursor shows up, drag and drop the action to the required position.
