

Your View Inside a Procedure
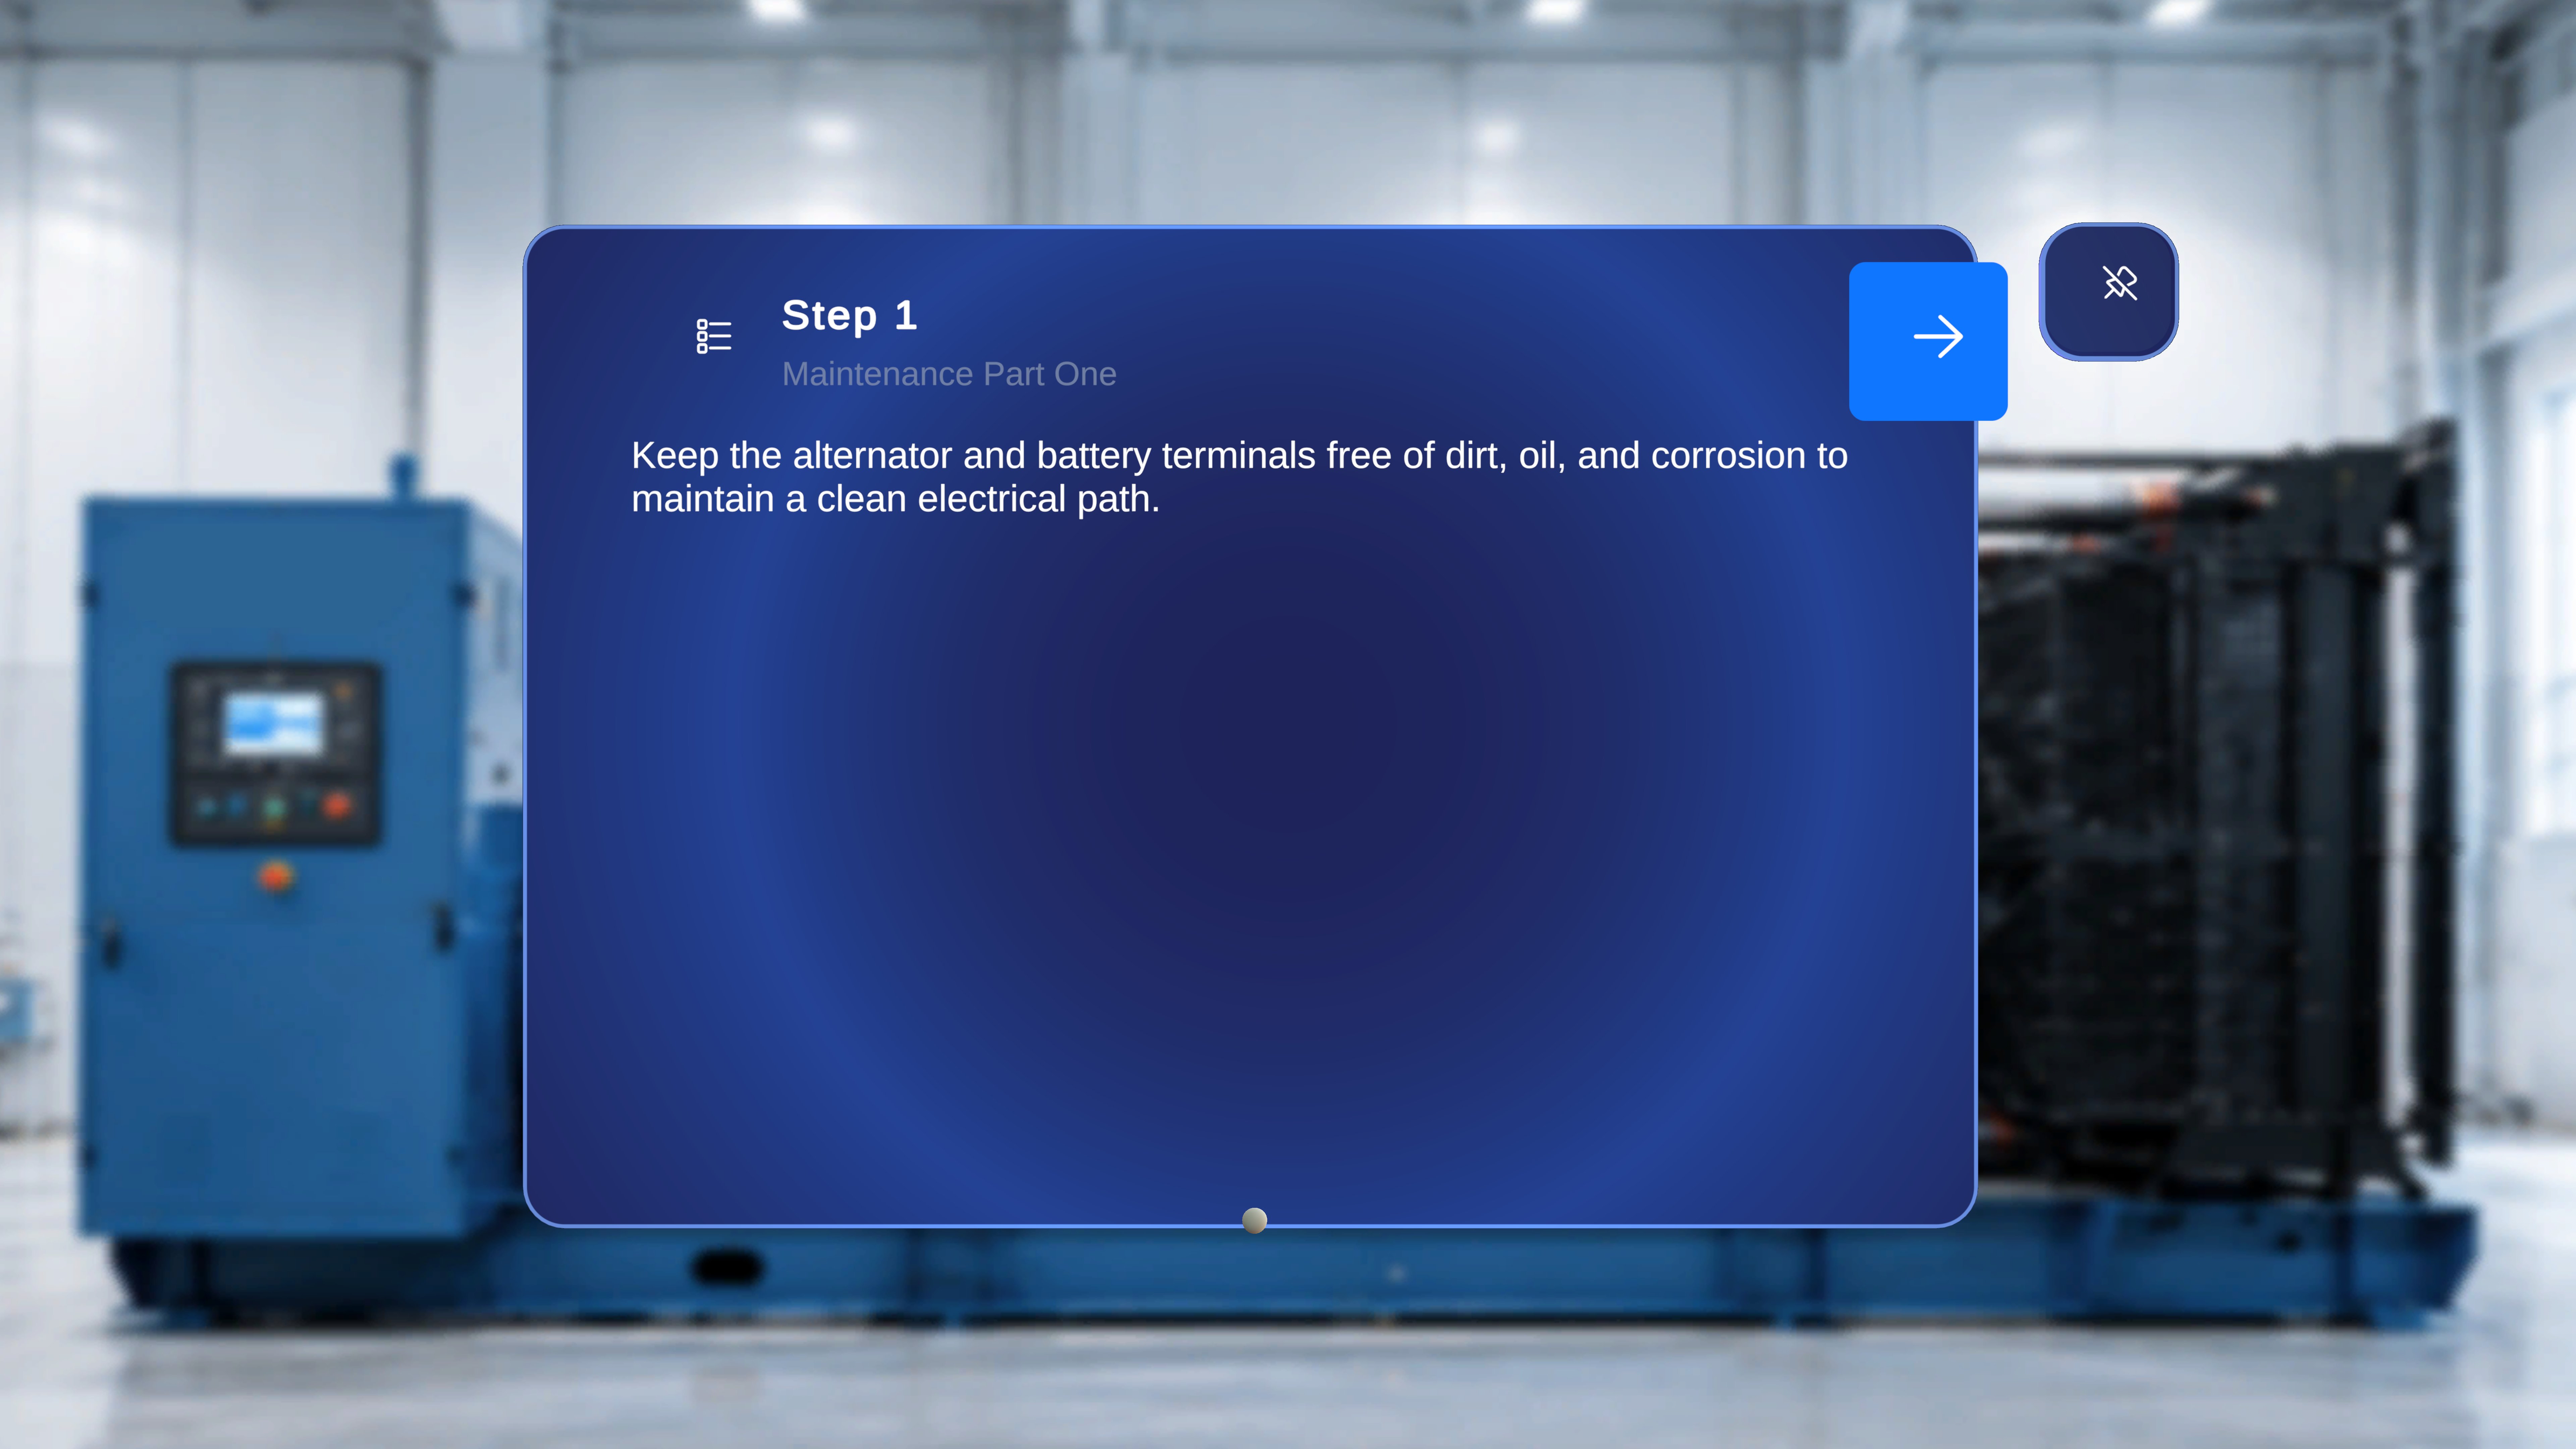
- The step number and task title
- The step description — what to do
- Back / Next arrows on either side
- A list icon (top-left, before the Back button) that opens the full task/step list
- A tethered line to the step’s gem, when the step has one — see Anchor with a QR Code
Move Forward and Back
1
Go to the next step
Select the right arrow on the main panel — or just say “Next”. The panel updates with the new step number, title, and description, and any media or 3D content for that step loads.
2
Go back a step
Select the left arrow — or say “Previous”. The panel and step content return to the previous step.
Jump Directly to Any Step
You don’t have to move sequentially. The Step List Panel is a complete navigator for the whole procedure.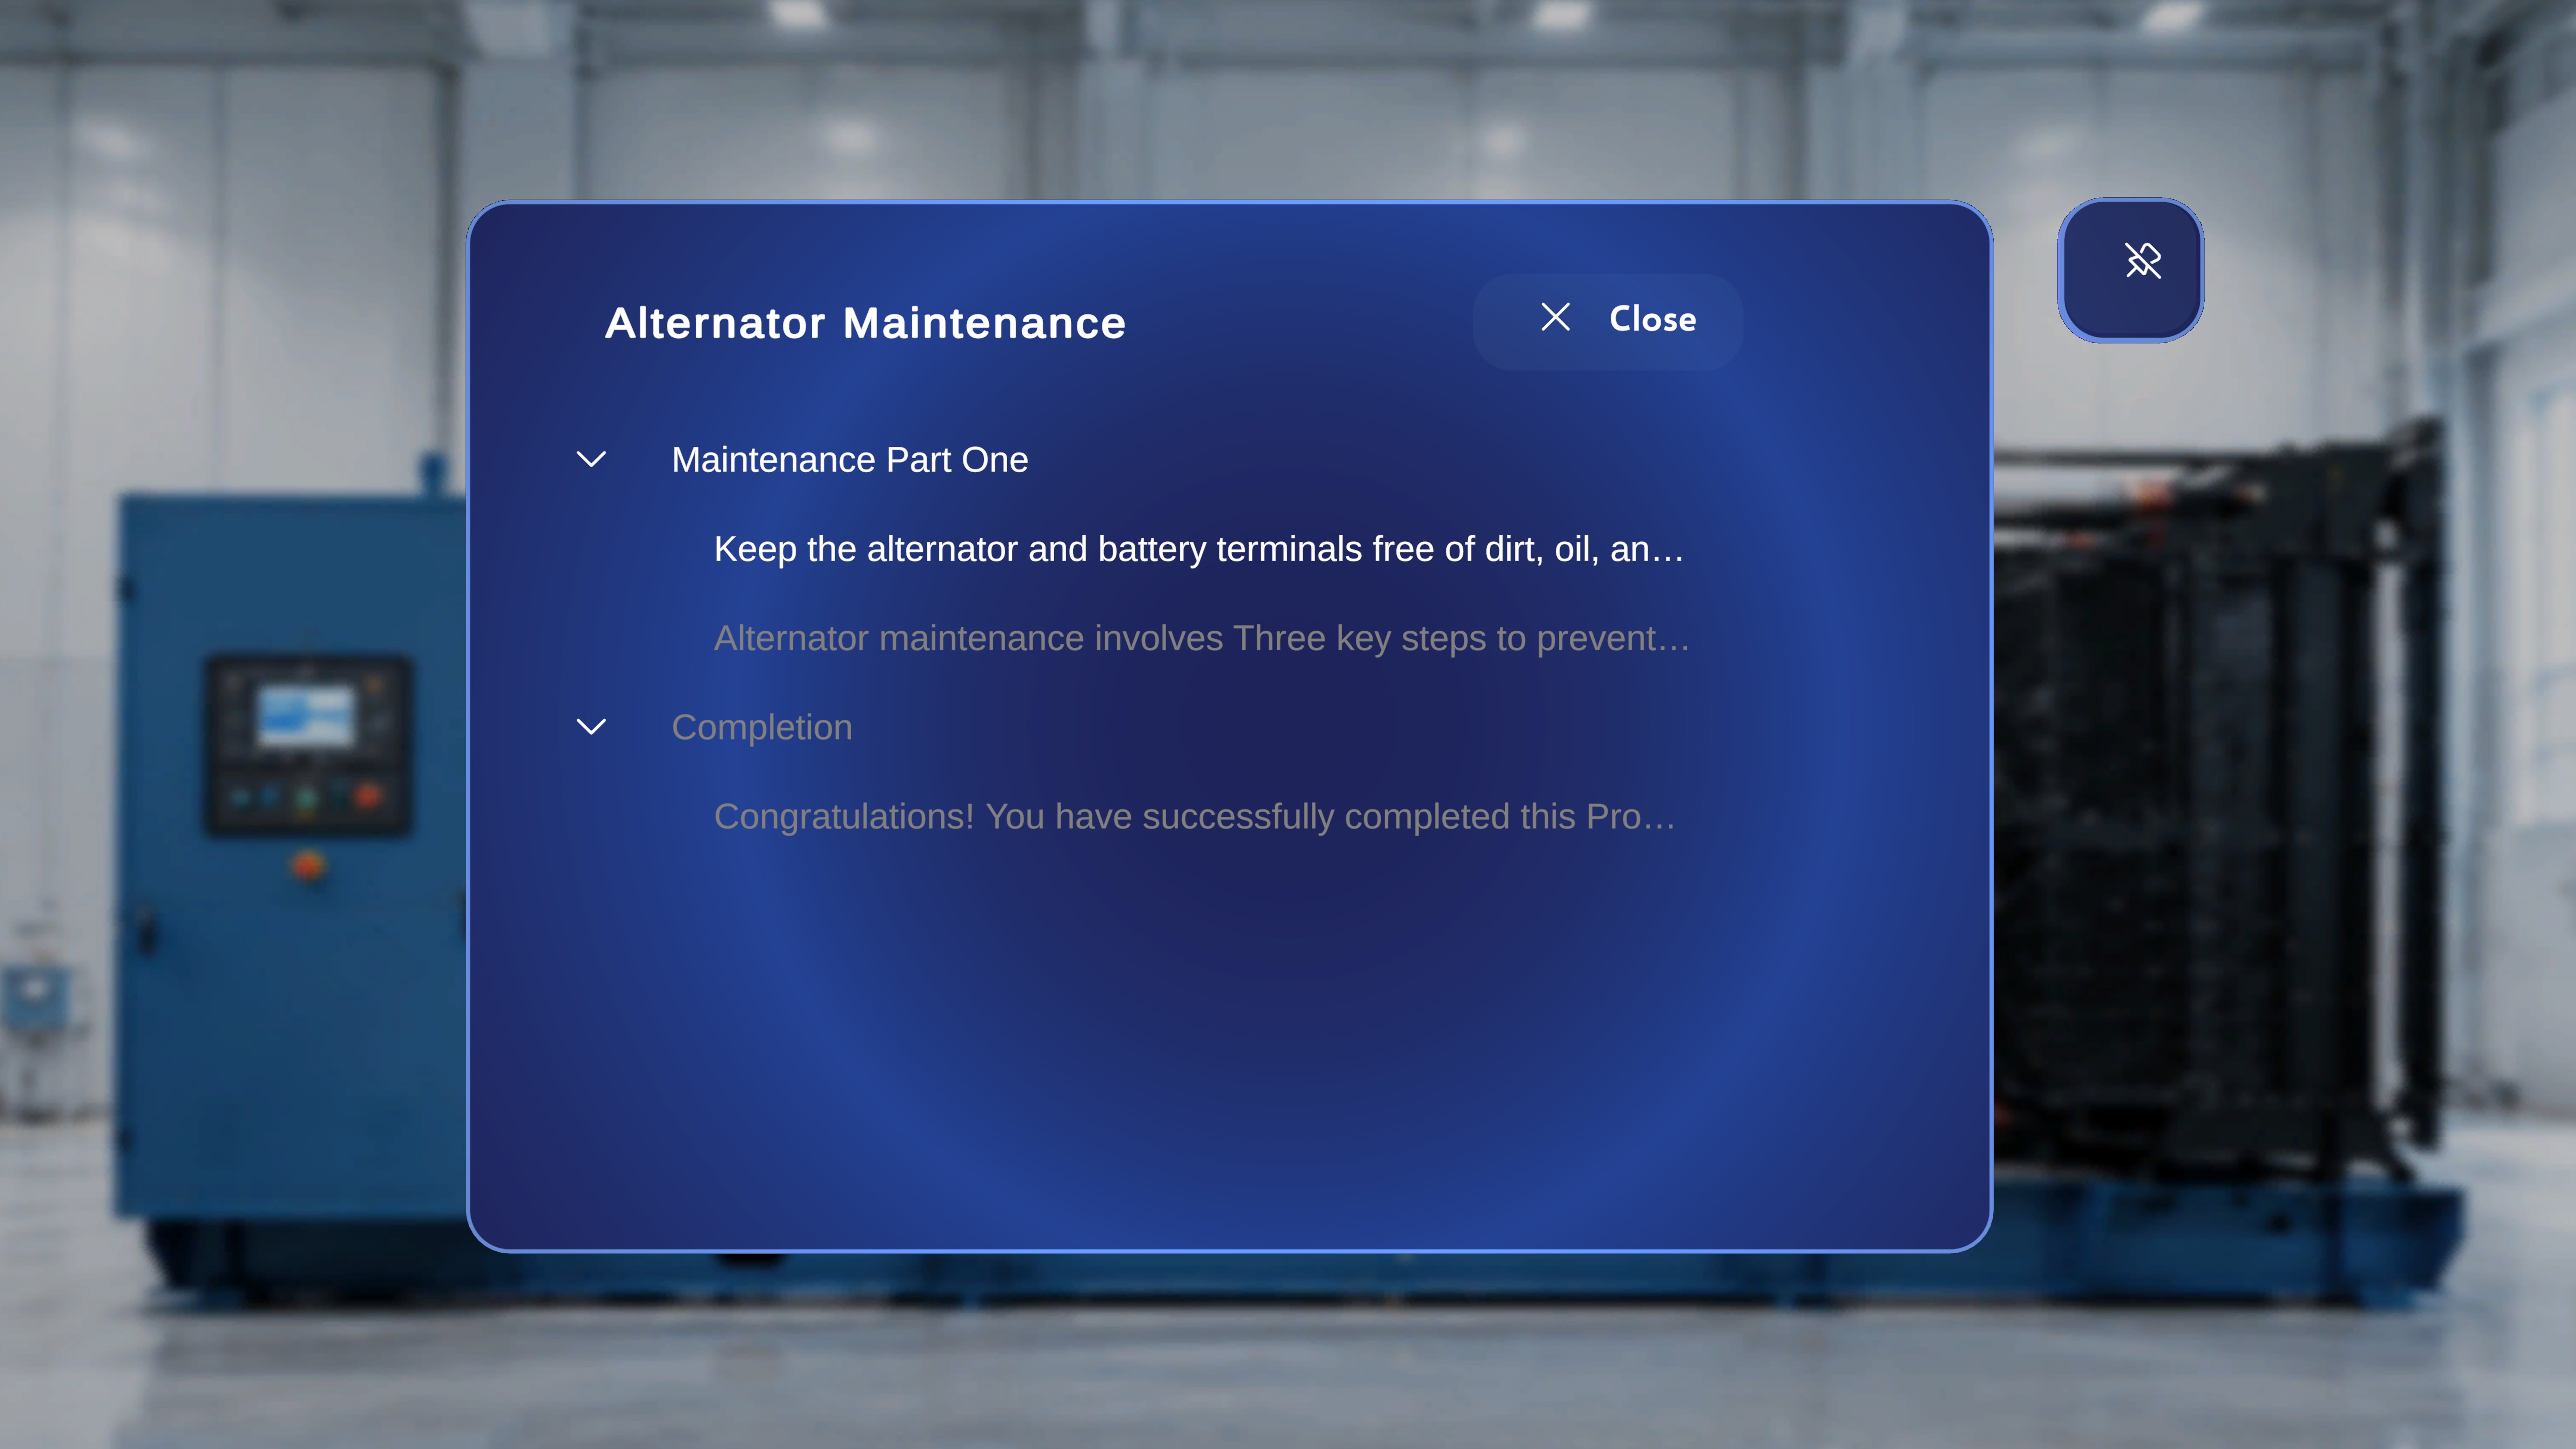
1
Open the step list
Select the list icon at the top-left of the step panel. A panel opens showing the procedure name, all tasks, all steps under each task, and all completion steps.
2
Select any task or step
Focus an entry and air-tap it — or say “Select” while it’s focused. The chosen step becomes active immediately, and its media and 3D content load exactly as if you had reached it sequentially.
3
Close the list
Select the Close (X) button to return to the currently active step without changing anything.
If you jump straight to a choice step, it behaves exactly as described below — you still need to pick an option to continue.
Answer a Choice Step (Branching)
Some procedures branch: a Choice Step presents up to three options, and the one you pick determines which step comes next. These are common in troubleshooting flows, conditional inspections, and multi-path work.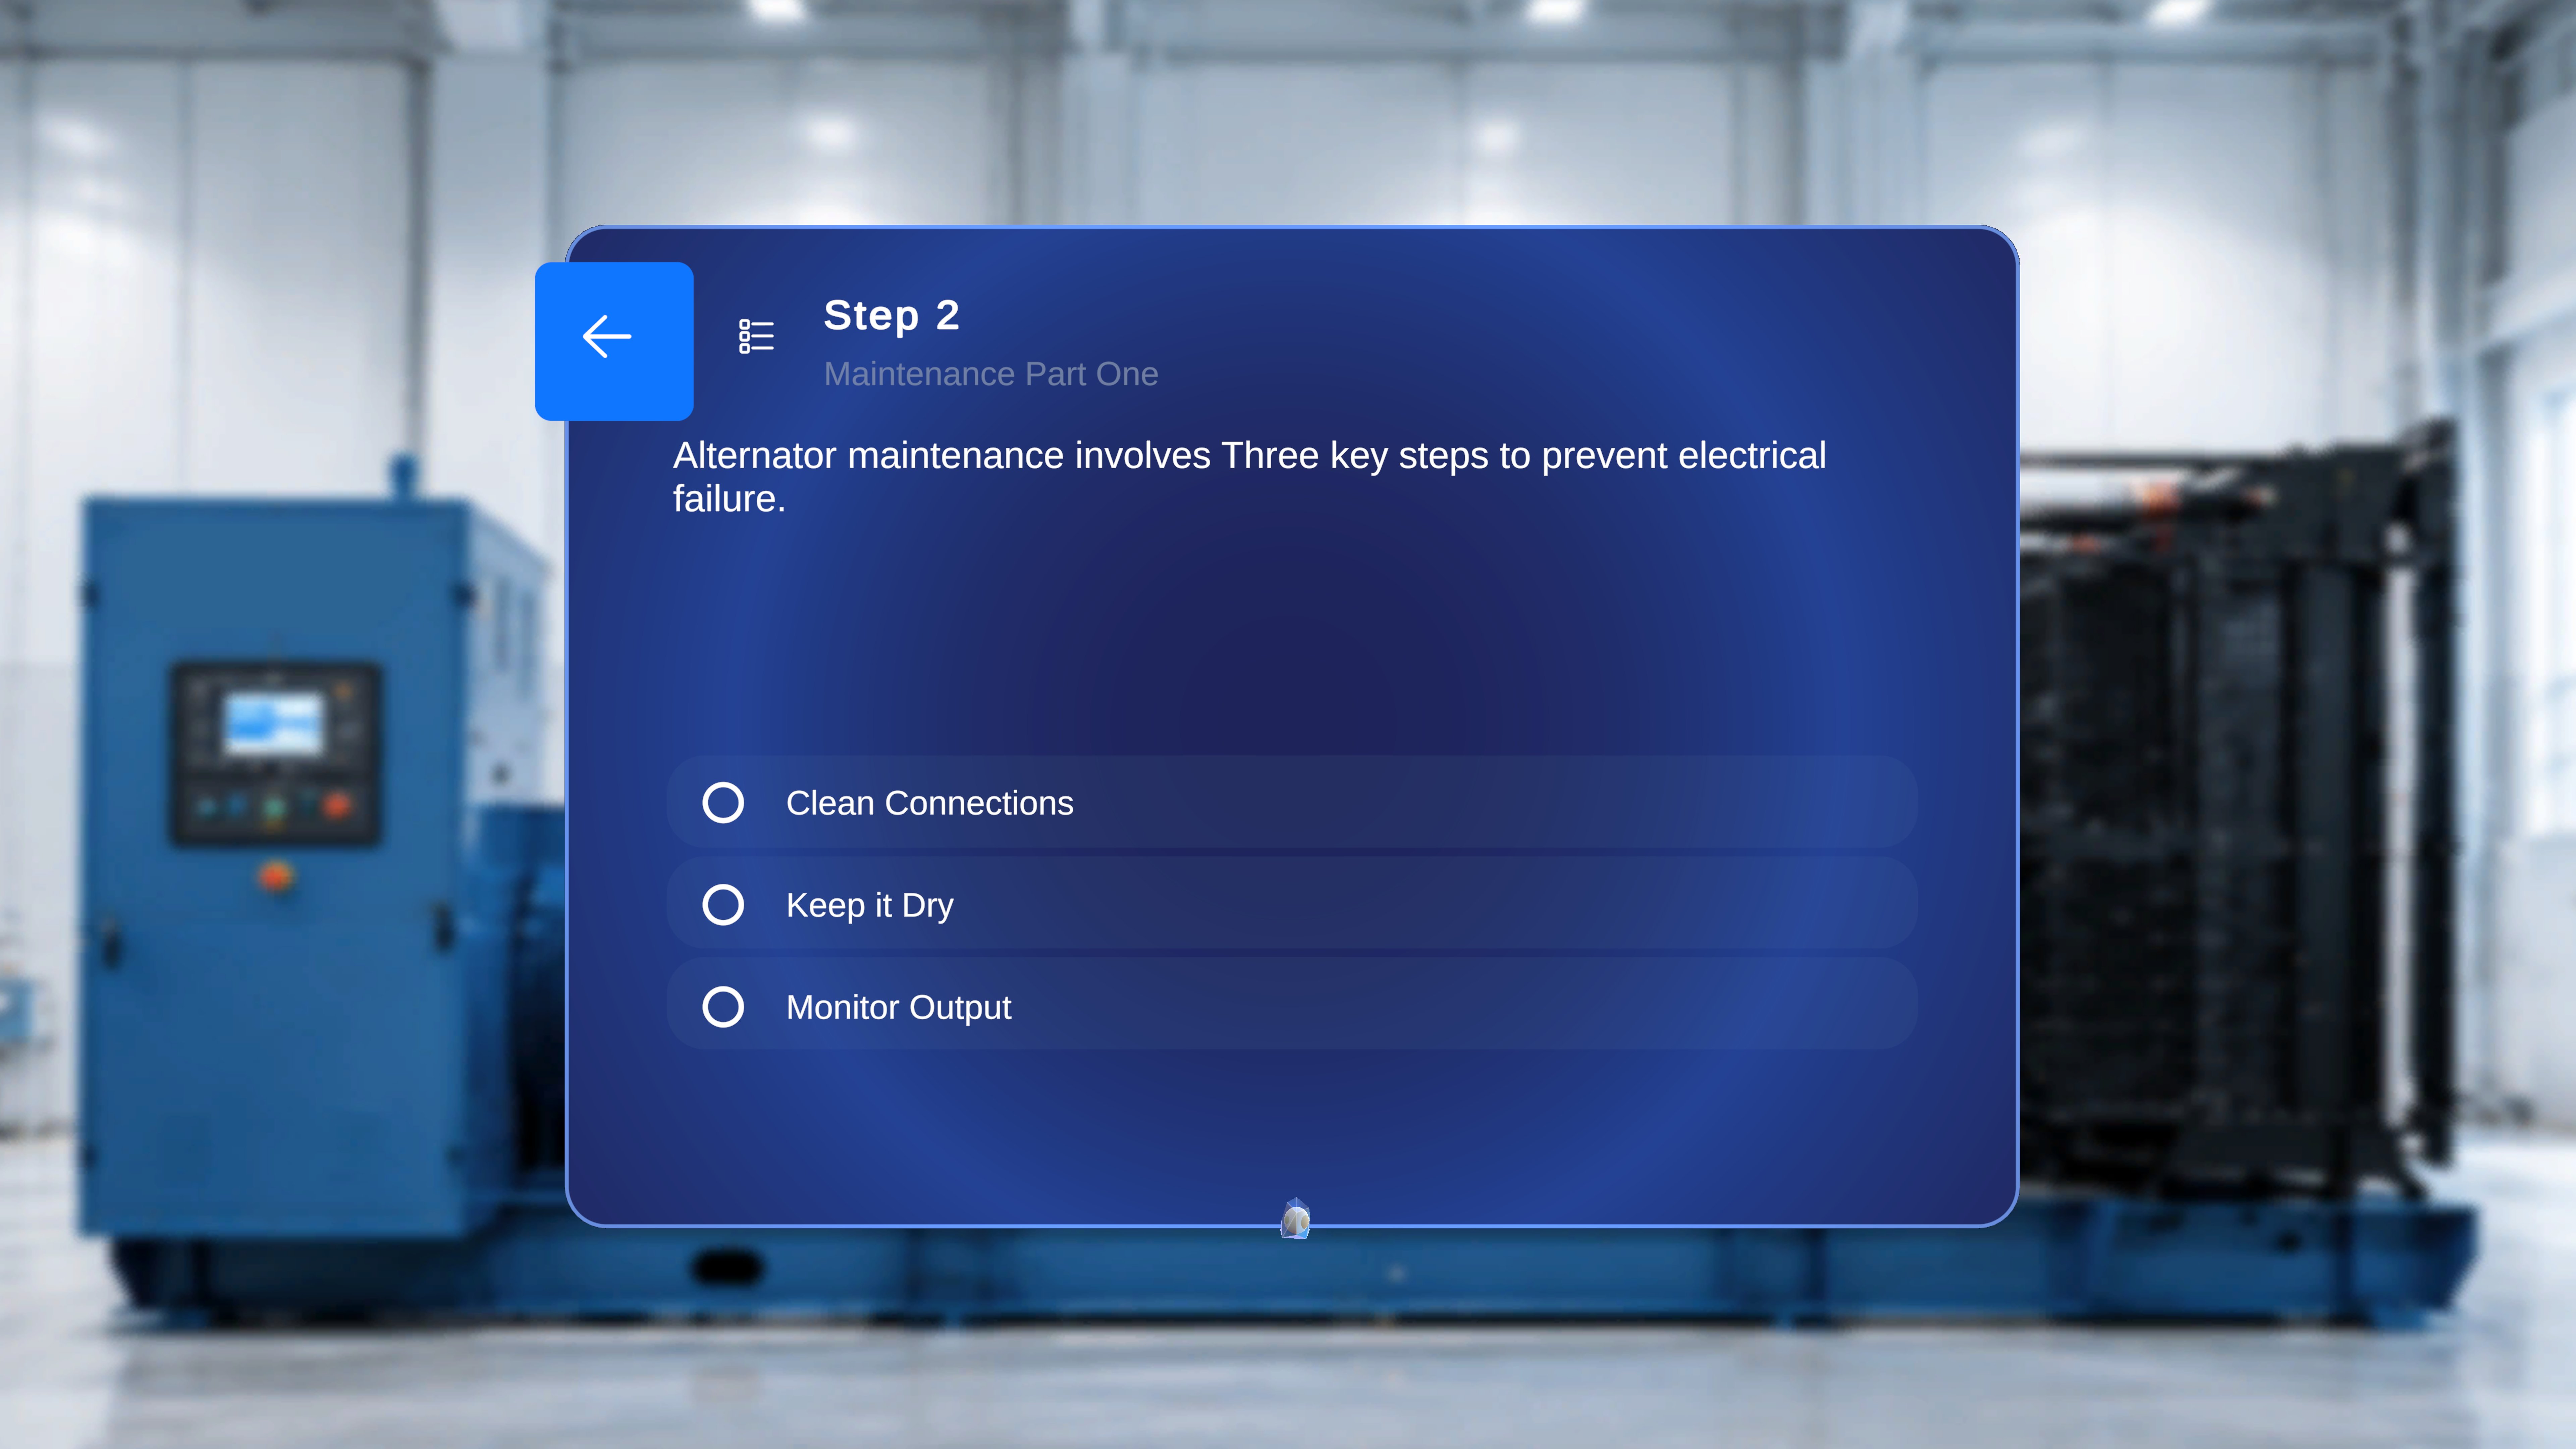
1
Review the options
Read each option label — each leads to a different part of the procedure.
2
Select one
Focus an option with the ray or head-gaze cursor and hold — a loading indicator fills around it and the option activates automatically when it completes.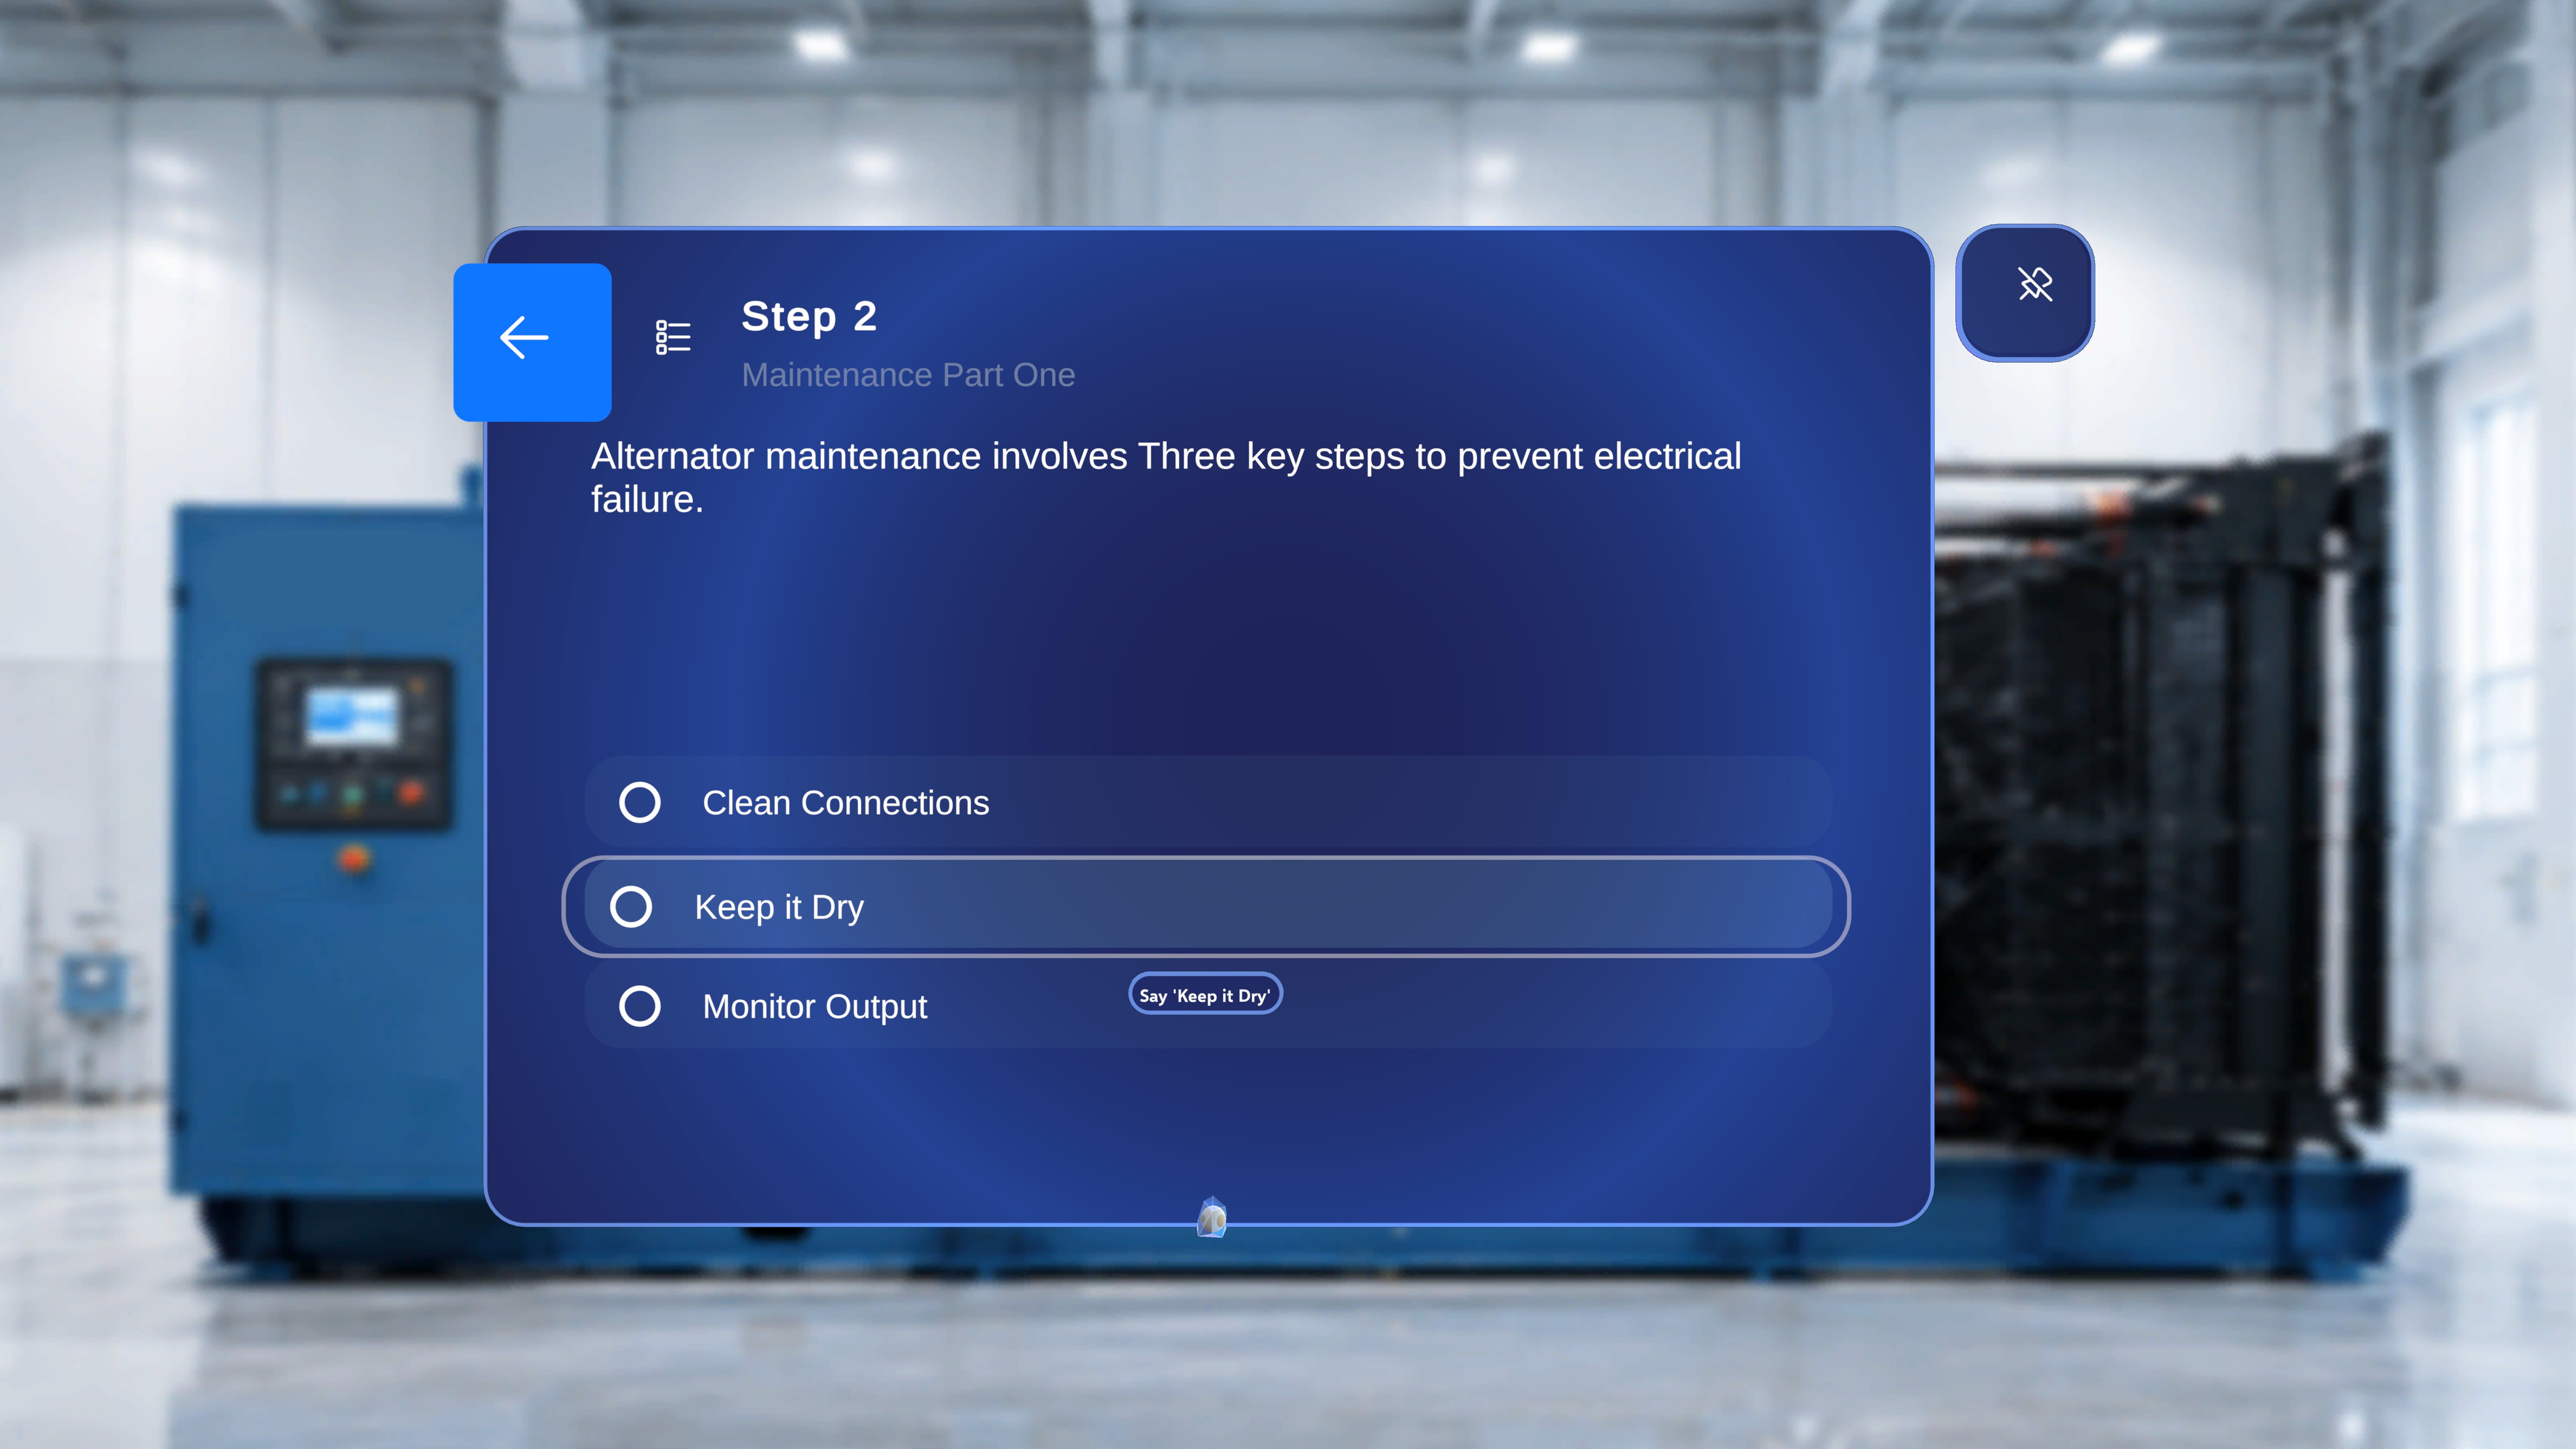
Keep Instructions with You: Follow Me
Follow Me keeps a panel floating in front of you as you walk or turn — ideal when both hands are on tools and you need the instructions to come along. It is off by default; panels stay where you leave them. The toggle is the pin icon in the top-right corner of panels that support it, including the main step panel and the task/step list panel. A pin with a slash means off; a pin without a slash means on.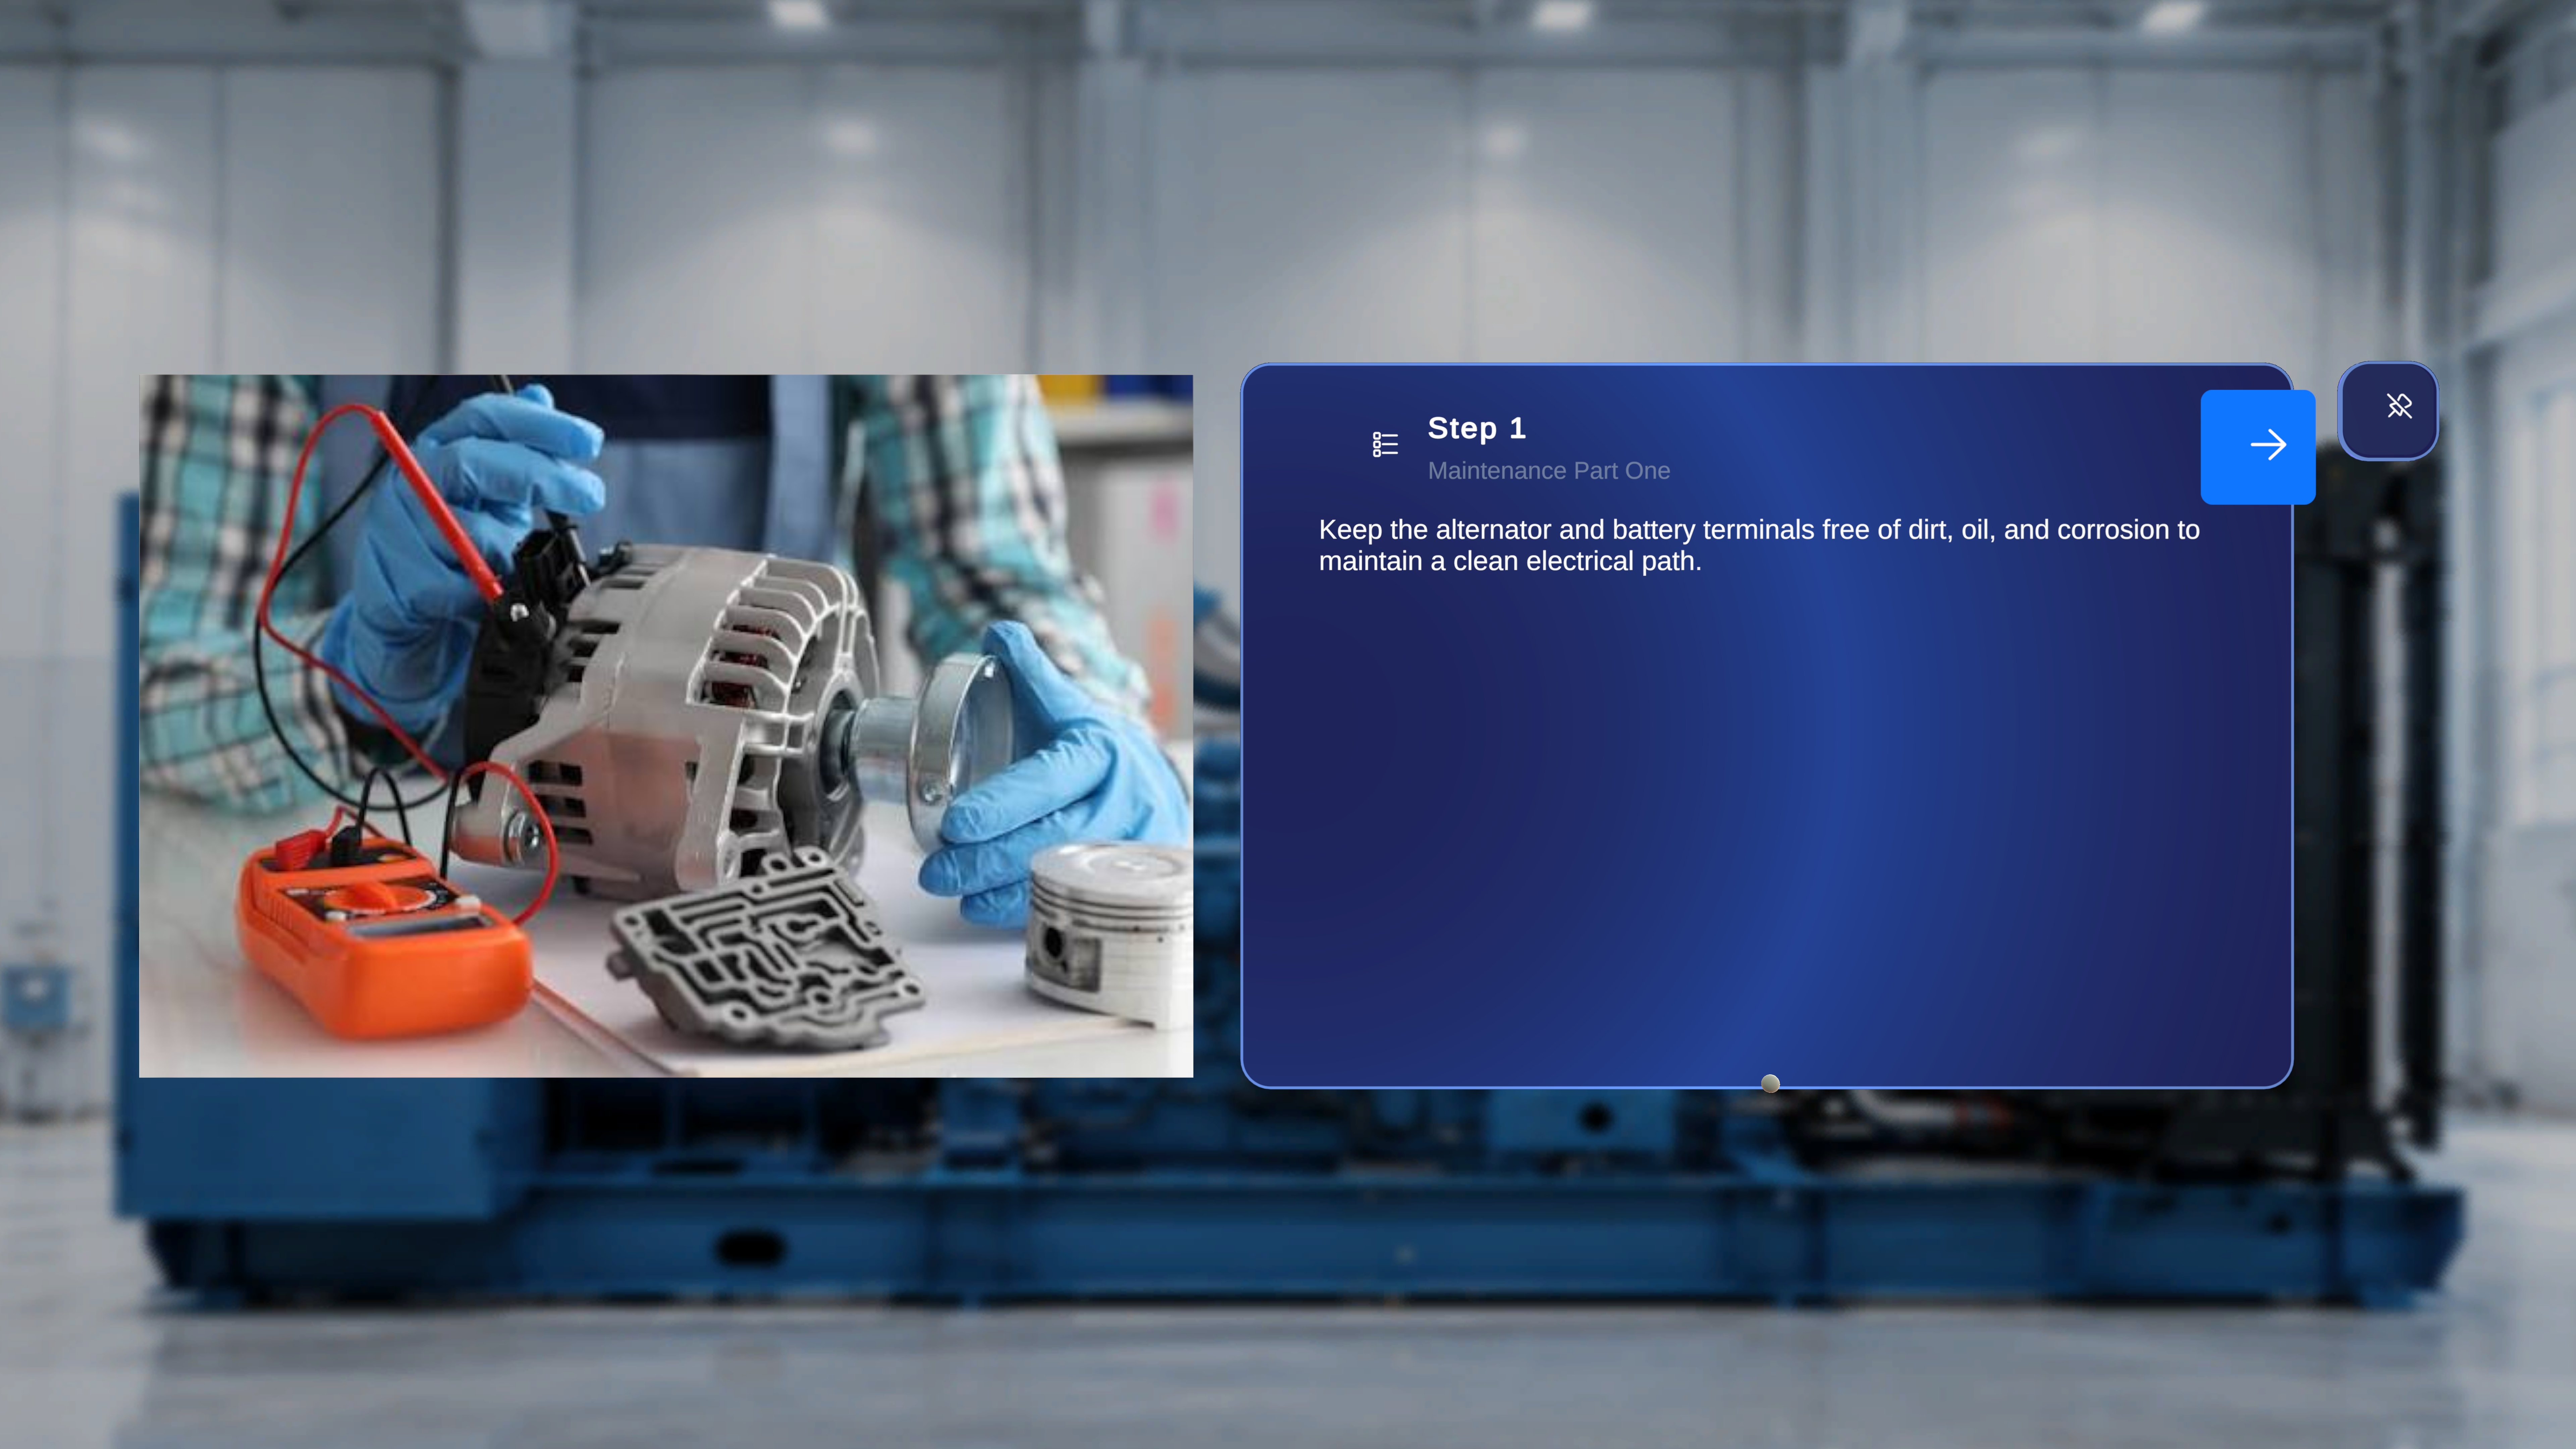
1
Turn Follow Me on
Air-tap the pin button on the panel — or, from anywhere, say “Follow me” (no need to look at the panel). The pin loses its slash and the panel starts following you as you move.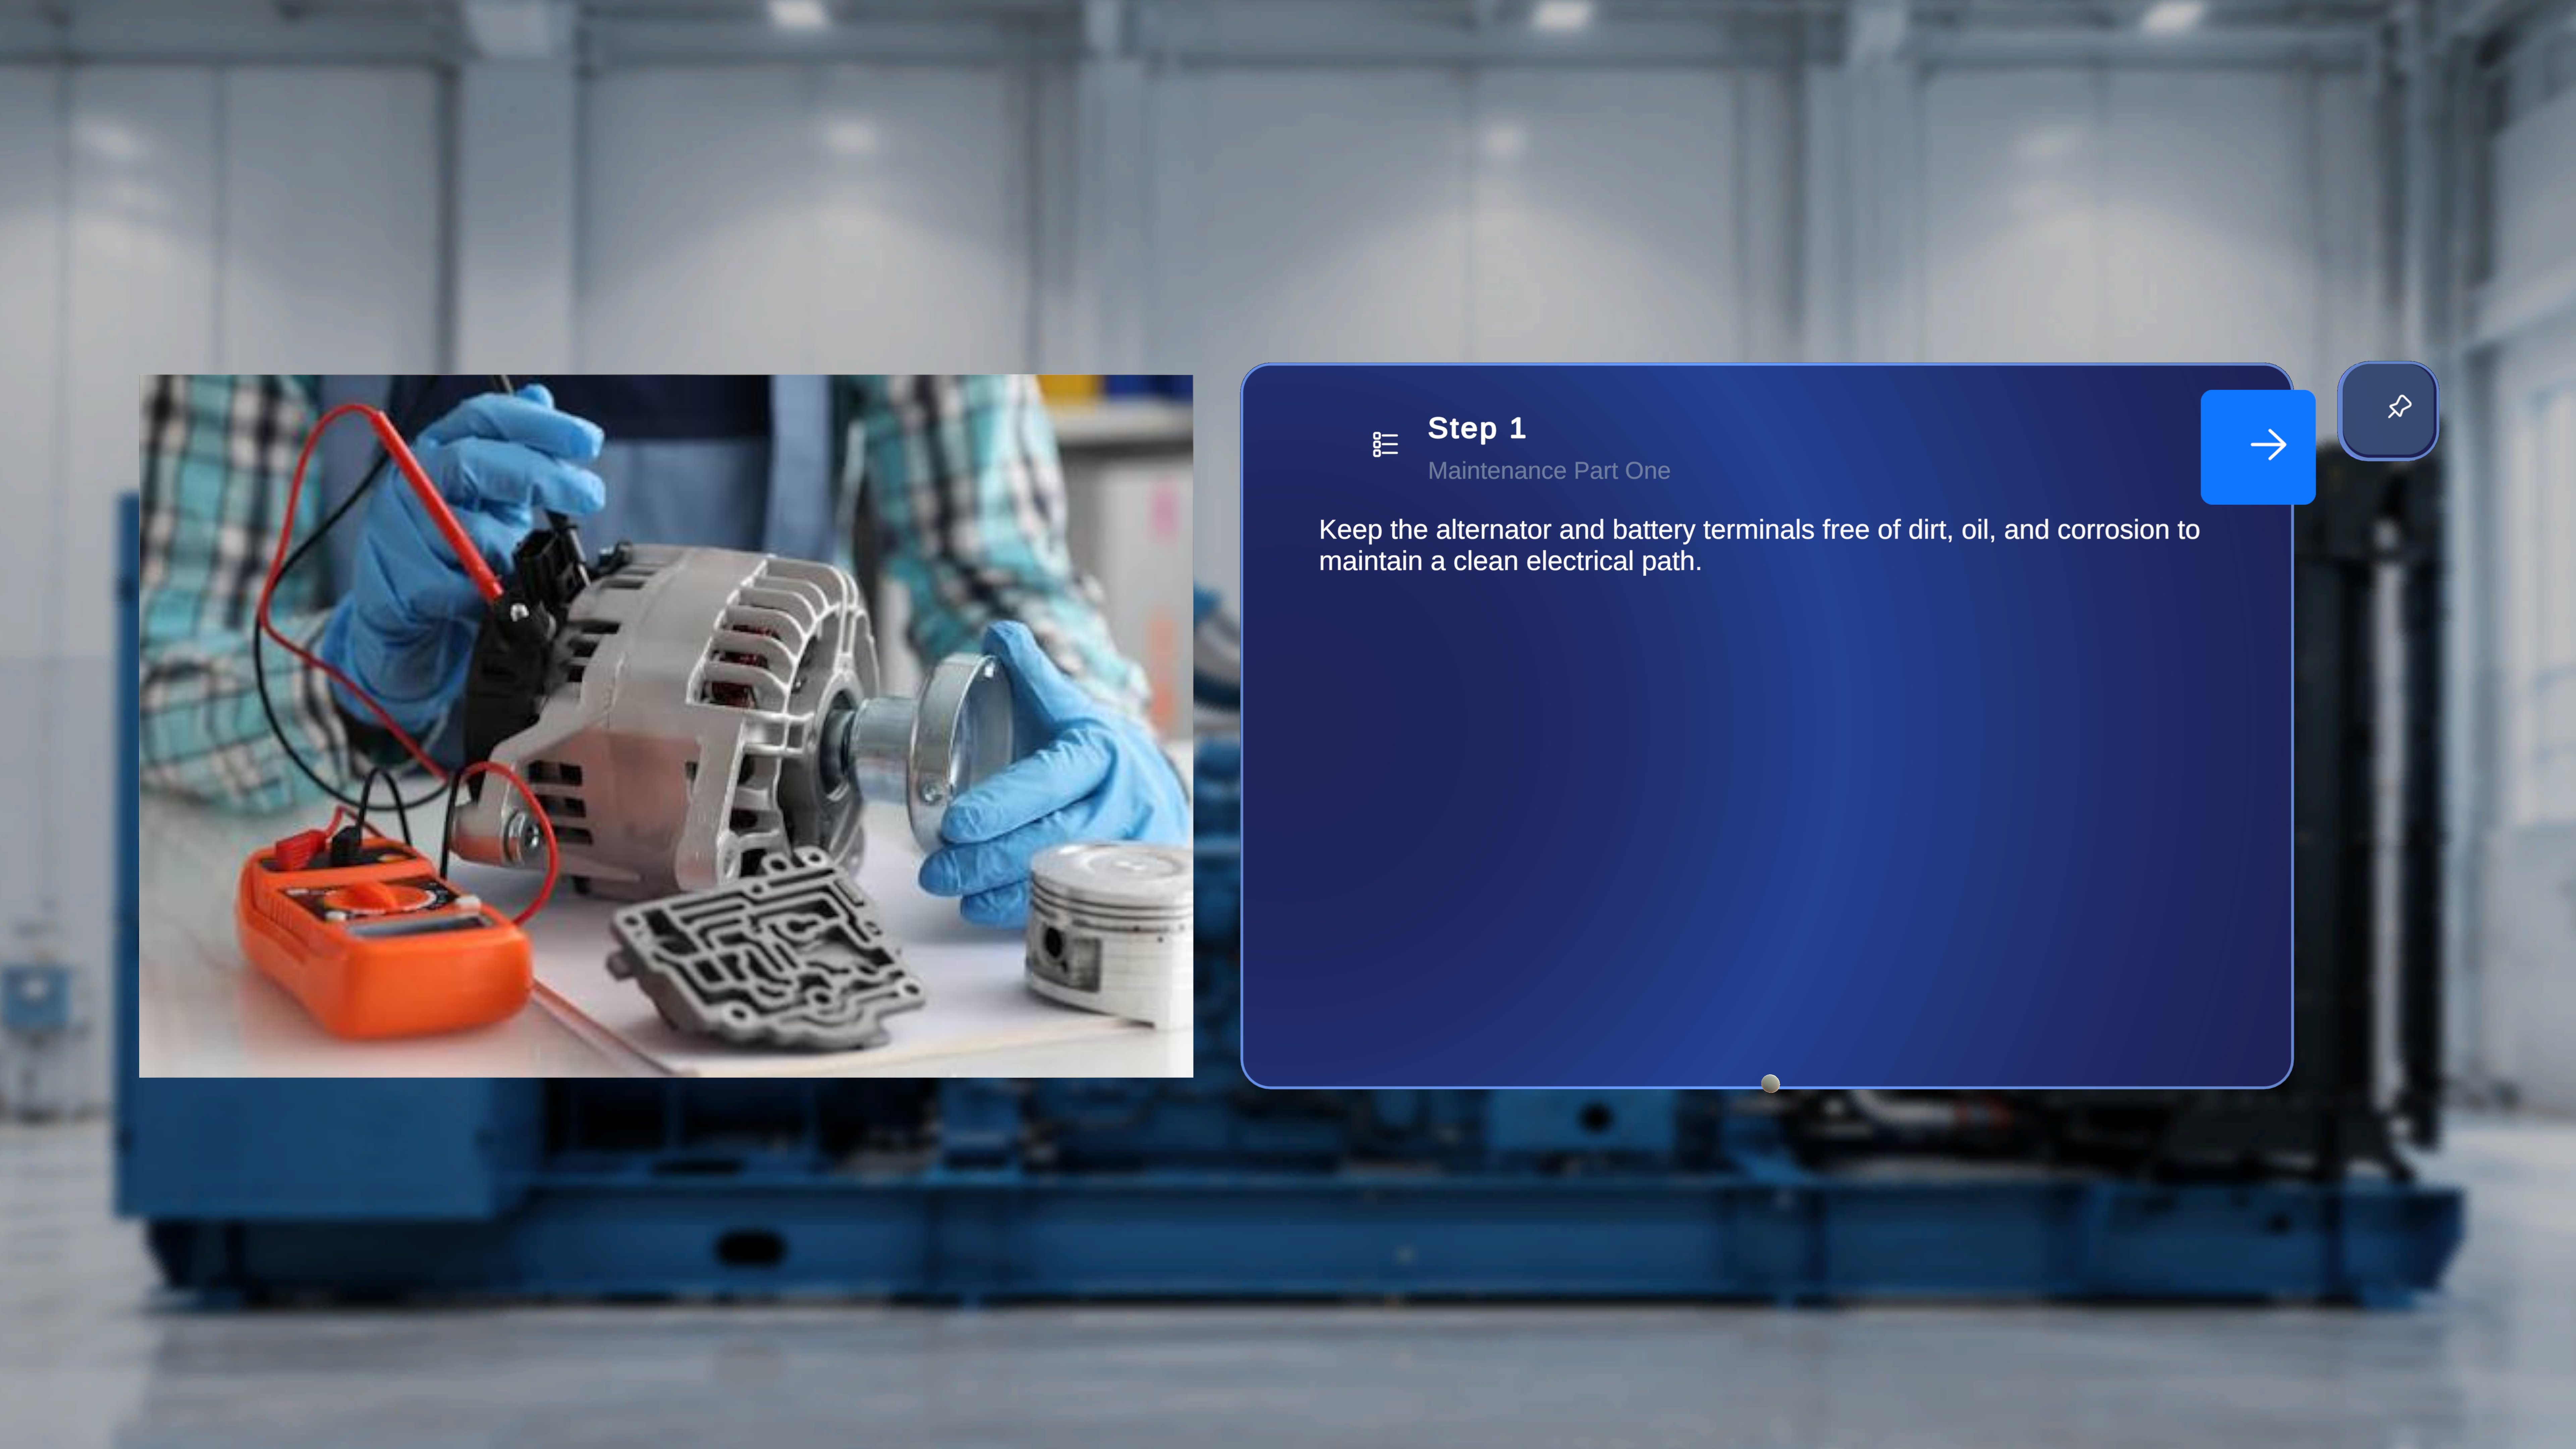
2
Turn Follow Me off
Air-tap the pin again, or say “Unfollow me”. You can also simply grab and move the panel — manually repositioning a panel switches Follow Me off for it, letting you “park” instructions next to the equipment you’re working on.
Follow Me is remembered per panel and is not reset by changing steps — if the step panel is following you, it keeps following as you progress. Panels without the pin icon (dialogs, popups, the QR scan flow) don’t support Follow Me by design.
The In-Procedure Side Menu
While inside a procedure, raise either hand with your palm facing toward you. A vertical menu appears with three buttons (plus the current time and system status at the bottom).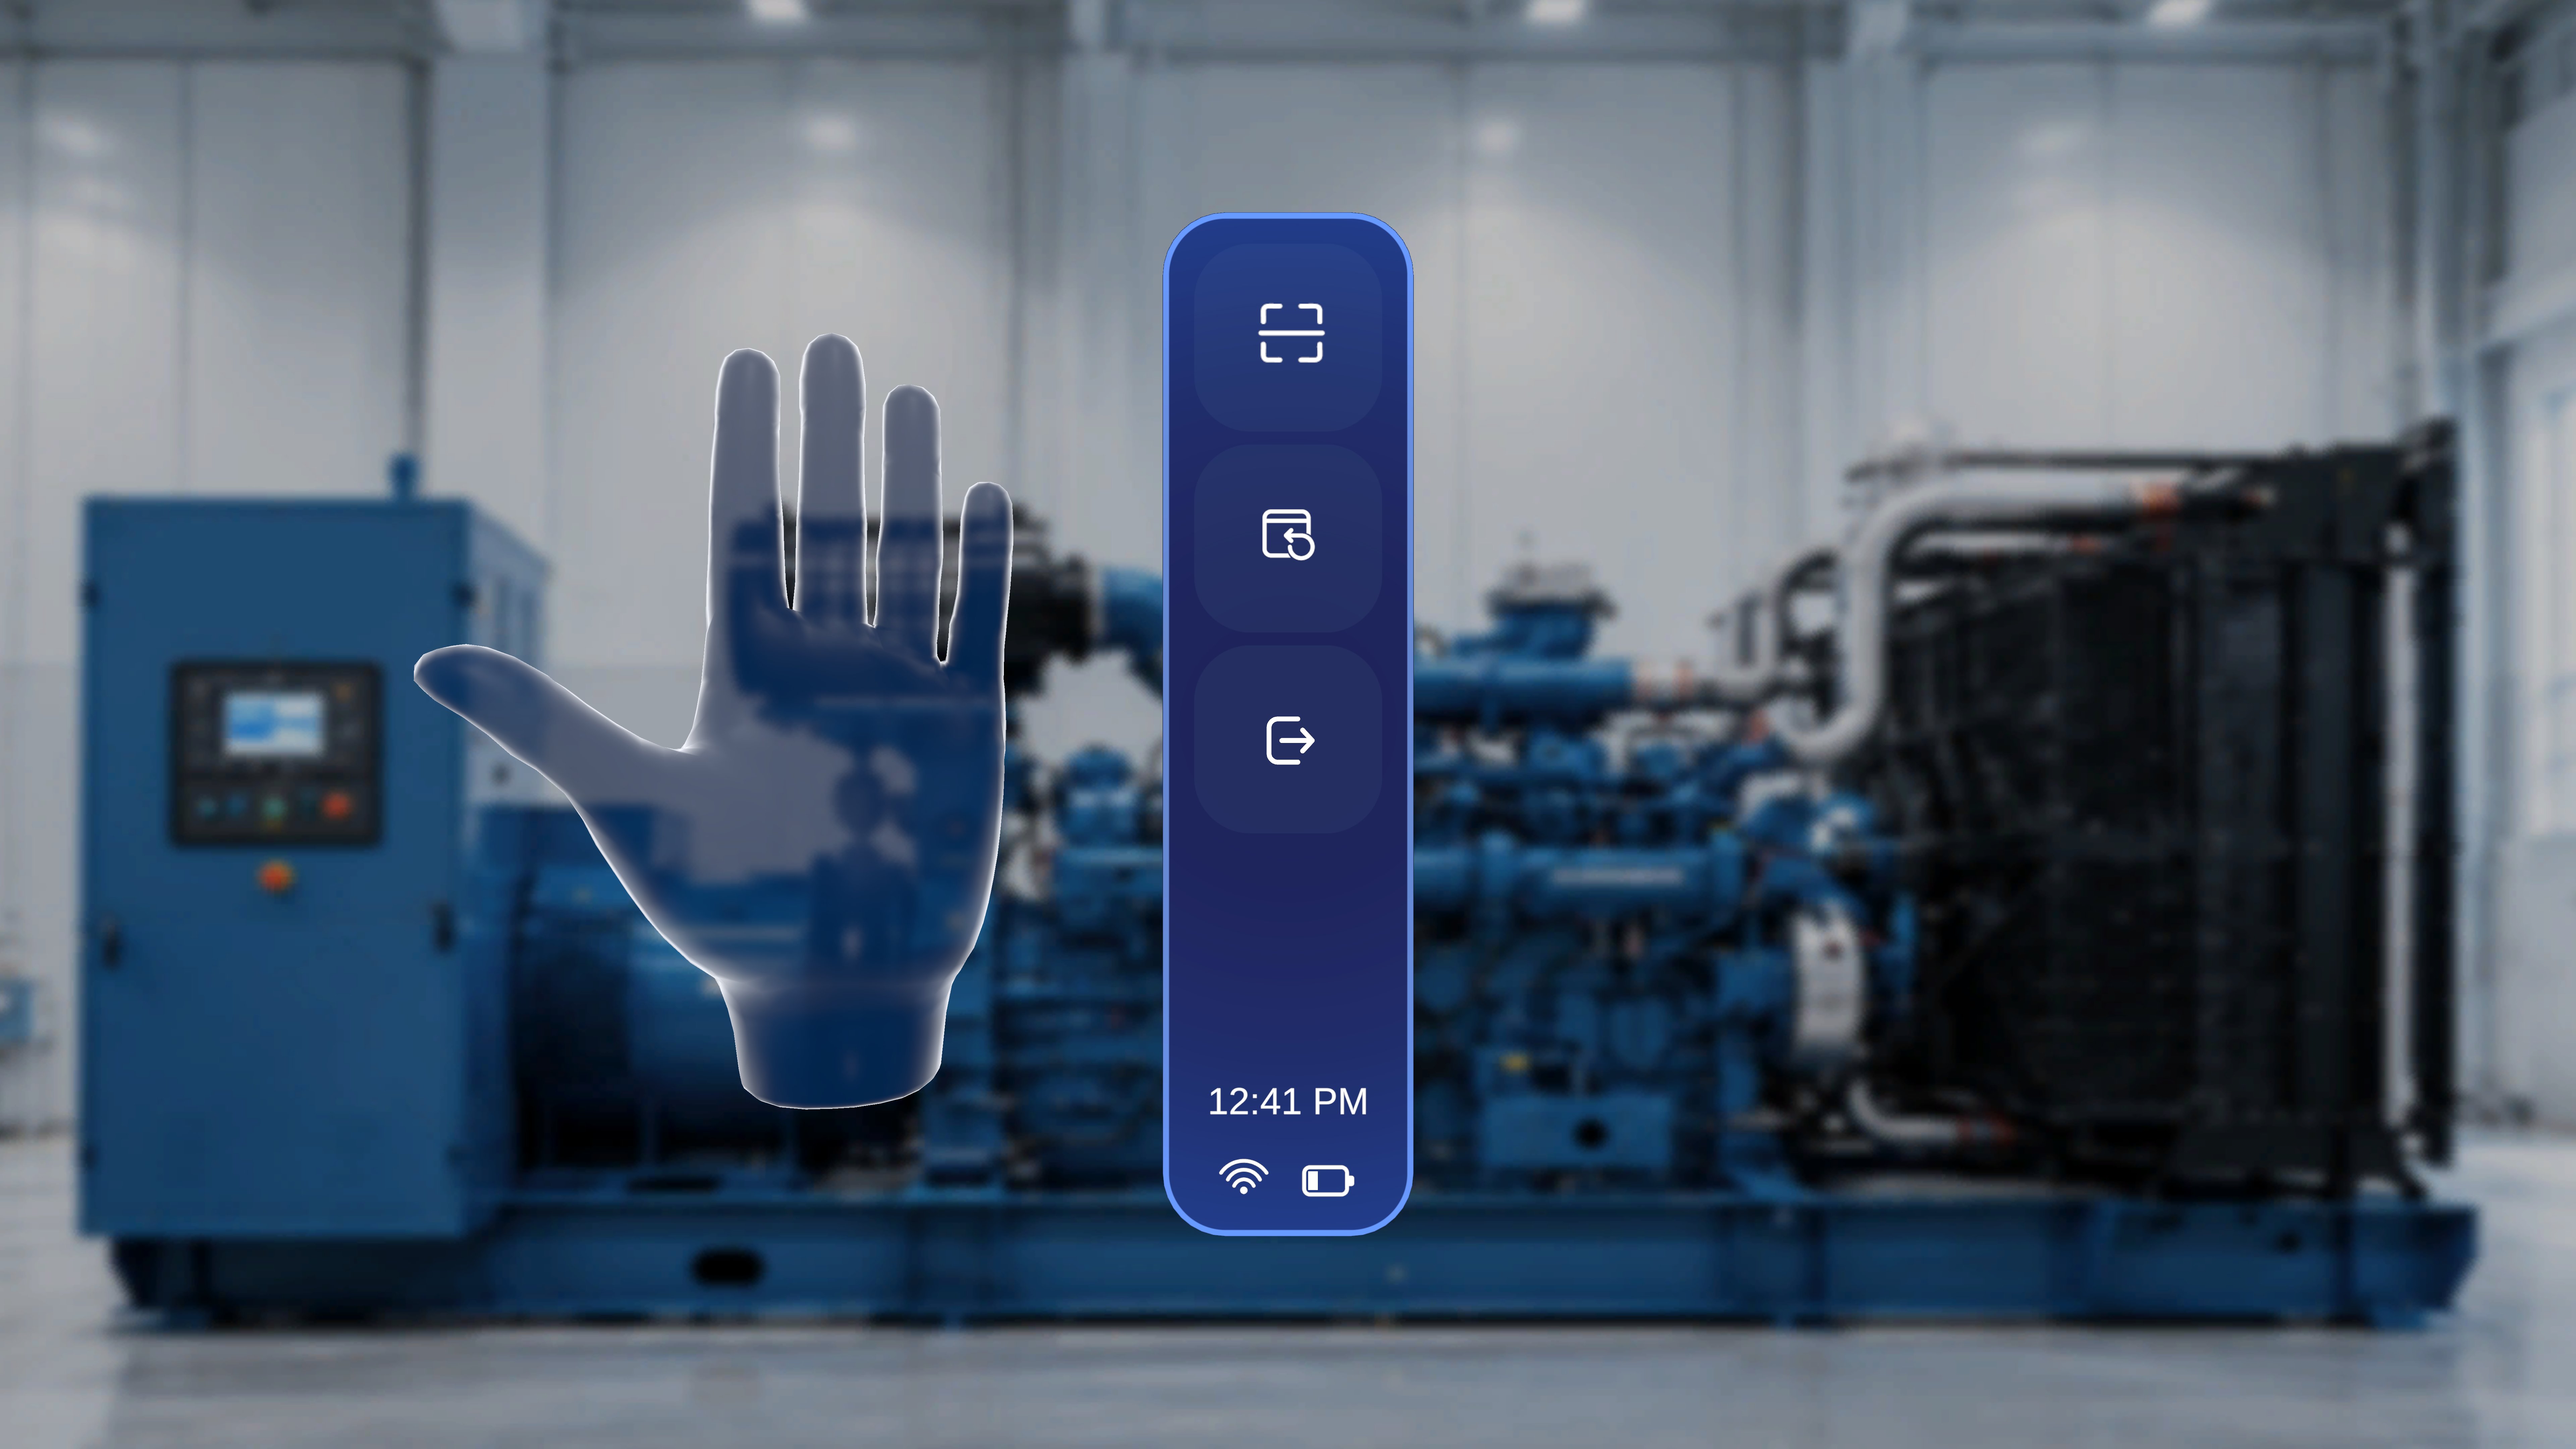
Selecting Exit shows the message “You are about to exit this procedure” with two options:
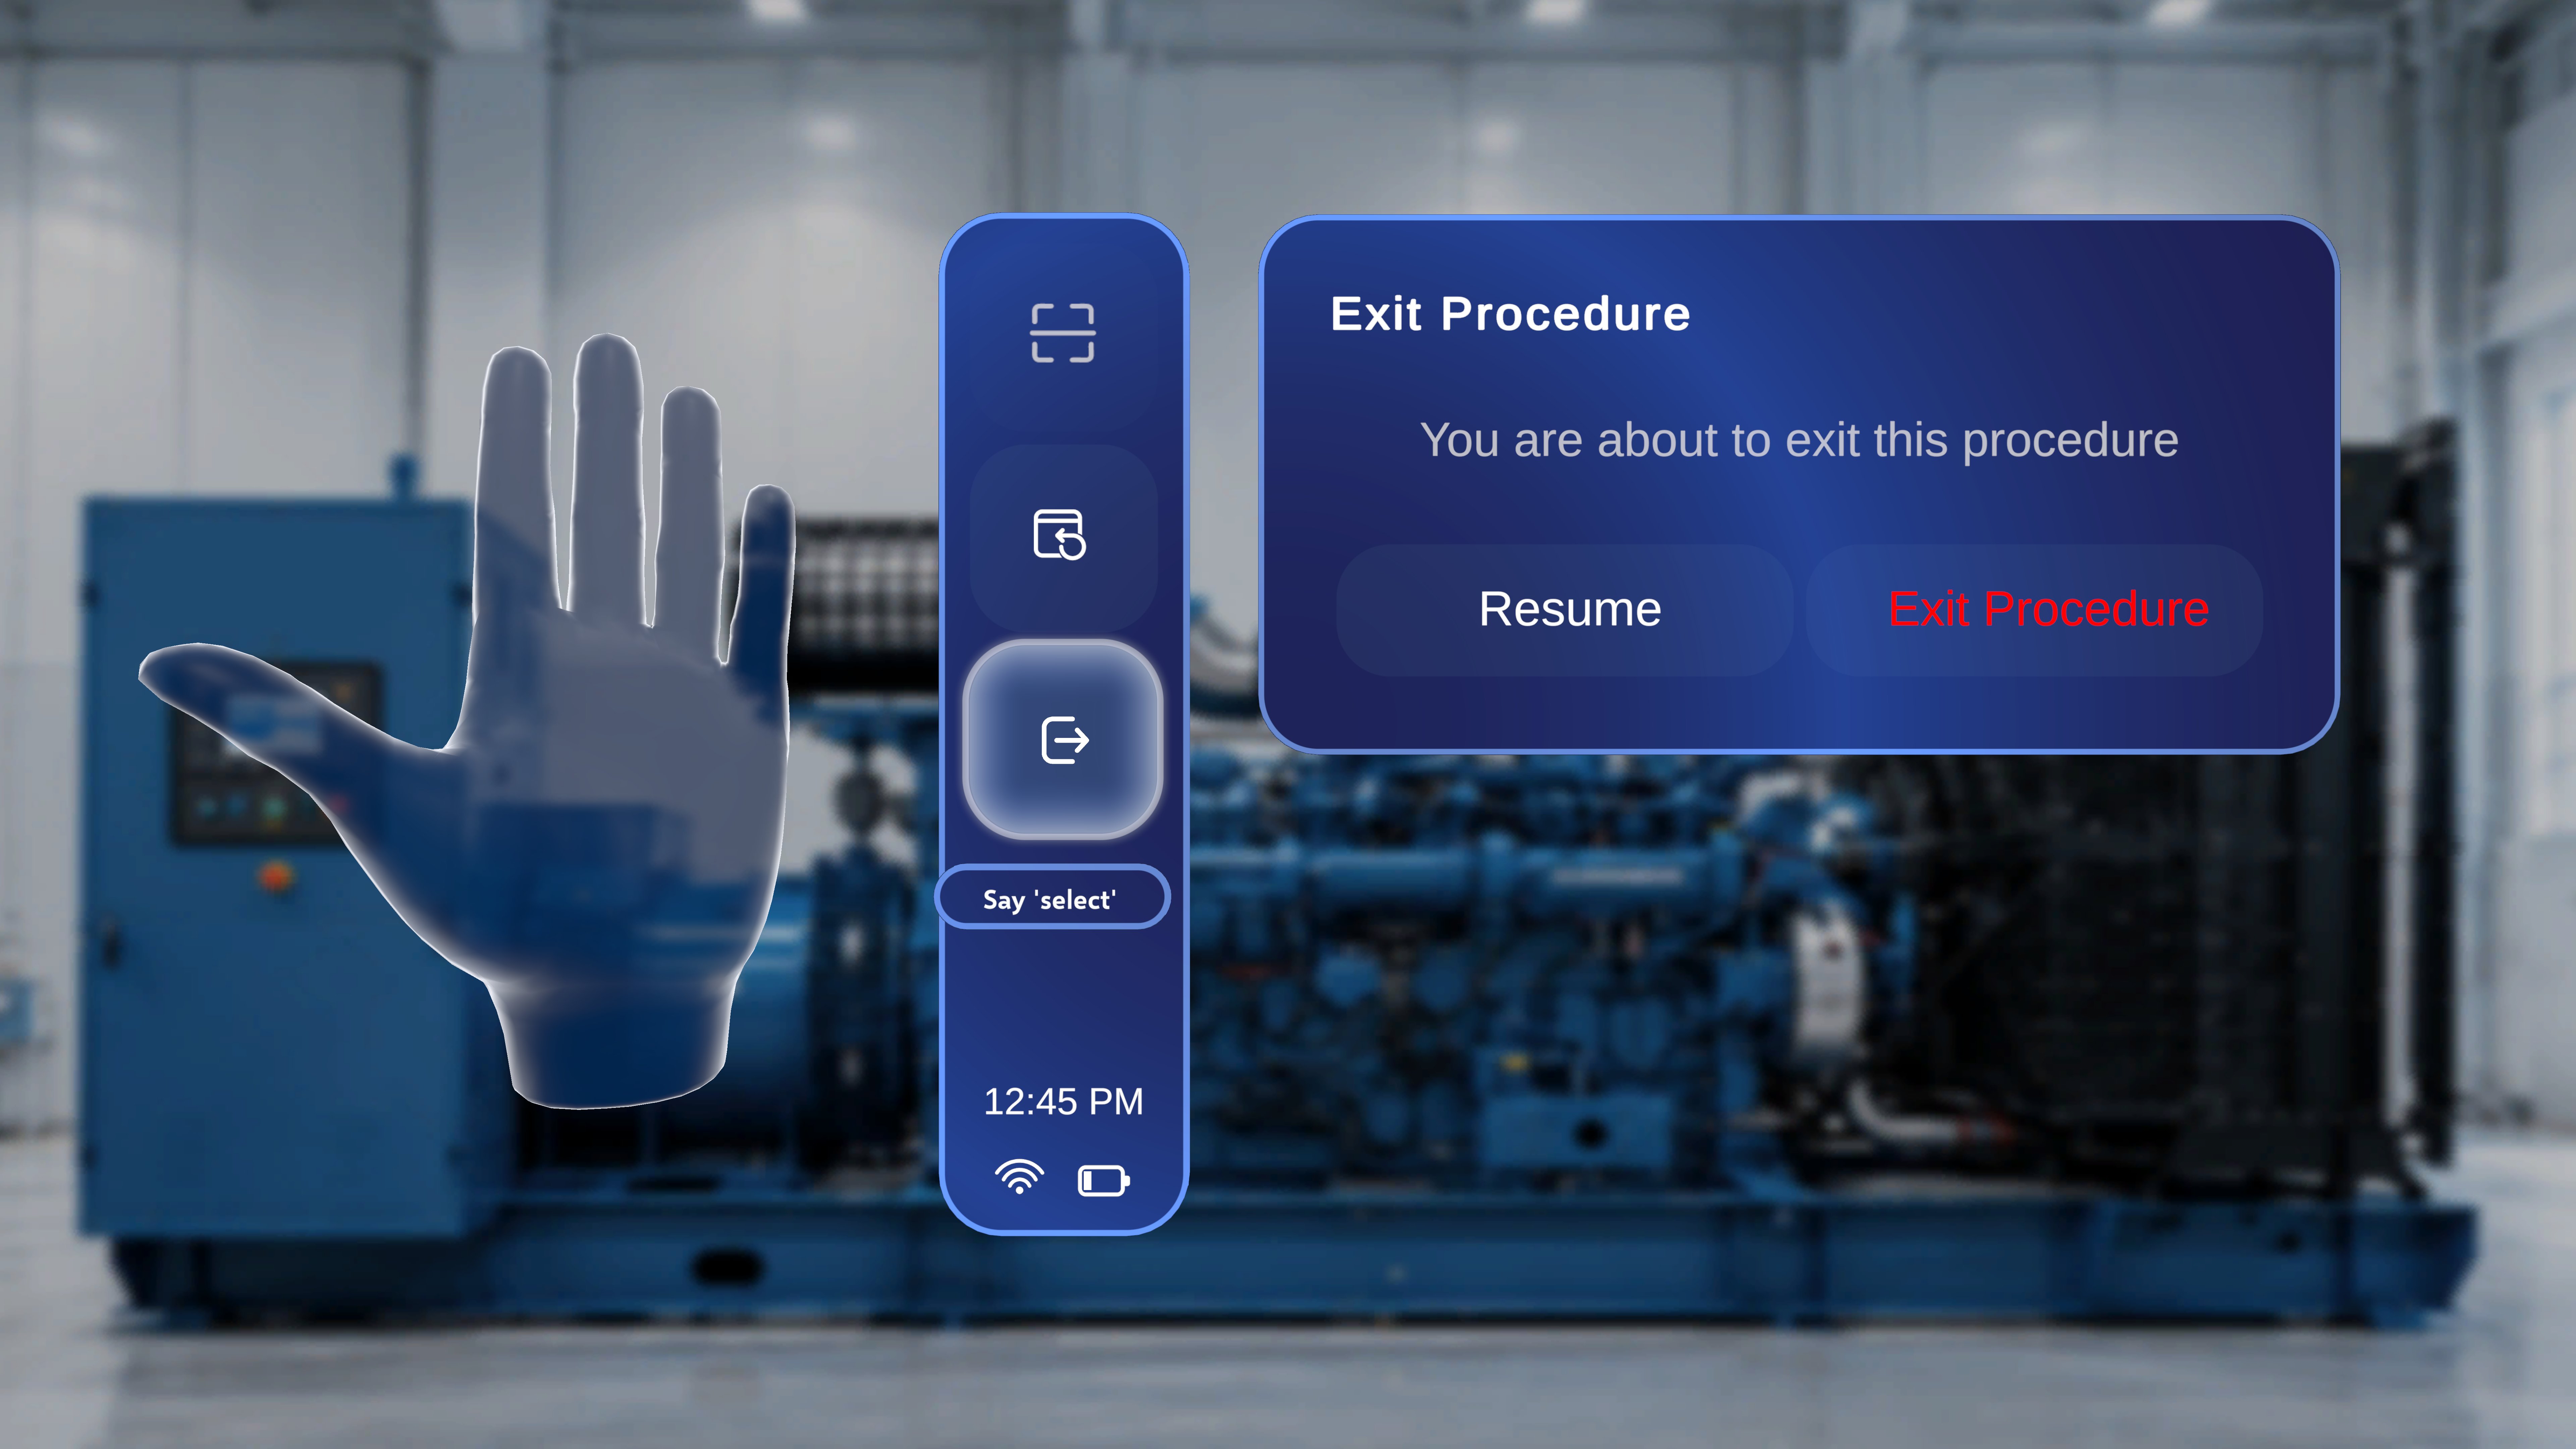
- Resume — closes the confirmation and continues from your current step.
- Exit Procedure — leaves the procedure and returns you to the Procedures page.
Next: Work with 3D Models and Media