

- A HoloLens 2 with Altoura Frontline installed and signed in (Install & Sign In)
- A published procedure available in your organization
- The procedure’s physical QR code available at your workspace (see Anchoring & QR Codes for why this matters)
1
Open the Procedures page
On the Global Side Menu, select Procedures (the top, list icon).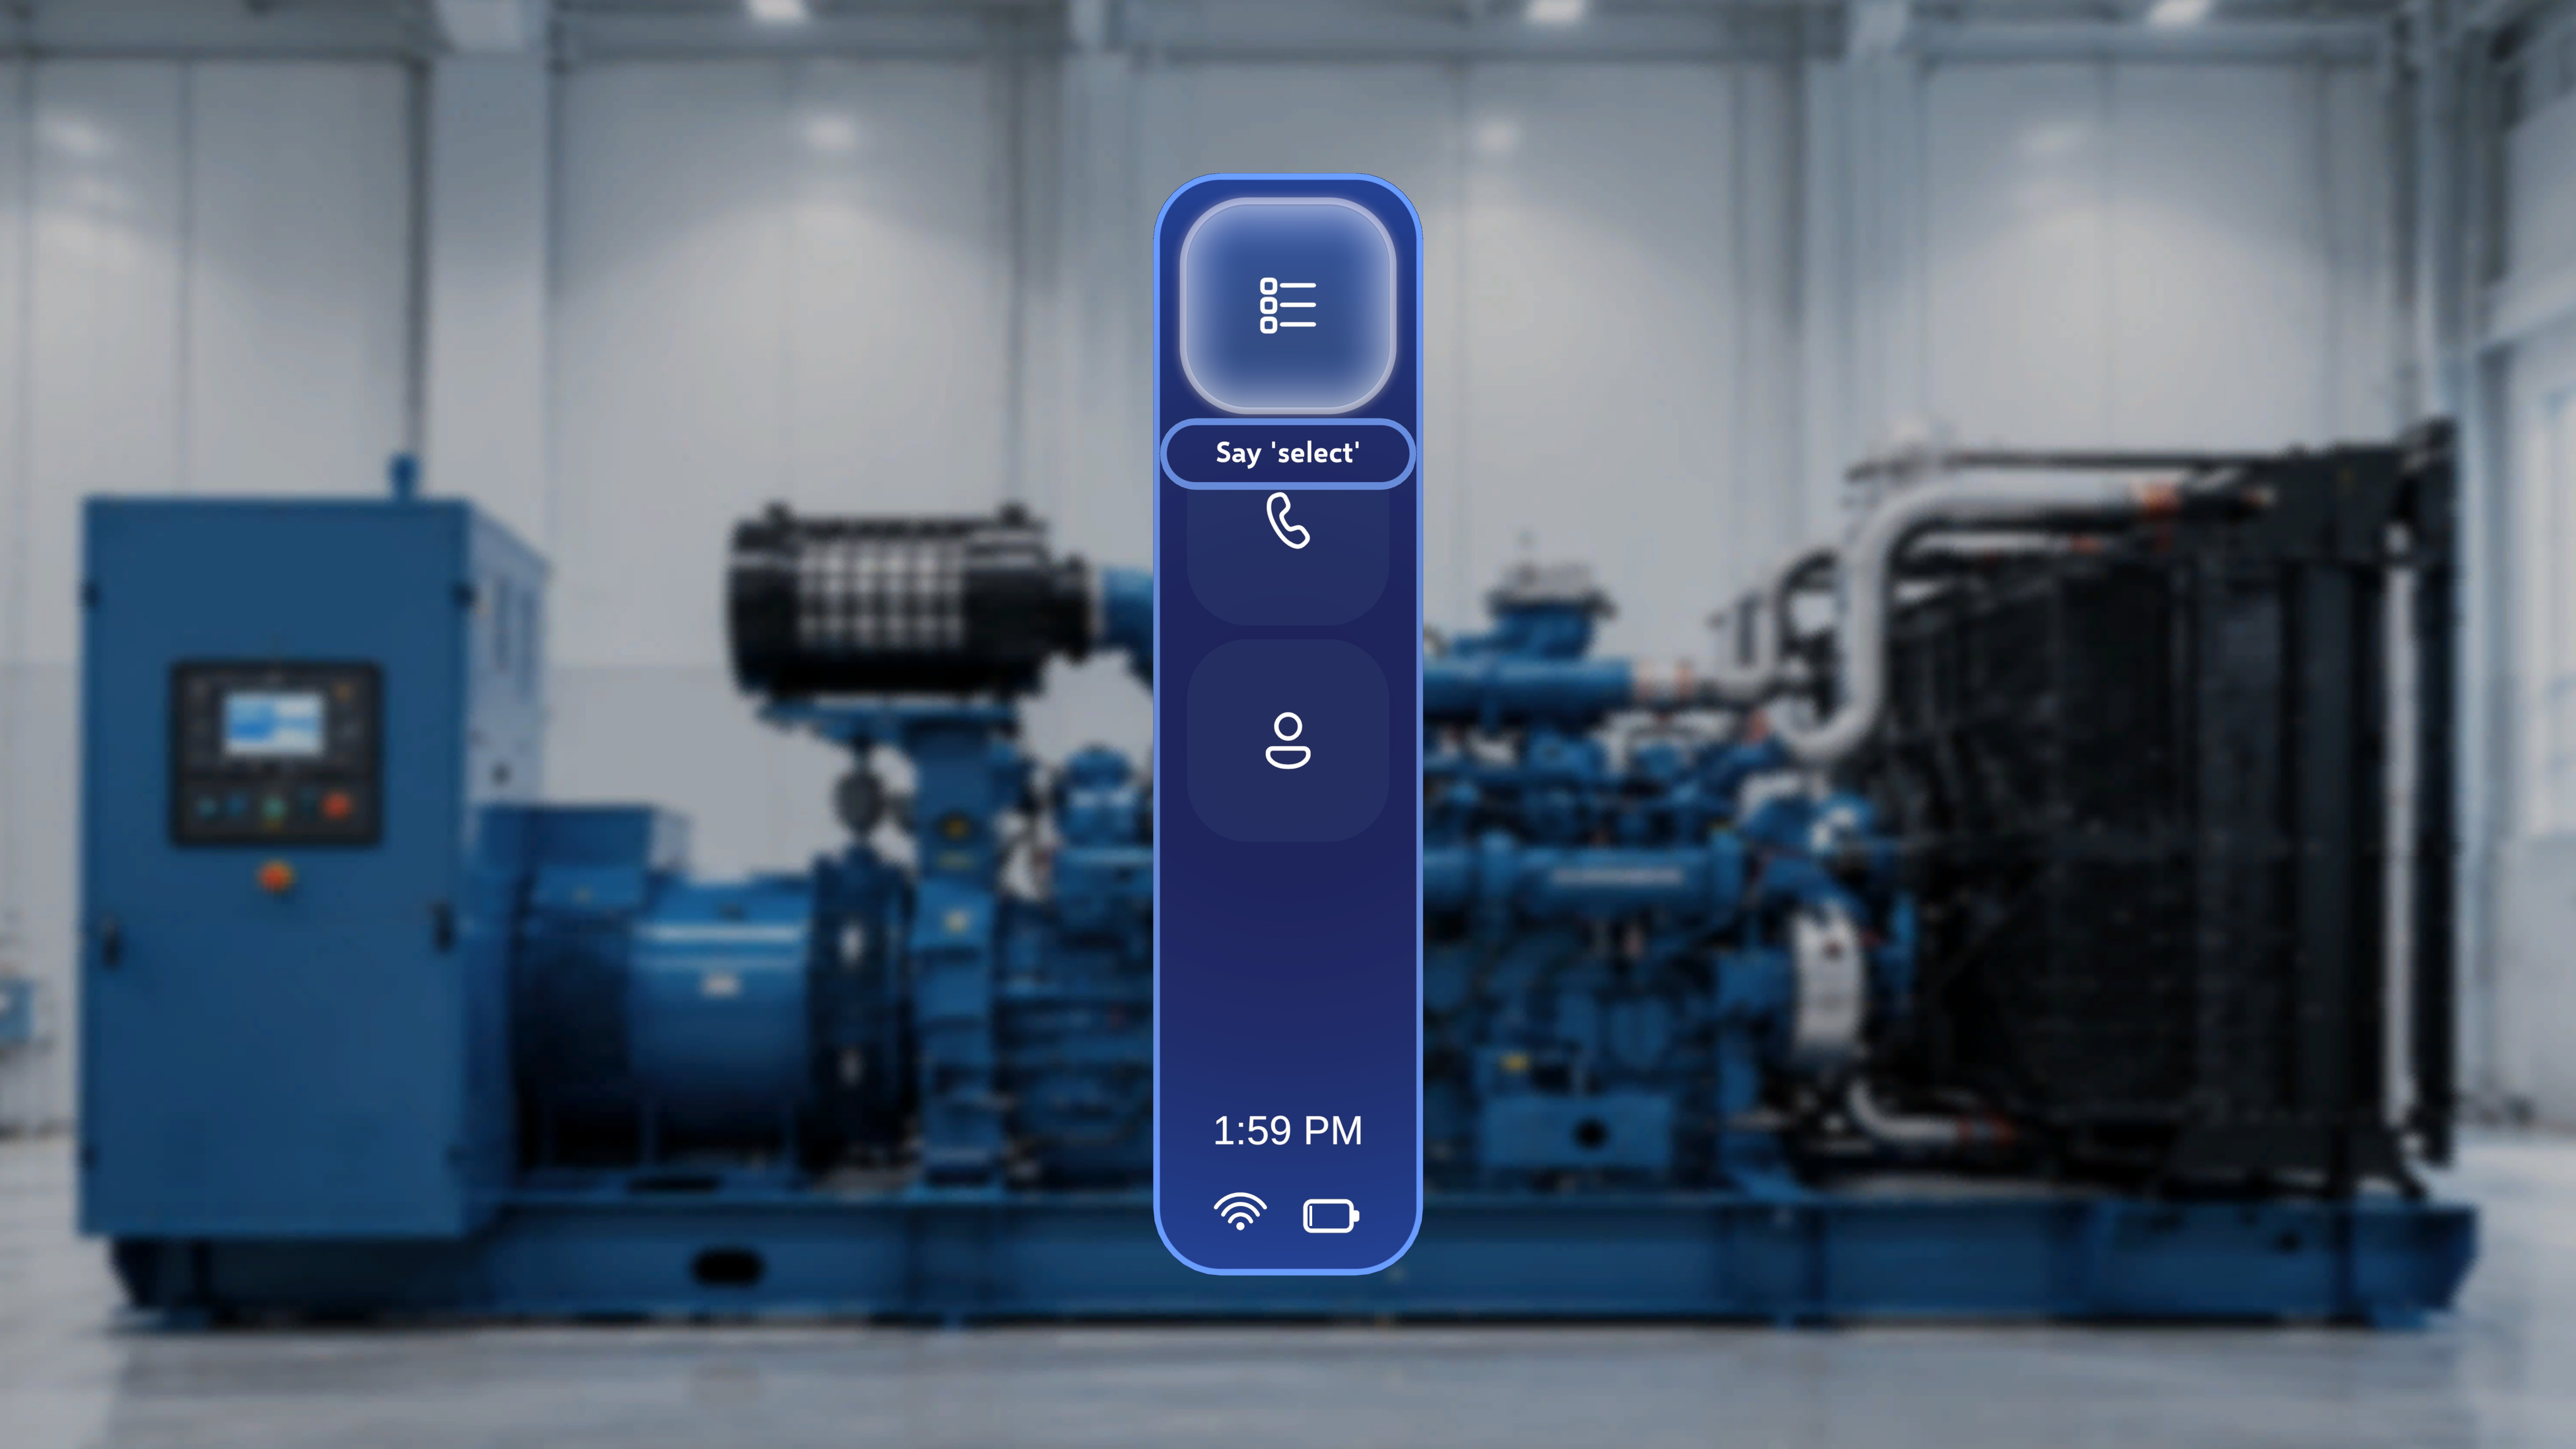 The Procedures page opens, listing the procedures available in your currently selected organization. Each procedure appears as a card with its name, Created by, and Last Modified by details.
2
Pick a procedure
If the list is long, use the Search field in the top-right area of the page to filter by name — for example, entering Air shows procedures that contain “Air” in the title. You can also use the organization dropdown at the top of the page to switch organizations.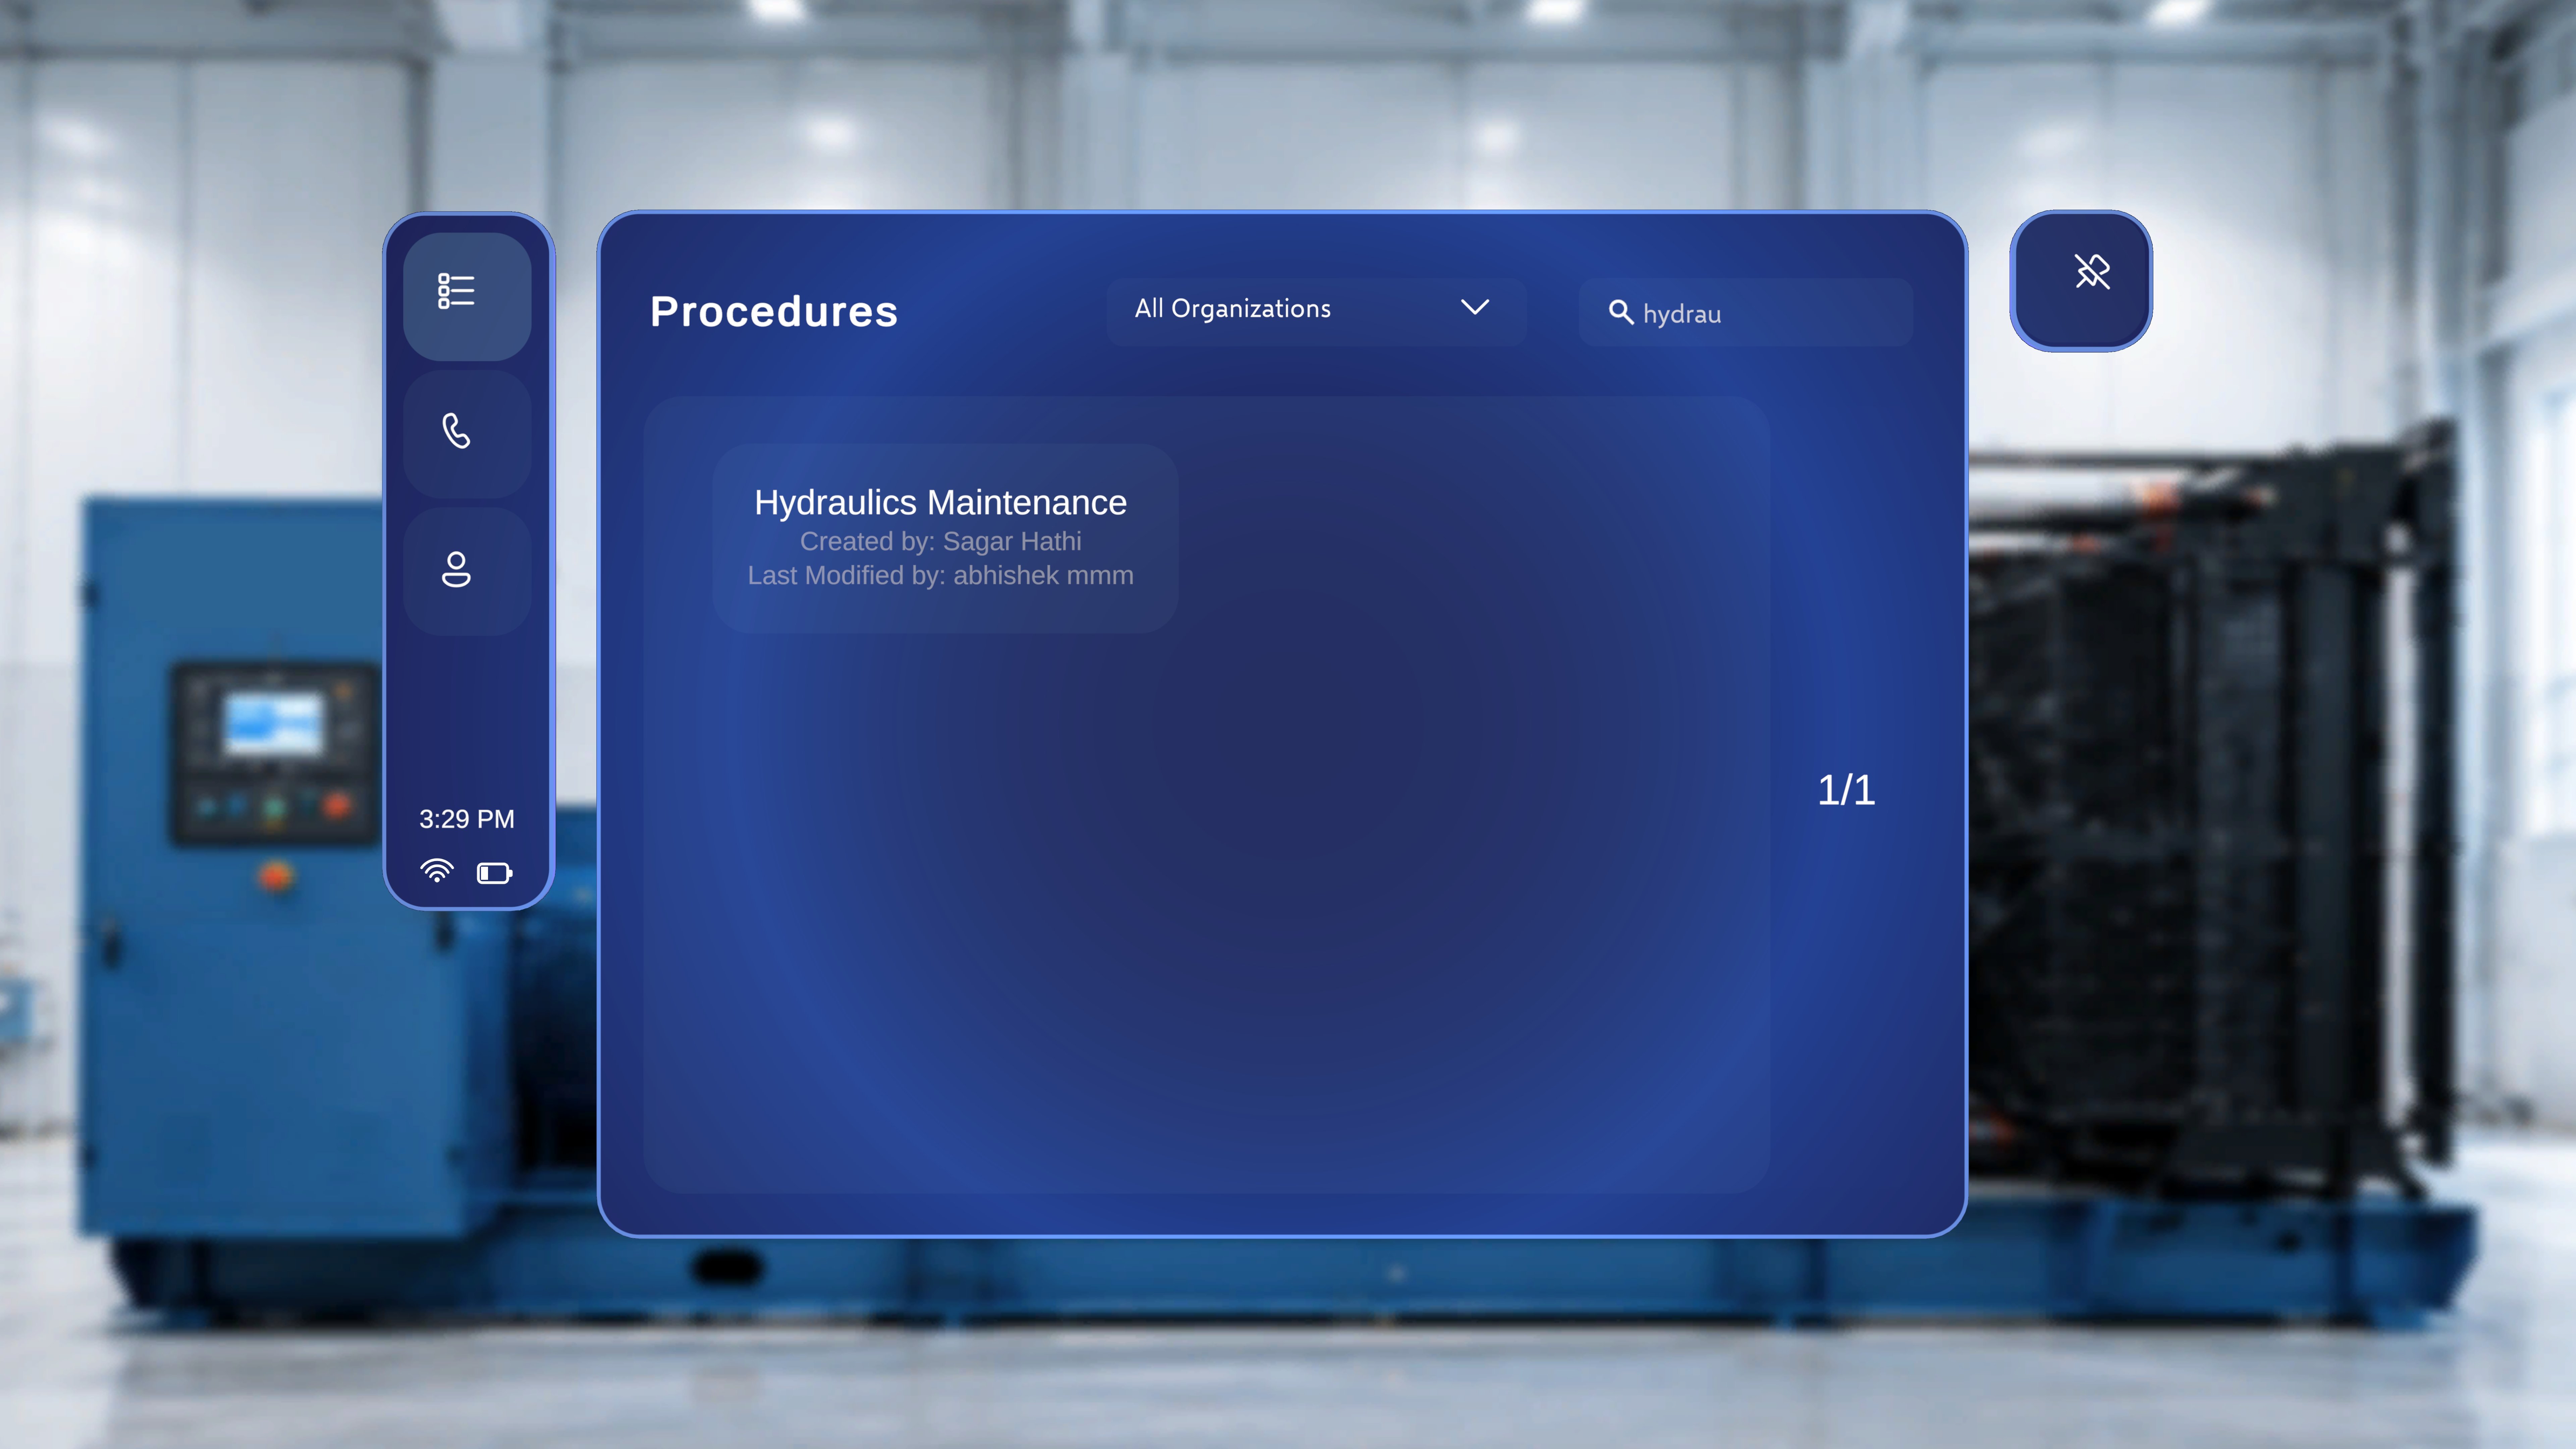 Select the procedure card you want to run.
If your account has the Author role, a mode-selection dialog may appear after you select the procedure. Choose Operator (Use a procedure) for this walkthrough — you’ll explore authoring later.
3
Start the QR scan
A Scan QR Code instruction panel appears, asking you to locate the QR code. A Cancel button appears at the bottom of the panel.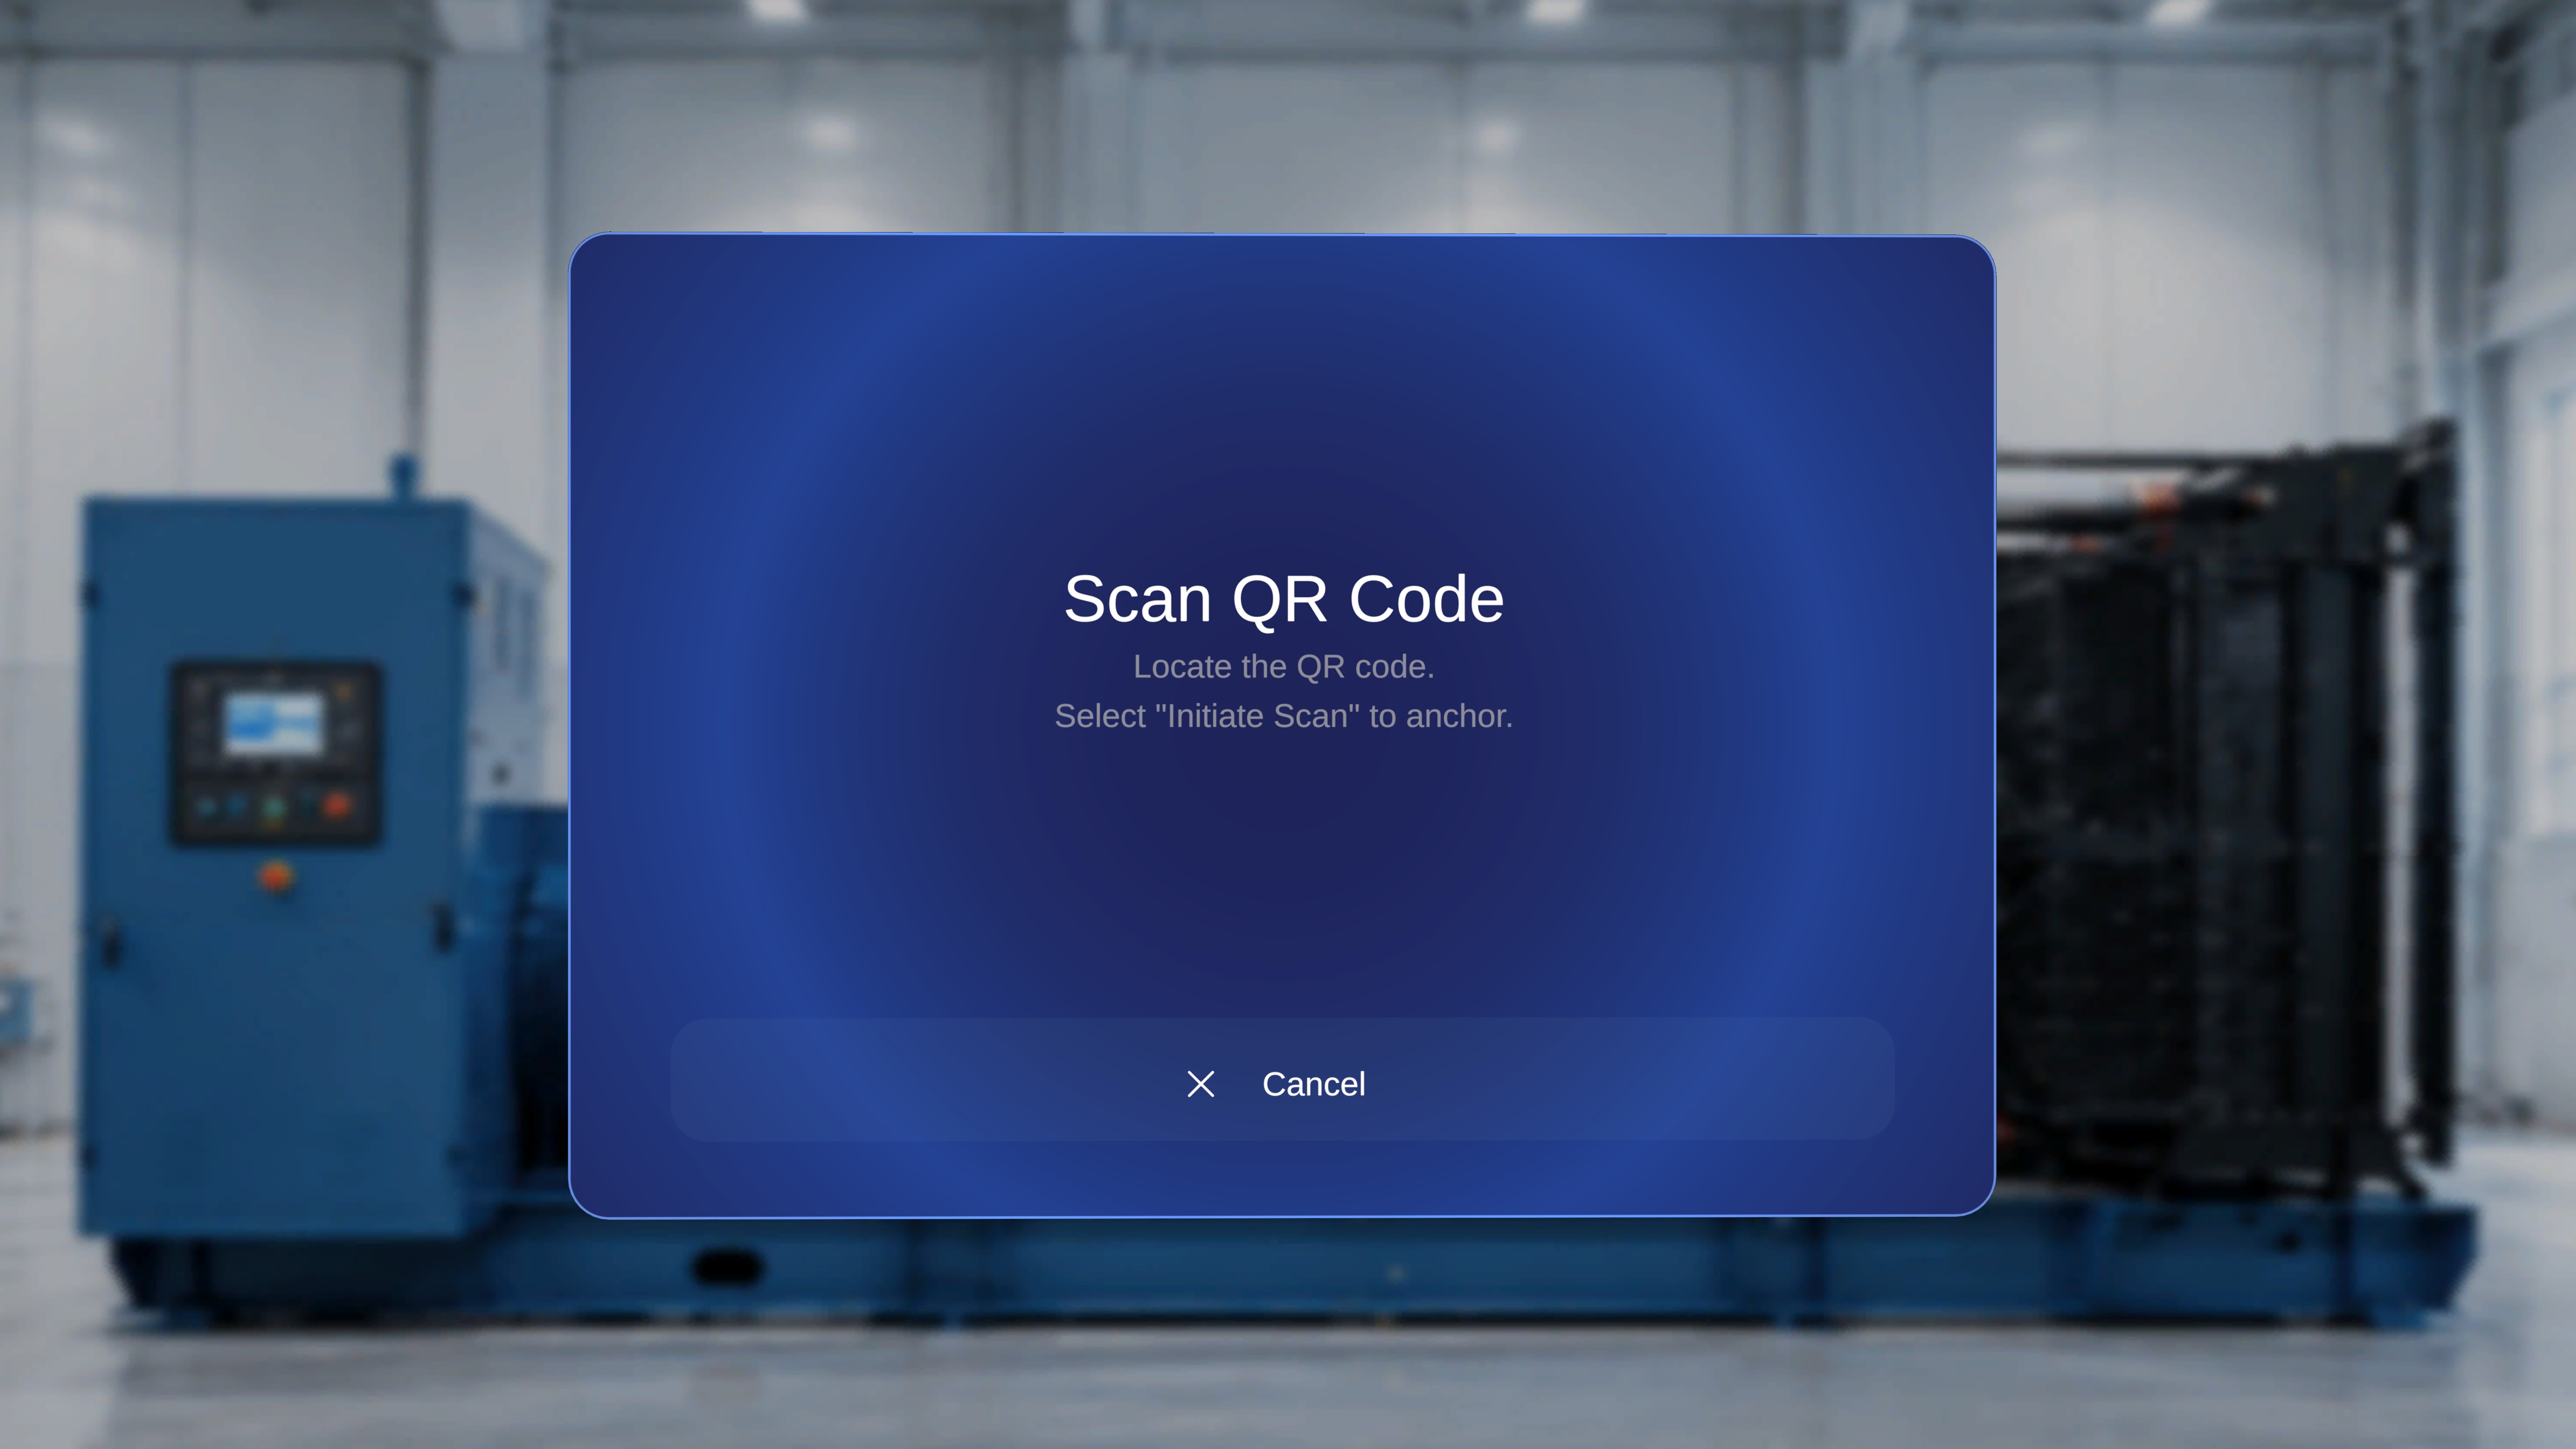 Locate the physical QR code at your workspace. A scanning frame appears on screen with the label Scan the QR code.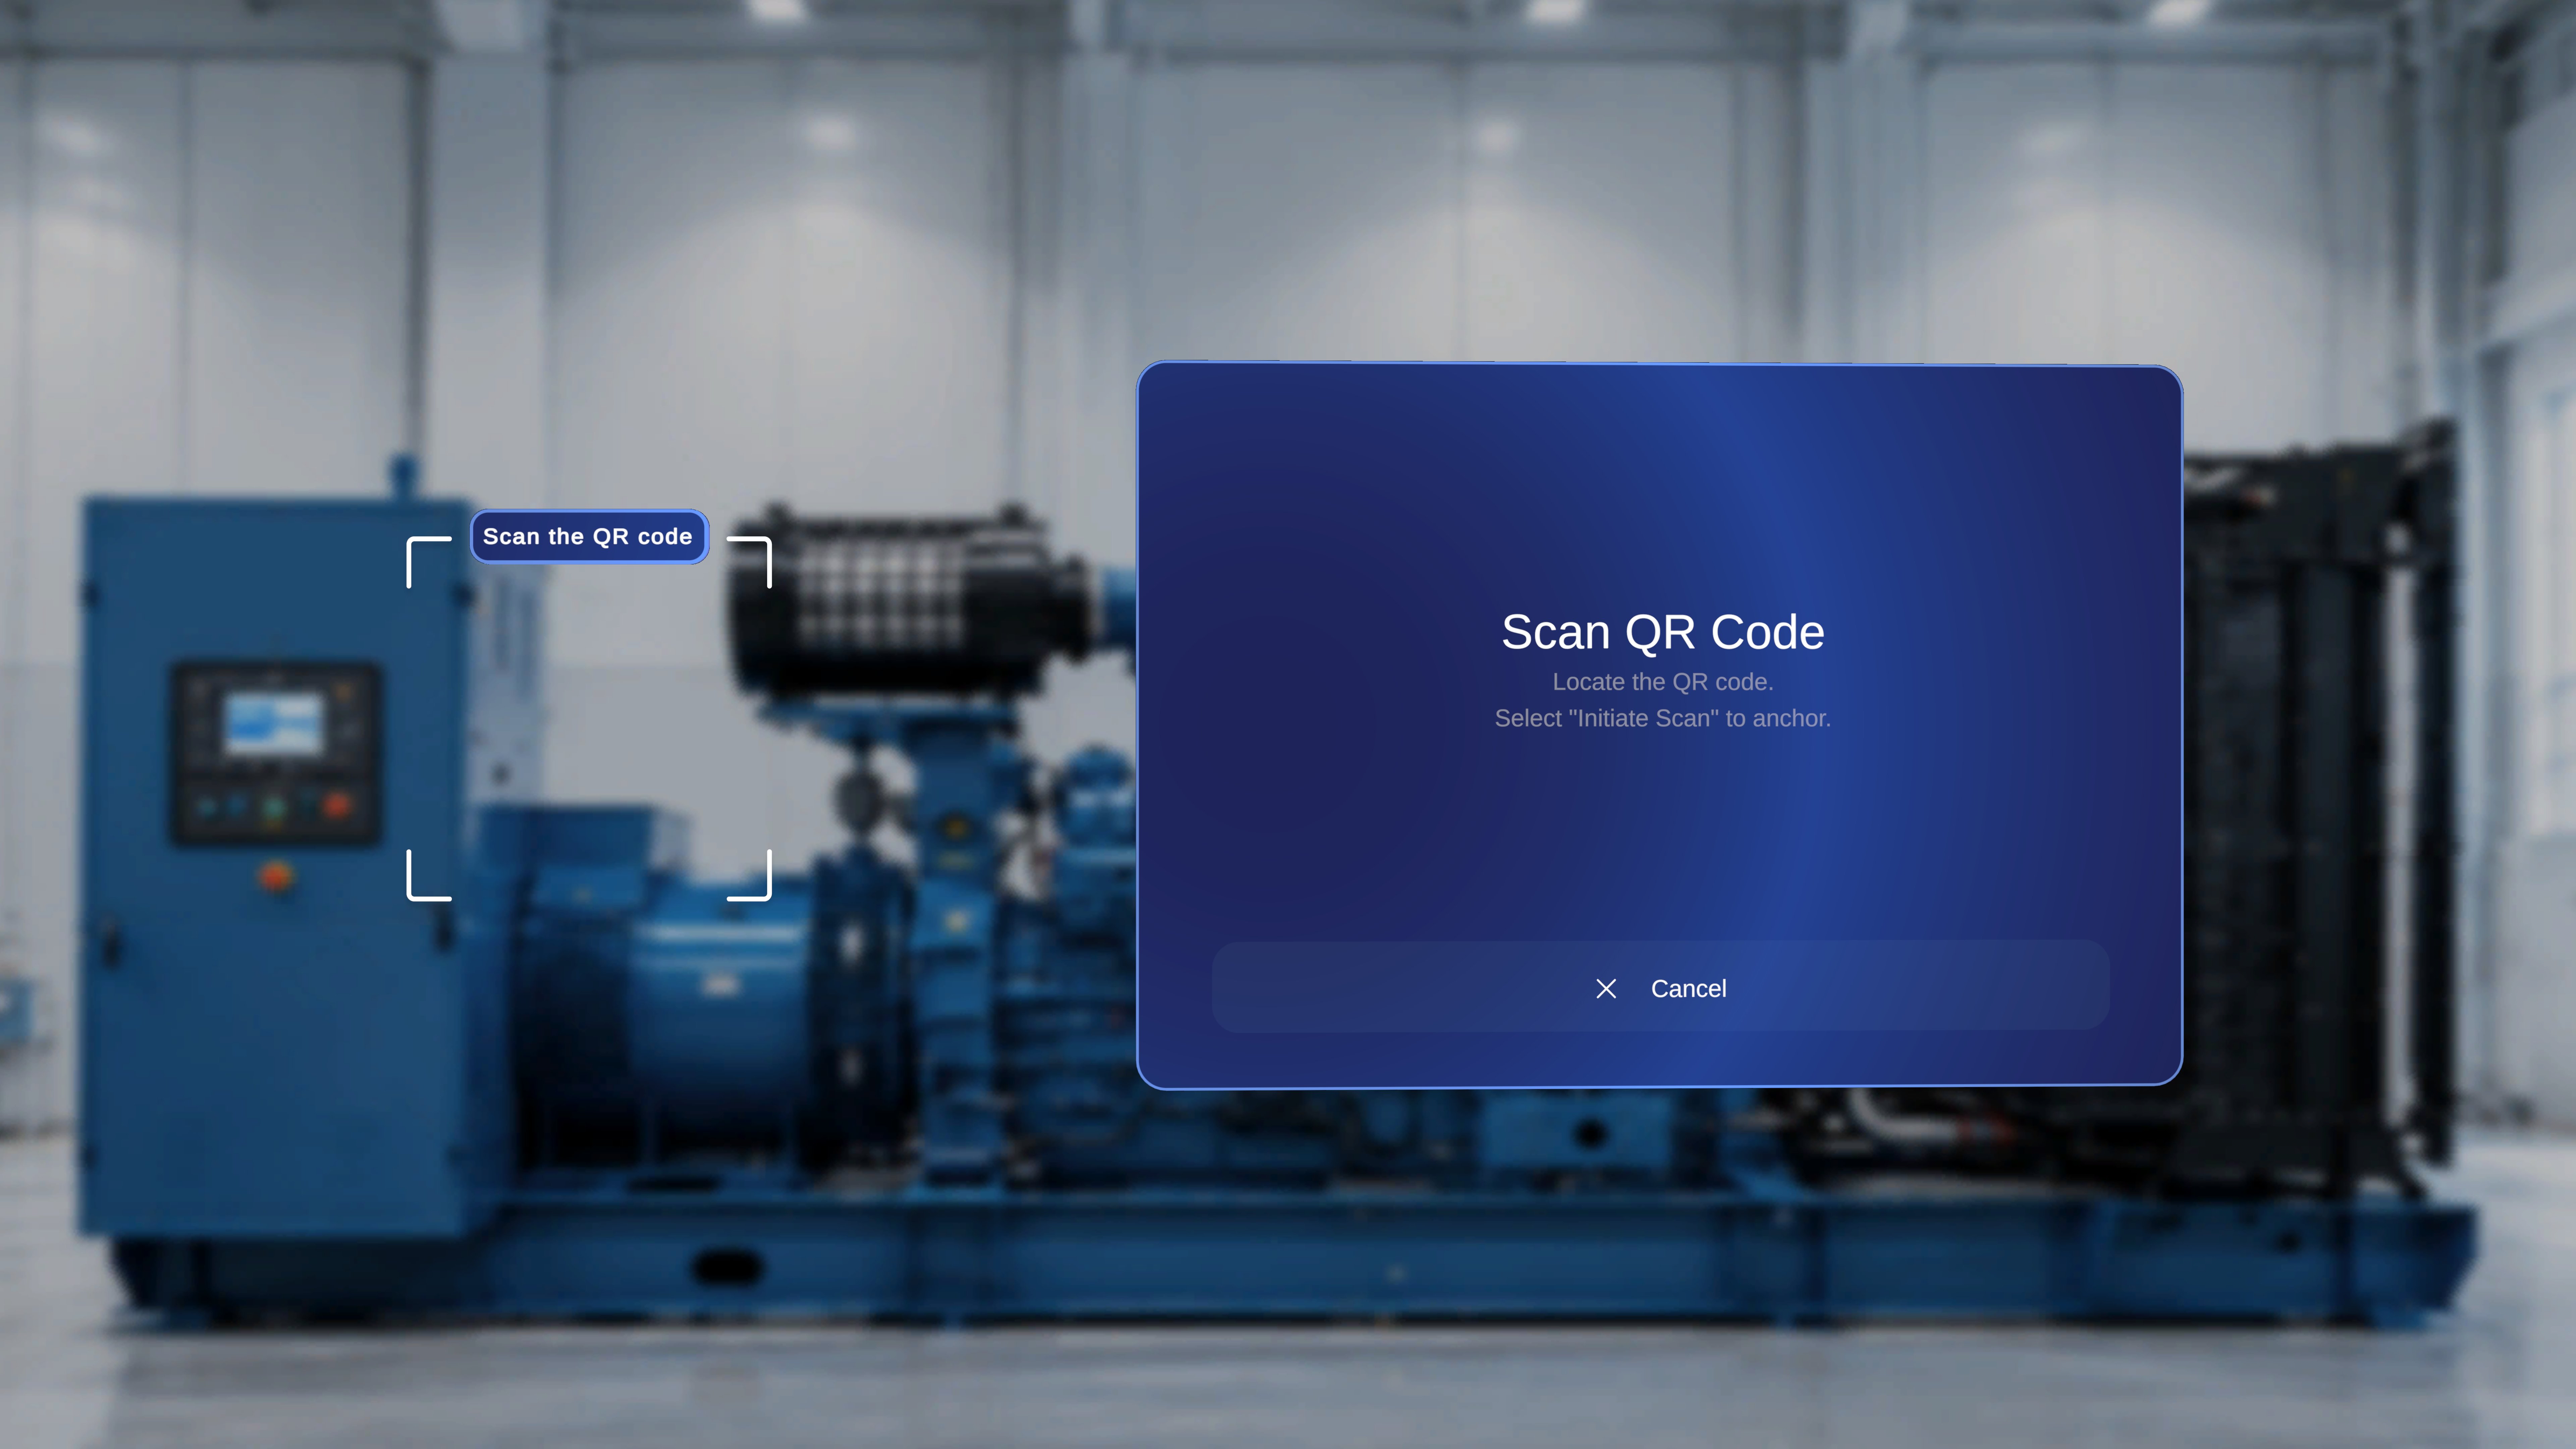
4
Align and confirm the anchor
Hold your device so the QR code appears inside the scanning frame, align it within the bracketed area, and keep steady until the system detects the code. When it does, a confirmation panel appears titled Anchor found.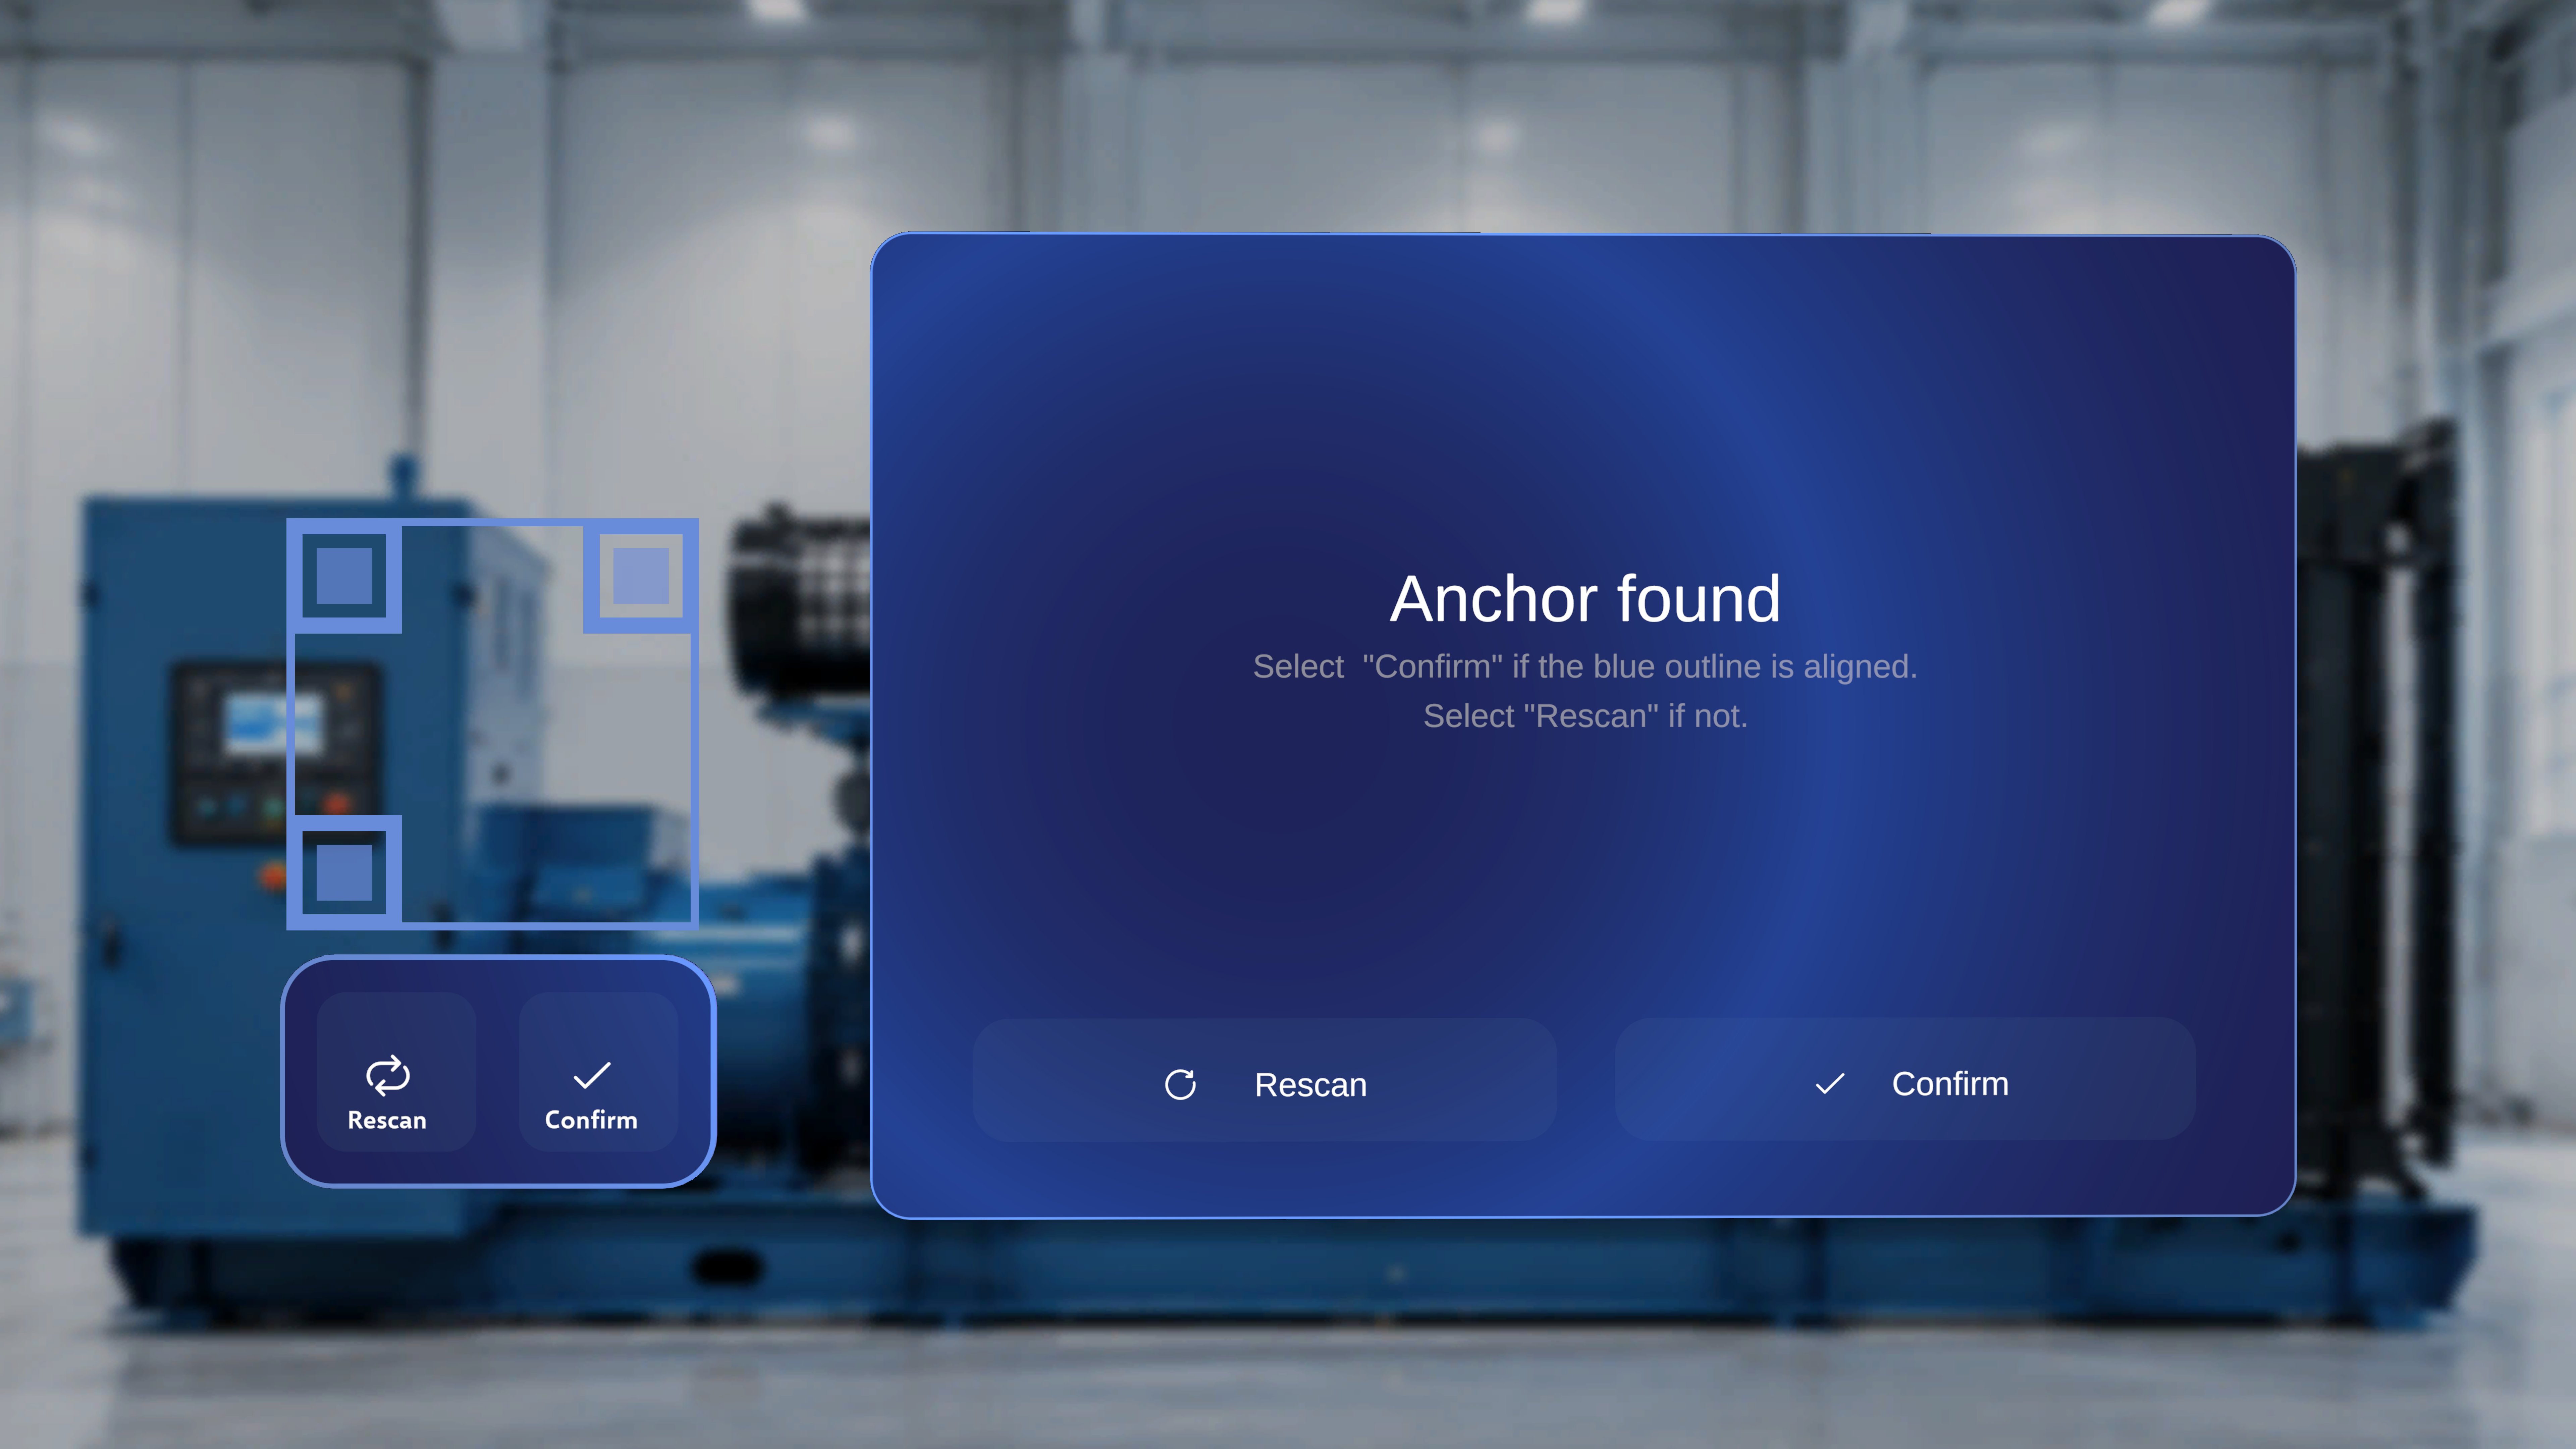 Check the blue outline:
- Aligned? Select Confirm — either in the Anchor found panel or below the QR frame.
- Not aligned, or wrong QR code? Select Rescan. The detection is cleared and you can realign the code within the frame.
5
Read the step panel
You’re now inside the procedure. The Step Main Panel is always visible and shows the step number, task title, step description, Back/Next navigation arrows, and a Step List icon.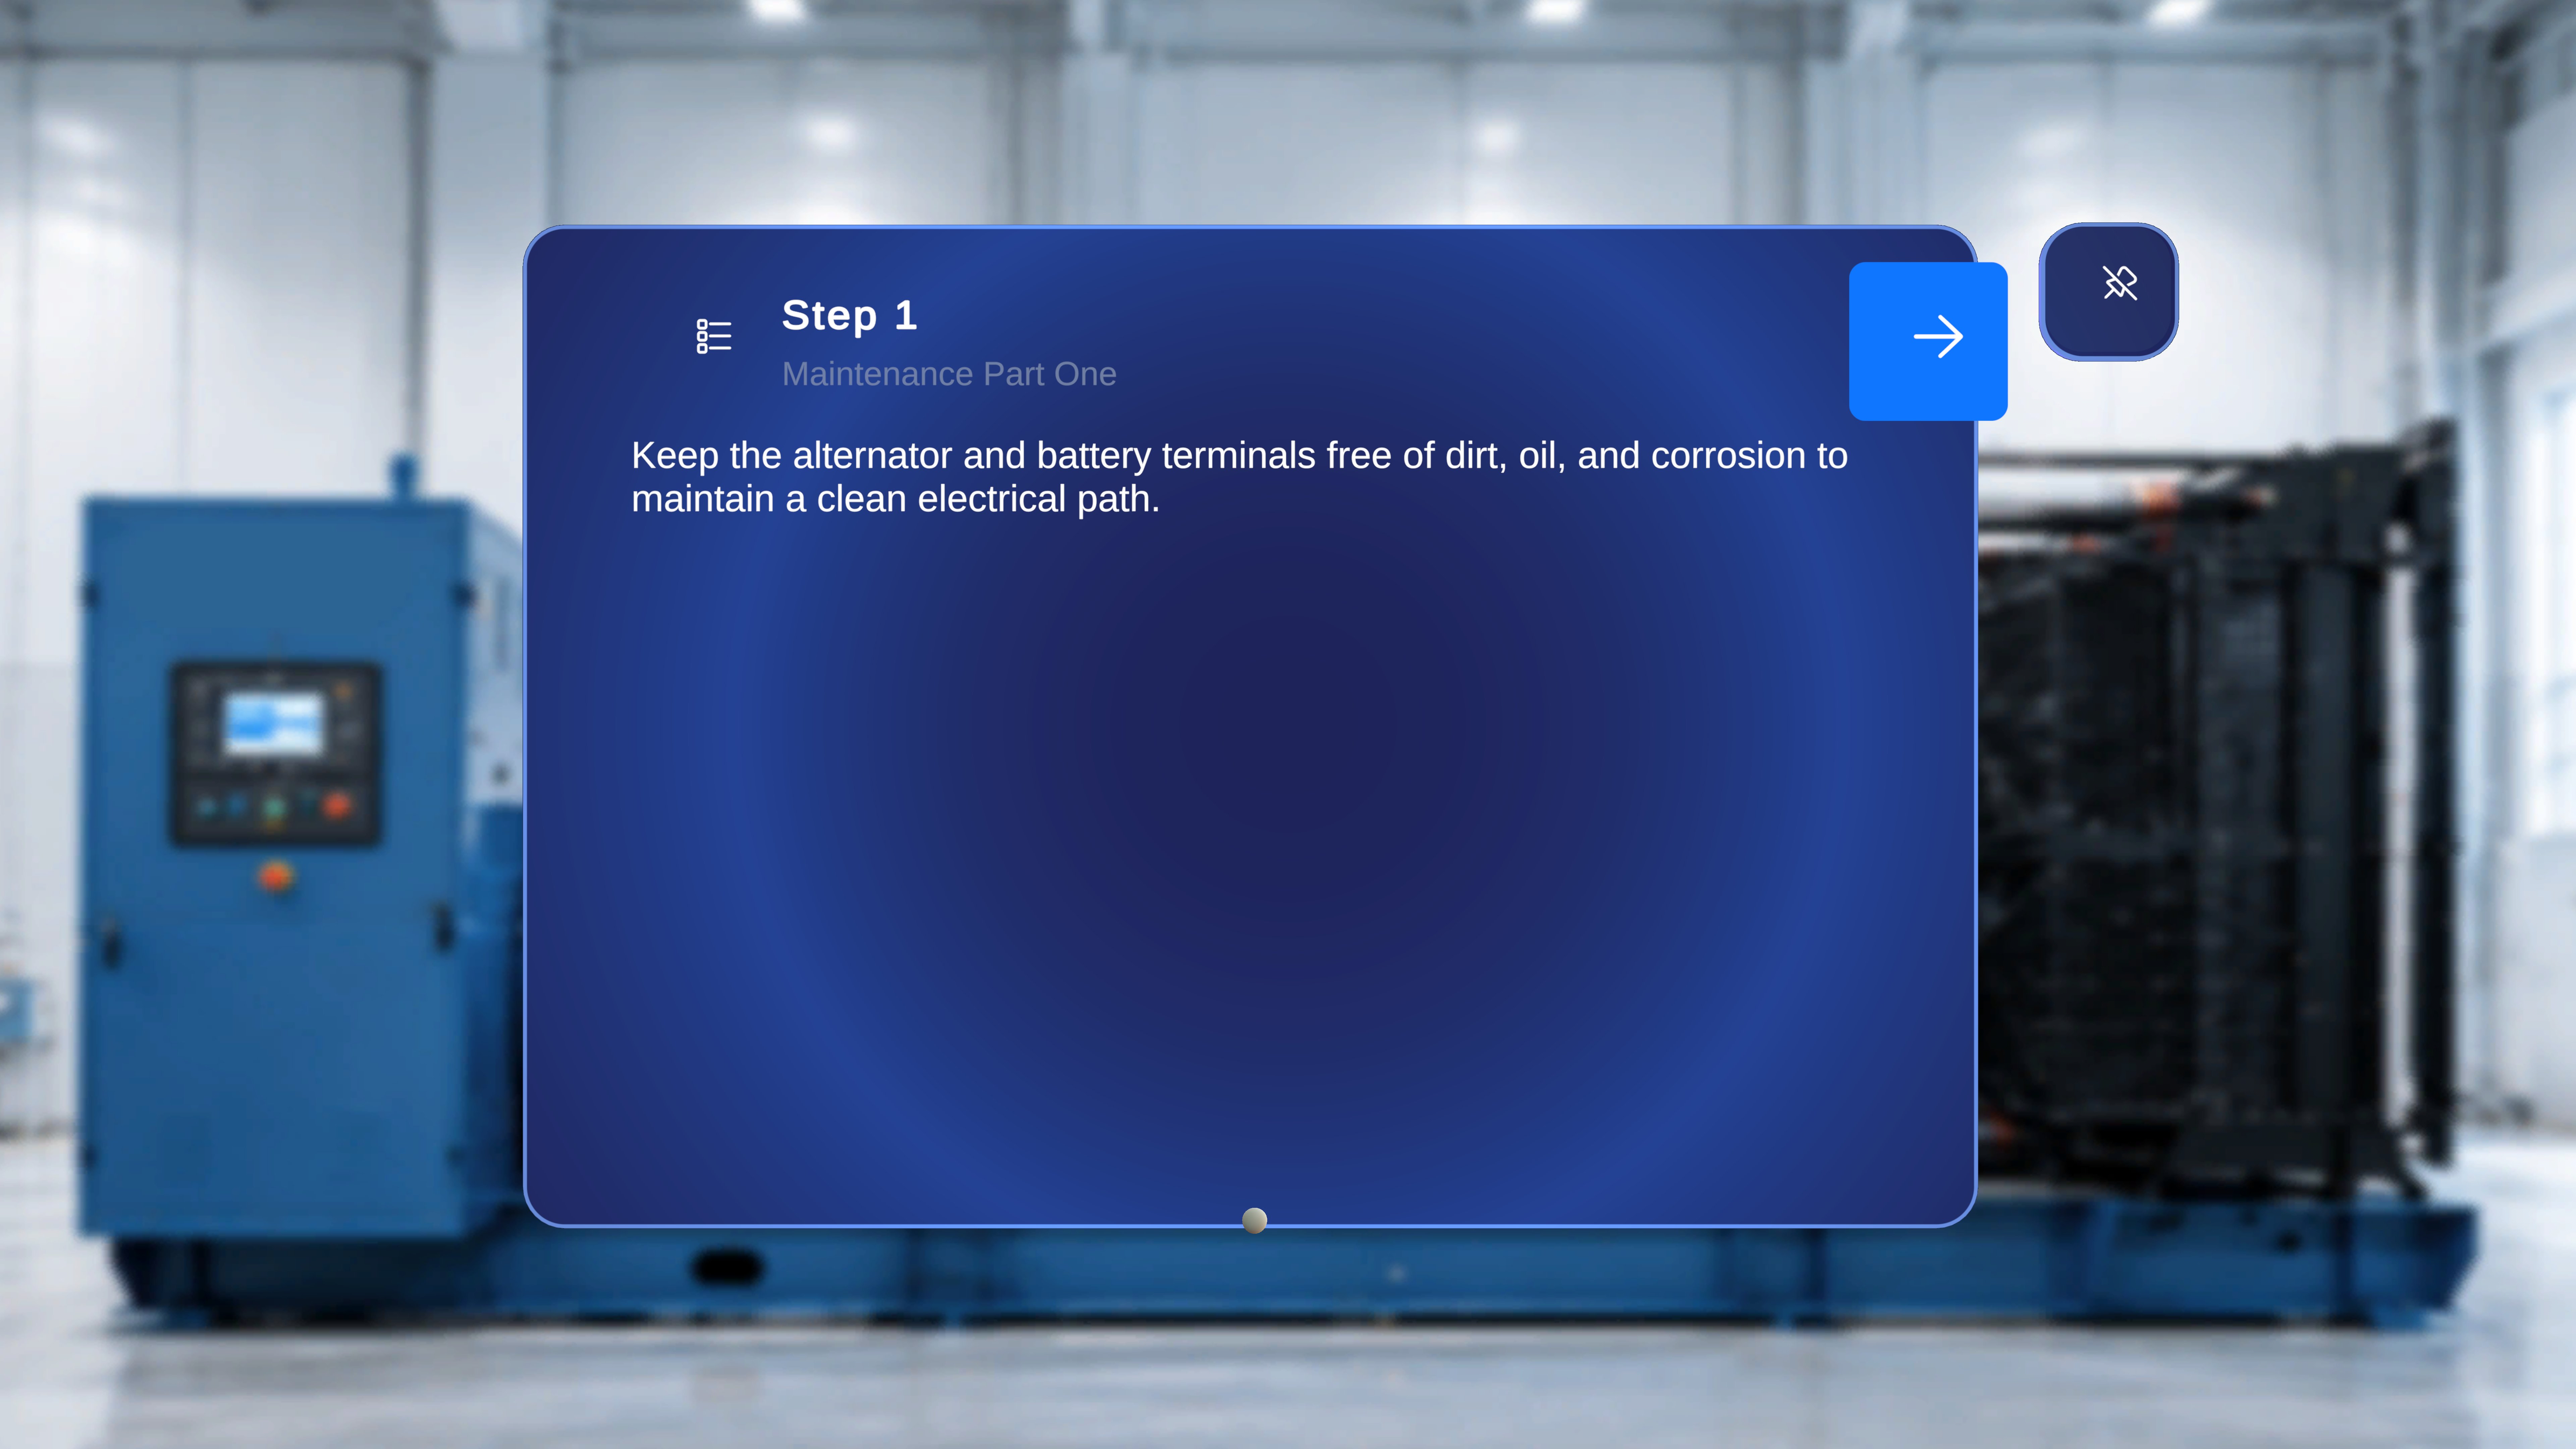 If the author attached an image or video to the step, a Media Panel appears beside it — videos auto-play in a loop, and you can pause, resume, mute, or unmute playback. If no media is attached, the panel doesn’t appear.
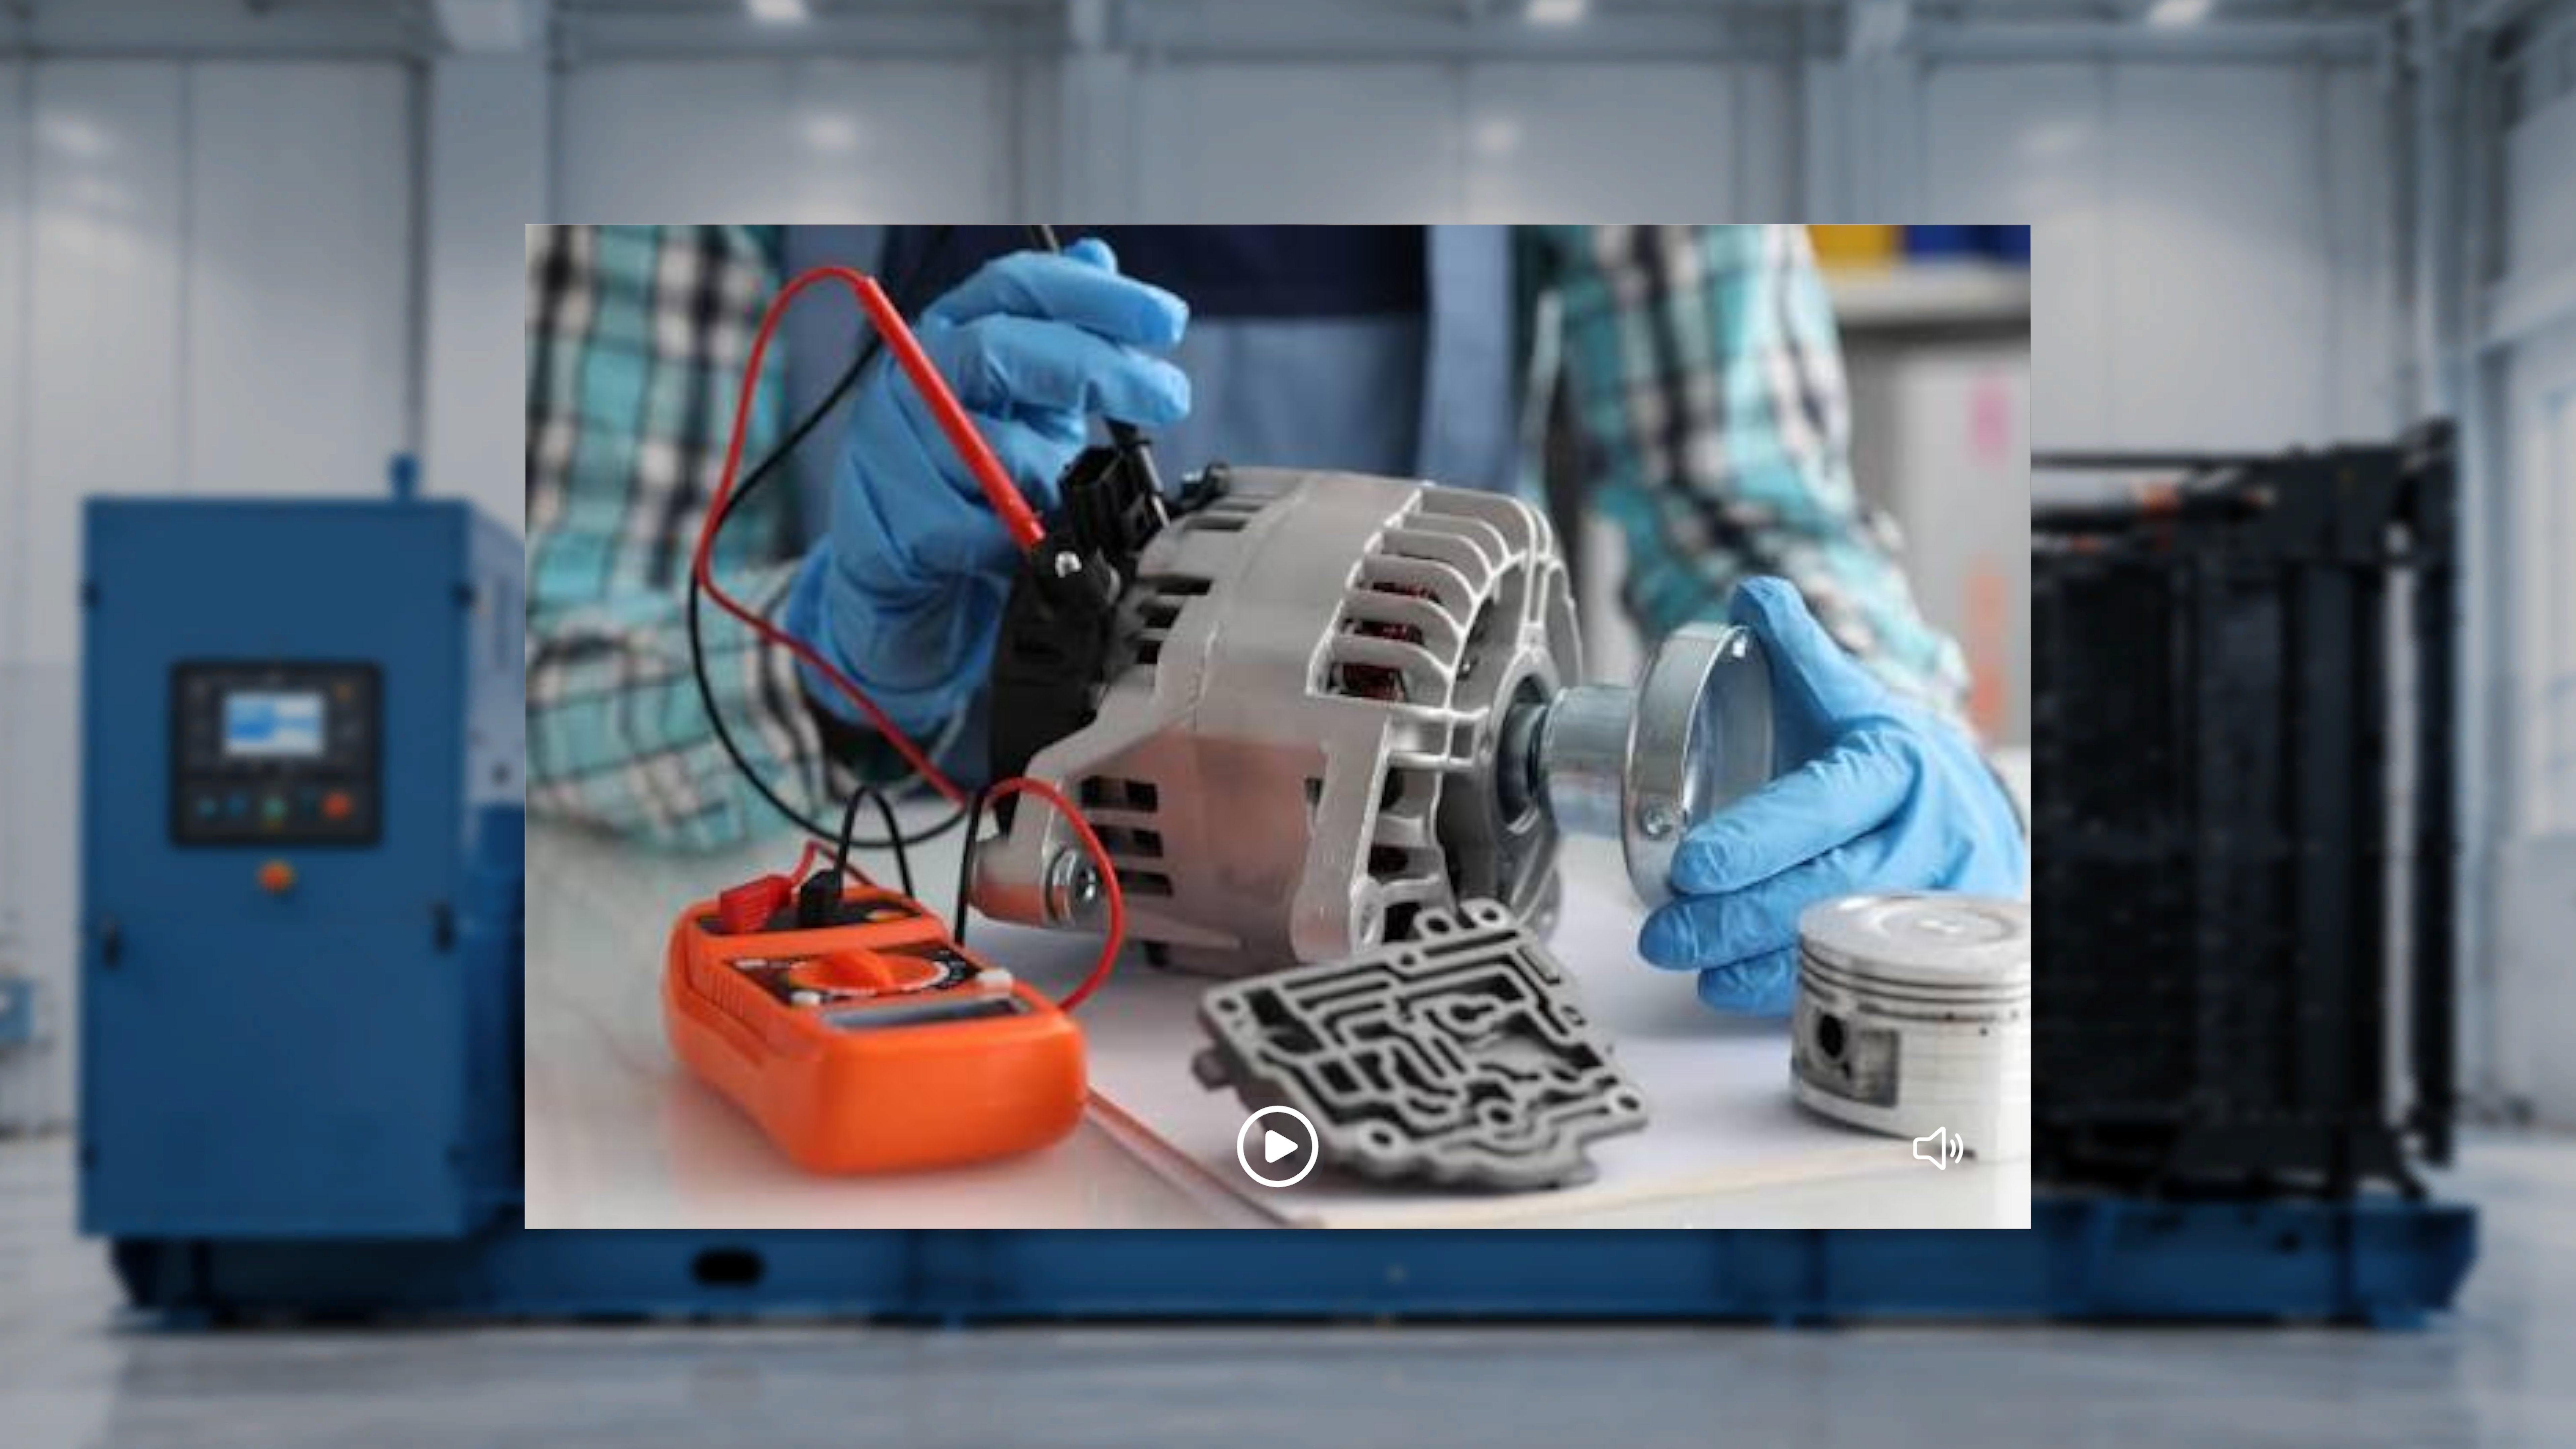 Any 3D models placed during authoring appear in your space at their saved positions.
6
Move through a few steps
Select the right arrow to advance to the next step. The panel updates with the new step number and task title, and the media and 3D content refresh to show only what’s attached to that step.Select the left arrow to go back — the previous step and its content return.Try moving forward through two or three steps to get a feel for the rhythm. (Curious how steps roll up into tasks and procedures? See Procedures, Tasks & Steps.)
7
Peek at the Step List
Select the List icon at the top-left of the Step Panel (before the Back button). A panel opens showing the procedure name, all tasks, all steps under each task, and all completion steps.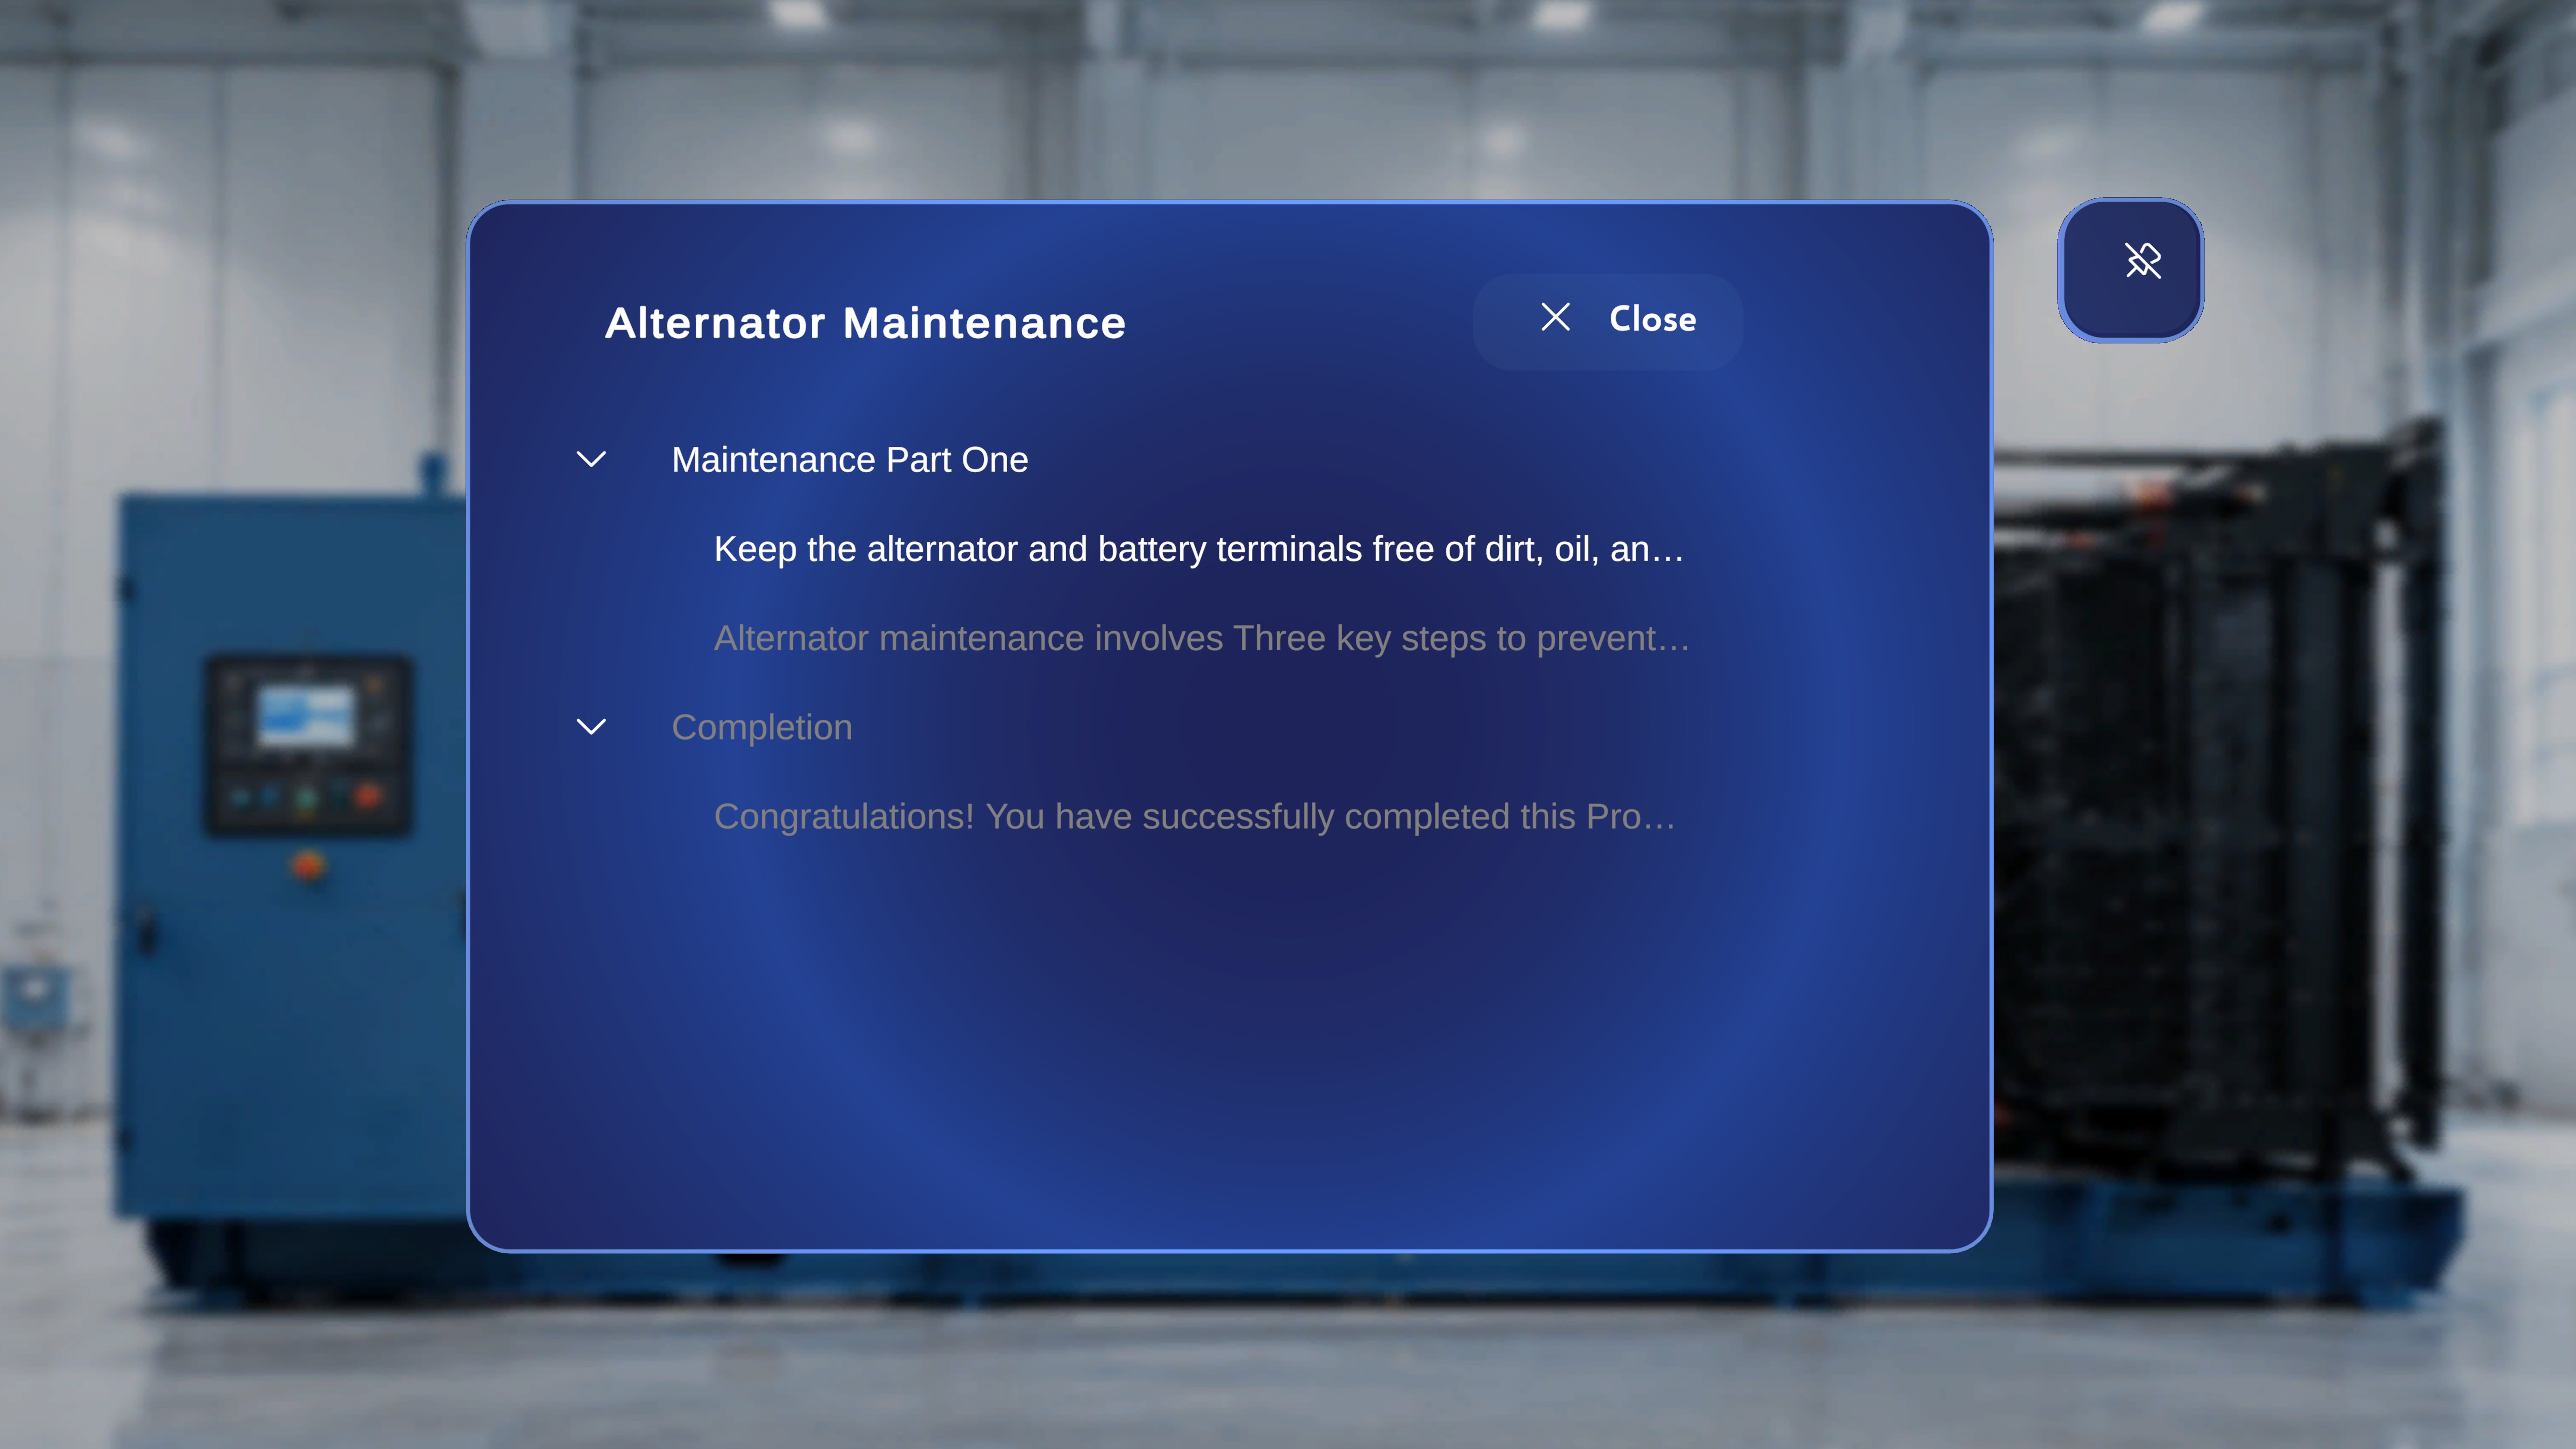 From here you can jump directly to any task or step without following the Next/Back sequence — the selected step becomes active immediately, with its media and 3D content loaded as authored. Select Close (X) to return to your current step.
8
Complete the procedure
Continue through the steps (or use the Step List to jump ahead) until you reach the Completion Step. It displays the message “Congratulations! You have successfully completed this Procedure.” along with two buttons.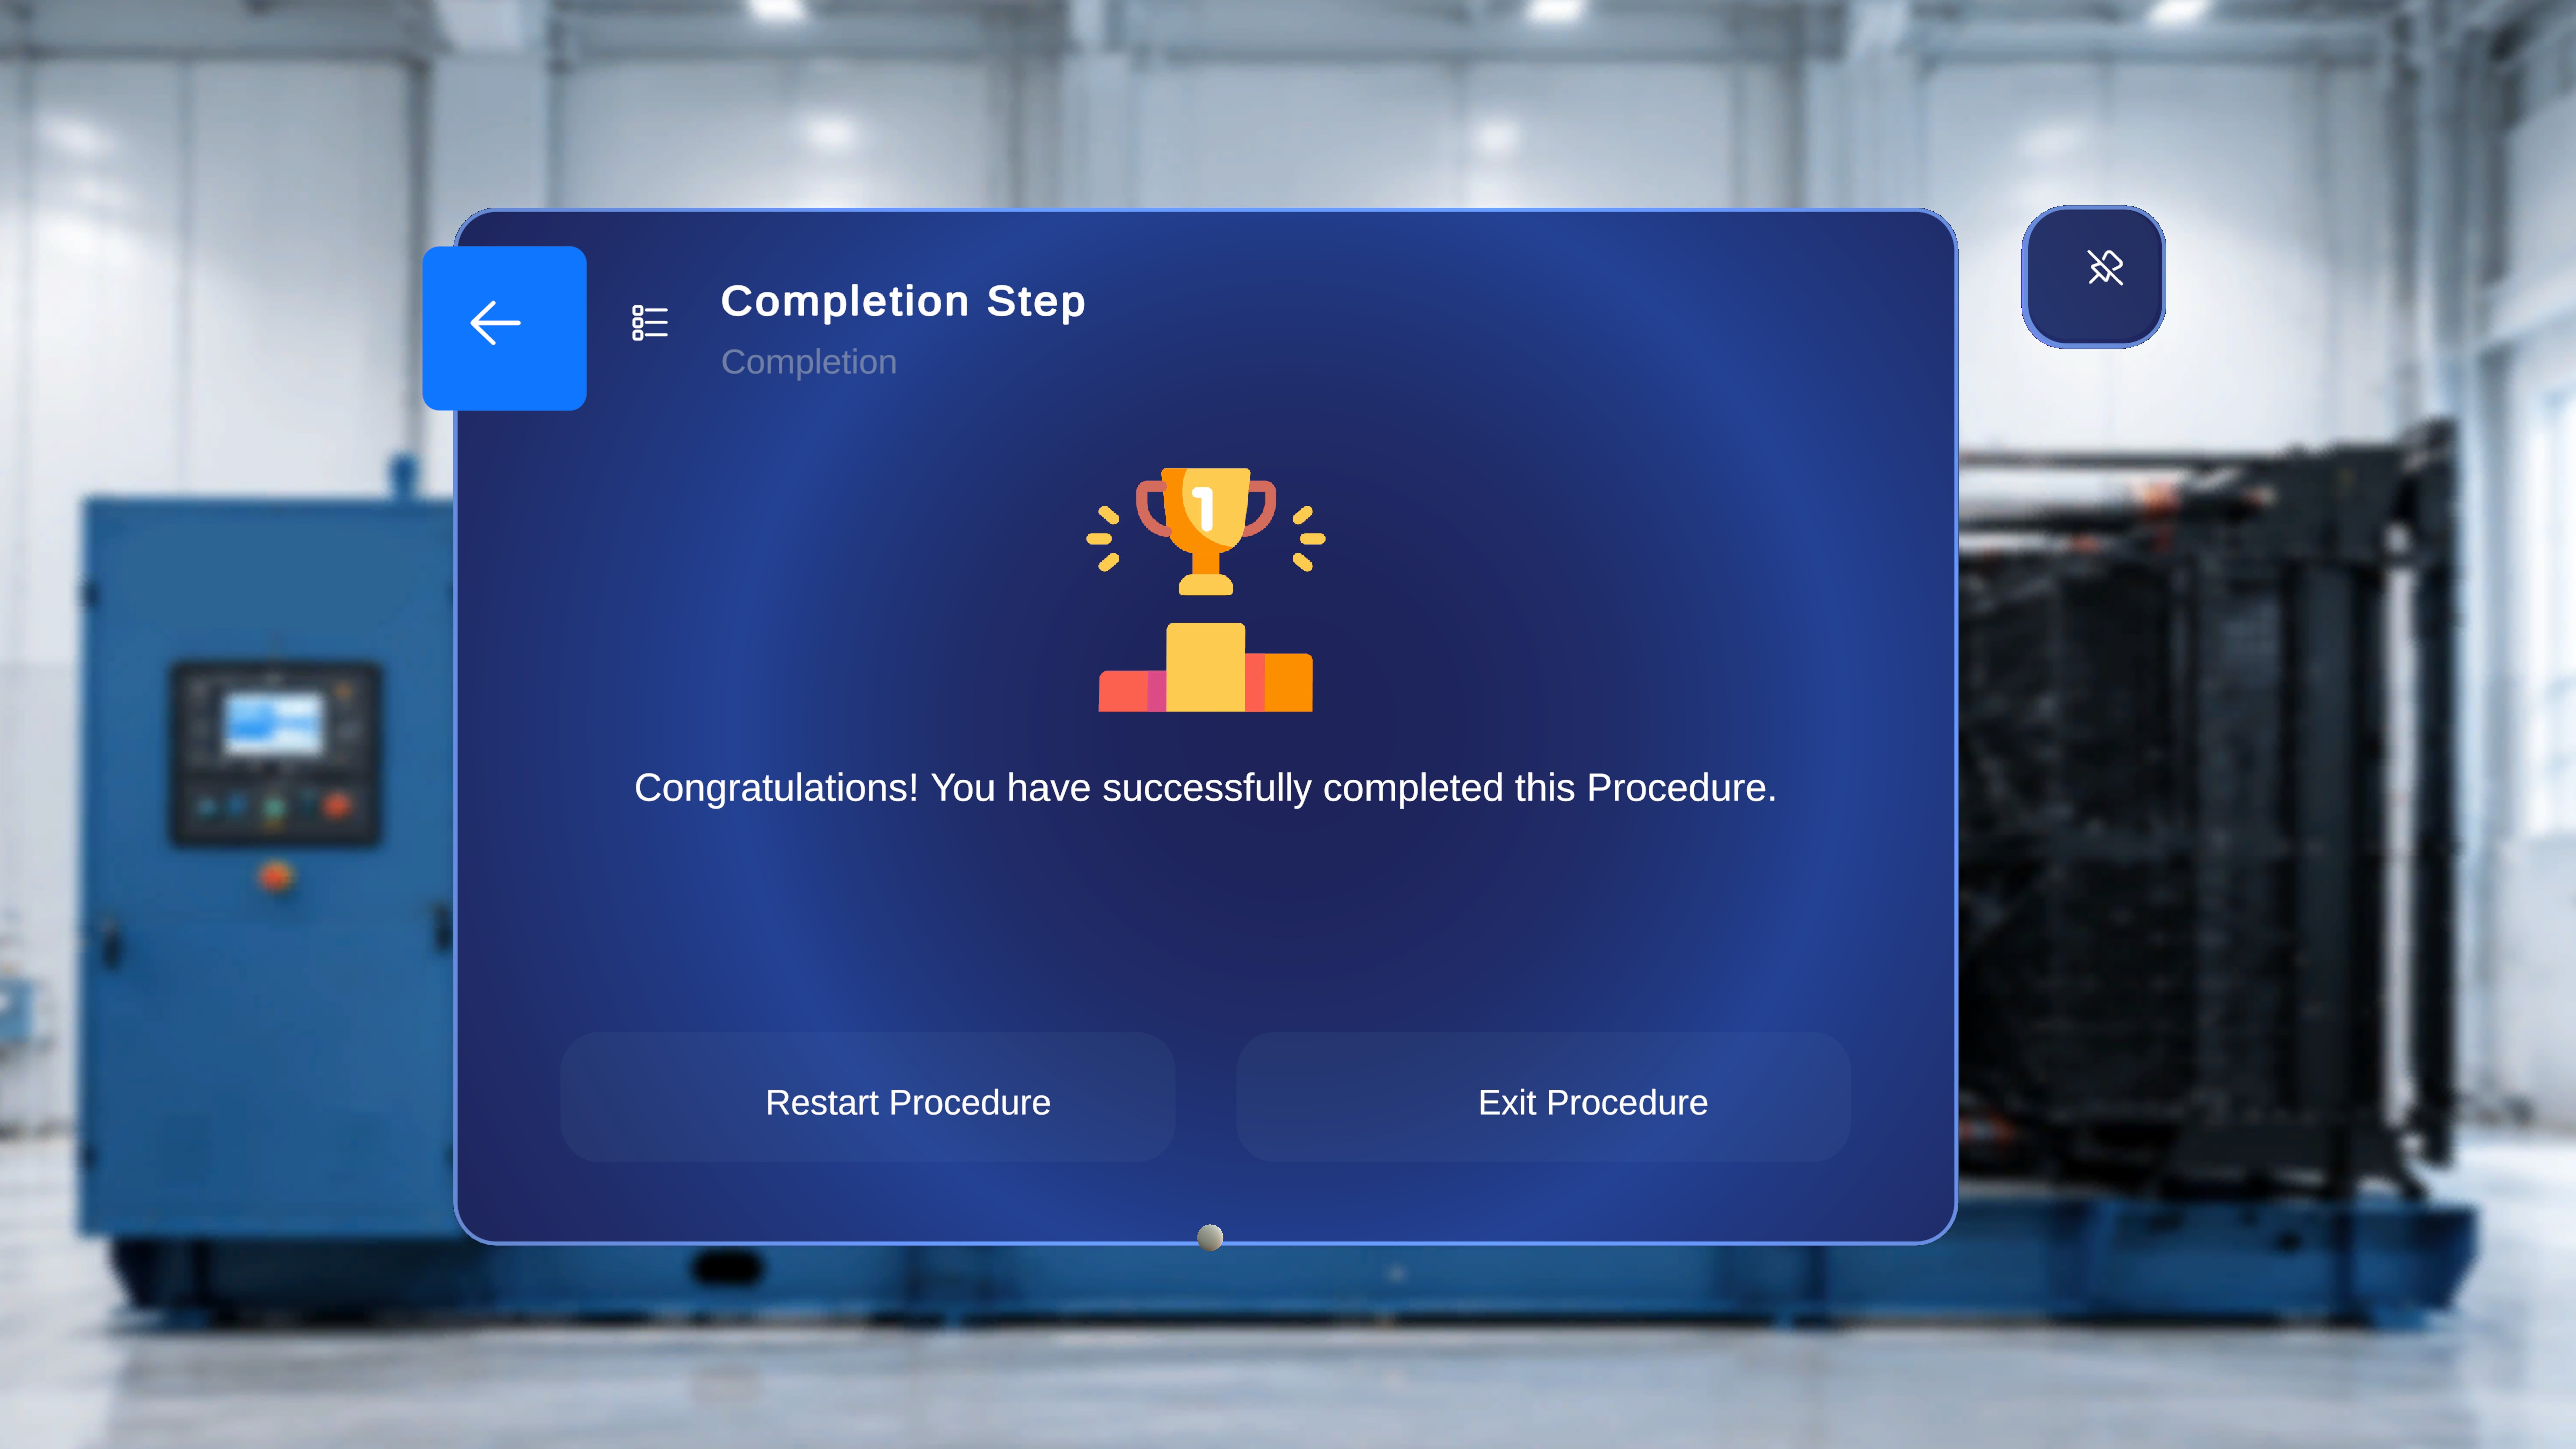
- Restart Procedure resets everything to the first step, clearing in-session progress.
- Exit Procedure closes the procedure and returns you to the Home environment.
Where to Go Next
You’ve now seen the full operator loop: find, anchor, follow, complete. Pick your path based on your role (not sure which you are? See Author vs. Operator):Field worker?
Continue to the Operate section for the full details on finding, anchoring, and executing procedures day to day.
Author?
Learn how to enter Author mode and build or refine procedures directly on the headset.