

Before You Start: Prepare the QR Code
Print the official Altoura Frontline QR code and fix it to a flat, non-reflective, stable surface at your work site. Third-party or self-generated QR codes might not work reliably.Frontline QR Code (PDF)
Download the official Altoura Frontline QR code as a print-ready PDF.
Scan the QR Code
Immediately after you select Author in the mode dialog, a Scan QR Code instruction panel appears, with a Cancel button at the bottom.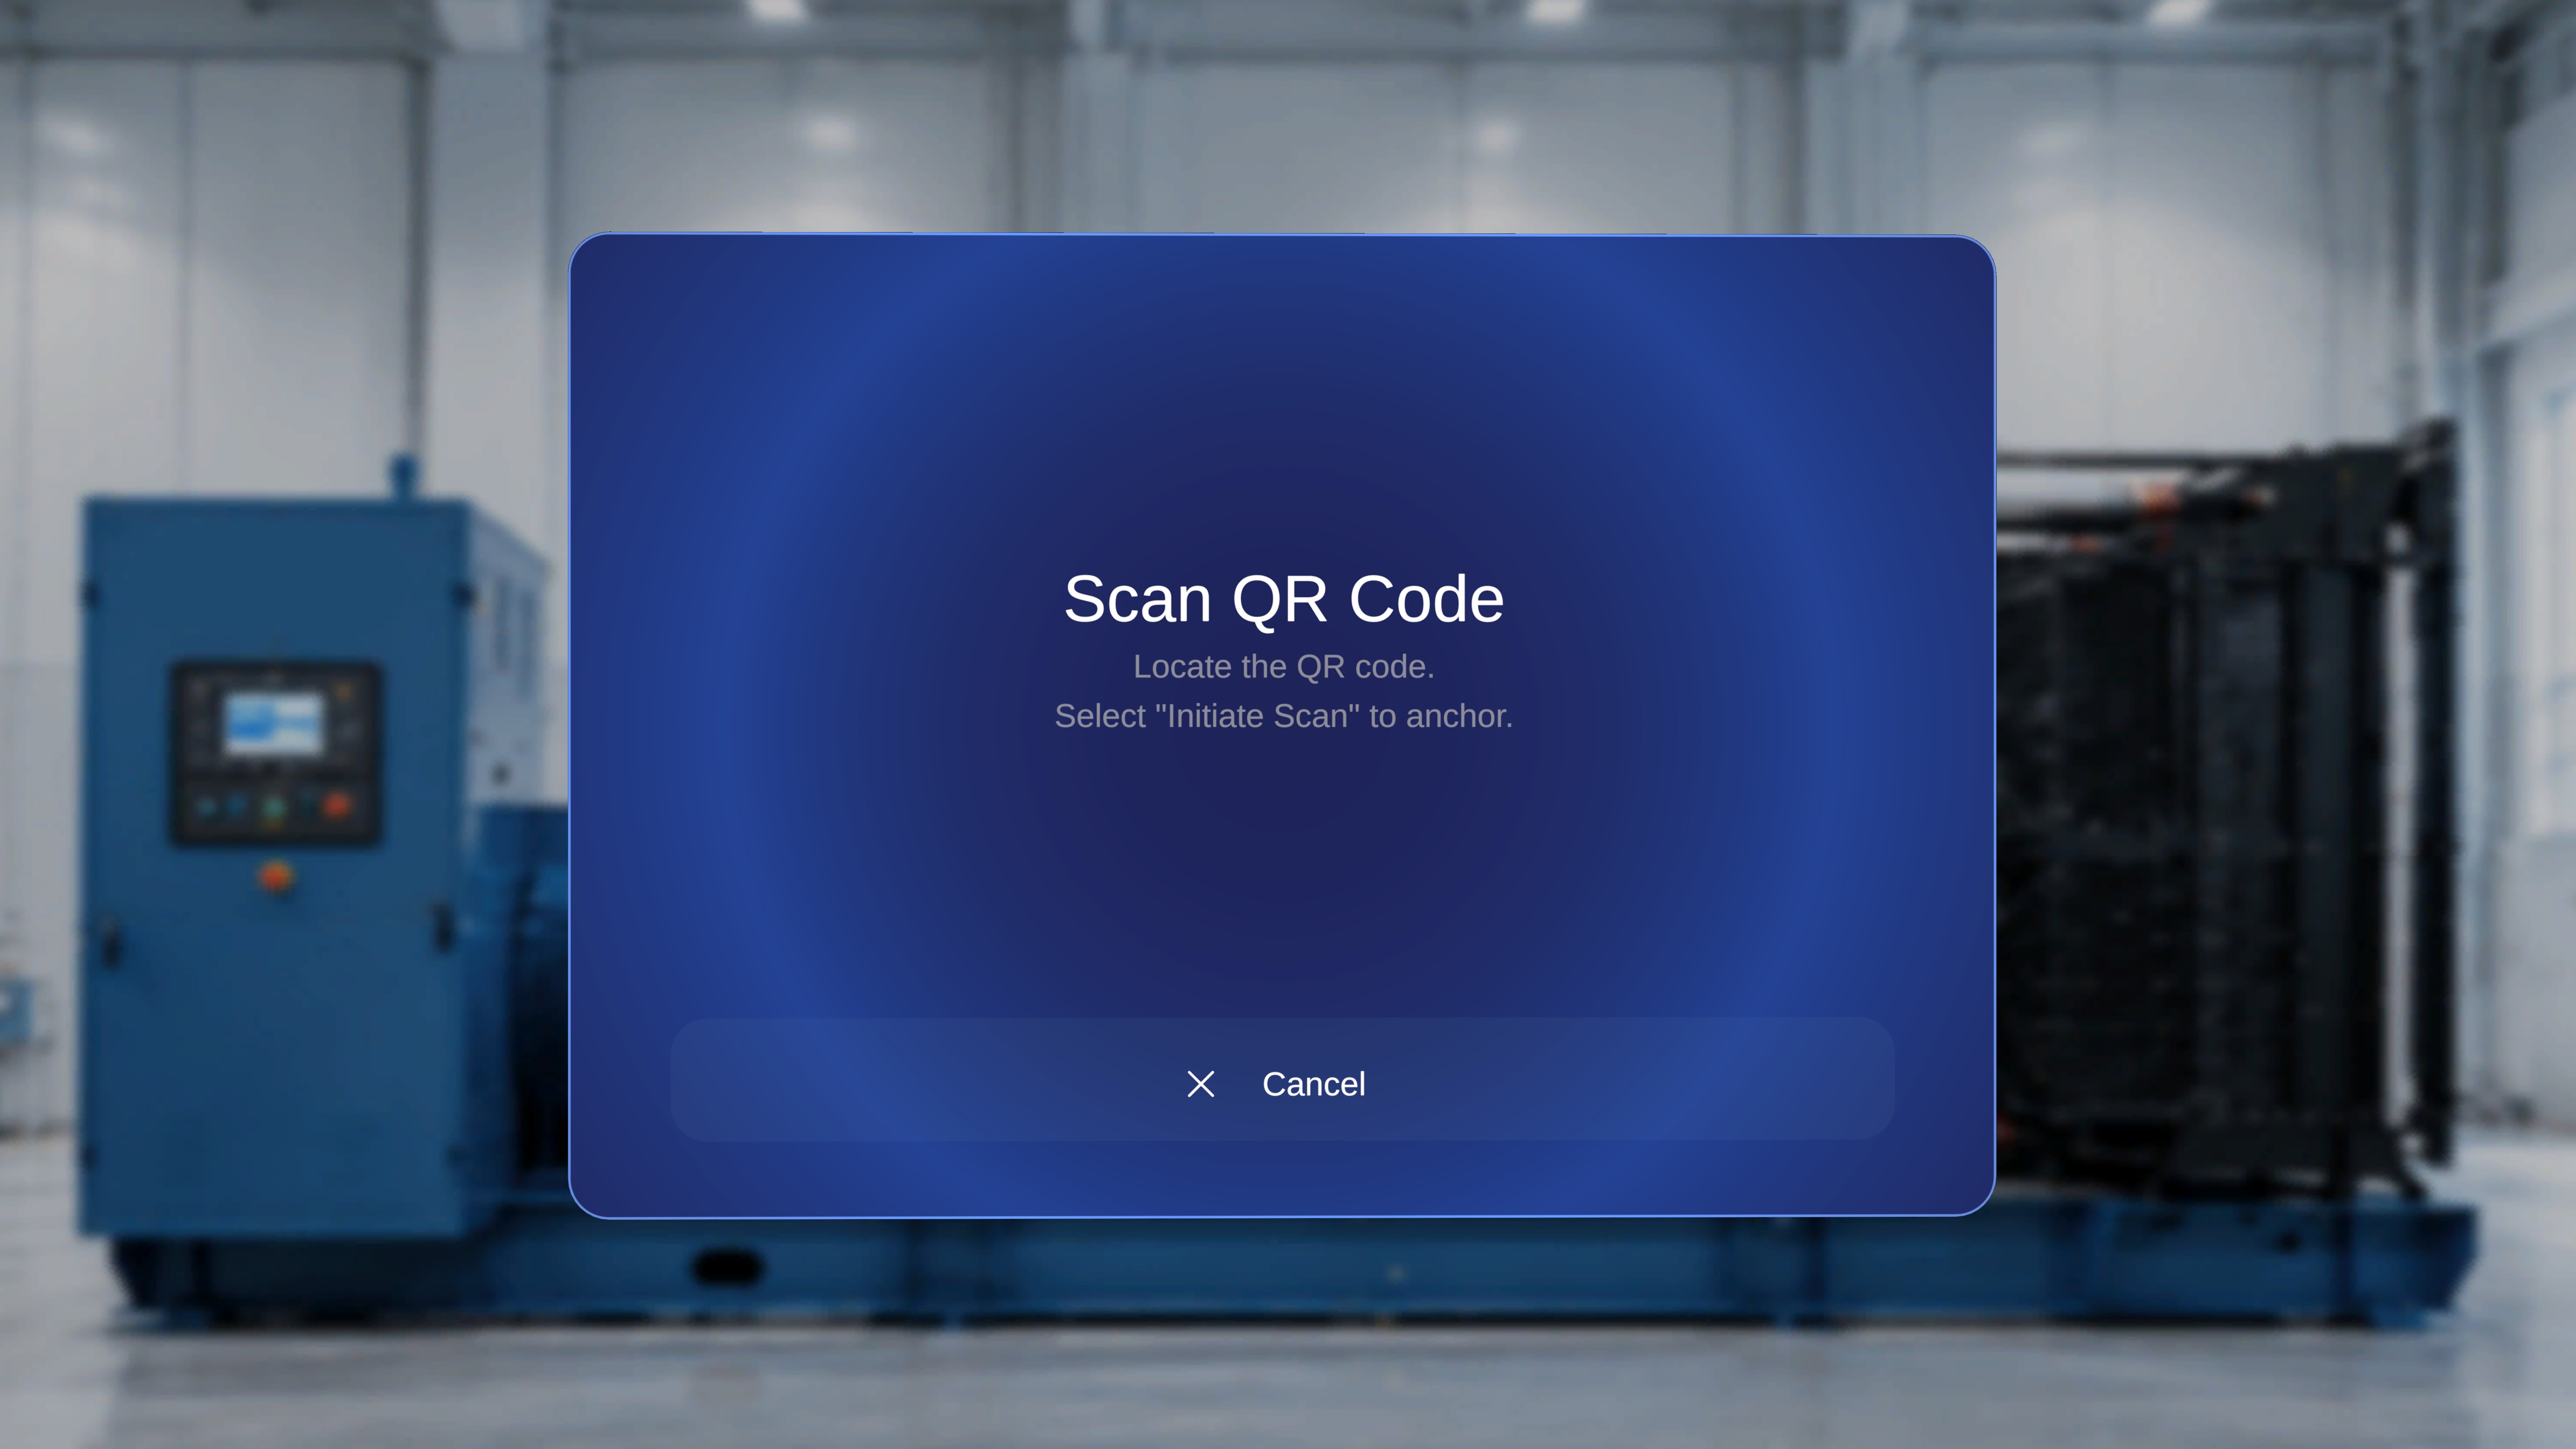
1
Locate the physical QR code
Walk to the printed QR code at your anchor location. A scanning frame appears on screen with the label Scan the QR code.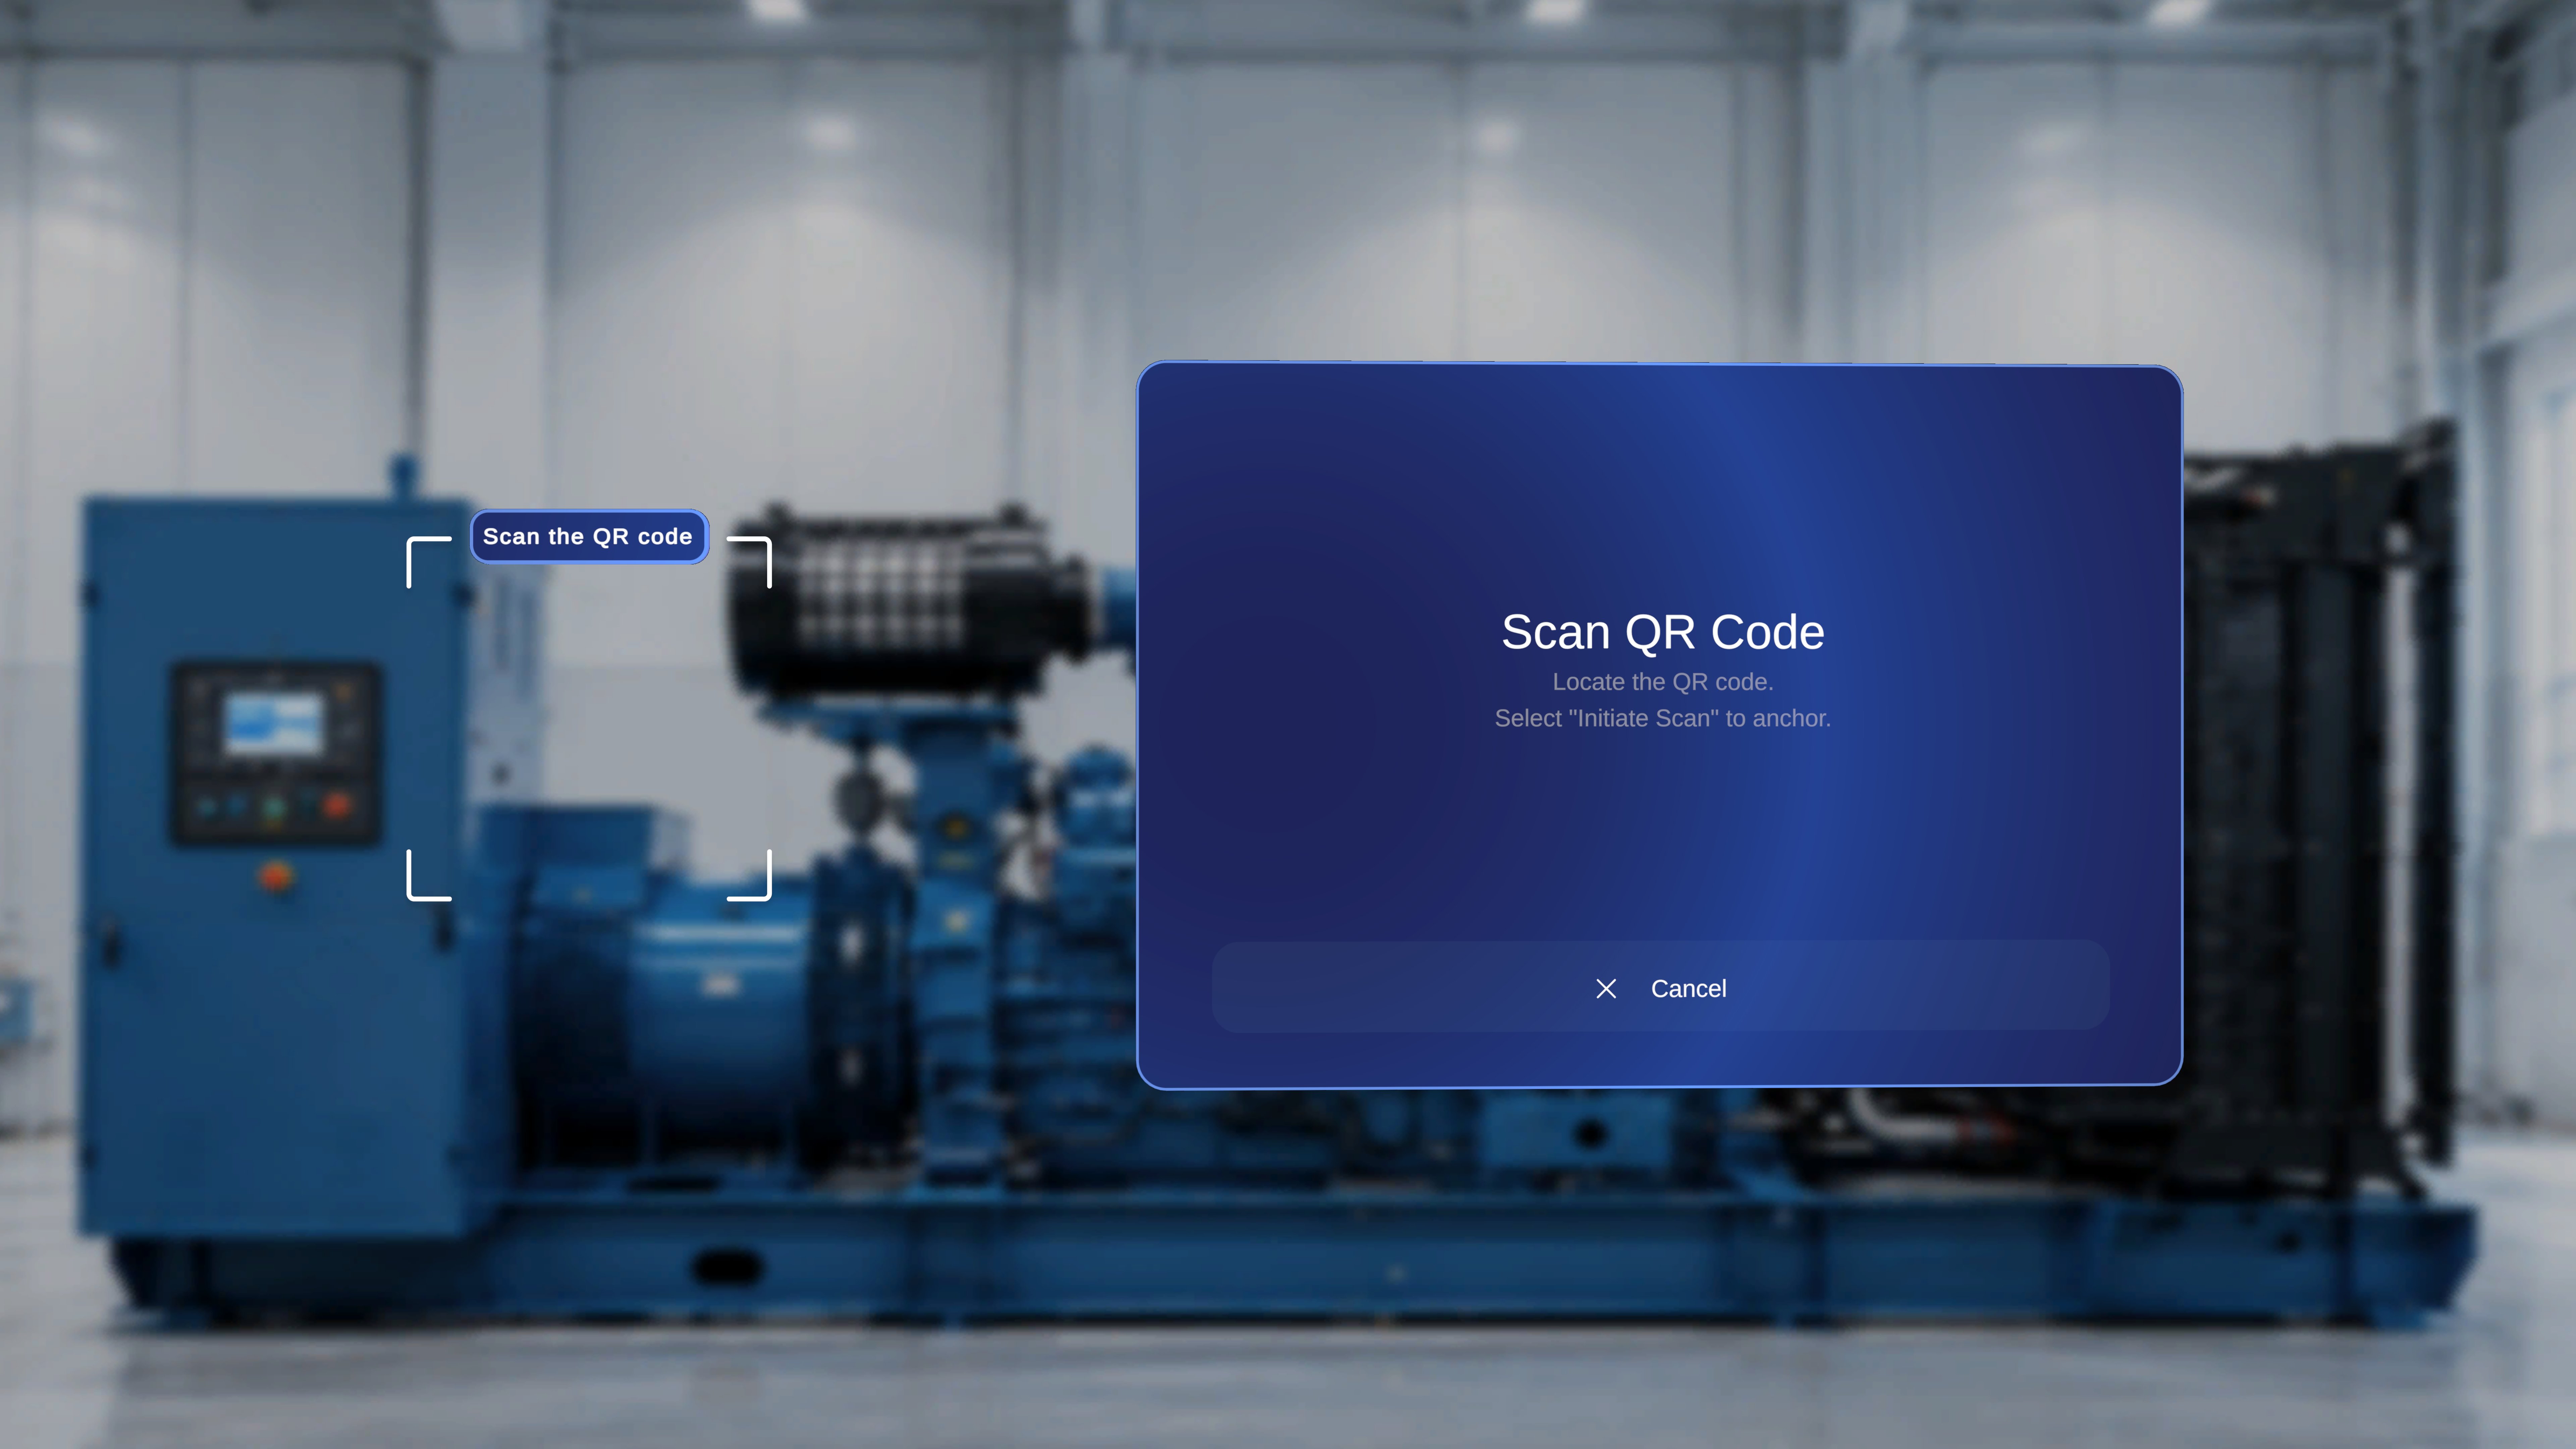
2
Align the QR inside the frame
Hold your head steady so the QR code sits inside the bracketed scanning frame, roughly 30–60 cm away, and keep still until the system detects it.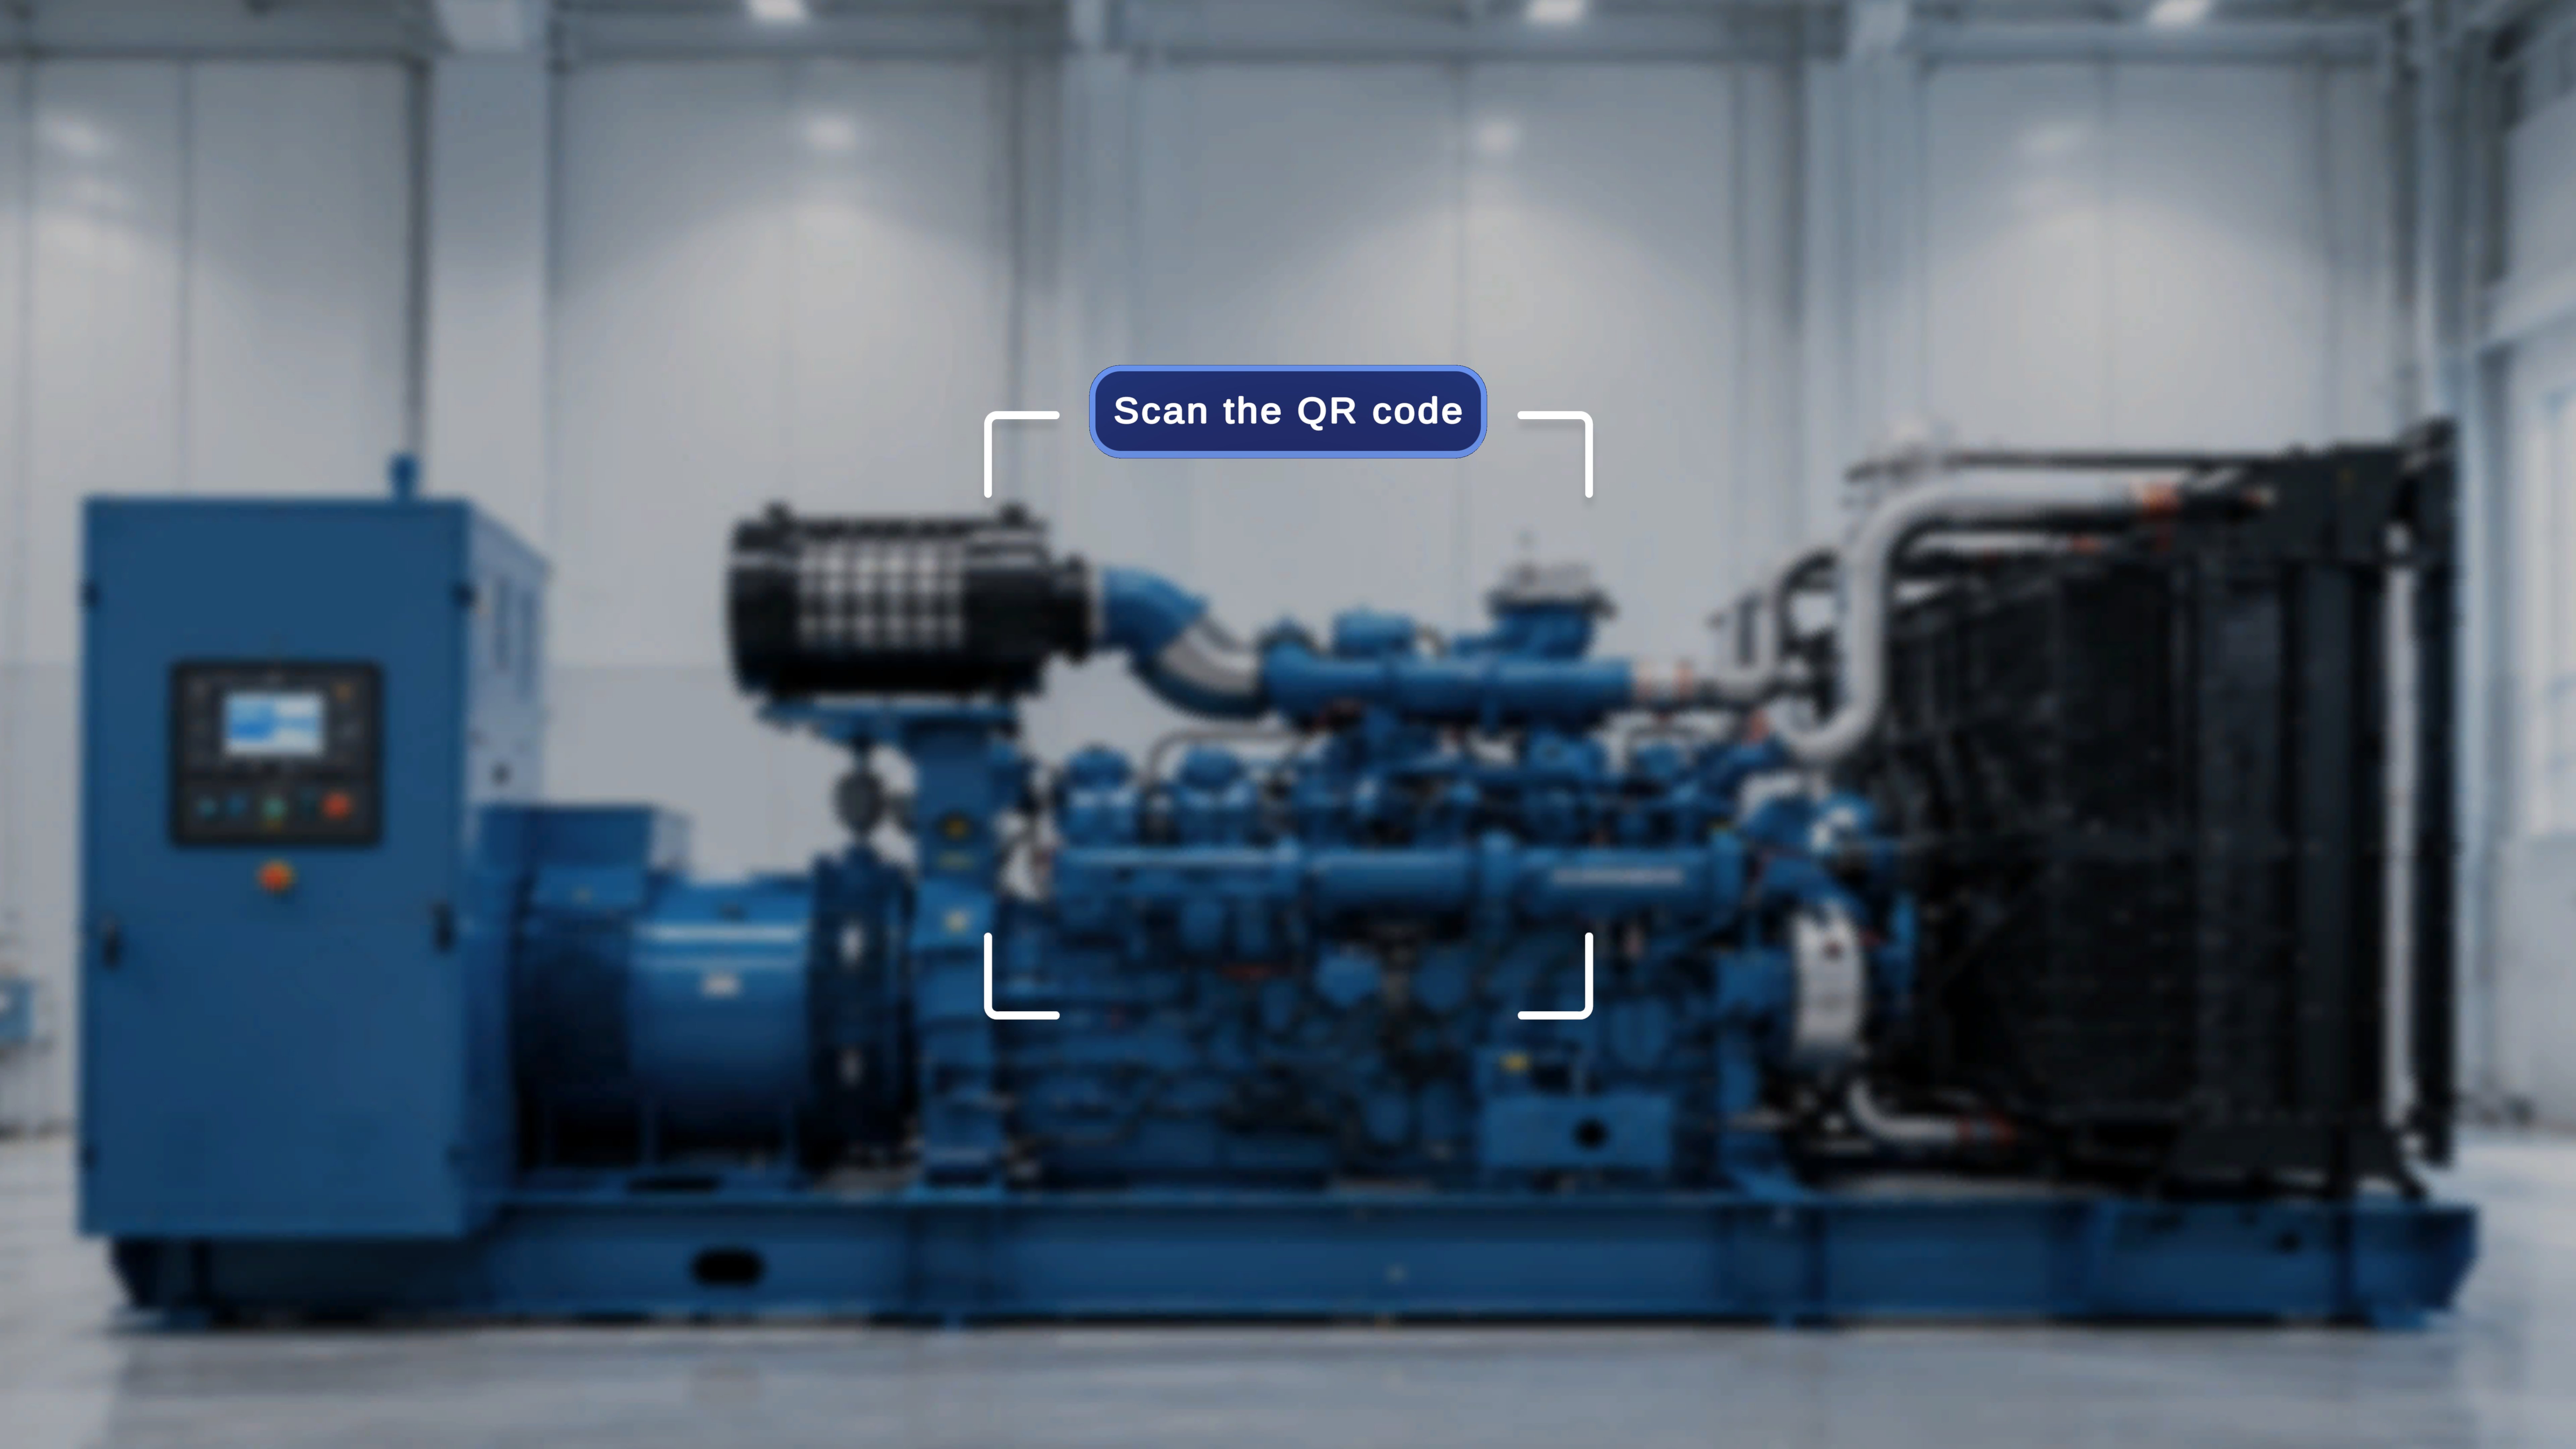
3
Confirm the anchor
When the code is detected, an Anchor found panel appears with the instruction: select Confirm if the blue outline is aligned, select Rescan if not.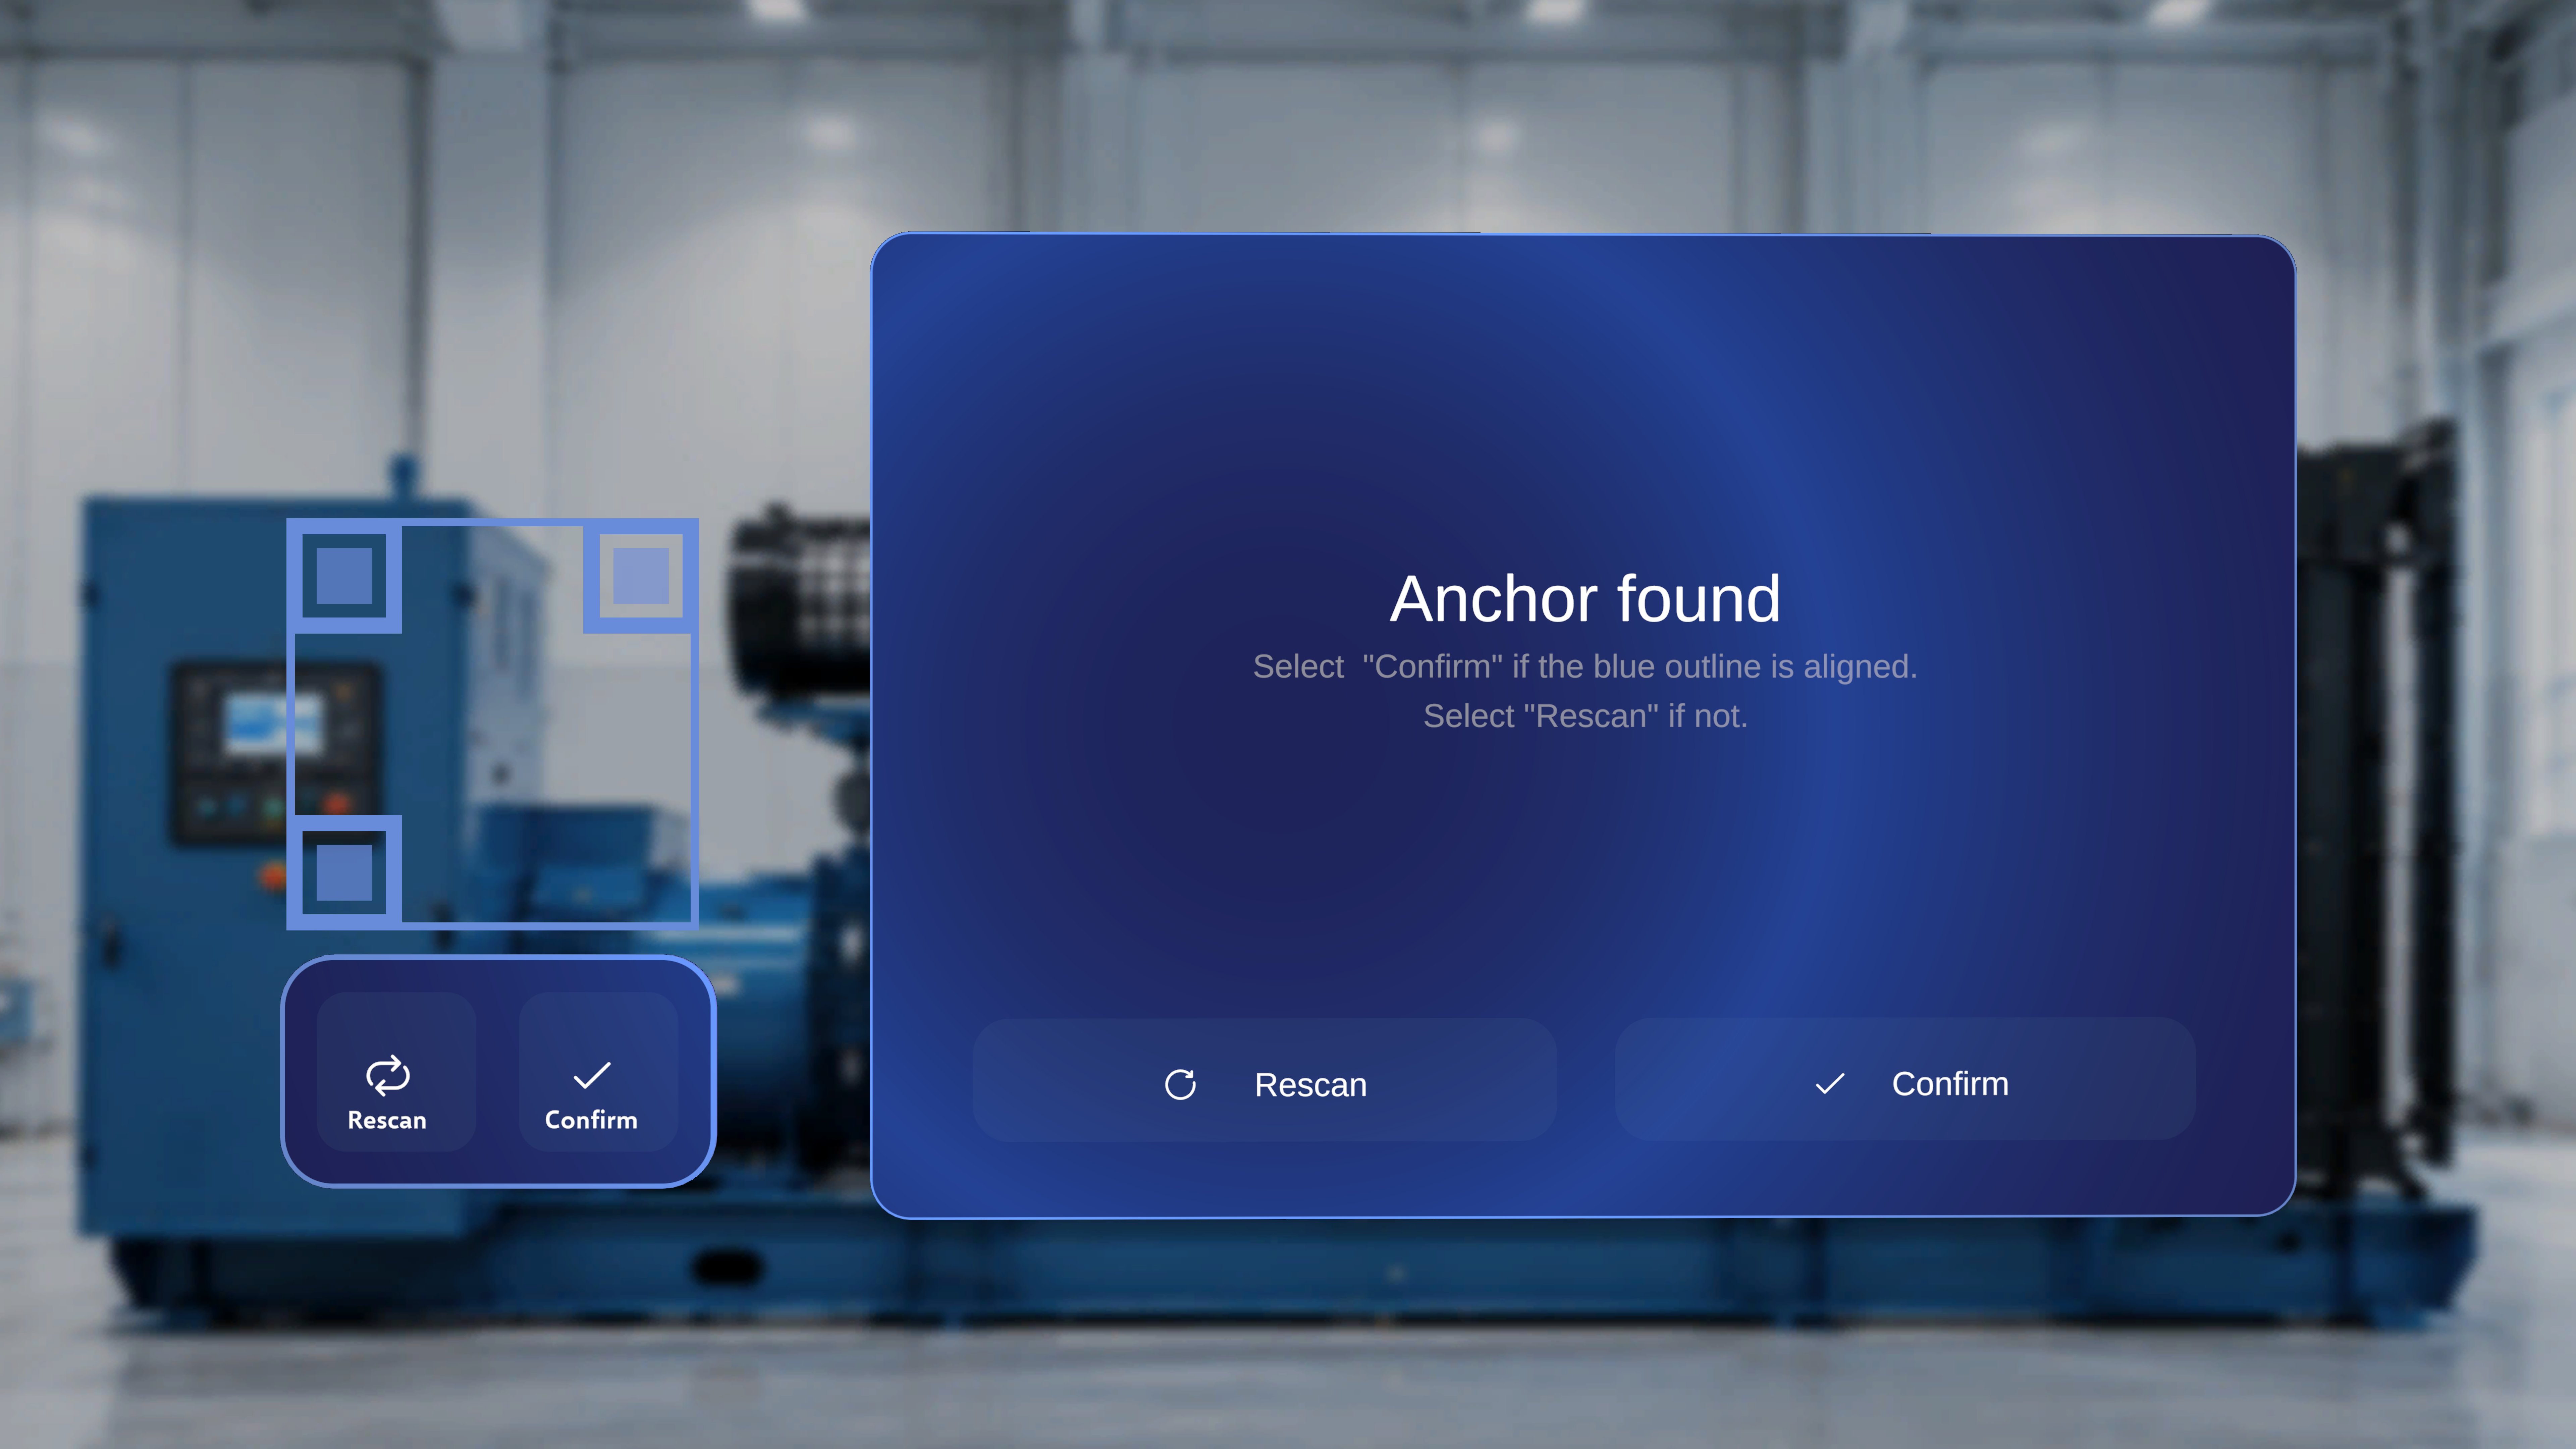 Verify the blue outline sits squarely on the printed QR, then select Confirm — either in the central Anchor found panel or using the button below the QR frame.
Place a Step Anchor Gem
Once inside the procedure, each step shows a diamond-shaped gem icon at the bottom of the main step panel. Placing the gem links that step to a specific physical location — a visible tethered line connects the step panel to the anchor, guiding operators to the exact point where the step applies.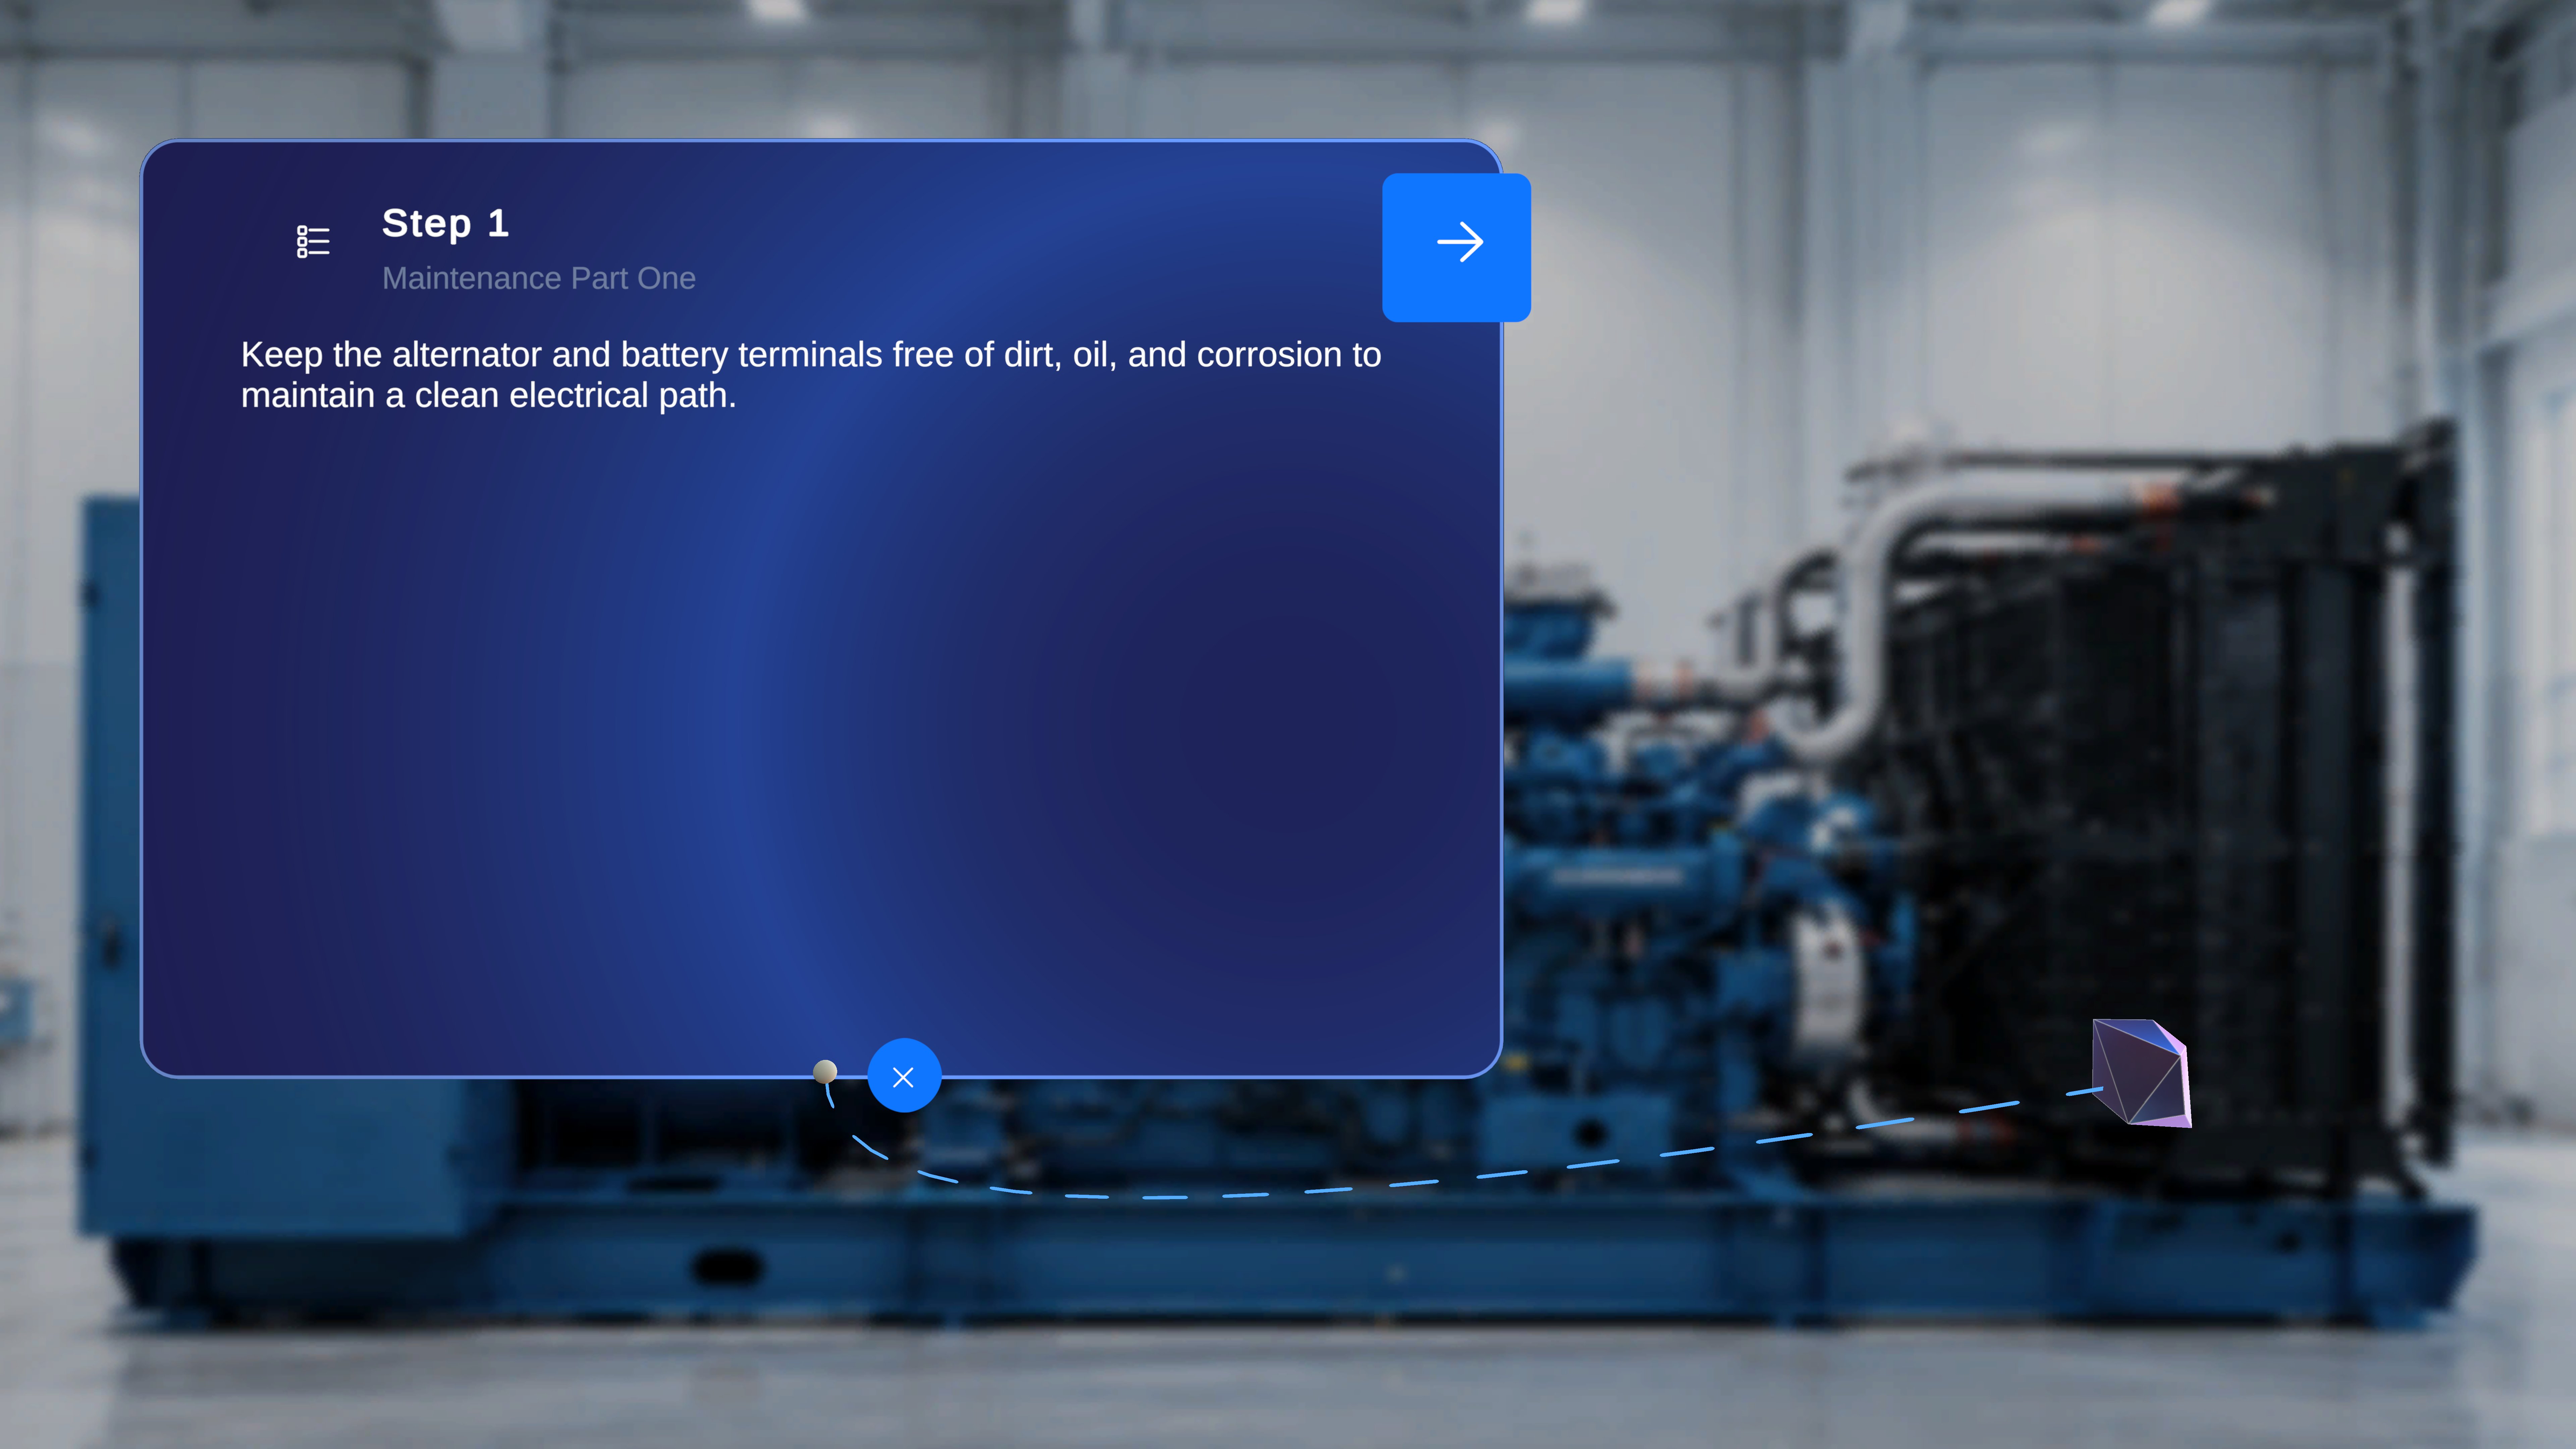
1
Select the gem icon
Locate the gem icon at the bottom of the step panel and select it.
2
Point at the target location
Move your pointer to the desired location in the physical space — for example, the filter housing the step refers to.
3
Place the anchor
Select to place the gem. A tethered line now connects the step panel to the placed anchor, and the step is spatially linked to that location.
- Gem placement is per step — one step may have an anchor while the next does not. As you navigate between steps, the tether updates to that step’s configuration; if no anchor was placed, no tether appears.
- The same tethered line is shown in Operator mode, so operators see exactly where each step applies.
Next: Build Tasks and Steps