

Check the Media Attached to a Step
Images and videos are attached to steps in the Procedures Portal — see Assets & Media and Authoring in the Procedures Portal. On the HoloLens, the Media panel (left side) shows you what operators will see on each step, so review it as you author.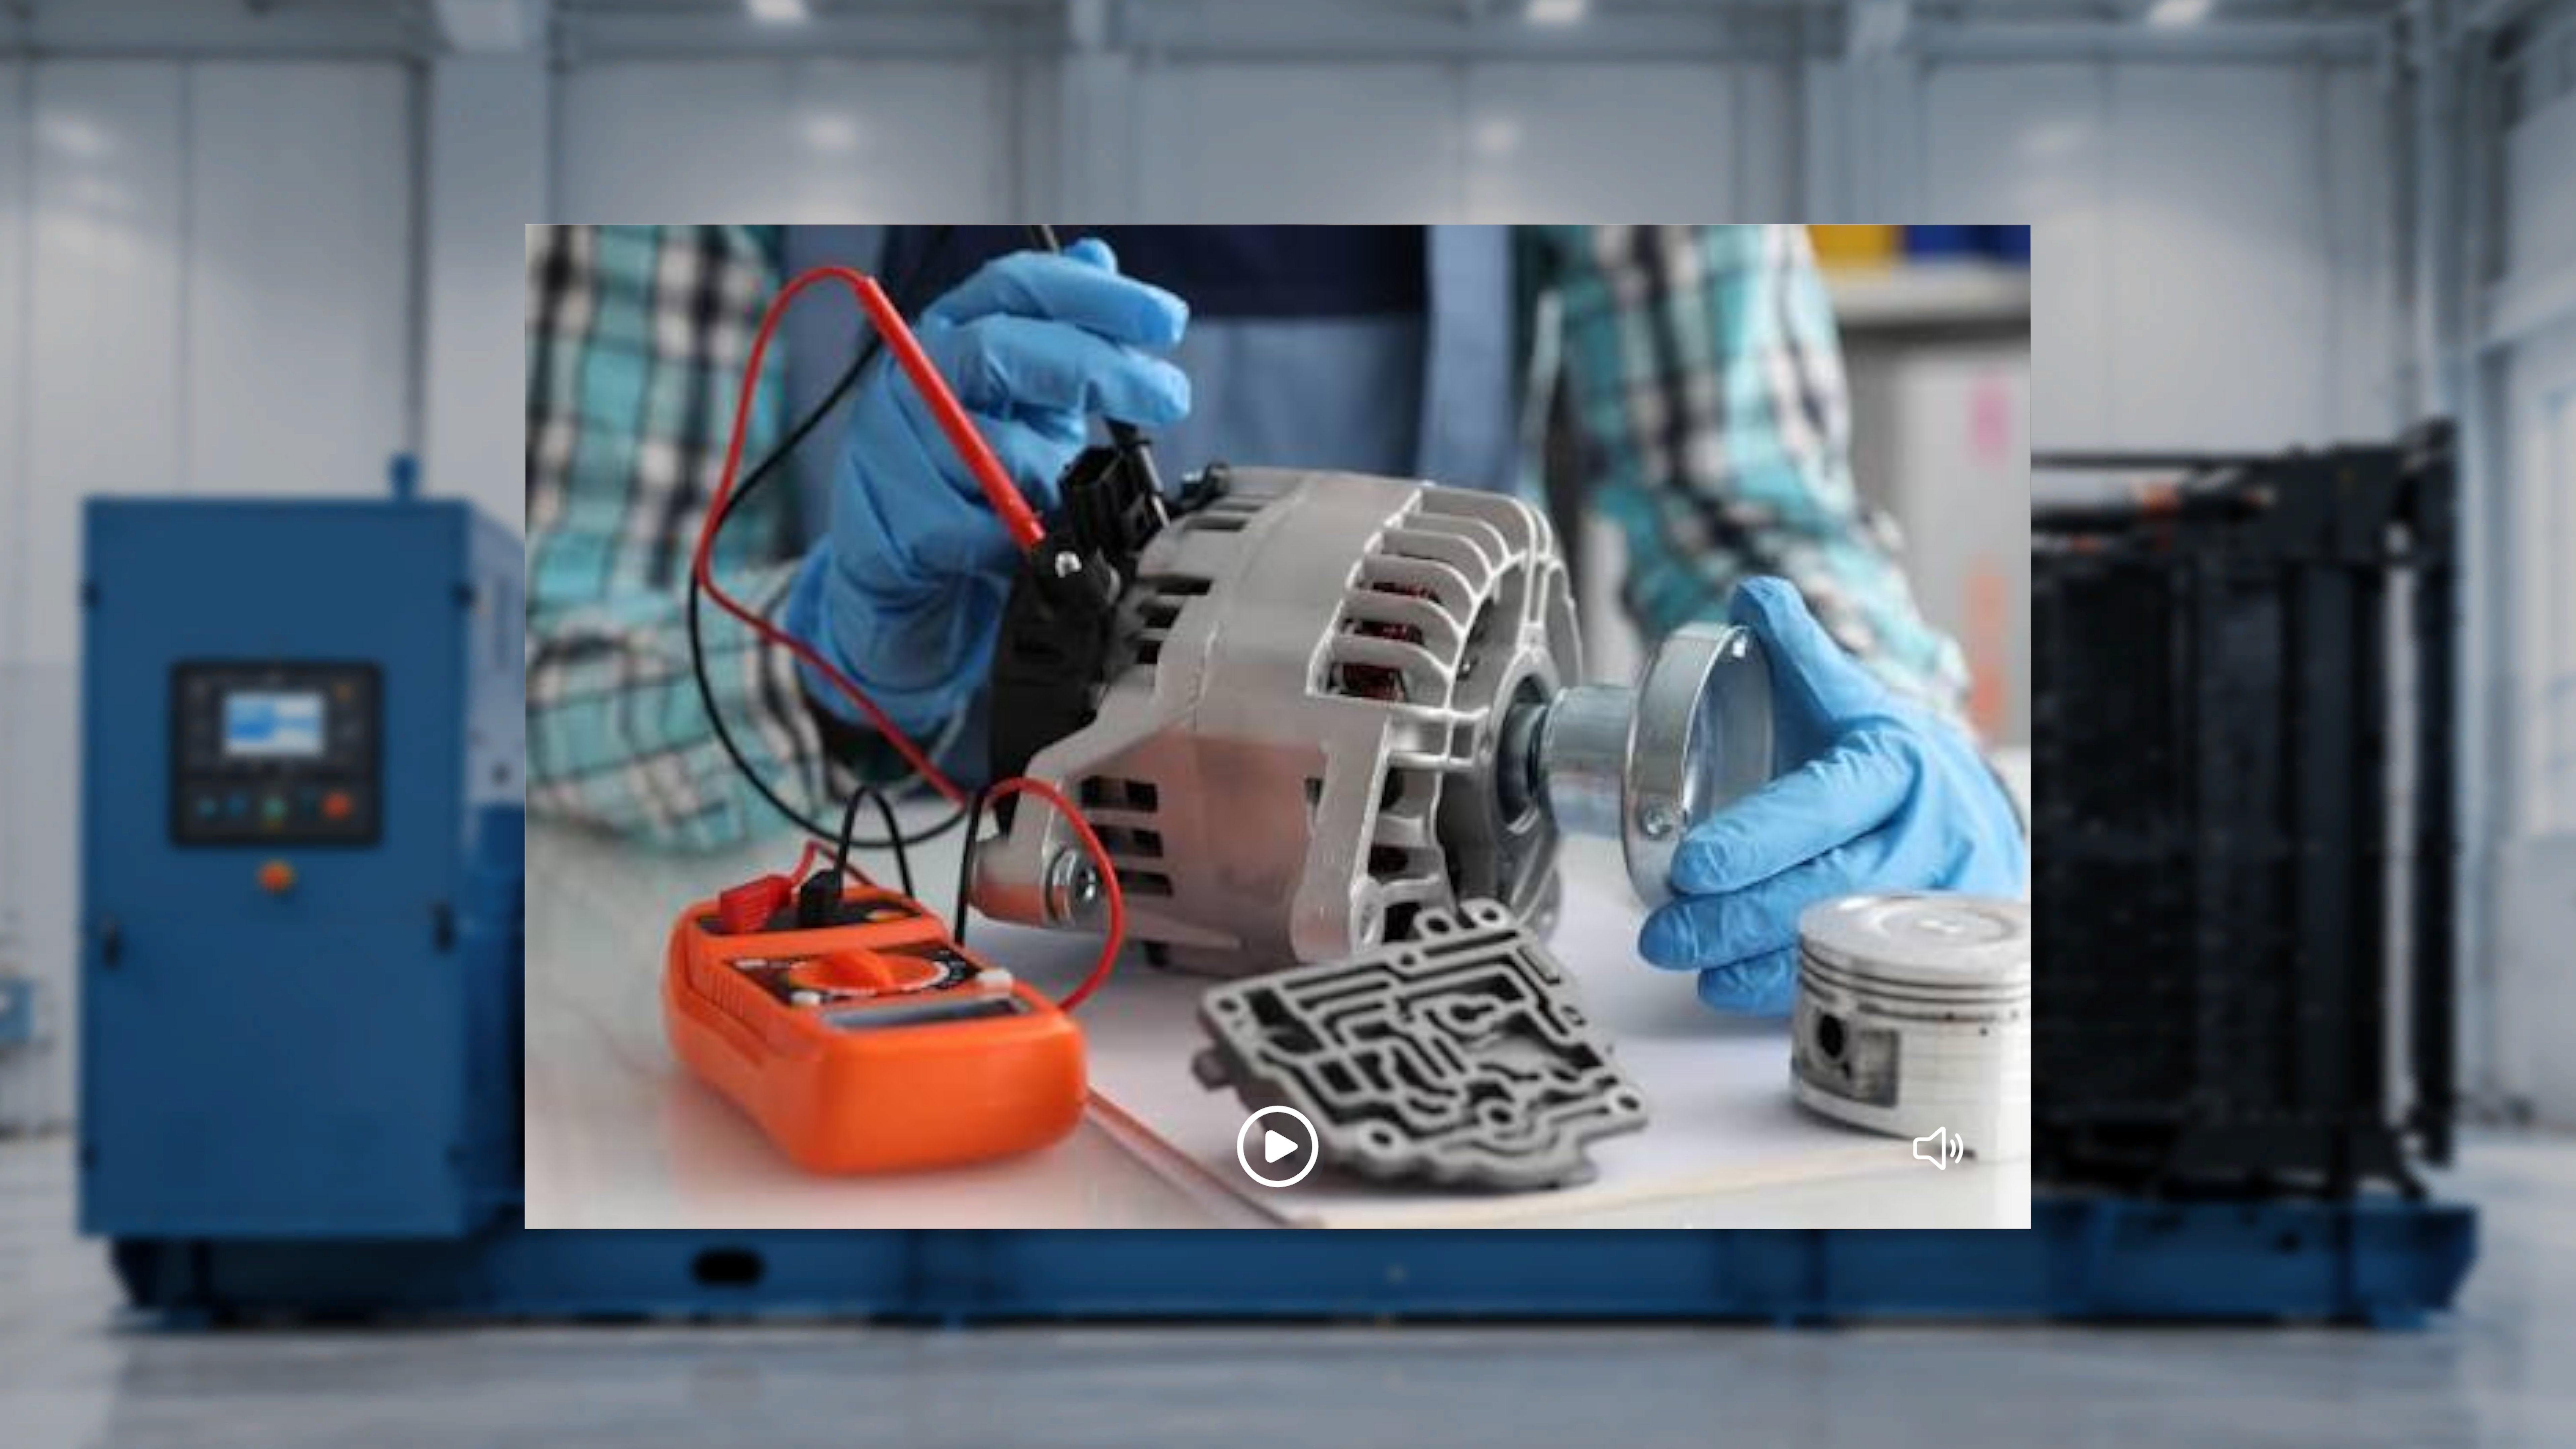
- Image attached: the image is displayed statically, with no playback controls.
- Video attached: a player appears with Play / Pause and Mute / Unmute controls. The video auto-plays when you enter the step and loops continuously; you can pause, resume, and toggle audio at any time.
- No media attached: the Media panel does not appear for that step.
Add a Model from the Default Catalogue
The 3D Model panel (right side) holds the models attached to the current step. Models can be attached in the Portal — or added directly on the device from the built-in default catalogue of common assets (arrows, generic tools, hand poses), so you can build out a step without leaving Author mode. When a step has no models attached, the panel shows a grid of empty slots marked with a + icon.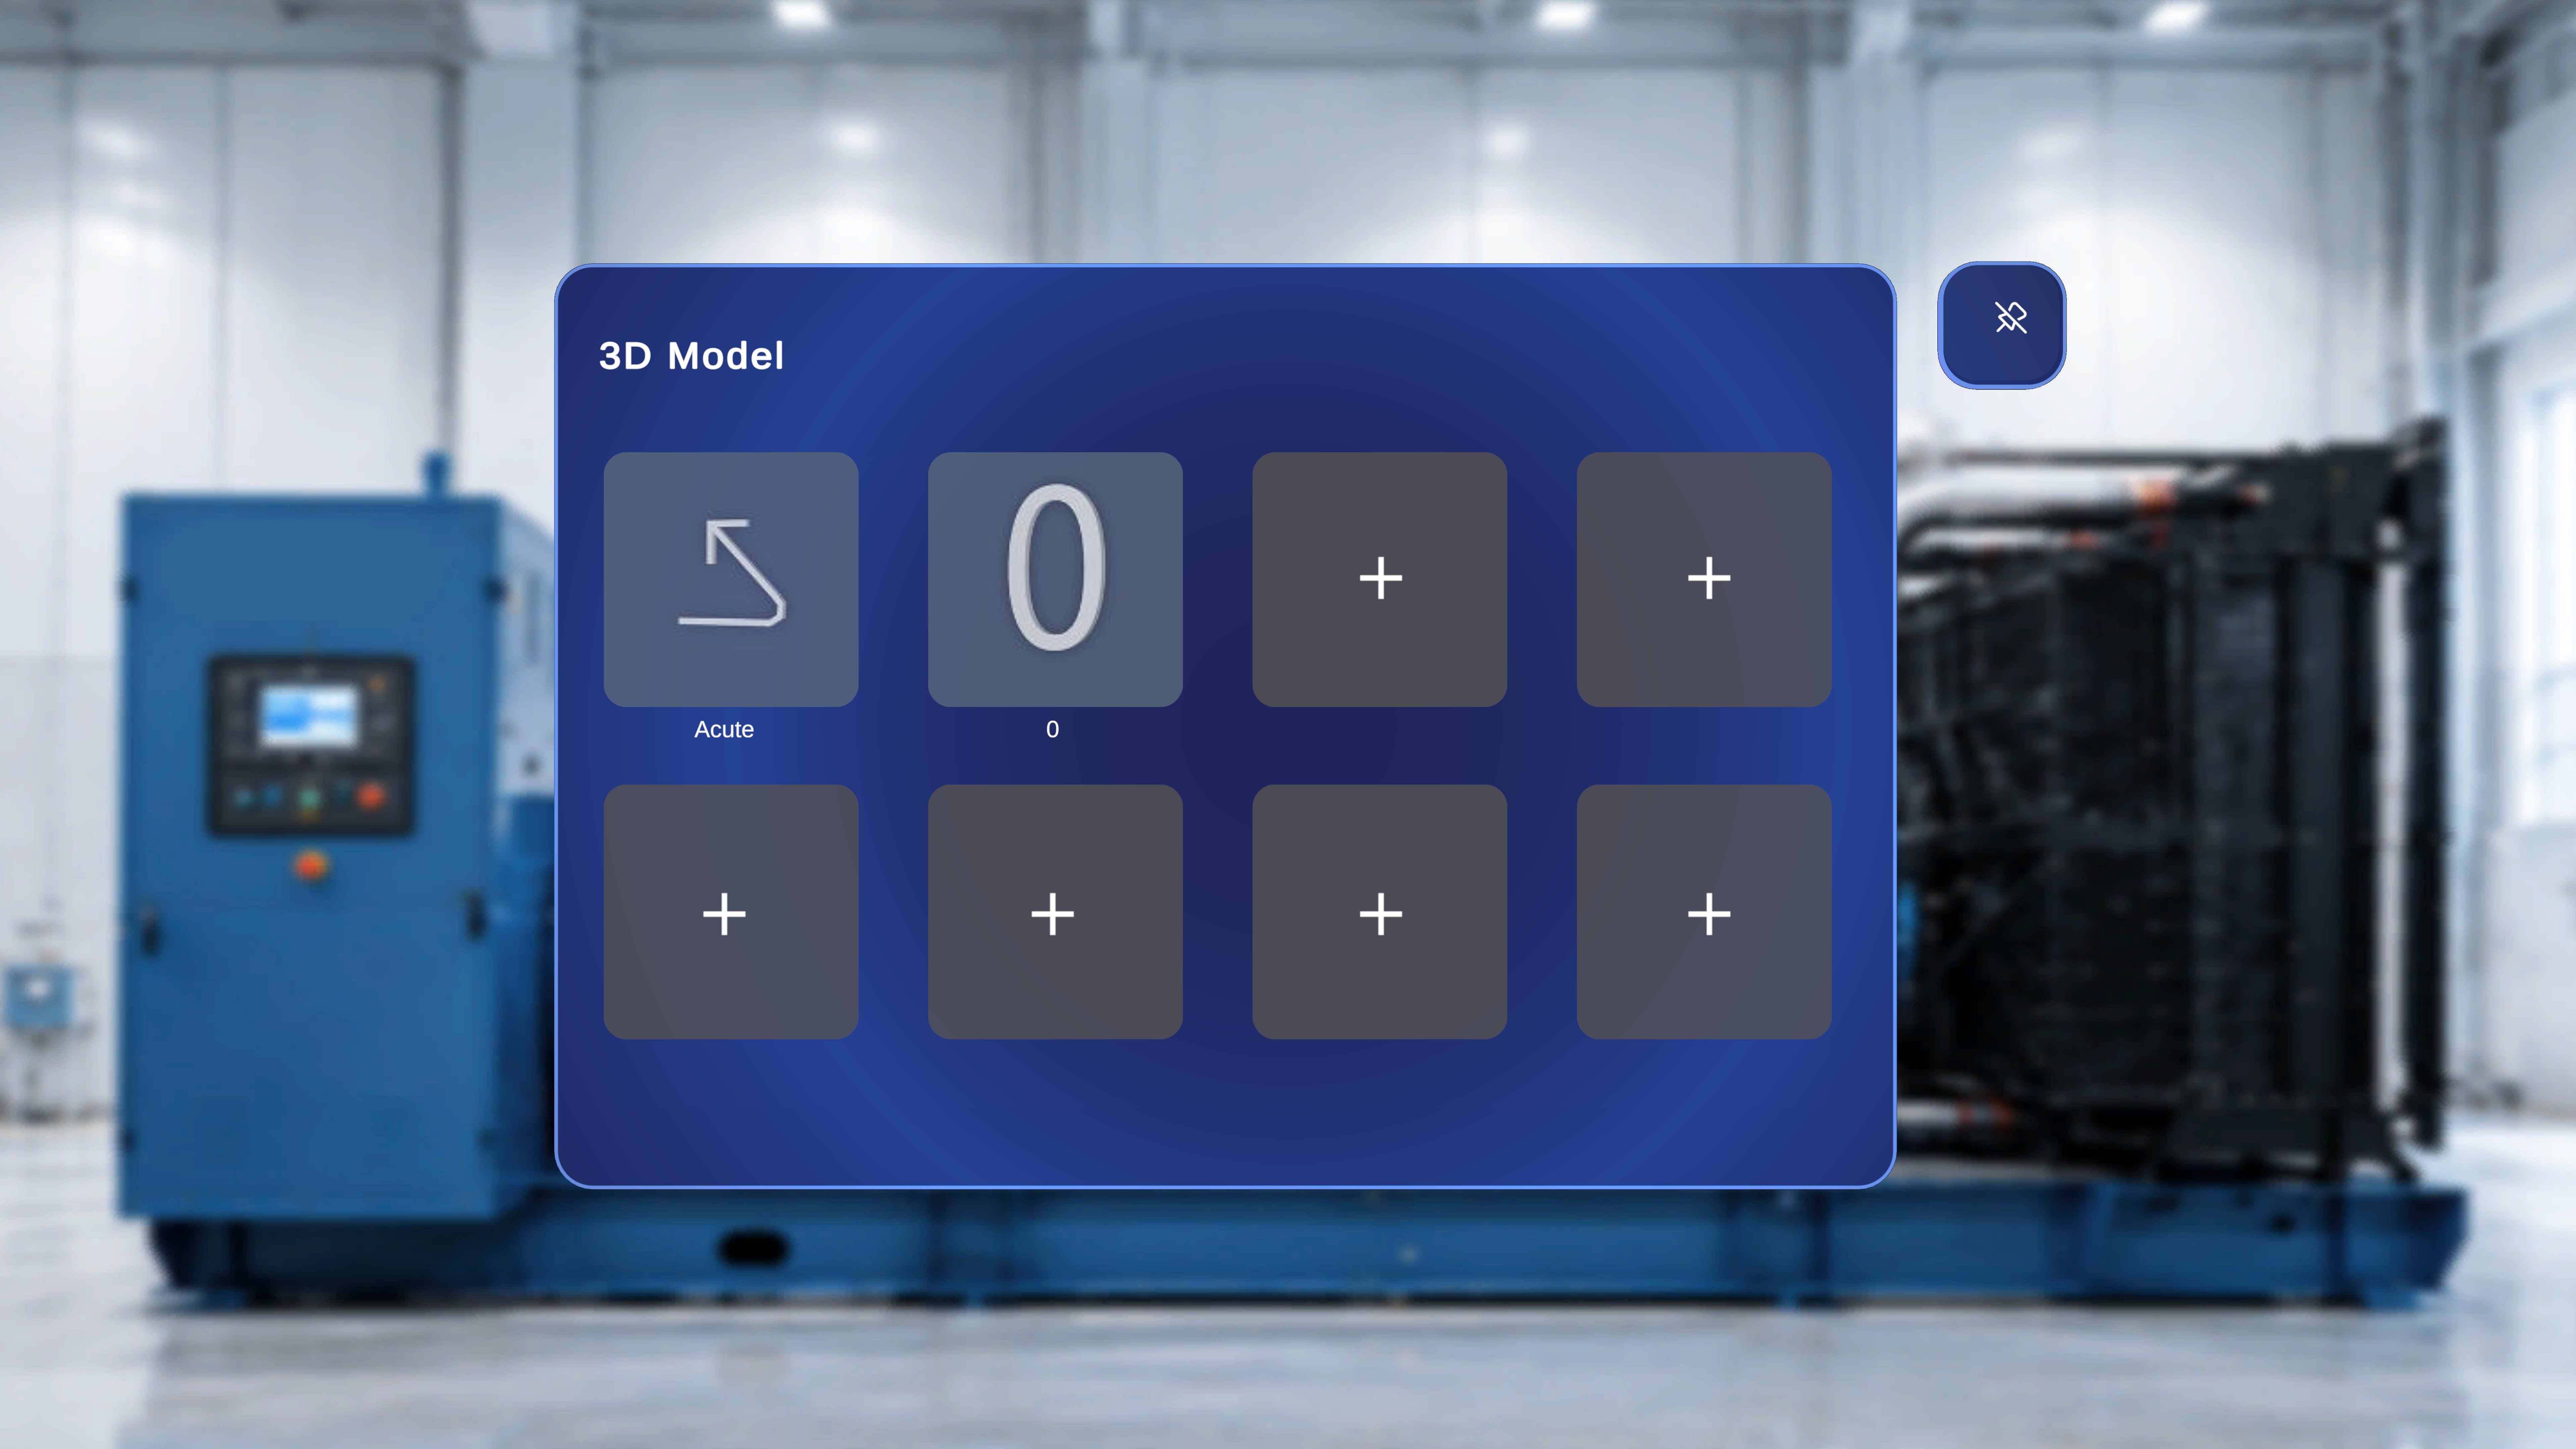
1
Open the catalogue
Focus an empty + slot and air-tap it, or say “Select” while gazing at it (see Voice Commands). The default catalogue opens in place of the grid.
2
Browse the groups
Models are organised into collapsible groups — Arrows, Generic Tools, Hands — with the first group expanded by default. Use the up/down chevrons on the right to page through a group, and the caret next to a group name to collapse or expand it.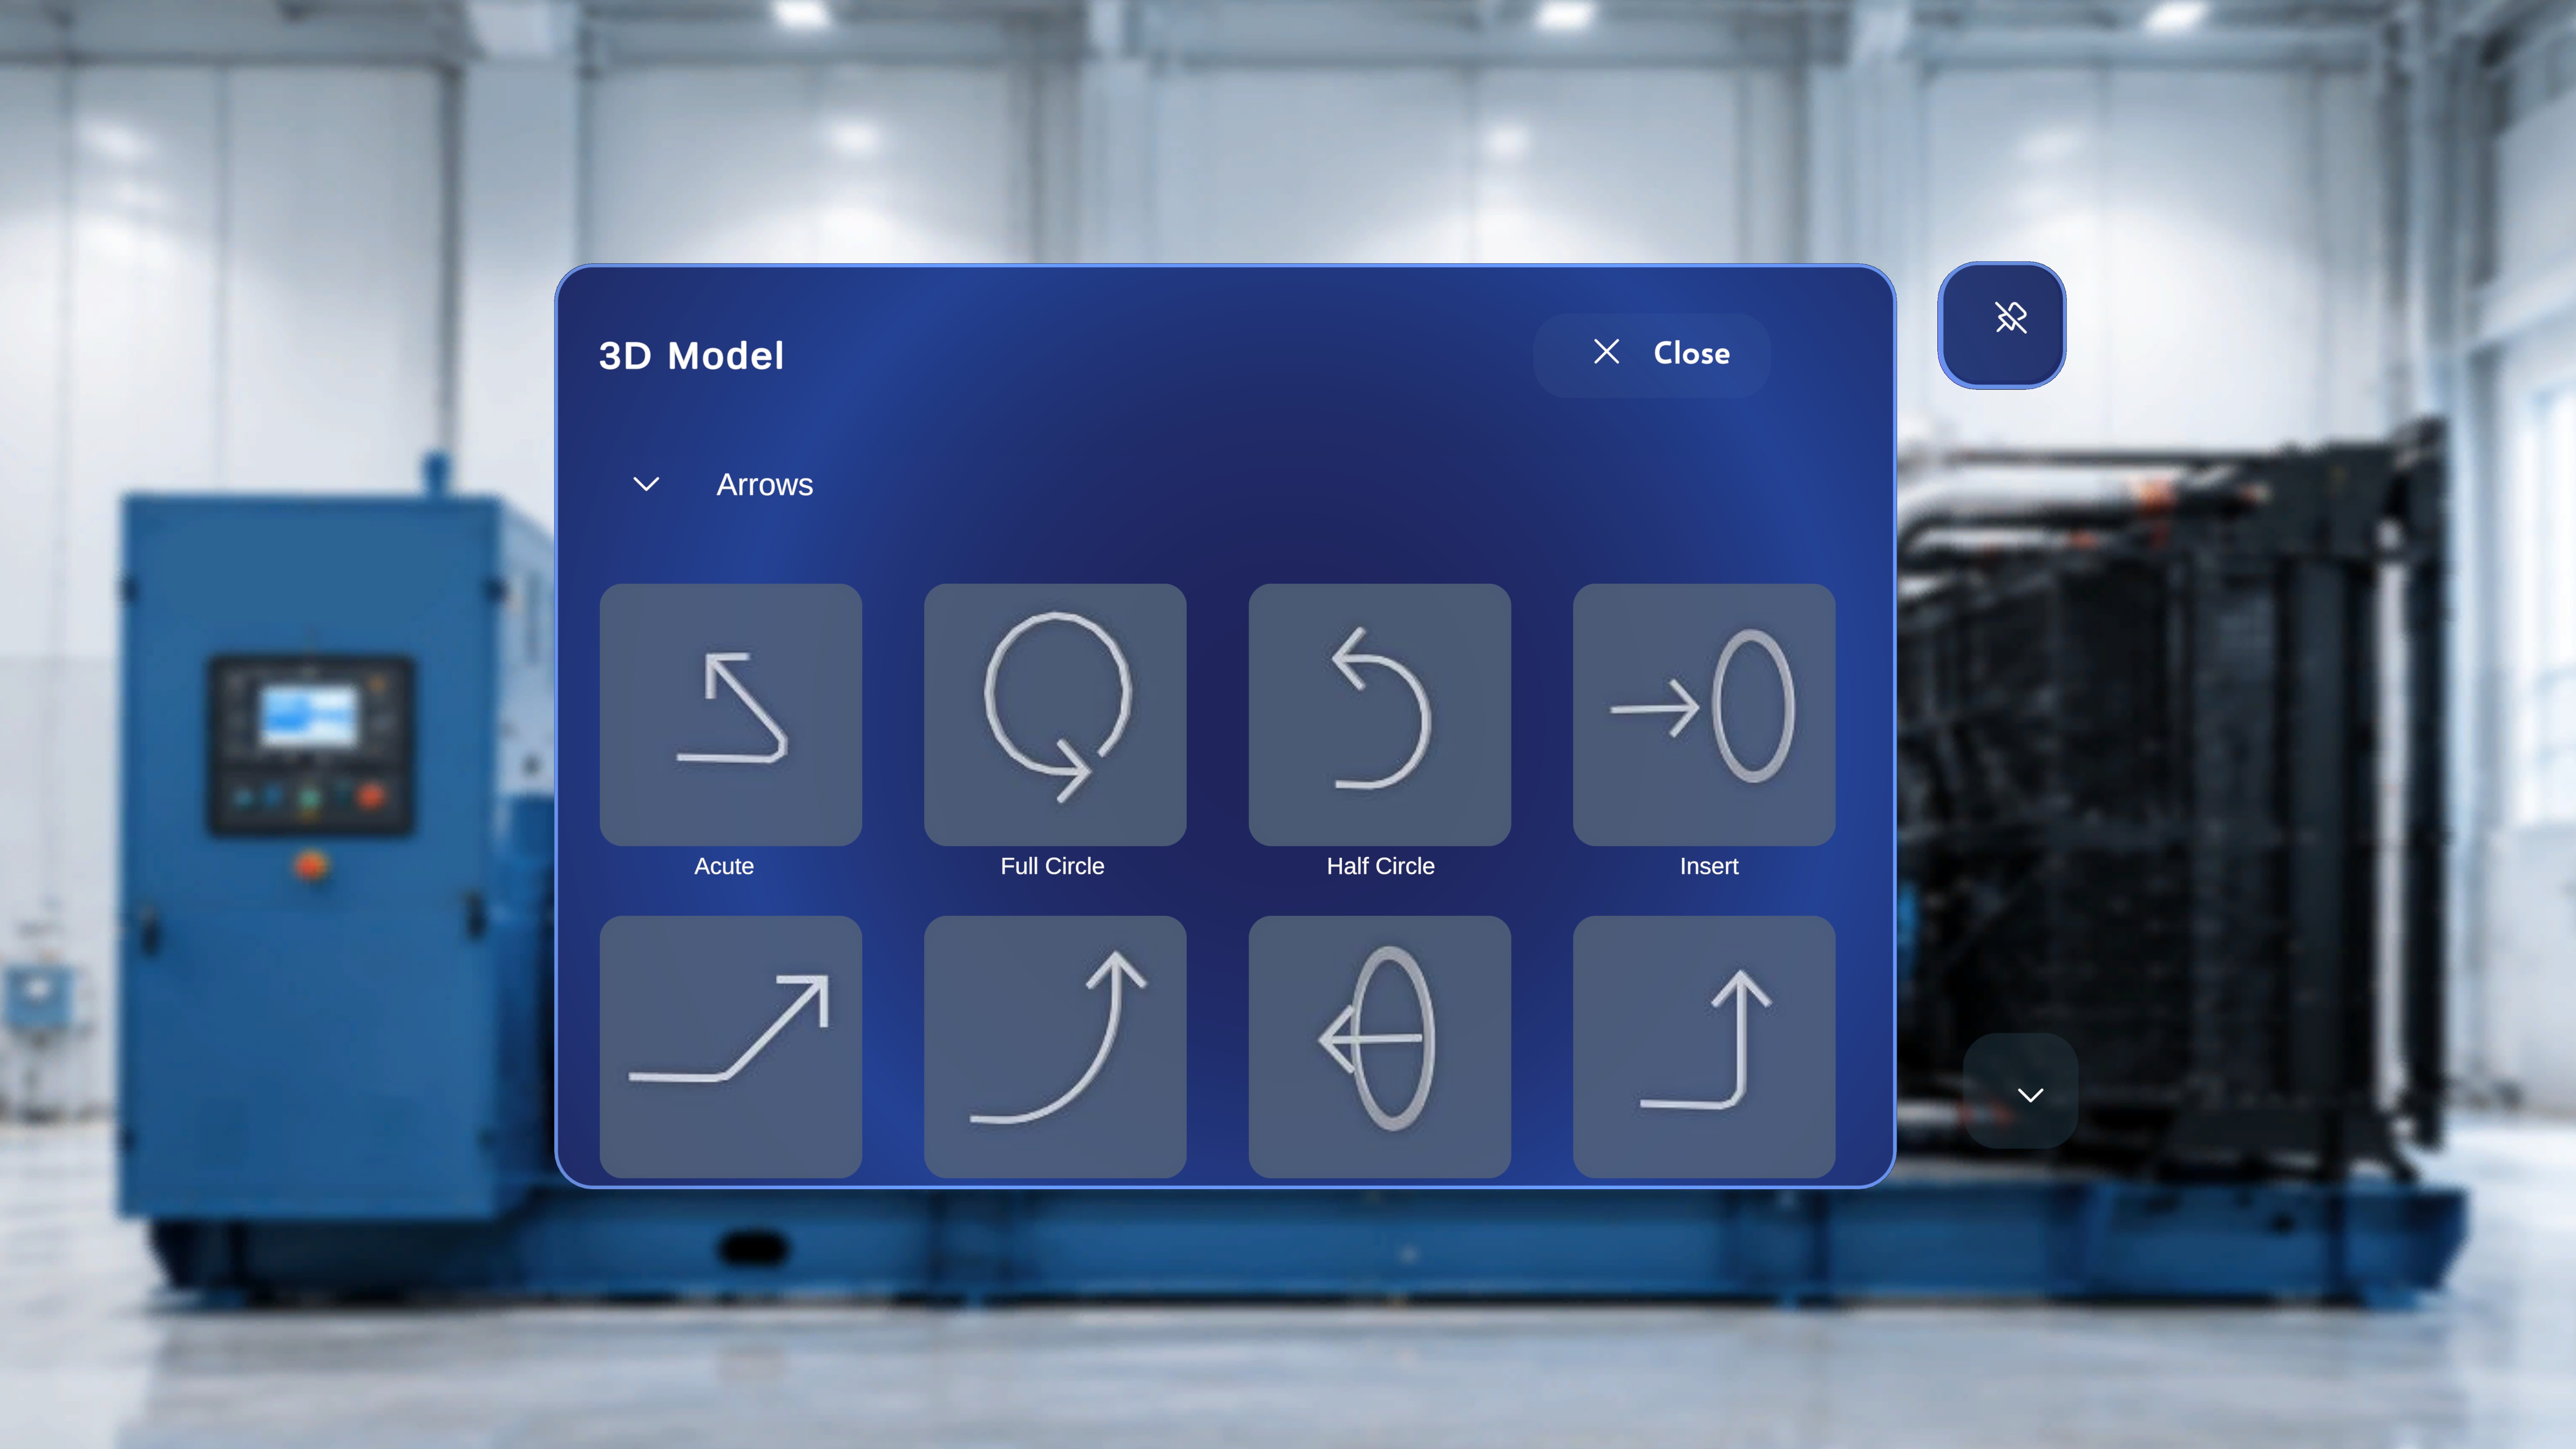
3
Add the model you want
Focus a tile (for example, Acute) and air-tap it, or say “Select” when the voice hint appears. The catalogue closes and the model is added as a tile in the 3D Model panel for the current step — exactly like a model attached from the Portal.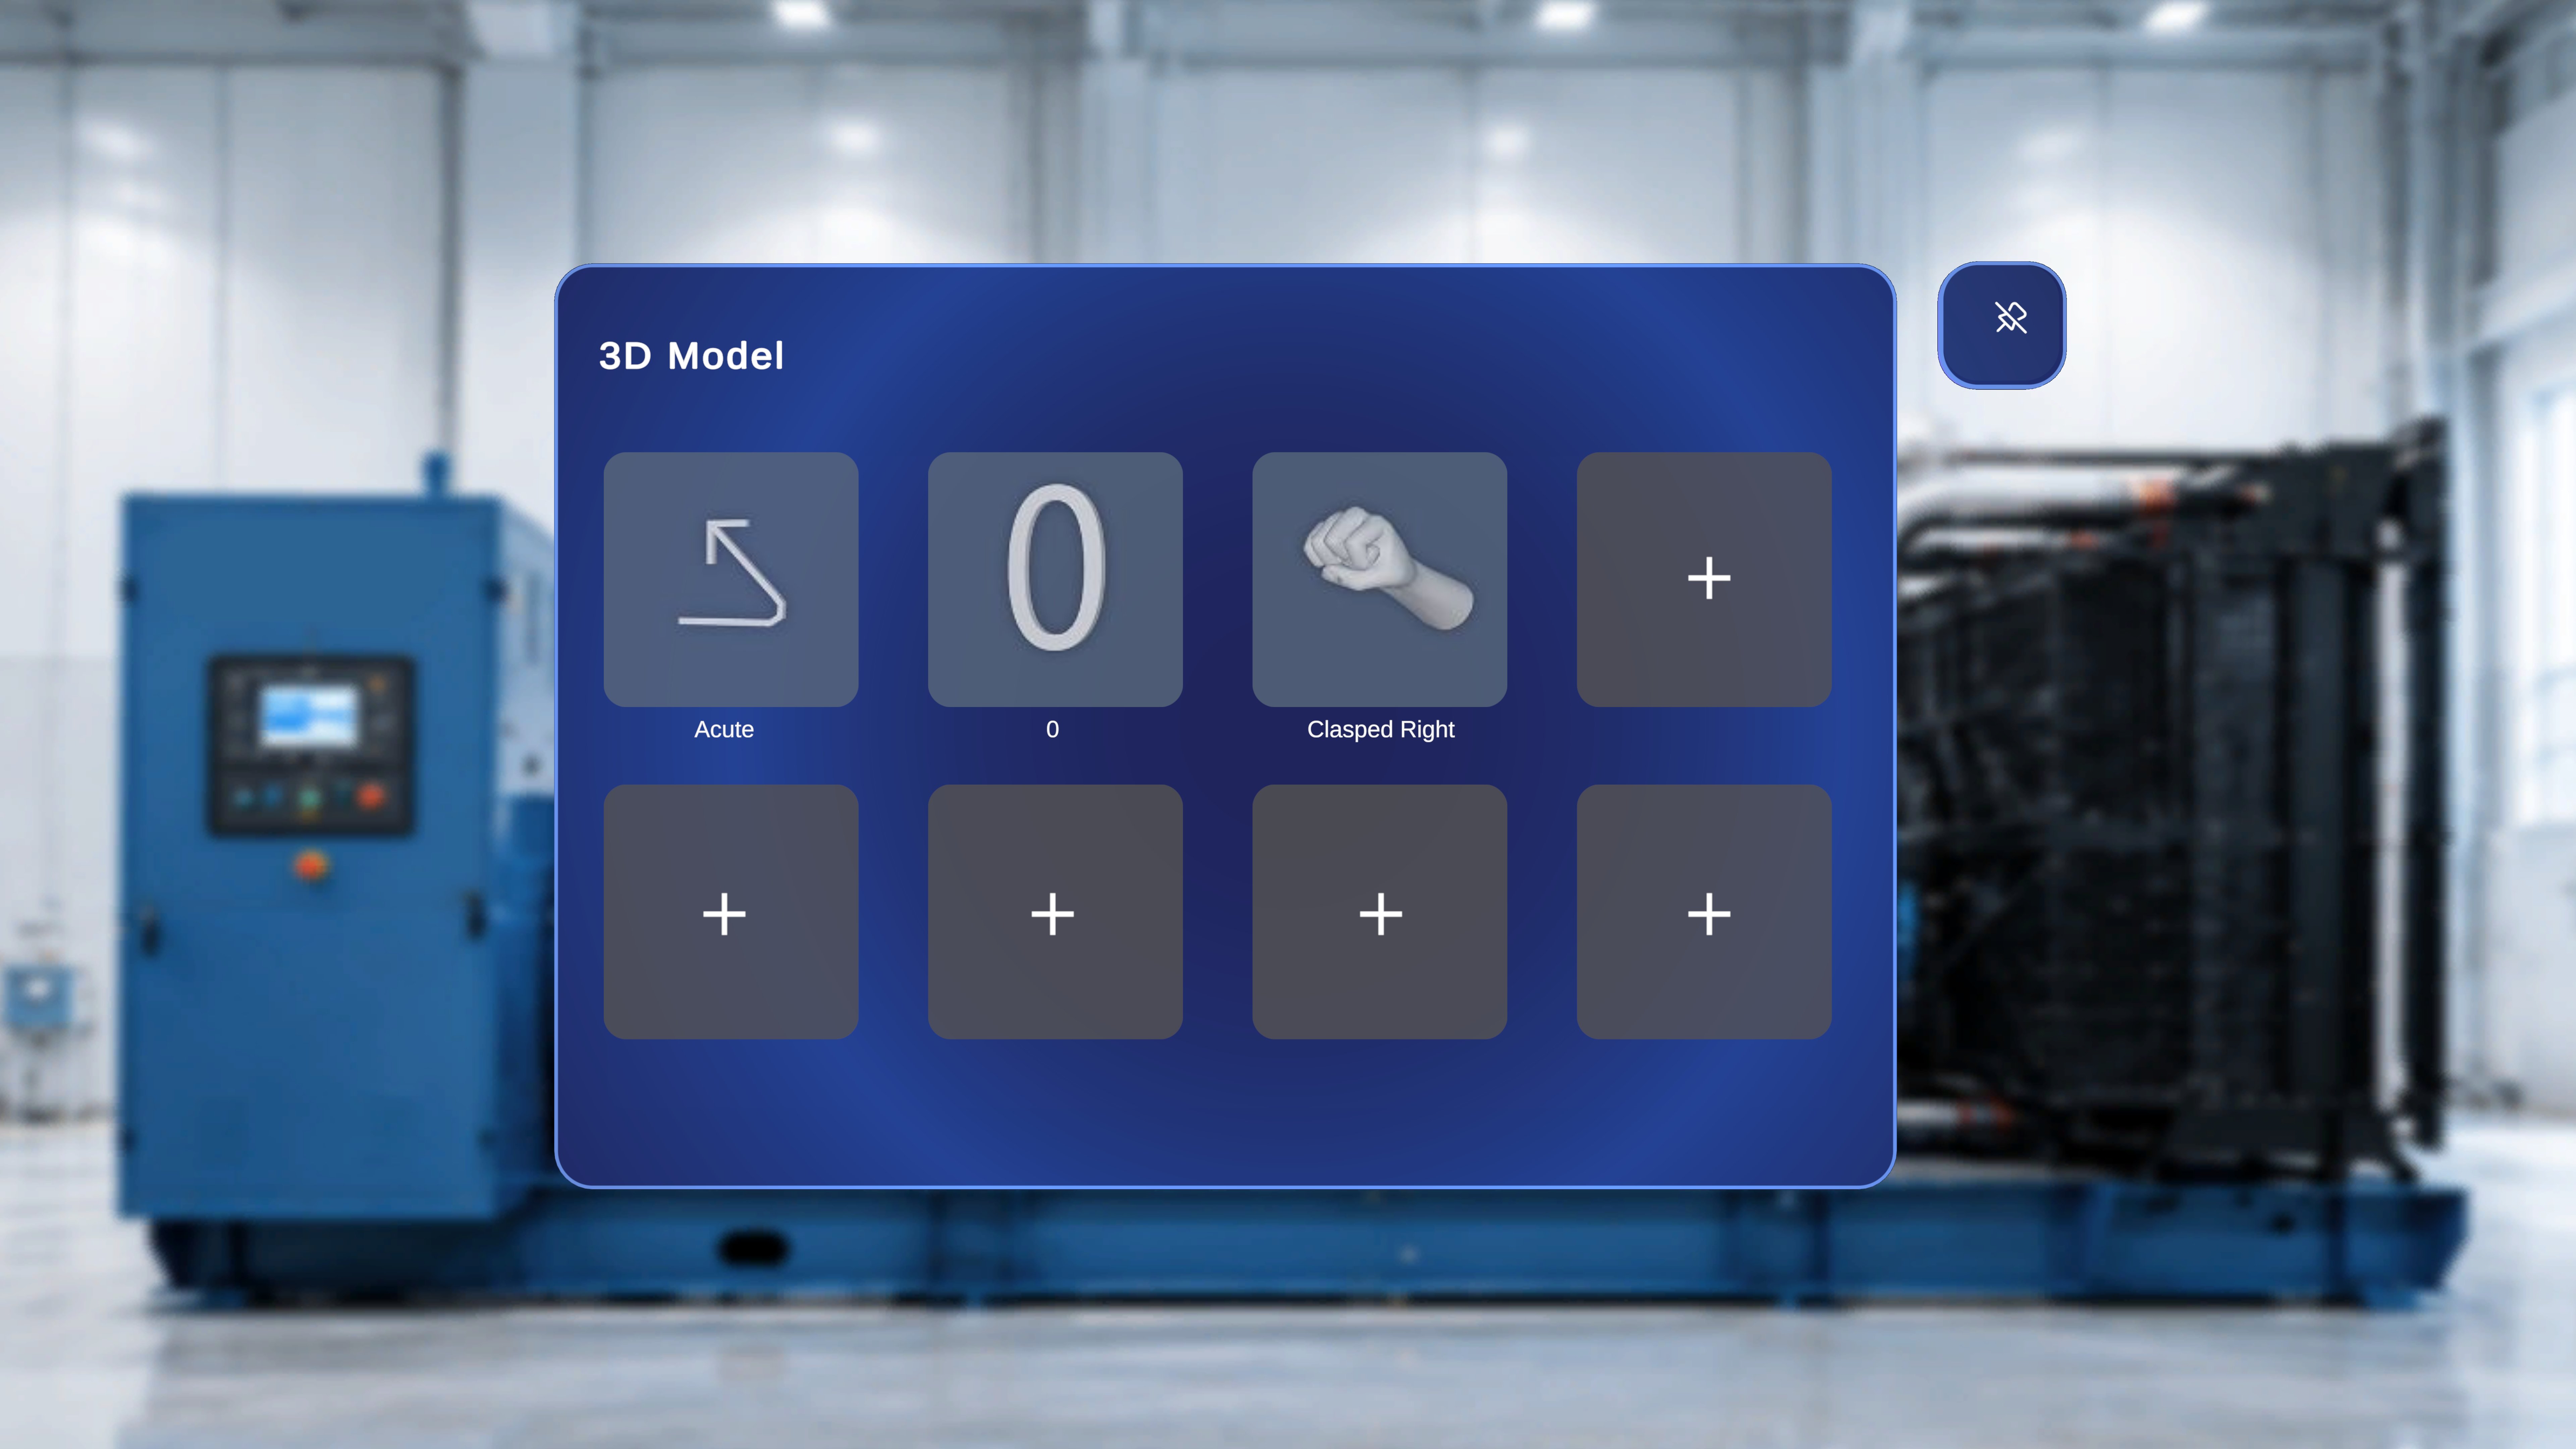
The catalogue is a curated set of common models — custom
.glb files still need to be uploaded via the Procedures Portal. Empty + slots are the only entry point to the catalogue; if the panel is full, remove a model first. Models added on the device sync to the same step in the Portal (and vice versa) — if sync looks stale, tap Procedures in the side menu on the device, or refresh the browser tab in the Portal.Spawn and Position a Model
1
Spawn the model
Select the model’s tile in the 3D Model panel. The model spawns into the physical space in front of you, anchored relative to the QR position for the step. Select the same tile again — or a different tile — to spawn additional instances.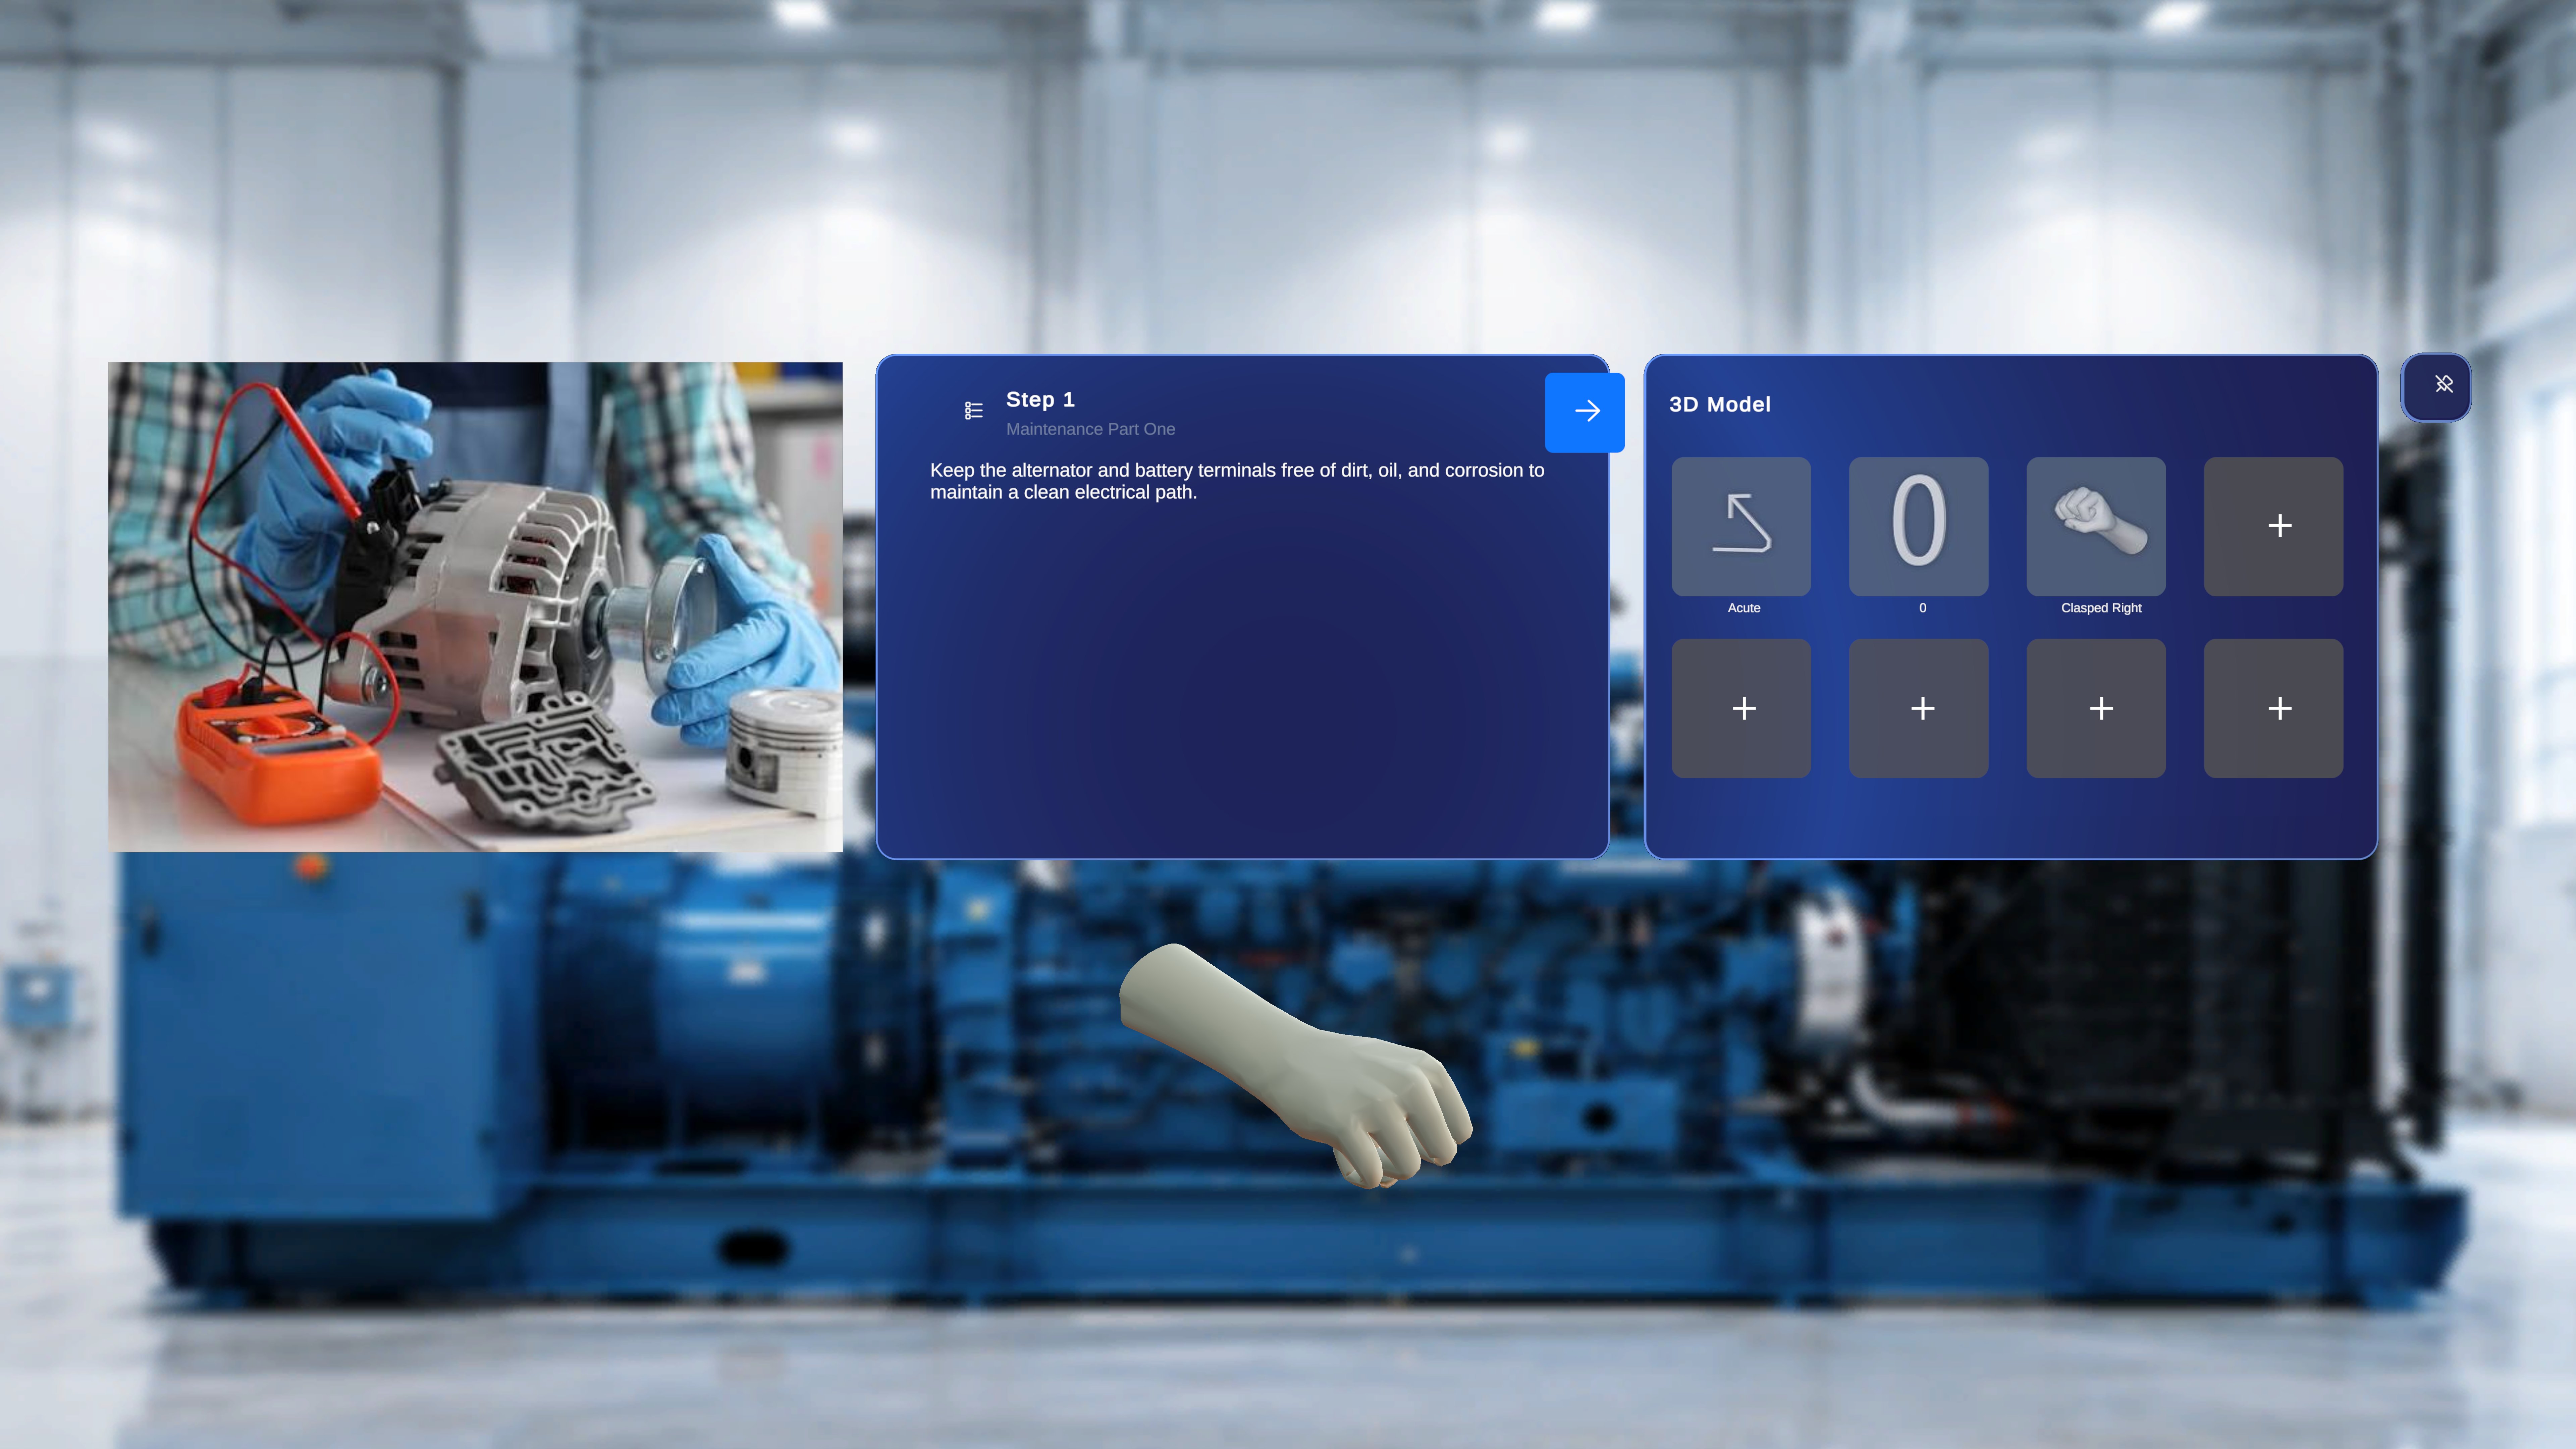
2
Show the bounding box
Tap the spawned model. A bounding box appears around it, letting you move, resize, and rotate the model in space. Tap the model again to hide the bounding box.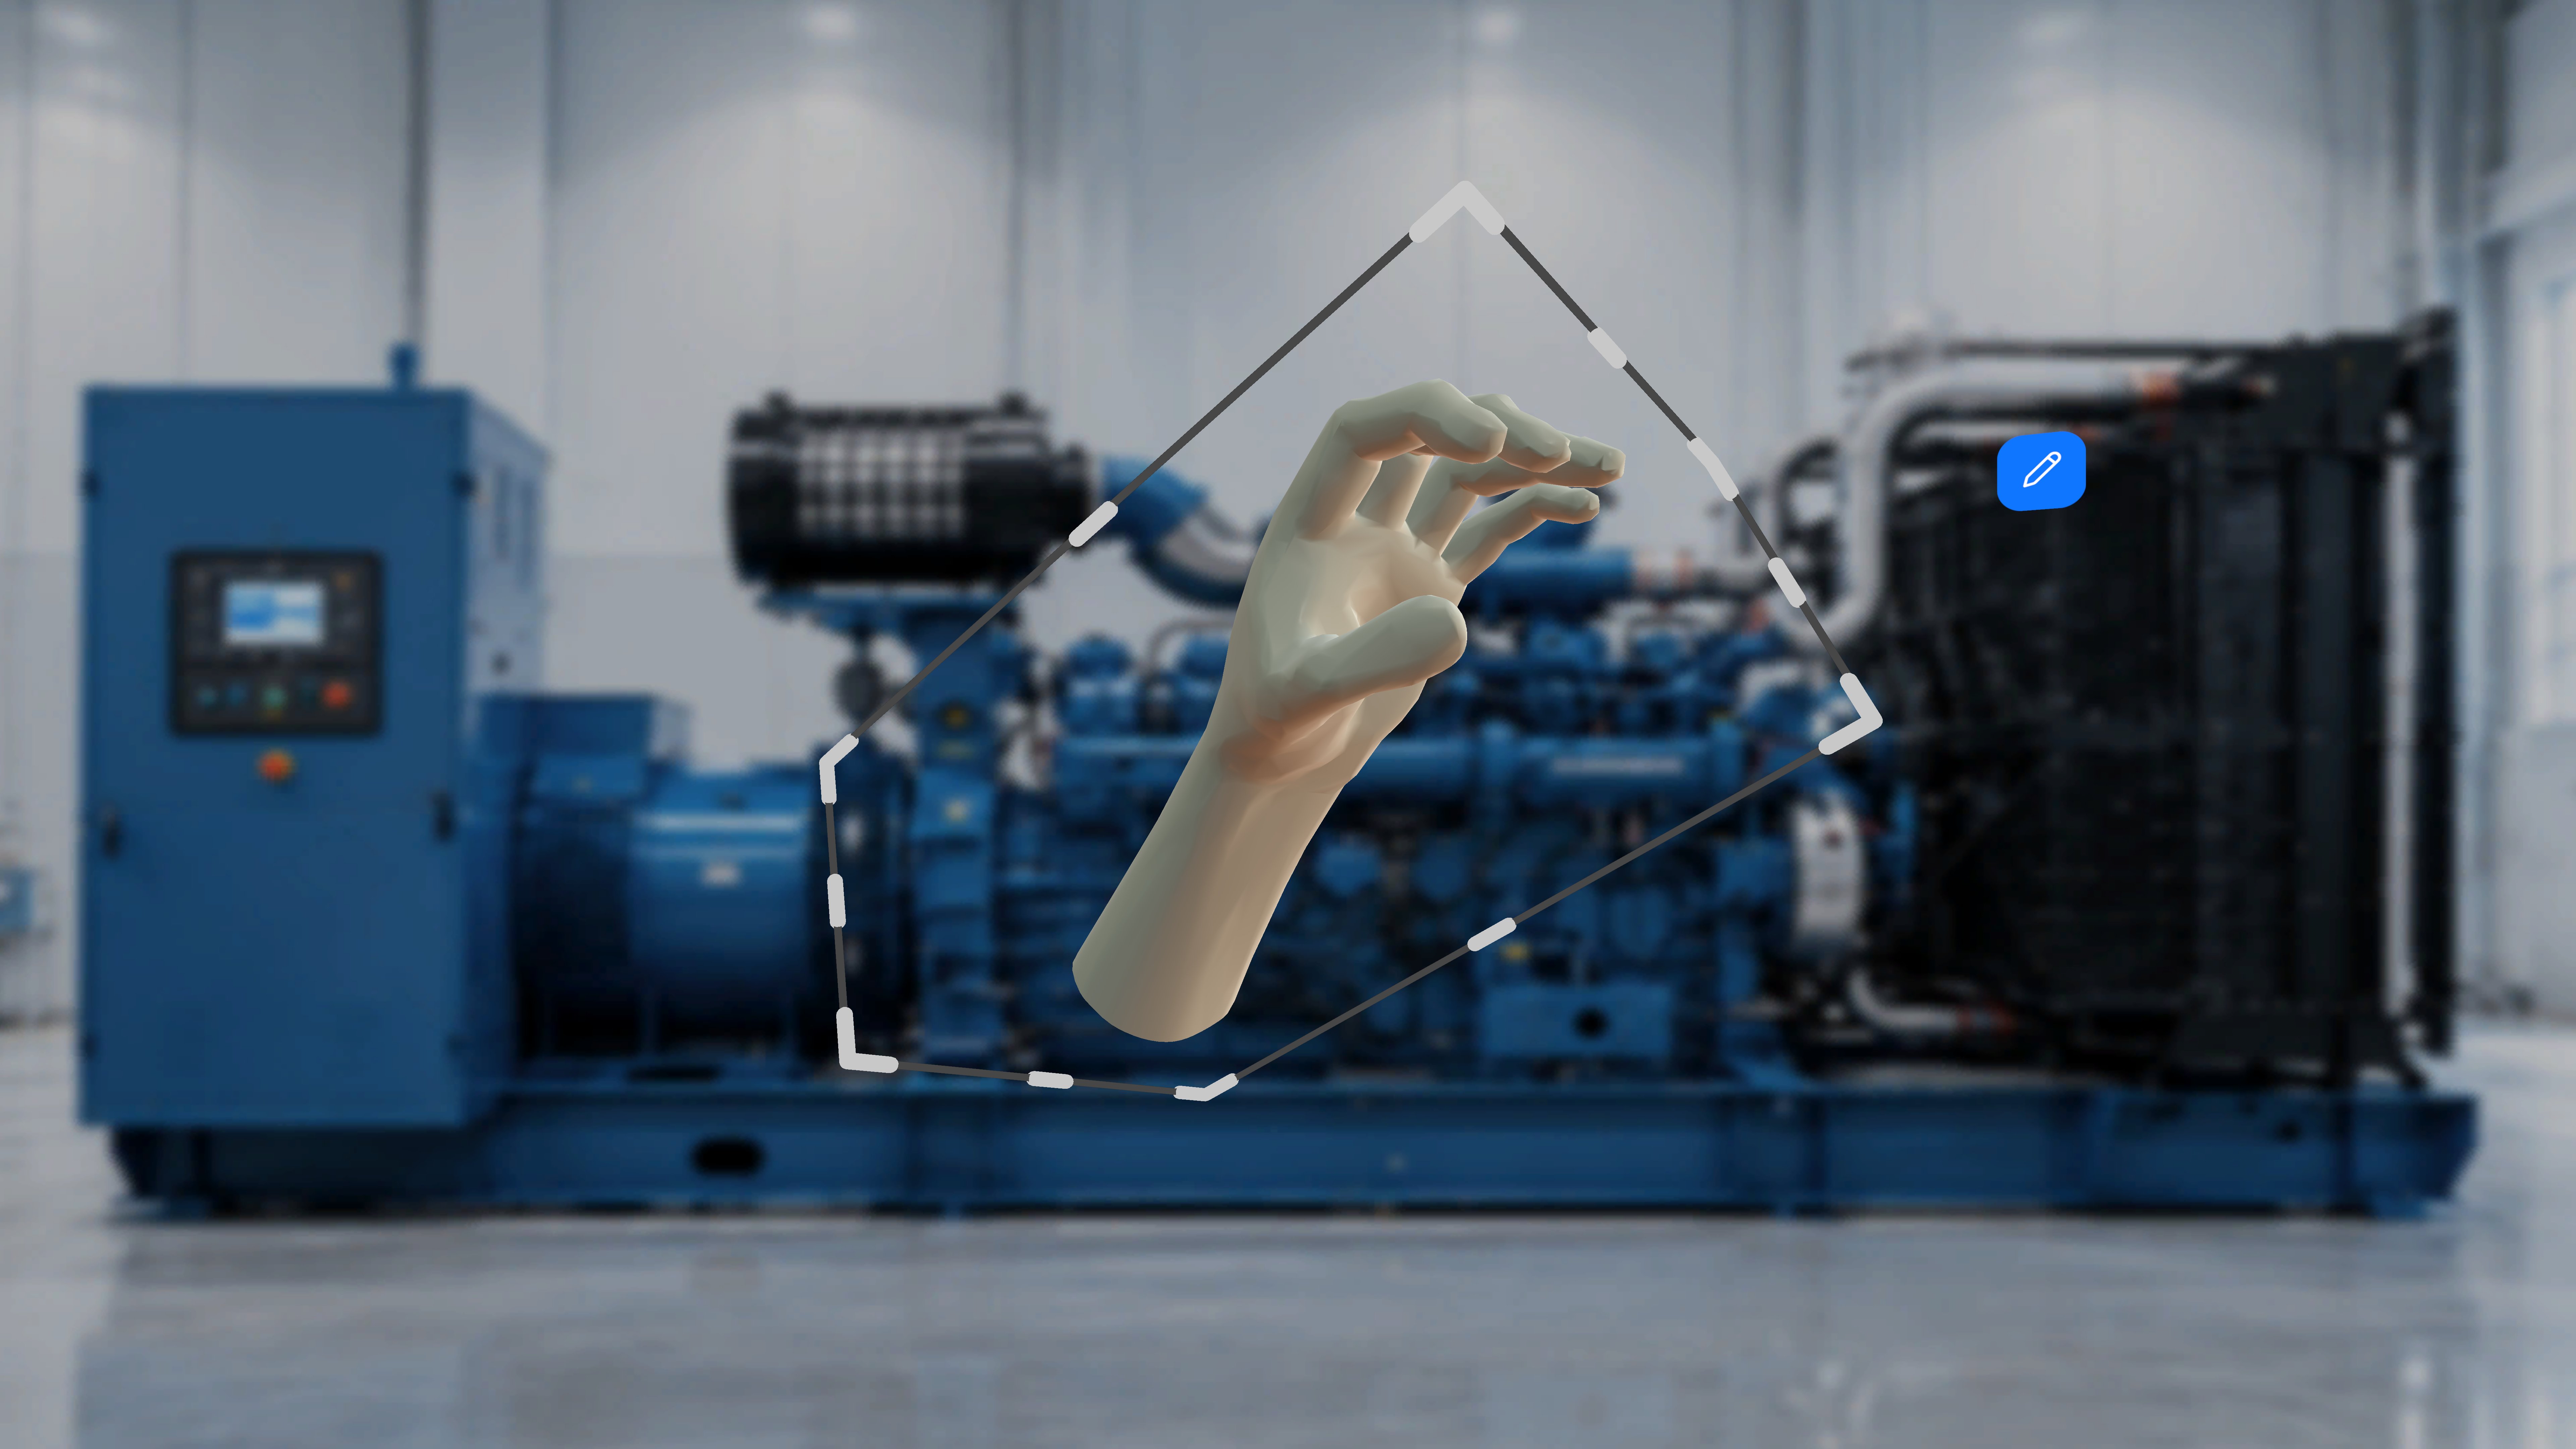
Edit a Placed Model
Every placed model shows an Edit button (pencil icon) nearby. Selecting it opens the Edit panel for that model instance — all changes apply only to the selected model.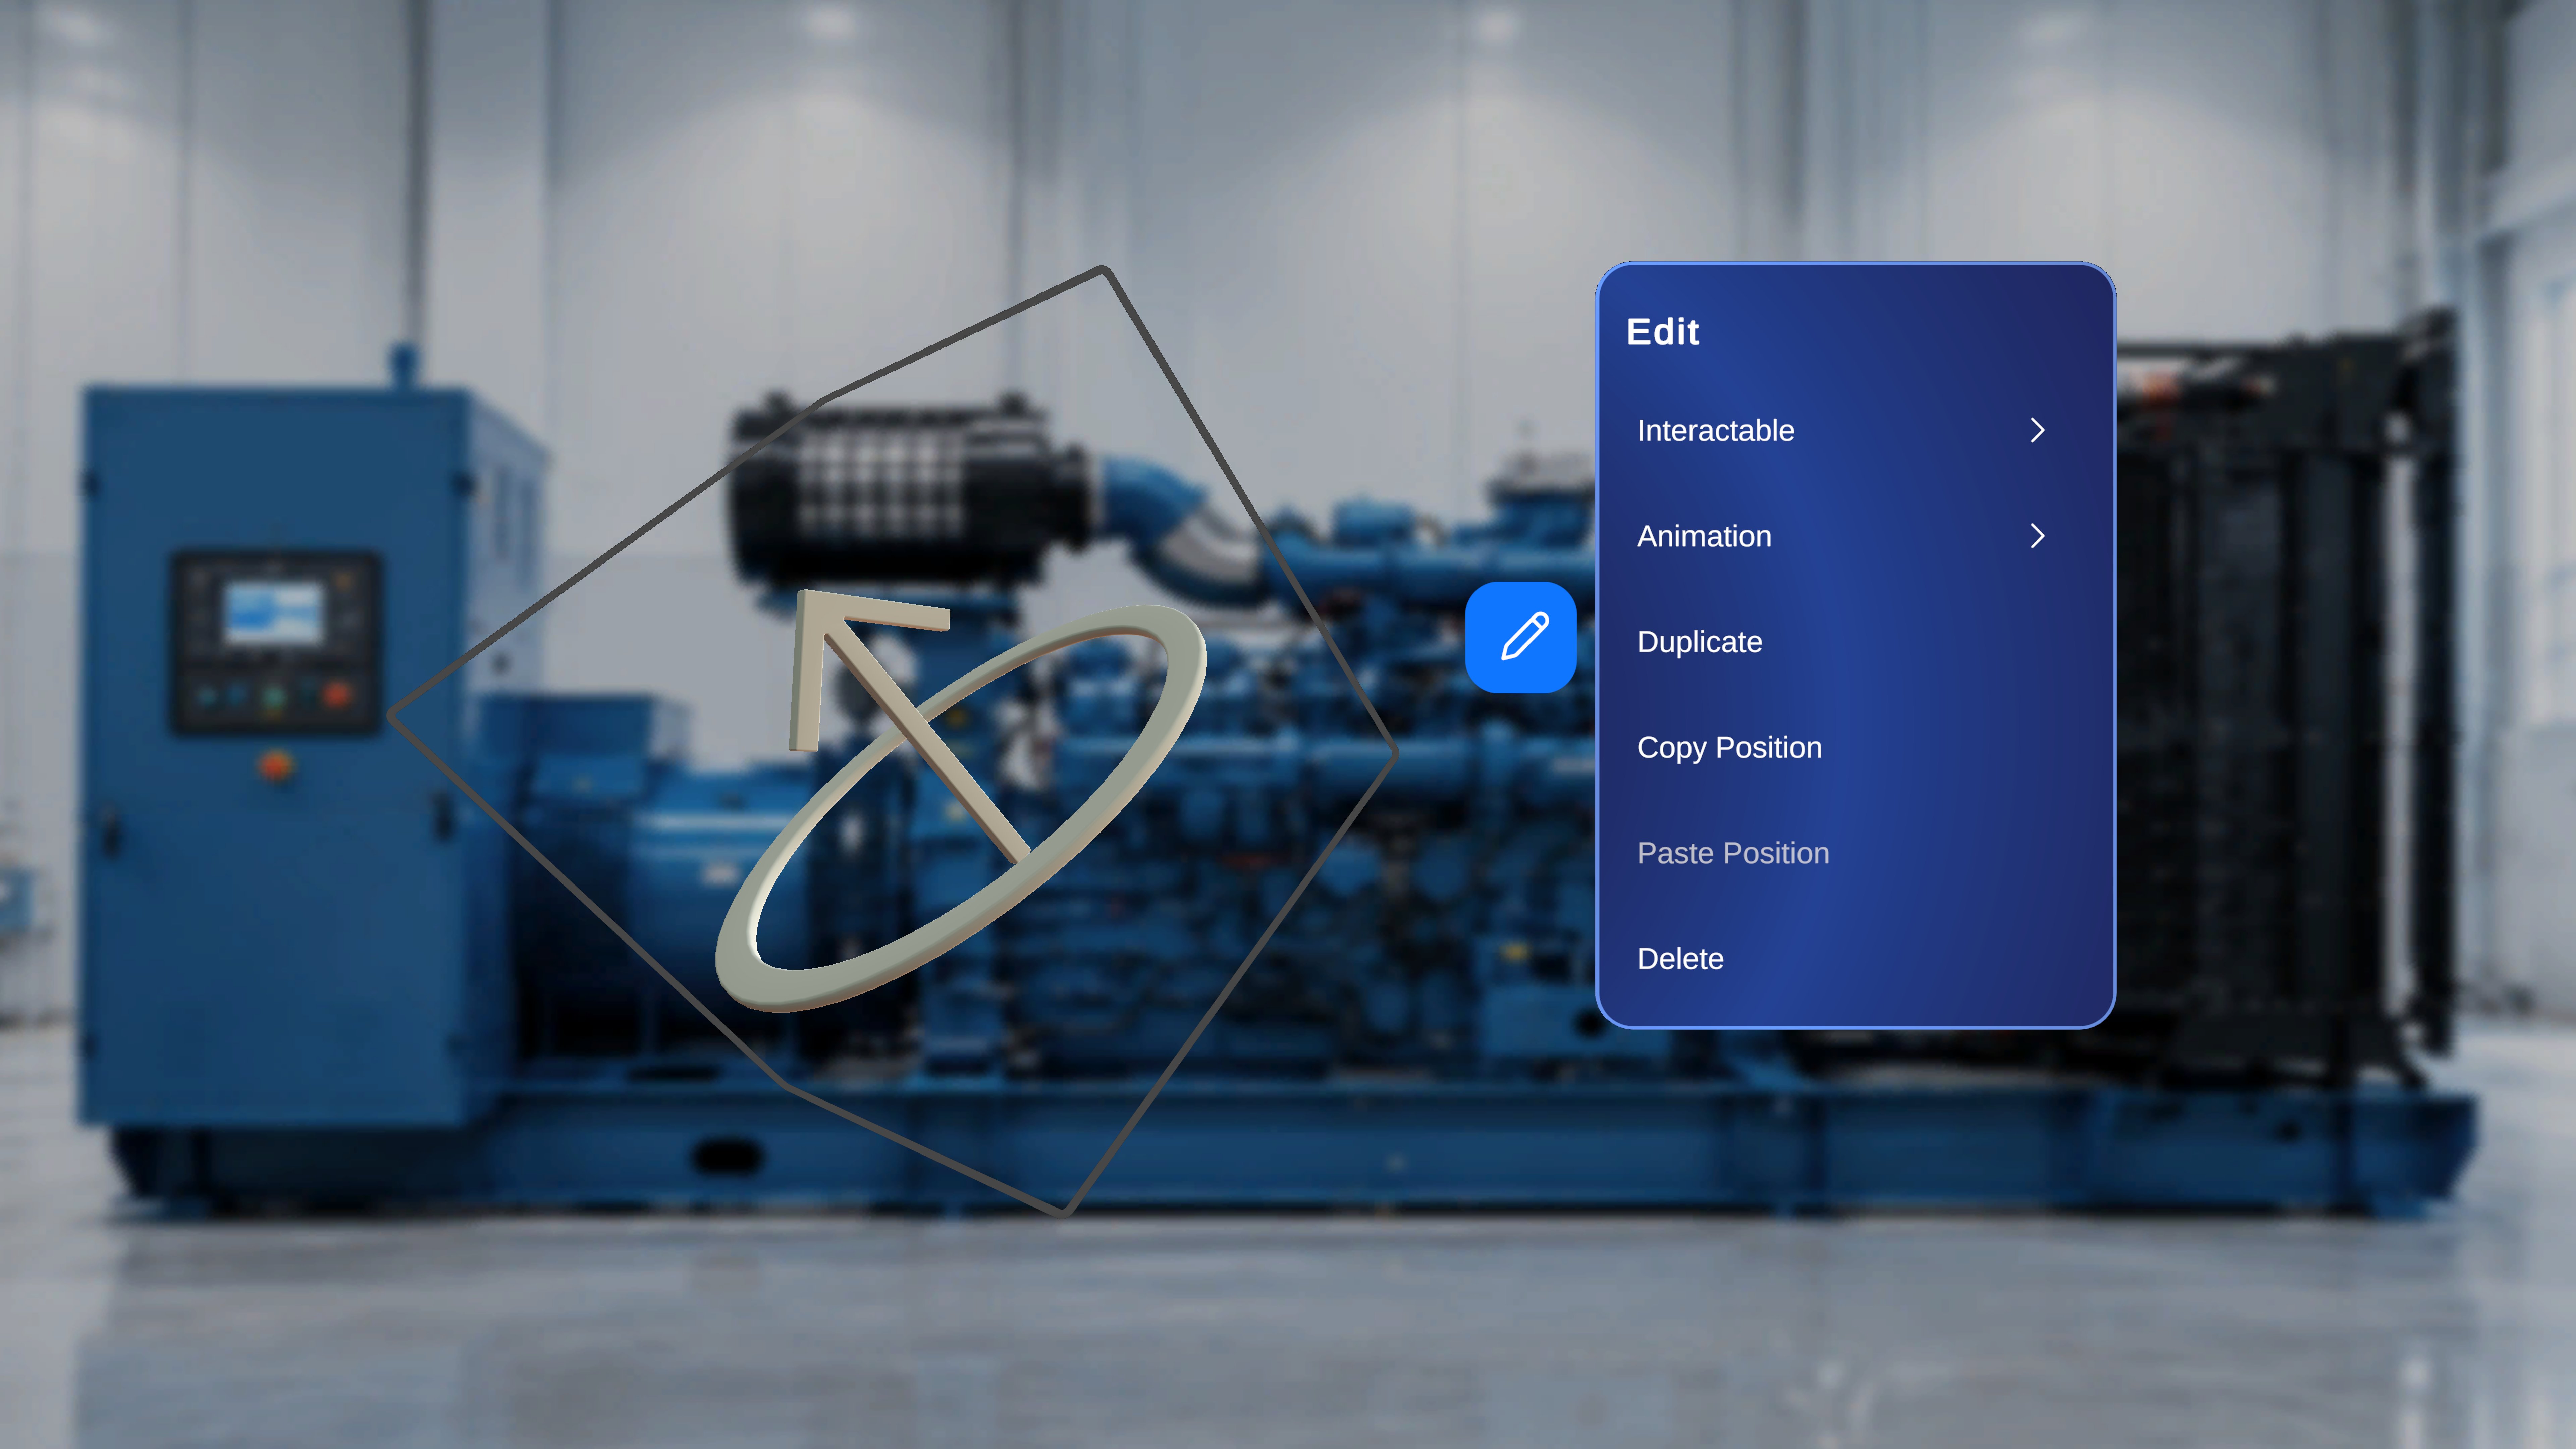
Configure Interactable Behavior
Select Interactable from the Edit menu. The panel has two toggles that control what operators can do with the model when they reach this step. (See Author vs Operator for how the two modes relate.)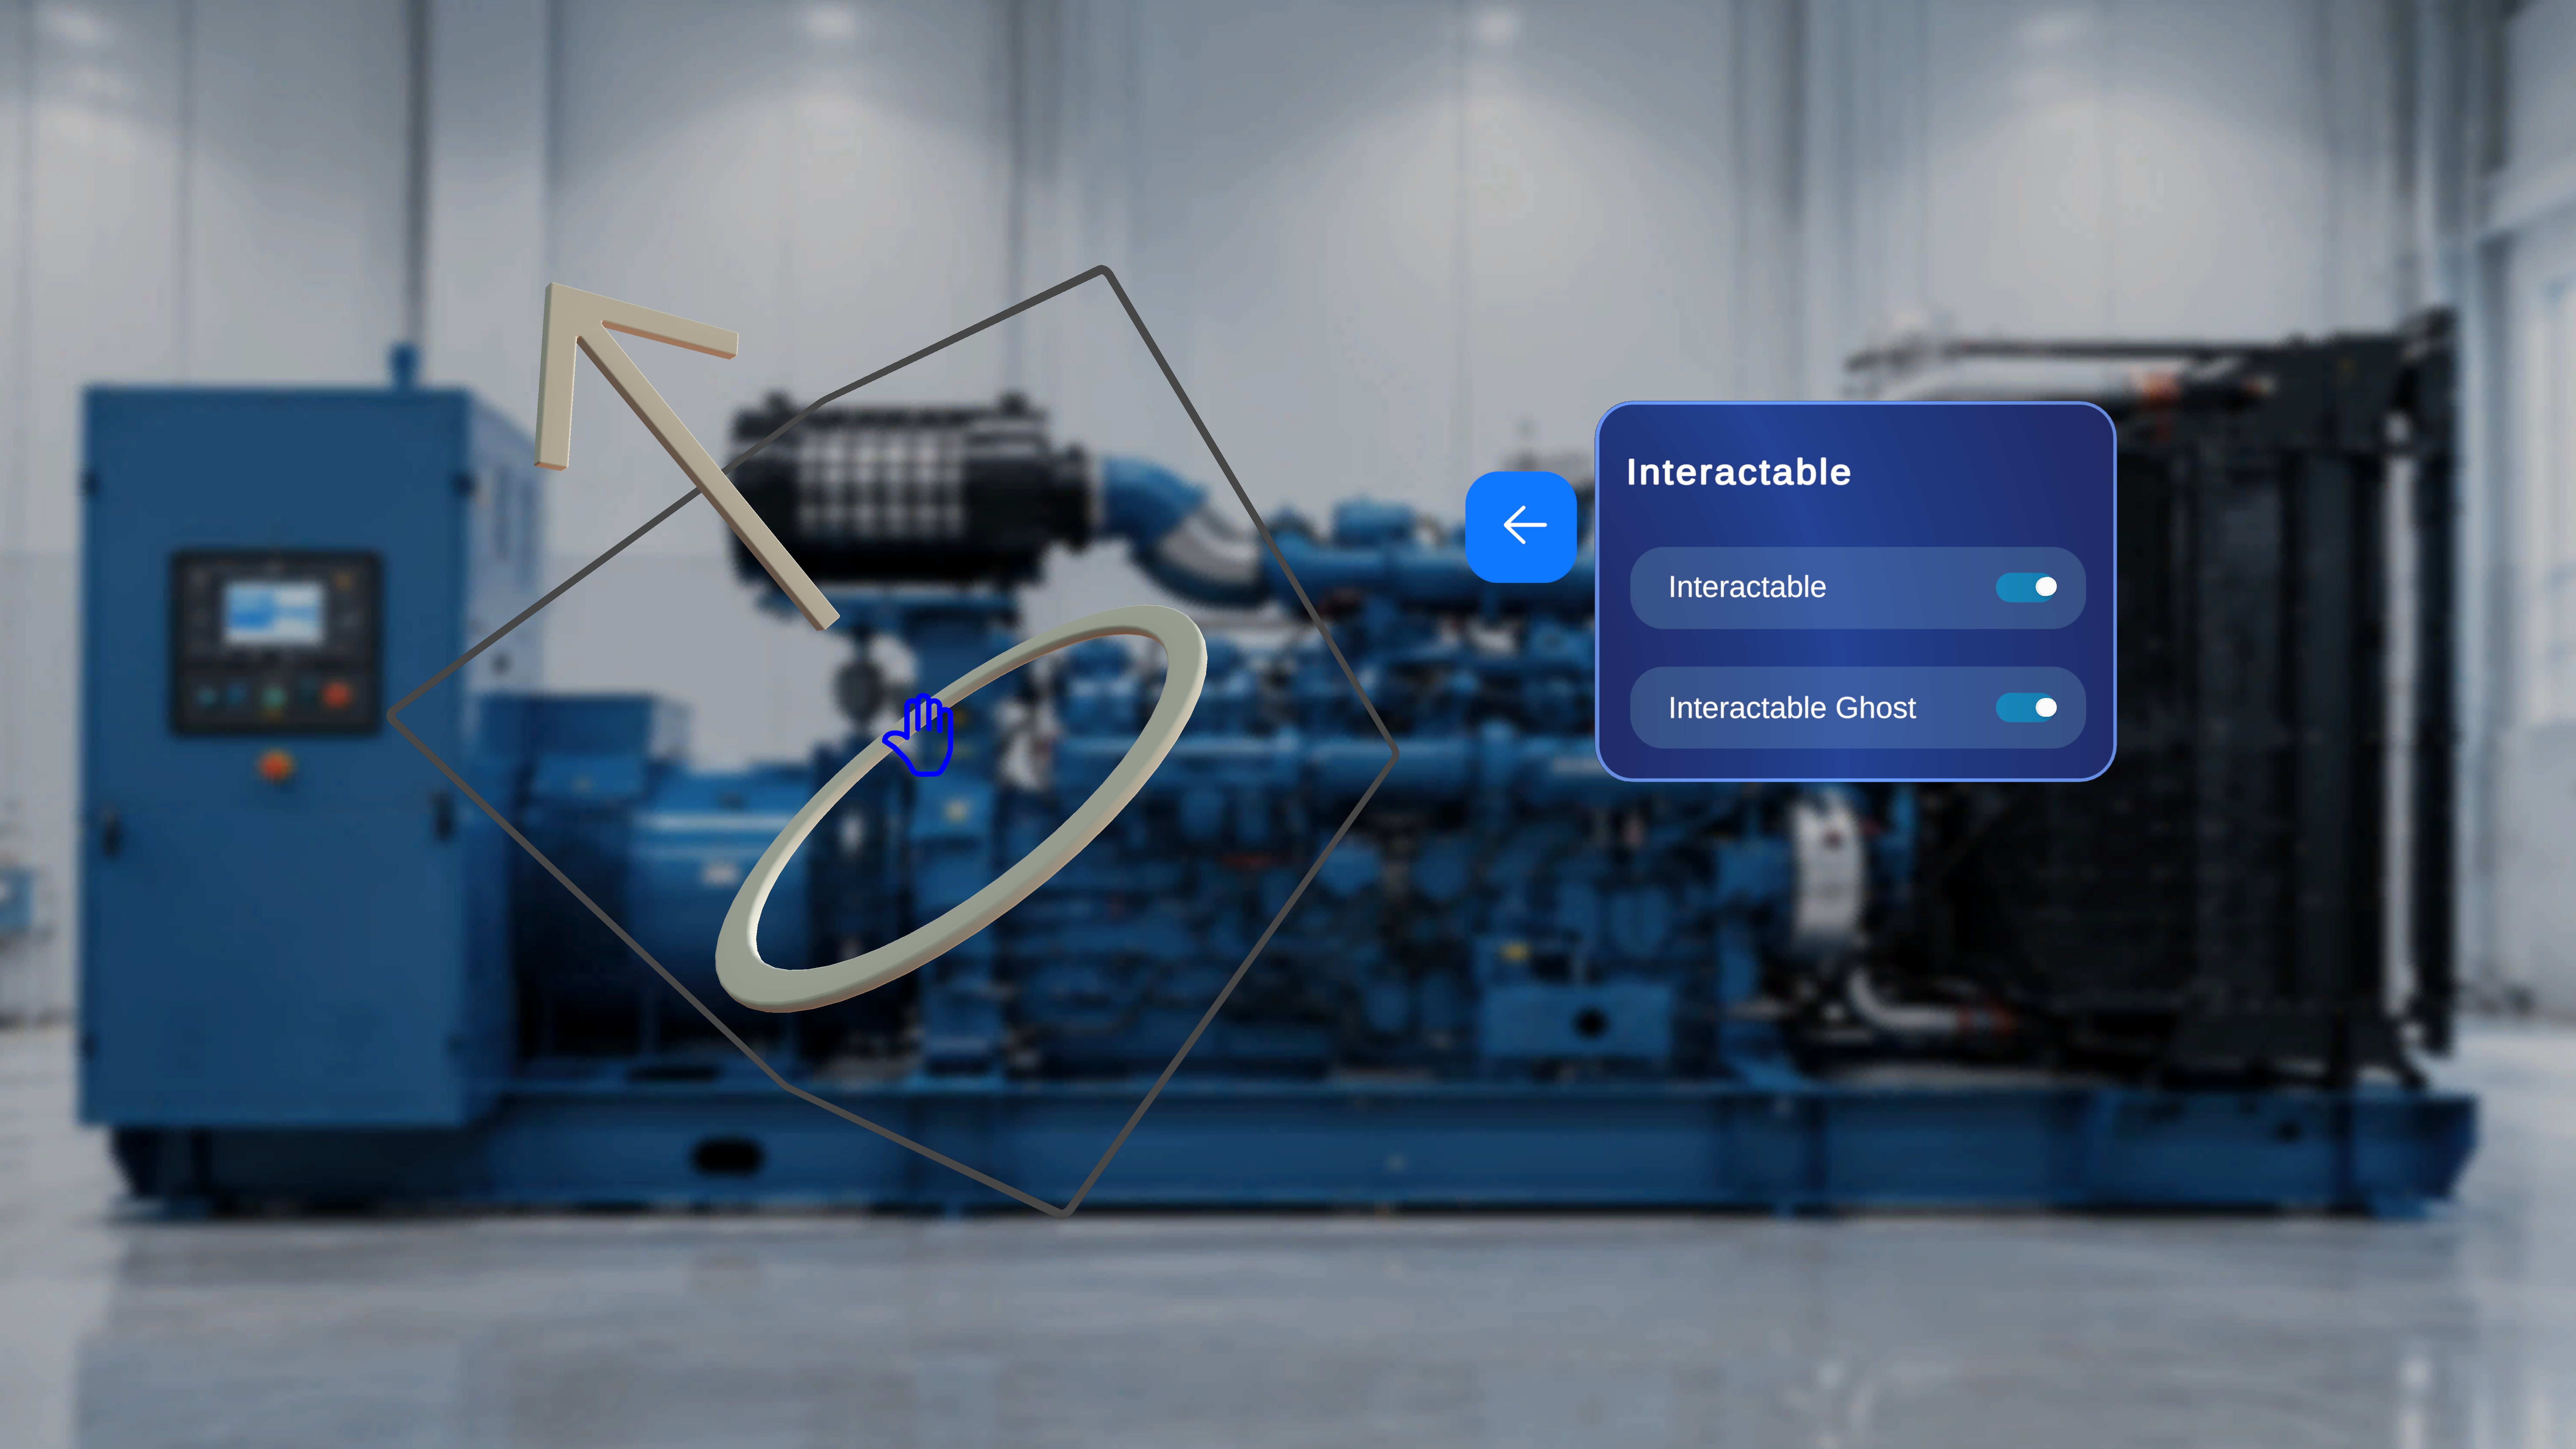
- Interactable — when ON, operators can move and interact with the model in Operator mode. When OFF, the model is view-only for operators, and the Ghost toggle is disabled.
- Interactable Ghost — requires Interactable to be ON. When ON, if an operator moves the model, a visual ghost (shadow) remains at its original position, showing where the author placed it.
Configure Animation
If the model contains animation data, select Animation from the Edit menu.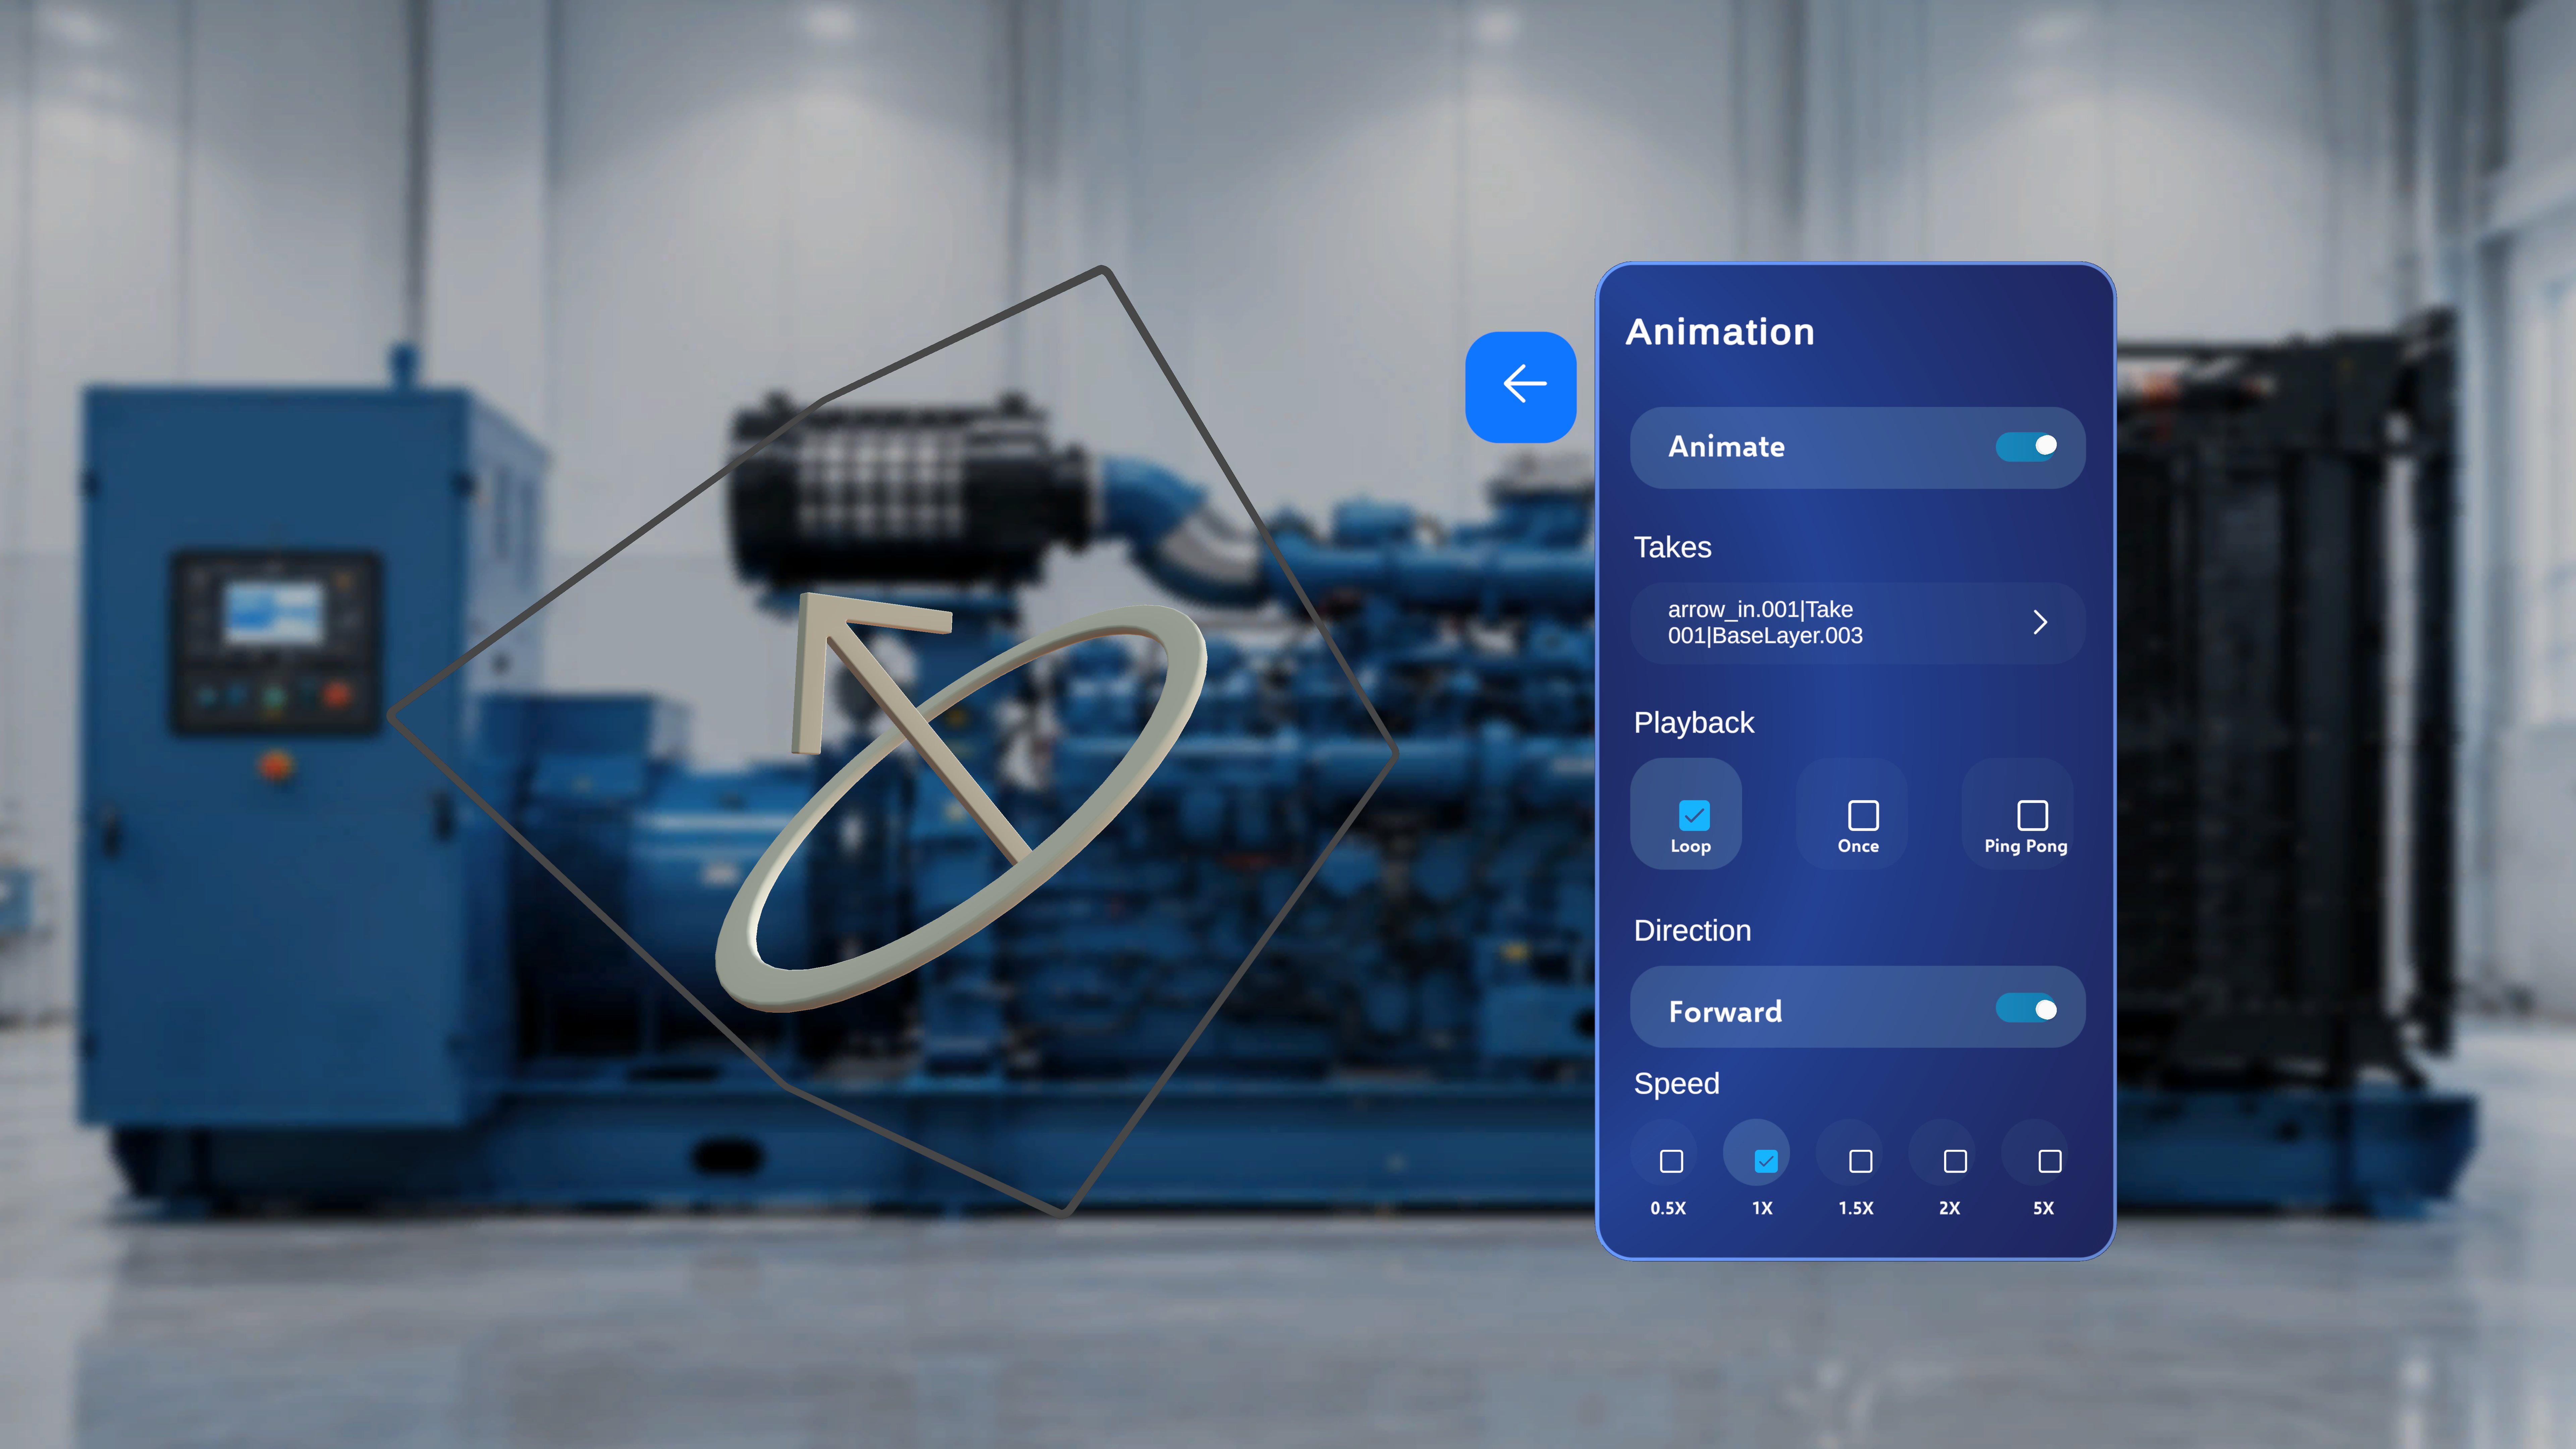
- Takes — choose from the animation takes included in the model (the section is unavailable if the model has none).
- Animate — toggle animation playback on or off.
- Playback — Loop, Once, or Ping Pong.
- Direction — Forward.
- Speed — 0.5x, 1x, 1.5x, 2x, or 5x.
Duplicate, Match Positions, and Delete
1
Duplicate a model
Open the Edit menu and select Duplicate. A copy of the model is created in the scene.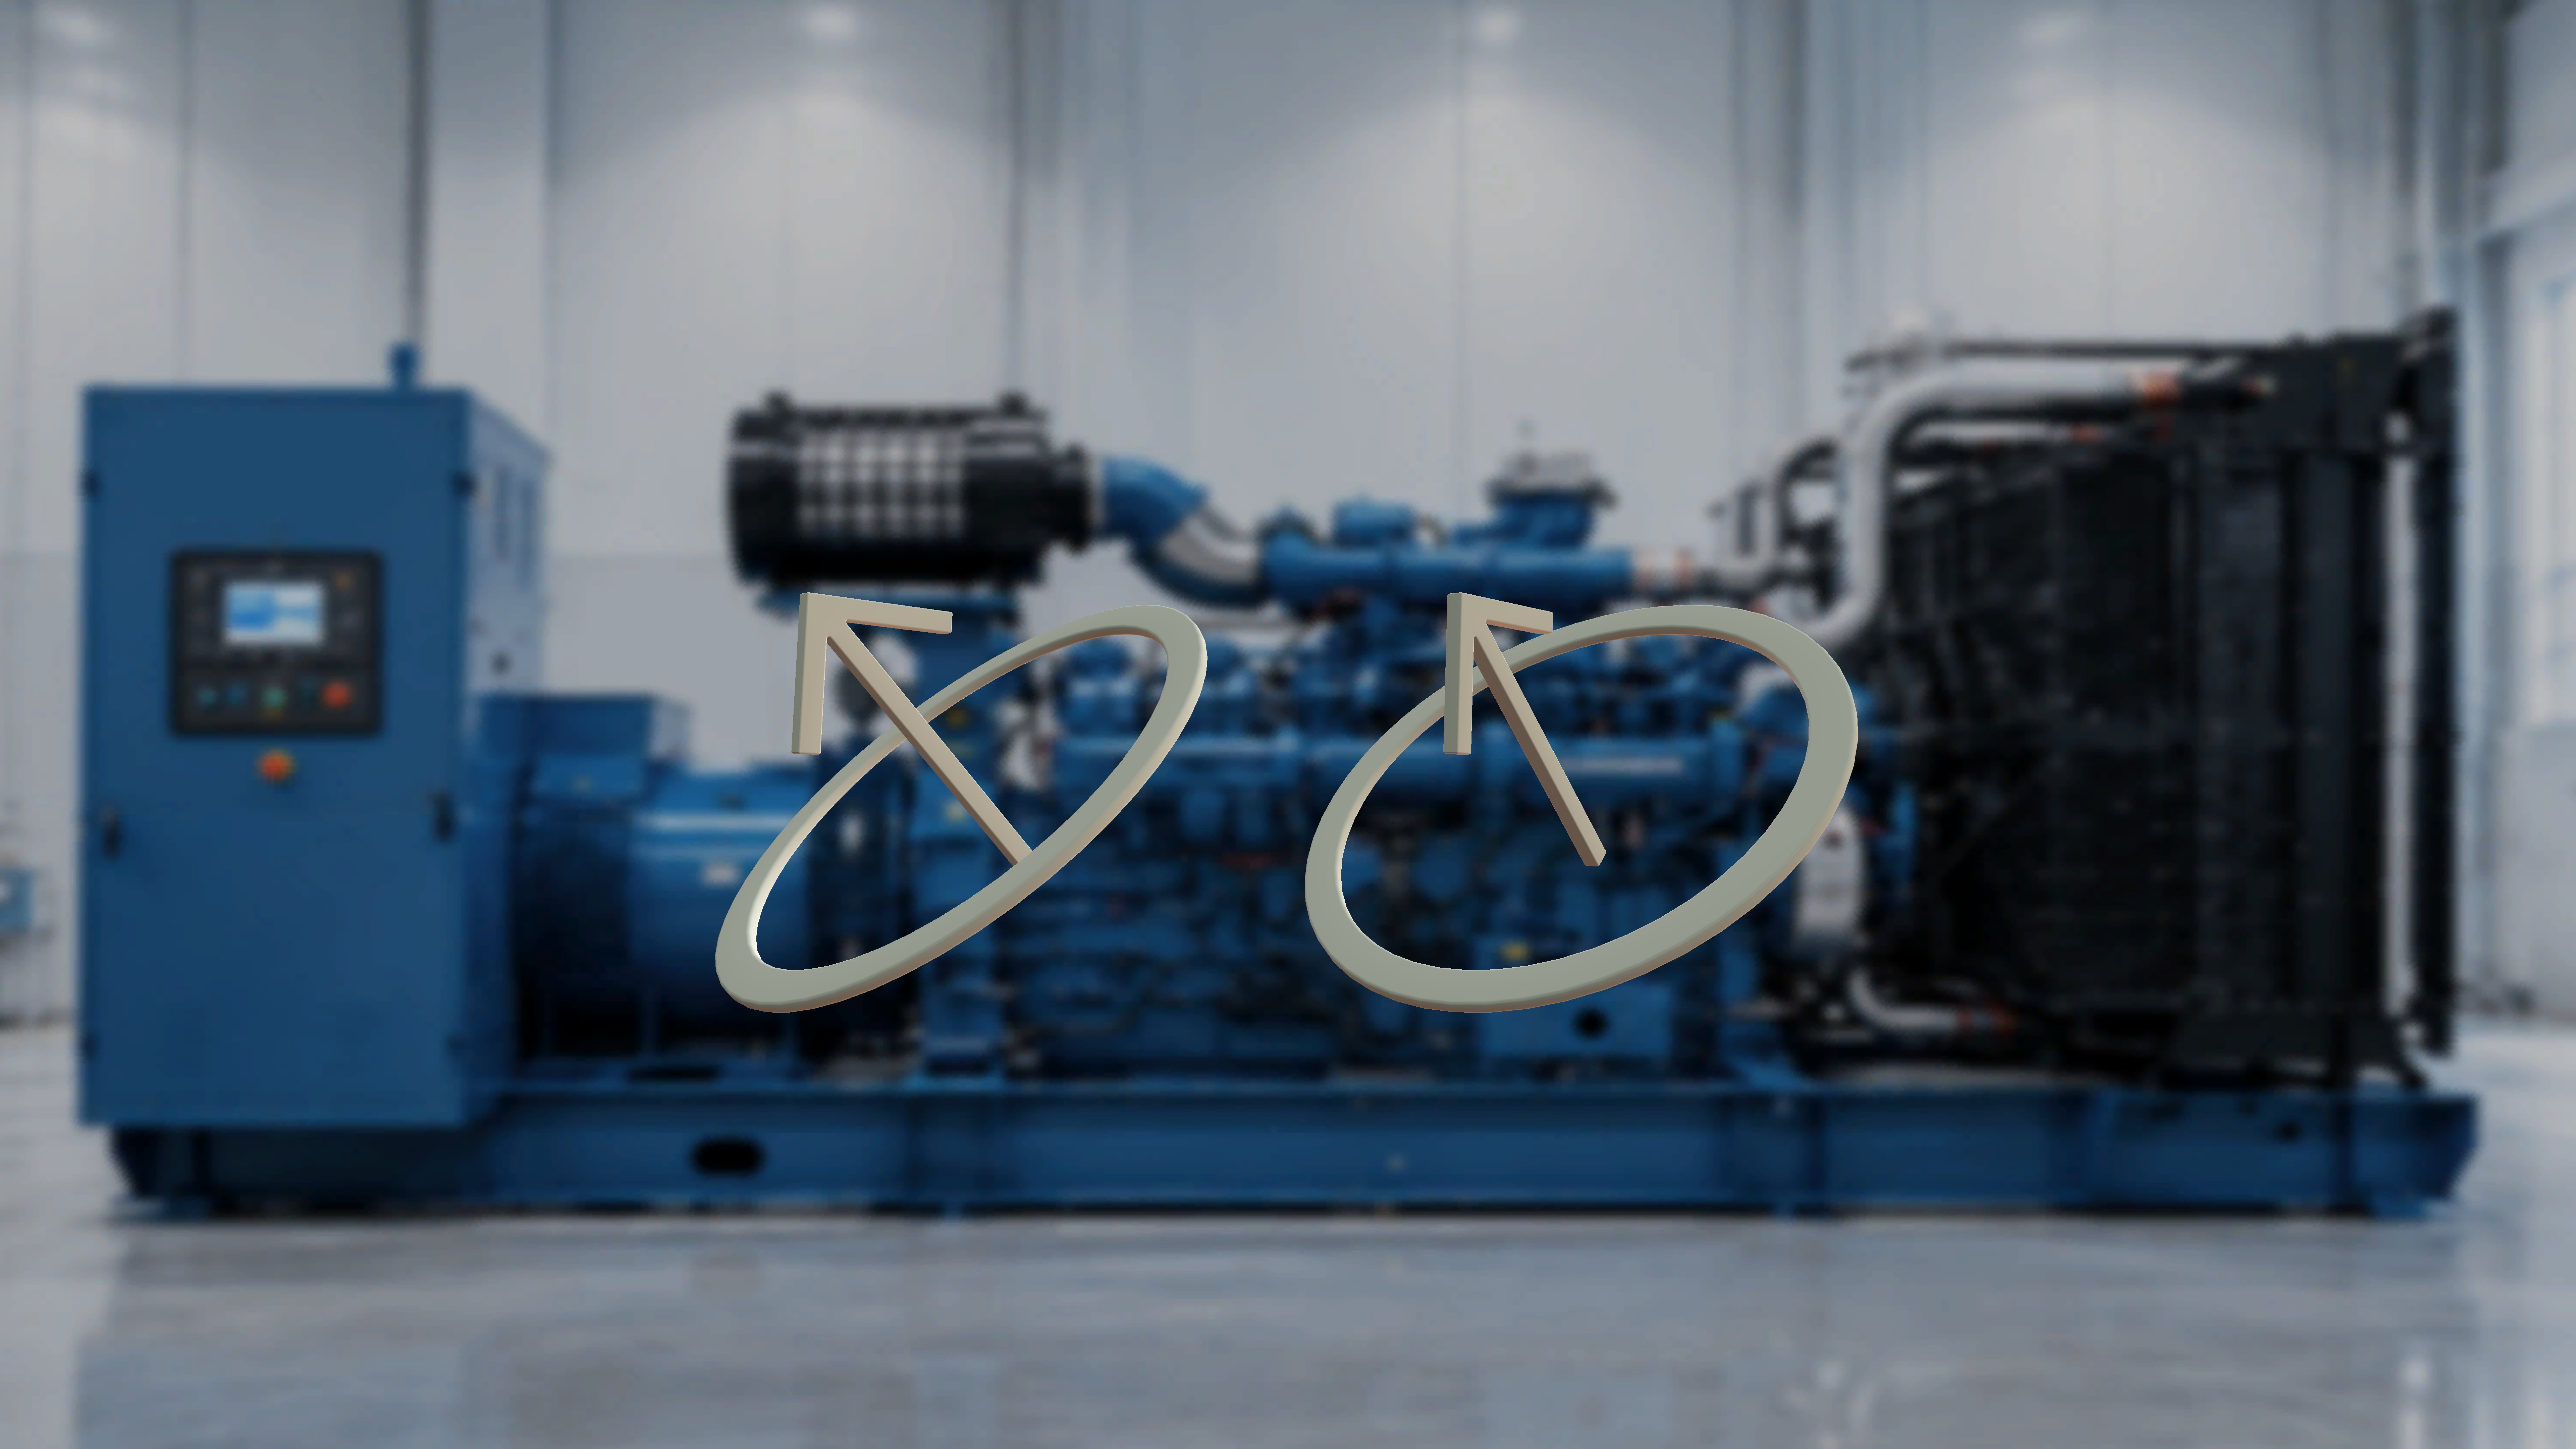
2
Copy a position to another model
Open the source model’s Edit menu and select Copy Position. Then select the target model, open its Edit menu, and select Paste Position — the second model moves to the copied position.
3
Delete a model
Open the Edit menu and select Delete. The selected model is removed from the scene.
Next: Choice Steps and Completion Rules